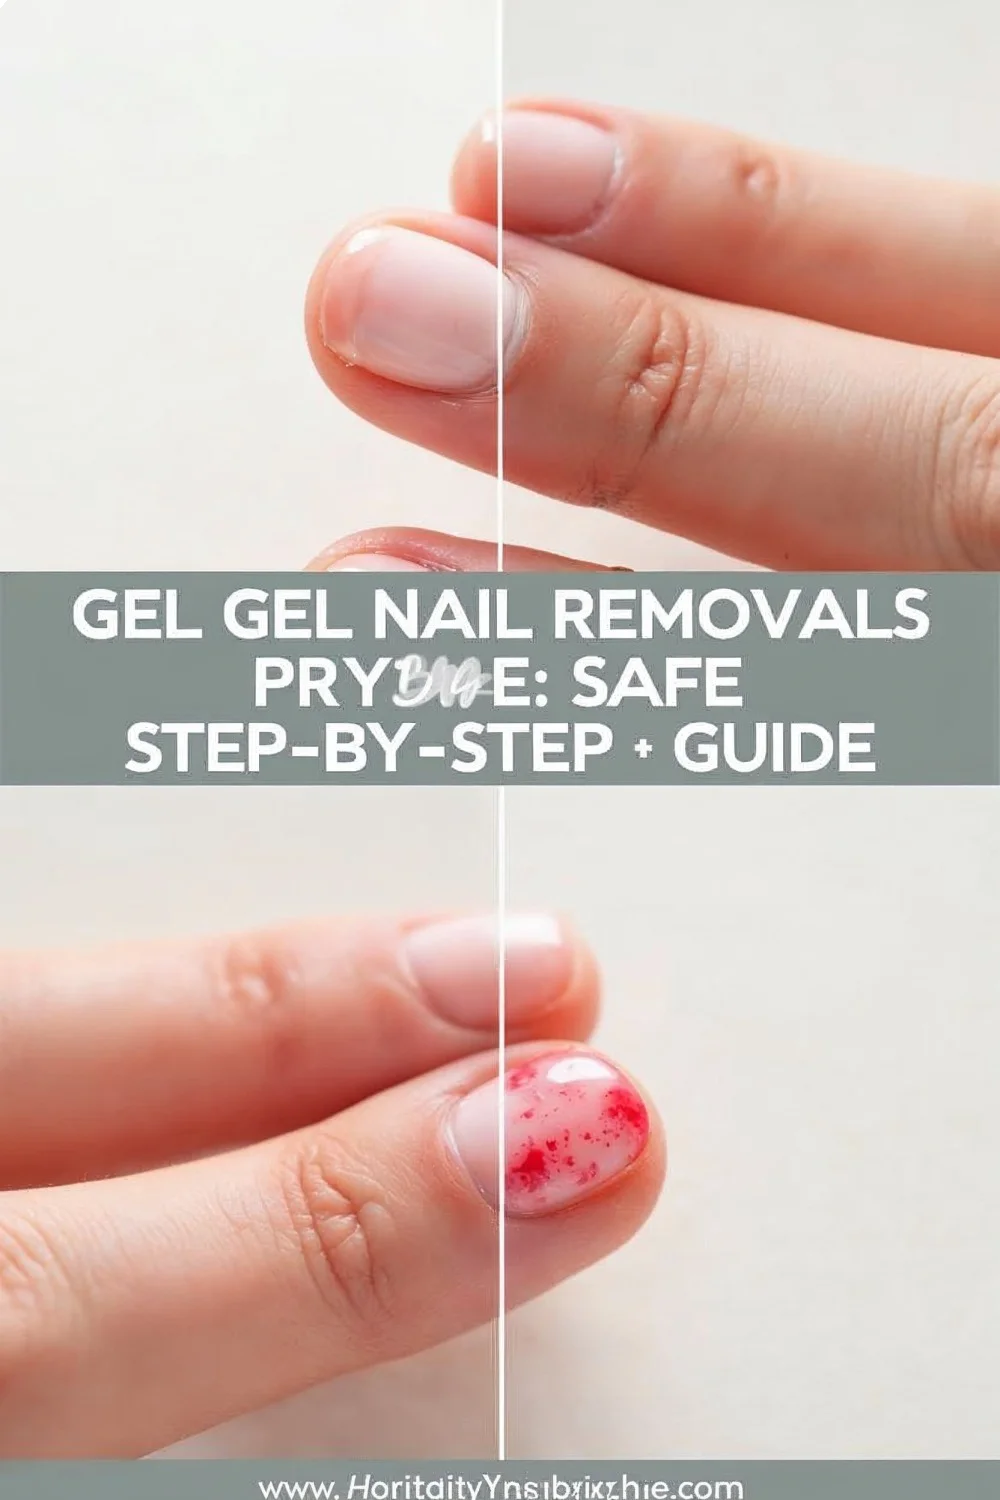
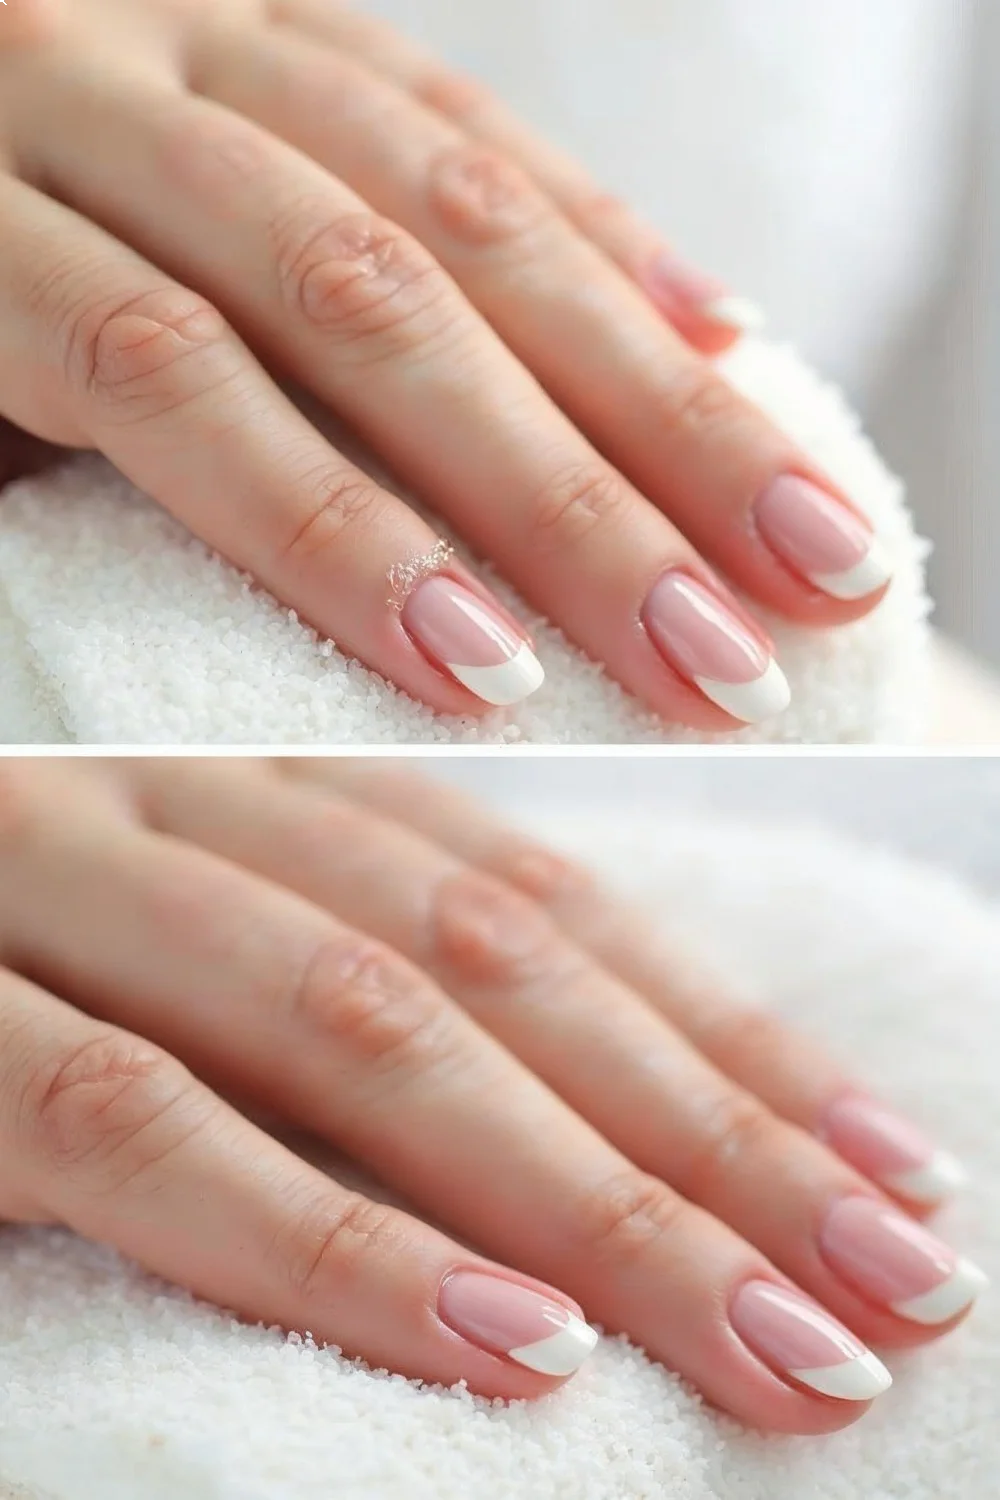
Gel Nail Removal at Home: Safe Step-by-Step Guide 2026
Gel nail removal at home requires acetone saturation, foil wrapping for 10-15 minutes, and gentle pressure with a cuticle pusher—never prying or peeling.
Gel nail removal at home requires acetone saturation, foil wrapping for 10-15 minutes, and gentle pressure with a cuticle pusher—never prying or peeling. According to the American Academy of Dermatology, improper removal is the leading cause of nail plate damage, thinning, and weakness that can take months to repair.
- Soft gel polish soaks off with pure acetone; hard gel requires professional filing and cannot be fully dissolved at home
- Wrapping acetone-soaked cotton in foil for 10-15 minutes softens gel without excessive nail dehydration
- Never peel or scrape gel forcefully—damaged nail plates take three to six months to fully regenerate
- Buffing the gel surface before soaking increases acetone penetration and cuts removal time significantly
- Post-removal hydration with cuticle oil and a strengthening base coat prevents brittleness and peeling
Understanding Gel Types: Soft Gel vs Hard Gel
Soft gel polish (the type used in most at-home and salon manicures) breaks down when soaked in acetone for 10-15 minutes, while hard gel—used primarily for extensions and sculpted nails—requires professional filing with an e-file and cannot be dissolved at home. This distinction matters because attempting to soak off hard gel wastes time and severely dehydrates natural nails. According to OPI's removal guidelines, most retail gel polish systems like OPI GelColor, CND Shellac, and Essie Gel Couture are soft gels designed for acetone removal.
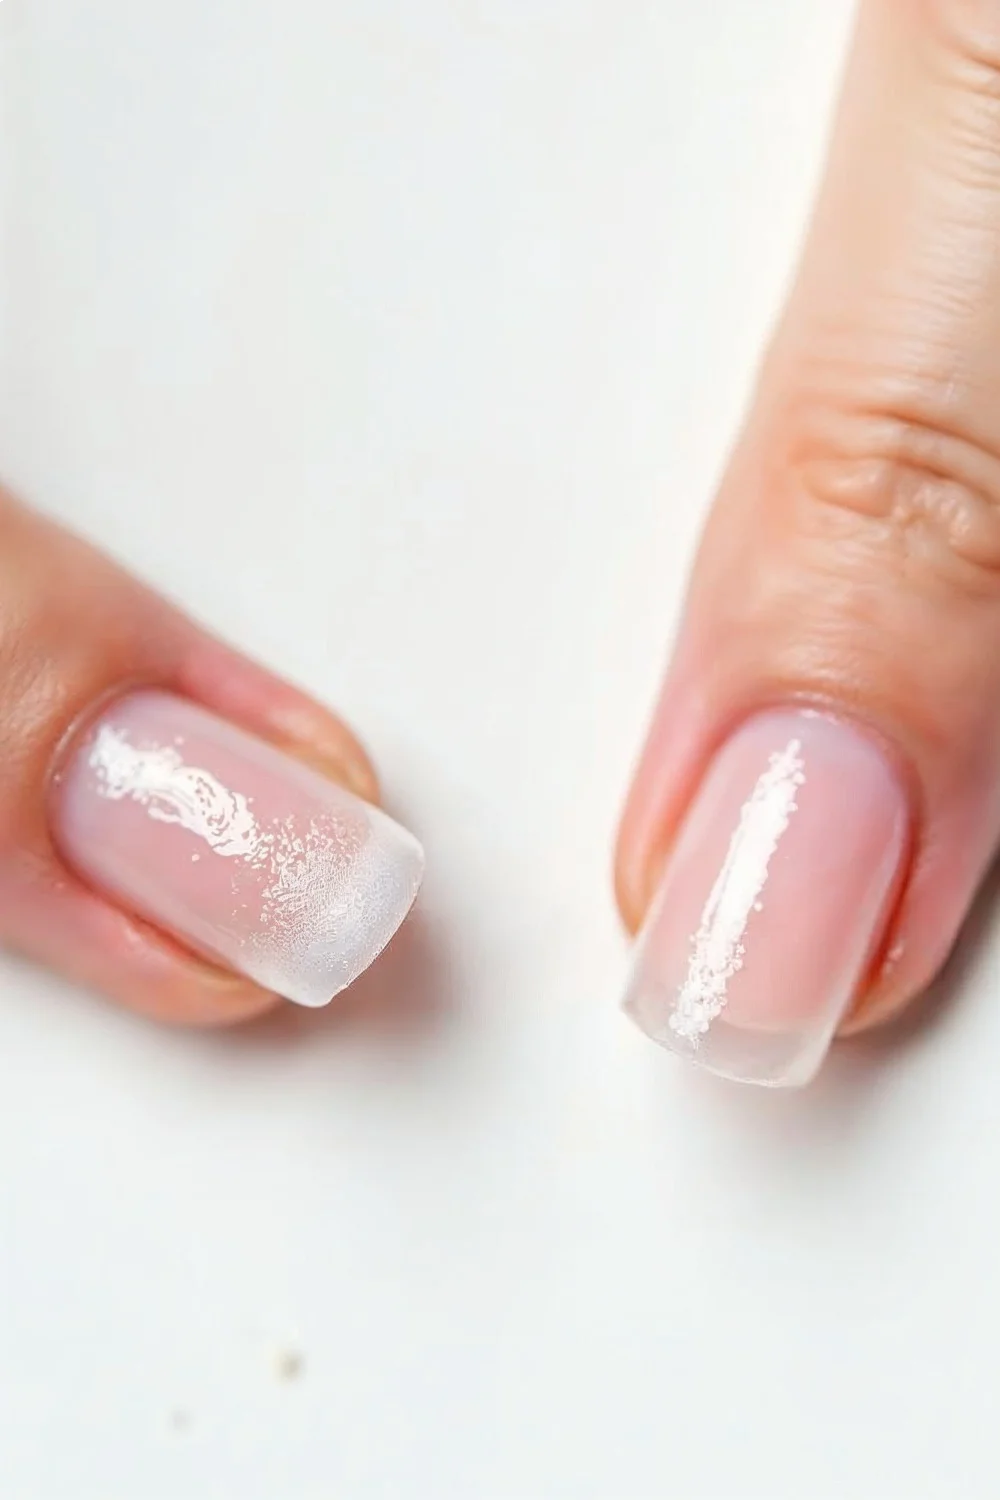
Hard gel contains different polymer chains that create a rigid structure resistant to acetone breakdown. Builder gels, sculpting gels, and most gel extensions fall into this category. If you're unsure which type you have, try the acetone test: soak a cotton ball in pure acetone, press it against one nail for 60 seconds, then check if the surface appears wrinkled or softened. Soft gel will show visible texture changes; hard gel remains smooth and intact.
The formulation difference extends to removal tools. Soft gel removal requires acetone, cotton, foil, and a wooden cuticle pusher. Hard gel demands a professional-grade e-file with coarse-grit bits (typically 80-100 grit) to file through the gel layer without generating excessive heat. Most DIY enthusiasts lack the training to safely file hard gel without damaging the nail plate underneath—professional removal runs $15-25 and prevents costly nail damage.
Key Finding: Improper removal technique, particularly peeling or forceful scraping, causes more nail damage than the gel product itself—proper acetone saturation and patience are the most important protective factors — American Academy of Dermatology
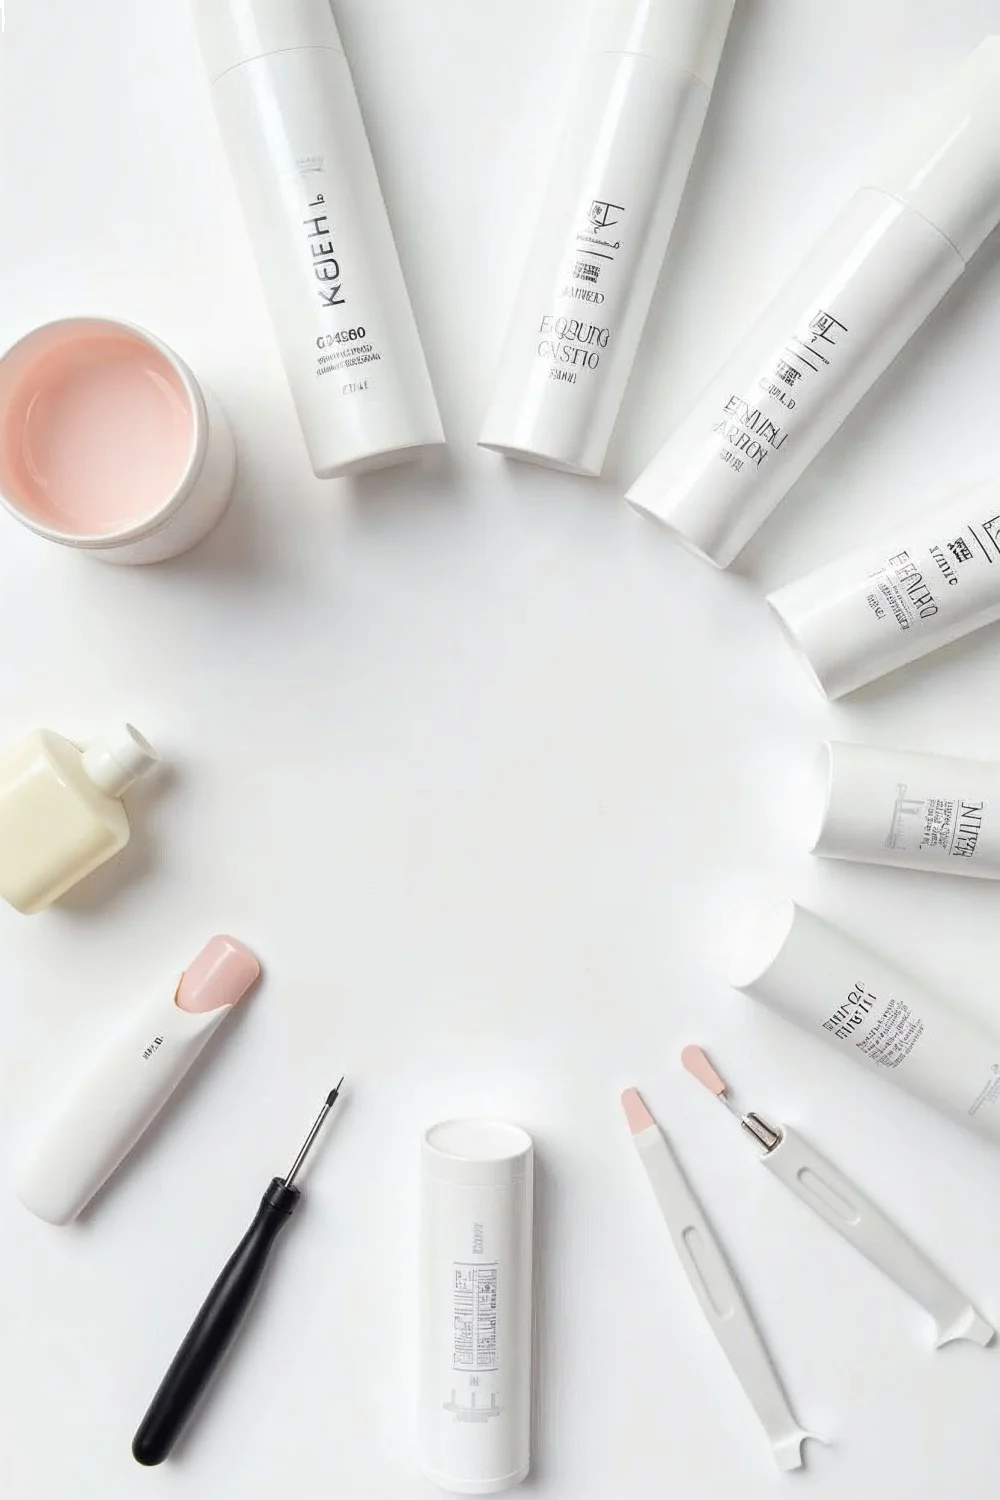
Required Tools and Products for Safe Removal
Successful gel removal at home requires pure acetone (not standard nail polish remover), cotton balls or pads, aluminum foil cut into 3x3 inch squares, a wooden cuticle pusher, a nail buffer with 180-240 grit, and cuticle oil for post-removal care. According to Byrdie's professional removal guide, using acetone-based polish remover instead of pure acetone extends soaking time from 10-15 minutes to 25-30 minutes and often leaves stubborn gel residue that tempts forceful scraping.
Pure acetone contains 99-100% acetone concentration and costs $4-8 for 16 ounces at beauty supply stores like Sally Beauty or drugstores. Standard nail polish remover typically contains 30-70% acetone diluted with water, oils, and conditioning agents that slow gel breakdown. The formula difference is measurable: pure acetone penetrates gel polymer structures in 10-15 minutes, while diluted removers require double that time and rarely achieve complete softening.
| Tool | Purpose | Cost | Where to Buy |
|---|---|---|---|
| Pure acetone | Dissolves gel polymer bonds | $4-8/16oz | Sally Beauty, drugstores |
| Cotton balls/pads | Holds acetone against nail | $2-4/bag | Any drugstore |
| Aluminum foil | Seals in acetone and heat | $3-5/roll | Grocery stores |
| Wooden cuticle pusher | Gently lifts softened gel | $2-6 | Sally Beauty, Target |
| Nail buffer 180-240 grit | Breaks gel surface seal | $3-8 | Ulta, Amazon |
| Cuticle oil | Rehydrates after acetone | $5-12 | OPI, CND, Sally Hansen |
Skip metal cuticle pushers and scrapers—wood or plastic tools flex slightly and reduce the risk of gouging nail plates. The Revlon Cuticle Pusher and Sally Hansen Cuticle Pusher both cost under $4 and work well. For buffing, the OPI Shine Buffer (around $6) or any multi-sided buffer with a dedicated 180-240 grit surface removes the gel's glossy top coat without excessive abrasion.
The Acetone Soaking Method: Step-by-Step Process
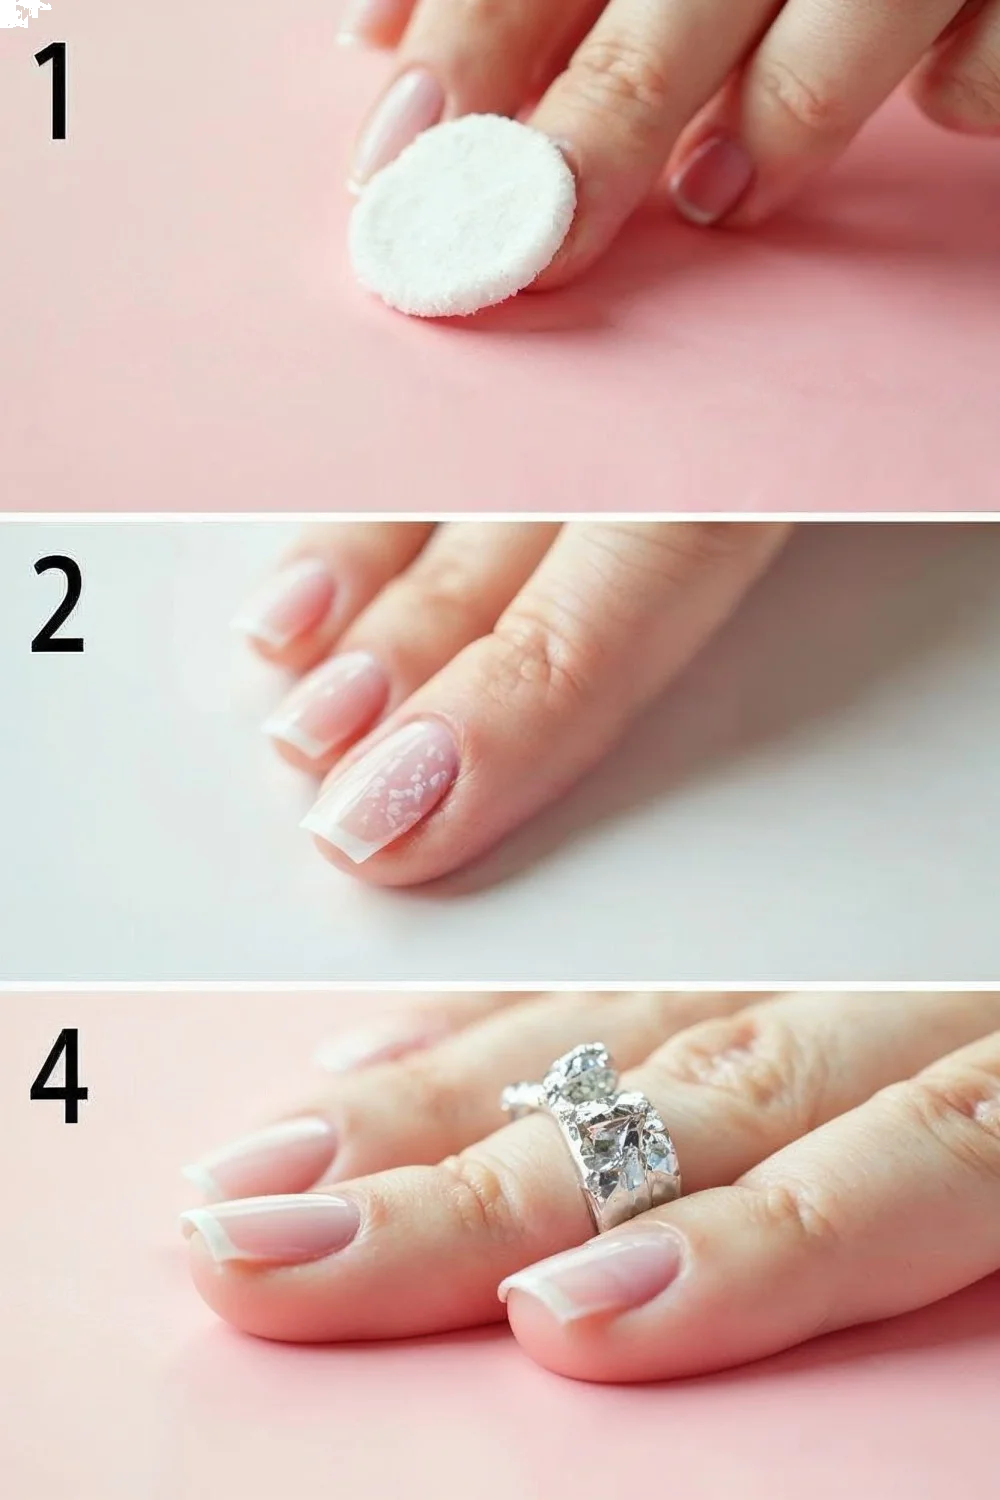
The acetone foil wrap method removes soft gel polish in 10-15 minutes by saturating the gel layer while trapping heat to accelerate polymer breakdown. Start by buffing the gel surface with a 180-240 grit buffer until the shine disappears—this breaks the protective top coat and allows acetone to penetrate the color and base layers underneath. According to Allure's damage-prevention guide, skipping this buffing step can double soaking time and increase nail dehydration.
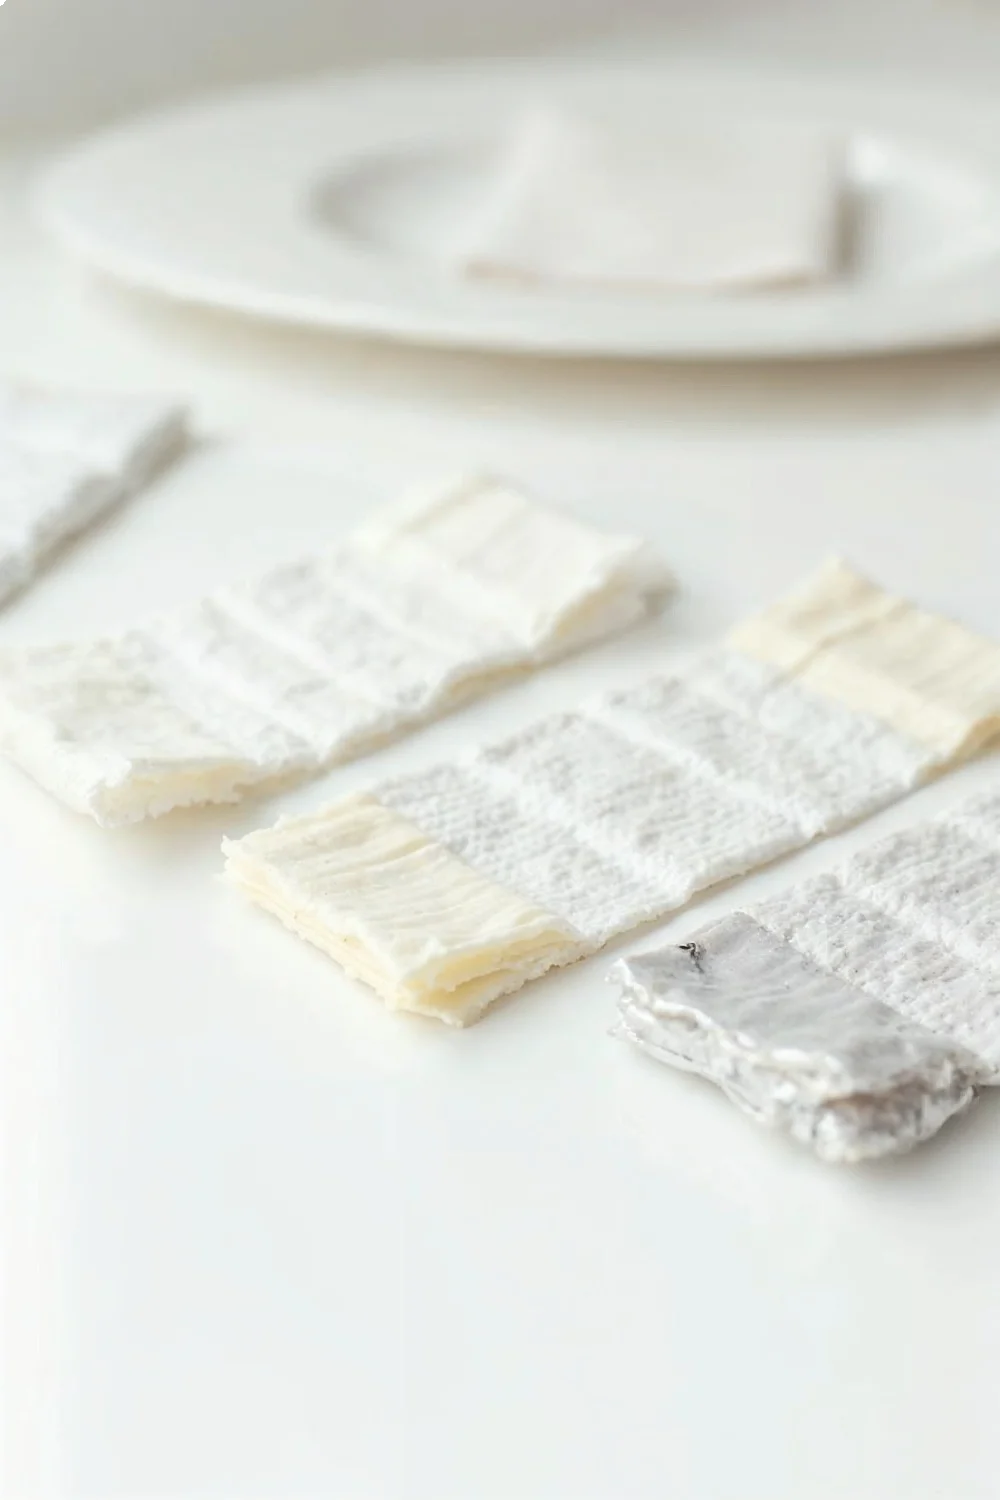
Soak cotton balls or pads in pure acetone until saturated but not dripping. Place one on each nail, ensuring the cotton covers the entire gel surface from cuticle to free edge. Tear or cut aluminum foil into 3x3 inch squares—one per finger. Wrap the foil tightly around the fingertip, securing the cotton against the nail. The foil prevents acetone evaporation and traps body heat, which raises the acetone temperature by 5-10 degrees and speeds gel softening.
Timing and Temperature Factors
Set a timer for 10 minutes. Most soft gels soften sufficiently in this timeframe at normal room temperature (68-72°F). Remove one foil wrap after 10 minutes and test the gel with a wooden cuticle pusher—if it slides off easily with minimal pressure, proceed to removal. If the gel still adheres firmly, rewrap and wait another 3-5 minutes. Environmental factors matter: acetone evaporates faster in dry climates or heated rooms above 75°F, while cold rooms below 65°F slow the chemical reaction. Some professionals place wrapped fingertips under a desk lamp (not UV lamp) for gentle warmth that accelerates breakdown without overheating.
Avoid exceeding 15 minutes total soak time per round. Extended acetone exposure (20+ minutes) strips natural oils from the nail plate and surrounding skin, leading to excessive dryness, white patches on the nail surface, and painful cuticle splitting. If gel remains after 15 minutes, remove the wraps, let nails air-dry for 5 minutes, apply fresh acetone-soaked cotton, and rewrap for another 10-minute cycle.
Removal Technique
Unwrap one finger at a time to maintain warmth and acetone saturation on the others. Hold the wooden cuticle pusher at a 20-25 degree angle—nearly flat against the nail surface—and gently slide from cuticle to free edge. The softened gel should lift in sheets or thick flakes. Never angle the pusher steeply or use it as a prying tool. Proper technique feels like spreading soft butter; forcing it feels like scraping paint. If you encounter resistance, stop immediately, rewrap that nail, and let it soak longer.
Work in small sections, removing loosened gel as you go. Wipe the cotton and pusher frequently to clear gel buildup—working through debris reduces visibility and increases the risk of accidentally scraping the nail plate. Once all gel is removed, wipe each nail with a clean acetone-soaked pad to dissolve any remaining thin film. The nail surface should feel smooth with no tacky or rough patches.
Common Mistakes That Damage Nails
Peeling or picking gel polish off without acetone tears away the top layers of the nail plate, creating thin, weak nails that split and peel for months afterward. The American Academy of Dermatology identifies forceful removal as the primary cause of gel-related nail damage—not the gel product itself. Gel adheres to the nail through chemical bonds with the keratin structure; ripping it off removes keratin cells attached to those bonds. The visible white, flaky patches that appear after peeling are delaminated nail layers that take three to six months to grow out completely.
Another frequent error: using insufficient acetone or non-acetone removers marketed as "gentle" or "nourishing." Products like Ella+Mila Soy Nail Polish Remover contain no acetone and will not soften gel polish regardless of soaking time. Sally Hansen Kwik Off contains some acetone but at concentrations too low for efficient gel removal. These products cost $5-9 and waste time—pure acetone at $4-8 per bottle works faster and actually reduces total nail exposure to chemicals.
Filing Instead of Soaking
Some tutorials suggest filing off gel polish with a coarse buffer or electric file to avoid acetone exposure. This approach removes gel but generates significant heat and friction that can burn the nail bed, over-thin the nail plate, and create uneven surfaces prone to snagging and tearing. Hand-filing gel polish safely requires extensive training to maintain consistent pressure and recognize when you've reached the natural nail. Most DIY attempts result in over-filing that thins nails by 20-30%, causing flexibility issues and increased breakage for weeks.
Electric files (e-files) compound the risk. Professional nail technicians train for months to master e-file speed, pressure, and bit selection. Using an e-file at home without training commonly leads to nail plate burns (visible as discolored patches or painful sensitivity), excessive thinning, and cuts to the cuticle and sidewalls. The acetone method, when done correctly, removes gel without touching the natural nail structure underneath.
Rushing the Process
Skipping the surface buffing step before soaking extends removal time and tempts forceful scraping when gel doesn't soften as expected. The gel system's top coat is formulated to resist chipping and wear—that same durability makes it impervious to acetone penetration when intact. Breaking that seal with a buffer takes 30-45 seconds per nail and can cut total removal time in half.
Similarly, unwrapping all ten fingers at once causes the gel on later nails to cool and harden again before you finish the first few nails. Acetone evaporates rapidly when exposed to air—within 90 seconds, most of the active solvent has dissipated and the gel begins firming up again. Work one hand at a time, removing foil wraps individually as you push off each nail's gel. This maintains optimal temperature and saturation throughout the process.
Post-Removal Nail Care and Recovery
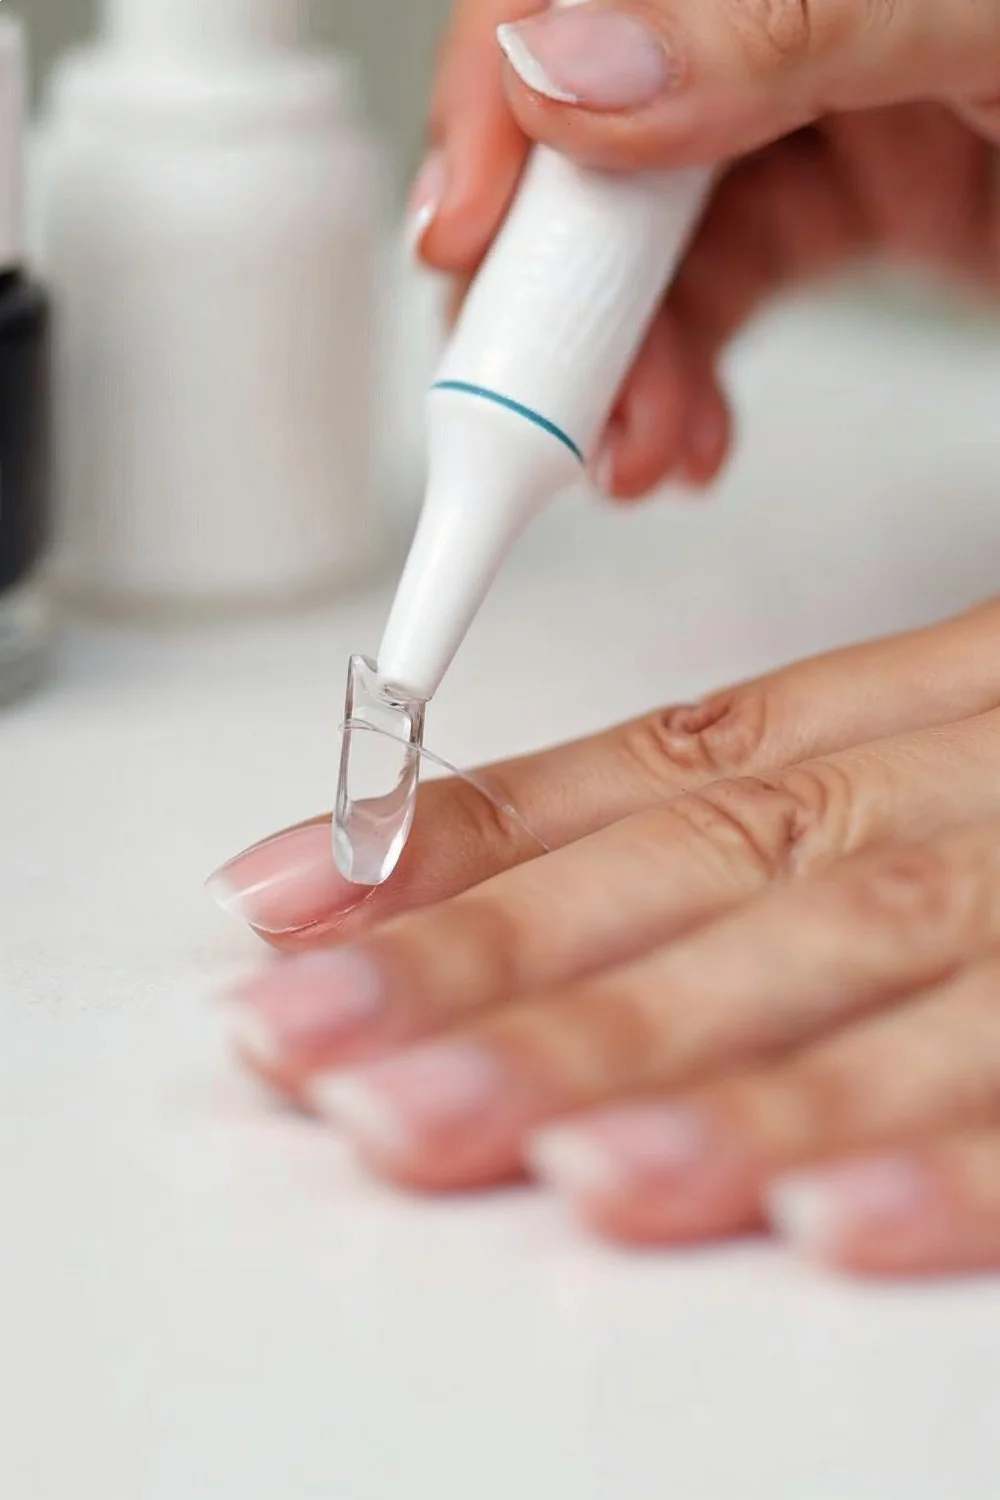
Immediately after gel removal, nails are dehydrated and temporarily fragile from acetone exposure. Apply cuticle oil or a rich hand cream containing ingredients like jojoba oil, vitamin E, or shea butter to the entire nail plate, cuticle area, and fingertip skin. According to dermatology guidance on nail health, rehydration within 10-15 minutes of acetone exposure significantly reduces subsequent peeling and brittleness.
Avoid applying fresh gel polish for at least 24-48 hours. Natural nails need time to reabsorb moisture from the environment and surrounding tissue. Applying a new gel system immediately traps the dehydrated state under an impermeable layer, which can lead to increased brittleness and lifting during the next wear cycle. If you need color coverage right away, use traditional air-dry polish that allows continued moisture exchange—formulas like Essie Expressie or Sally Hansen Insta-Dri dry in 60-90 seconds and come off easily with standard remover when you're ready for your next gel application.
Strengthening Treatments
Consider using a nail strengthener or protein treatment for 3-7 days between gel applications. Products like OPI Nail Envy Original Formula ($10-12) or Sally Hansen Mega Strength Hardener ($6-8) contain hydrolyzed proteins and calcium that temporarily reinforce thin or flexible nails. Apply one coat daily for the first three days, then remove with regular polish remover and reassess. If nails feel rigid and glass-like, skip additional coats—over-hardening makes nails brittle and more prone to snapping.
The optimal schedule for continuous gel wear: 2-3 weeks in gel, 3-5 days bare or in regular polish, then reapply gel. This gives nails time to breathe and rehydrate while maintaining the convenience of long-lasting color most of the time. If nails show persistent thinning, peeling layers, or painful sensitivity, extend the break period to 7-14 days and focus on hydration with daily cuticle oil application.
Hydration Routine
Apply cuticle oil at least once daily—ideally twice, morning and night—for the first week after removal. CND Solar Oil ($8-10) and OPI ProSpa Nail & Cuticle Oil ($12-15) contain lightweight oils that absorb quickly without leaving greasy residue. Massage a drop into each nail and cuticle, focusing on the eponychium (the living skin at the base of the nail) and the nail plate itself. Consistent oil application keeps the keratin structure flexible and resistant to splitting.
Drink adequate water and consider a biotin supplement if you frequently experience slow nail growth or brittleness between gel applications. While research on biotin's effectiveness for nail health shows mixed results, anecdotal reports from nail professionals suggest 2.5-5mg daily may improve nail thickness and reduce breakage over 3-6 months. Consult with a healthcare provider before starting any supplement regimen.
For more comprehensive nail health strategies, see our guide on Healthy Nail Care Tips: 12 Essential Practices.
Alternative Removal Methods: Clips, Pads, and Remover Wraps
Acetone removal clips and pre-soaked remover pads offer convenience for frequent gel users but deliver mixed results compared to the traditional foil wrap method. Removal clips—plastic caps that hold acetone-soaked cotton against nails—cost $6-12 for a set of ten and work identically to foil wraps with slightly less mess. Brands like Twinkled T and Makartt make reusable silicone versions that seal tightly and prevent acetone evaporation. The functional outcome is the same: 10-15 minute soak time with similar gel-softening results.
Pre-soaked gel polish remover pads like Sally Hansen Gel Polish Remover Pads ($8-10 for 8 wraps) contain acetone-saturated cotton secured in foil wrappers for single-use application. Each pad provides enough acetone for one nail with a built-in foil wrap—convenient for travel or touch-ups but less economical than bulk acetone for regular users. At roughly $1 per nail versus $0.15-0.20 per nail for DIY foil wraps using pure acetone, the convenience premium is significant.
Soak-off gel remover liquids formulated specifically for gel polish (not regular acetone) typically contain 85-95% acetone plus conditioning agents like glycerin or lanolin to reduce dryness. Examples include Gelish Soak-Off Gel Remover ($9-14 for 8oz) and Elegant Touch Remove Acetone Gel Nail Polish Remover ($7-10 for 6.76oz). These work marginally faster than pure acetone—sometimes cutting 1-2 minutes off soak time—but cost double to triple the price per ounce. The conditioning additives provide minimal benefit since you're wiping the product off after removal anyway, and separate cuticle oil application is still necessary.
E-File Removal for Advanced Users
Electric file removal requires a professional-grade e-file ($50-150), carbide or ceramic bits in 80-120 grit, and substantial training to avoid nail damage. This method makes sense for nail technicians removing gel daily but poses significant risk for occasional home users. Proper e-file technique requires controlling bit speed (typically 8,000-15,000 RPM for gel removal), maintaining light pressure (the bit's rotation does the work, not downward force), and recognizing when you've reached the natural nail by subtle changes in dust color and resistance.
Without this training, common e-file mistakes include: pressing too hard and generating heat that burns the nail bed, over-filing through the gel into the natural nail and creating thin spots, and accidentally filing sidewalls or cuticles. If you're determined to learn e-file removal, invest in professional training through a local beauty school or certified nail technician rather than relying on video tutorials. A single over-filing incident can thin nails enough to require 4-6 months of regrowth to repair.
For most home users, the acetone soak method remains the safest and most cost-effective approach. Reserve e-file removal for professional settings or after completing formal training.
Removing Gel Polish from Damaged or Weak Nails
Thin, peeling, or previously damaged nails require modified removal techniques that minimize further stress to the compromised nail structure. Reduce acetone soak time to 8-10 minutes rather than the standard 10-15 minutes—damaged nails absorb acetone more readily and dehydrate faster than healthy nails. Check gel softness at 8 minutes; if it's not ready, add 2-minute increments rather than committing to a longer initial soak.
Consider using acetone clips or pre-soaked pads that deliver controlled acetone amounts rather than fully saturated cotton balls that may over-soak thin nails. Apply a thick layer of petroleum jelly or cuticle balm to the skin surrounding each nail before starting removal—this creates a barrier that reduces acetone contact with already-dry cuticle tissue and prevents additional cracking or peeling at the nail margins.

Working with Flexible or Bendy Nails
Flexible nails that bend easily require extra care during the scraping phase. Place your working hand flat on a hard surface rather than holding it in the air—this stabilizes the nail and reduces flex while you're pushing off softened gel. Use a wider cuticle pusher with more surface area to distribute pressure, and work in smaller sections with gentler strokes. The Rainbow Honey Wide Cuticle Pusher ($8-10) or Tweezerman Rockhard Cuticle Pusher ($12-14) both offer wider contact surfaces than standard tools.
If nails are extremely thin or flexible, consider removing gel professionally rather than attempting DIY removal. Professional removal costs $10-20 but prevents potential damage that could sideline your nail routine for months. Sometimes the most advanced technique is knowing when to delegate.
Post-Removal Protocol for Compromised Nails
After removing gel from damaged nails, skip the strengthening hardener—already-compromised nails often react poorly to protein treatments by becoming brittle. Instead, focus entirely on hydration with cuticle oil applied three times daily for the first week. Use a jojoba-based oil rather than mineral oil; jojoba's molecular structure closely resembles natural skin sebum and penetrates more effectively.
Wait a full week before applying new gel polish to damaged nails. During that week, either go bare with daily oil application or use a breathable treatment polish like Ella+Mila First Aid Kiss Nail Strengthener ($10-12) that allows moisture exchange while providing a smooth surface. Avoid water exposure when possible—wear gloves for dishes and cleaning. Extended water contact causes nail plates to swell and contract repeatedly, which exacerbates peeling and splitting in already-damaged nails.
For emergency nail repair techniques, see our article on How to Fix Broken Nails: 5 Emergency Repair Methods.
Timing Your Next Gel Application
Optimal nail health comes from cycling between gel wear periods and recovery breaks rather than maintaining continuous gel coverage year-round. The standard recommendation from nail health professionals: wear gel polish for 2-3 weeks, remove it properly, take a 3-5 day break with nails bare or in regular polish, then reapply. This schedule allows nails to rehydrate and restore natural flexibility between gel cycles while still providing long-lasting color most of the time.
You can tell nails are ready for fresh gel when they no longer feel papery or dry to the touch, show no white patches or flaking on the surface, and return to their normal flexibility. Healthy nails have a slight give when pressed—they're not glass-rigid but also don't bend excessively. If nails still feel stiff, brittle, or show visible peeling layers after 3-5 days, extend the break period another 5-7 days and continue daily cuticle oil application.
Signs You Need a Longer Break
Several indicators suggest your nails need extended recovery time before the next gel application. Persistent pain or tenderness at the nail bed indicates possible over-filing or chemical burns during previous removal—wait until all sensitivity resolves, typically 10-14 days. Visible ridges, dents, or grooves in the nail surface mean the nail plate has been damaged and needs to grow out; these irregularities take 4-6 months to fully migrate to the free edge, but you can resume gel application once they're no longer painful and the surface has smoothed somewhat with buffing.
Yellowing or discoloration that doesn't fade after removal suggests either a staining issue (cosmetic only) or a fungal infection (requires treatment). Staining from dark gel polish appears as a yellow or orange tint on the nail surface and fades gradually over 2-3 weeks. Fungal discoloration typically shows as a deeper yellow-green hue, may include texture changes or thickening, and doesn't improve with time. If you suspect fungal infection, skip gel polish entirely until you've consulted a dermatologist—sealing infection under gel creates an ideal environment for it to worsen.
Creating a Sustainable Gel Schedule
Consider seasonal adjustments to your gel schedule. Summer heat and humidity cause hands to swell slightly, which can stress the gel-to-nail bond and lead to earlier lifting—during June through September, you might shift to 2-week wear cycles instead of 3-week cycles. Winter's dry air dehydrates nails faster, so extend recovery breaks from 3-5 days to 5-7 days and increase oil application frequency.
Track your gel applications and removal dates in a phone calendar or planner. Pattern recognition helps: if you notice increased breakage or thinning after 6-8 consecutive gel cycles, build in a longer break (7-14 days bare) every 2-3 months. Some nail professionals recommend one full month per year without any gel polish—typically a slower season when shorter nails and minimal color feel less restrictive.
For seasonal color inspiration during your next application, explore Spring Gel Nail Colors 2026: Best Shades + Application Tips or Summer Nail Colors 2026: 15 Trending Shades to Try.
When to Seek Professional Removal
Certain situations warrant professional removal rather than DIY approaches, regardless of skill level or experience. If you have any of the following, book a salon appointment: hard gel or builder gel that won't soften with acetone, gel applied over nail extensions (acrylic, polygel, or press-ons), severe nail damage or infection present before removal, or allergic reactions to acetone or other removal products.
Professional removal typically costs $10-20 as a standalone service or $5-10 when combined with a new gel manicure. Nail technicians use professional-grade e-files with proper training, can assess nail health conditions you might miss, and carry insurance for the rare occasions when something goes wrong. The cost is minimal compared to the potential expense and recovery time from botched DIY removal on complicated nail situations.
Hard Gel and Gel Extensions
Hard gel systems—including brands like Gelish Hard Gel, Kokoist, and most builder gels—require filing for removal since they don't break down with acetone. Professional removal of hard gel involves using a coarse carbide bit (80-100 grit) at 15,000-20,000 RPM to carefully file away the gel layer while leaving the natural nail intact. This requires visual distinction between the hard gel and natural nail, which appear nearly identical under filing dust.
Attempting this at home without training commonly results in filing through the gel into the natural nail, creating thin spots, heat damage, or completely removing sections of the nail plate. Professional technicians develop the tactile sensitivity to feel when they've reached natural nail by subtle changes in resistance and sound—skills that take months of supervised practice to acquire.
For comparison between gel systems and alternatives, see Gel vs Acrylic Nails: Complete 2026 Guide + Costs.
Infected or Damaged Nails
If you notice green or yellow-green discoloration under gel polish, pain at the nail bed, unusual thickness or texture changes, or a foul odor when gel starts lifting, remove the gel immediately and see a dermatologist before attempting further nail services. These symptoms suggest bacterial or fungal infection that requires medical treatment—continuing to cover infected nails with gel or regular polish traps moisture and bacteria, worsening the condition.
Similarly, if nails have split vertically or torn deeply into the nail bed, professional assessment is necessary before removal. Soaking damaged nails in acetone can be extremely painful and may introduce infection risk if open wounds exist. A professional can numb the area, remove gel carefully without disturbing the injury, and advise on proper wound care and healing timeline.
Moving Forward with Healthier Gel Habits
Safe gel removal centers on patience, proper acetone saturation, and absolute avoidance of forceful scraping or peeling. The techniques outlined here—surface buffing, timed acetone soaking, gentle pressure with wooden tools, and immediate post-removal hydration—protect nail health while maintaining the convenience of long-lasting gel color. Every detail matters when it comes to preserving natural nail integrity through multiple gel cycles.
Your next step: assess your current gel removal routine against these research-backed practices, invest in pure acetone and proper tools if needed, and commit to the 3-5 day recovery window between applications. For those ready to apply fresh gel, explore our DIY Nail Art tutorials for inspiration, or browse Nail Care & Health for maintenance techniques that support long-term nail strength. Strong, healthy nails start with removal done right.