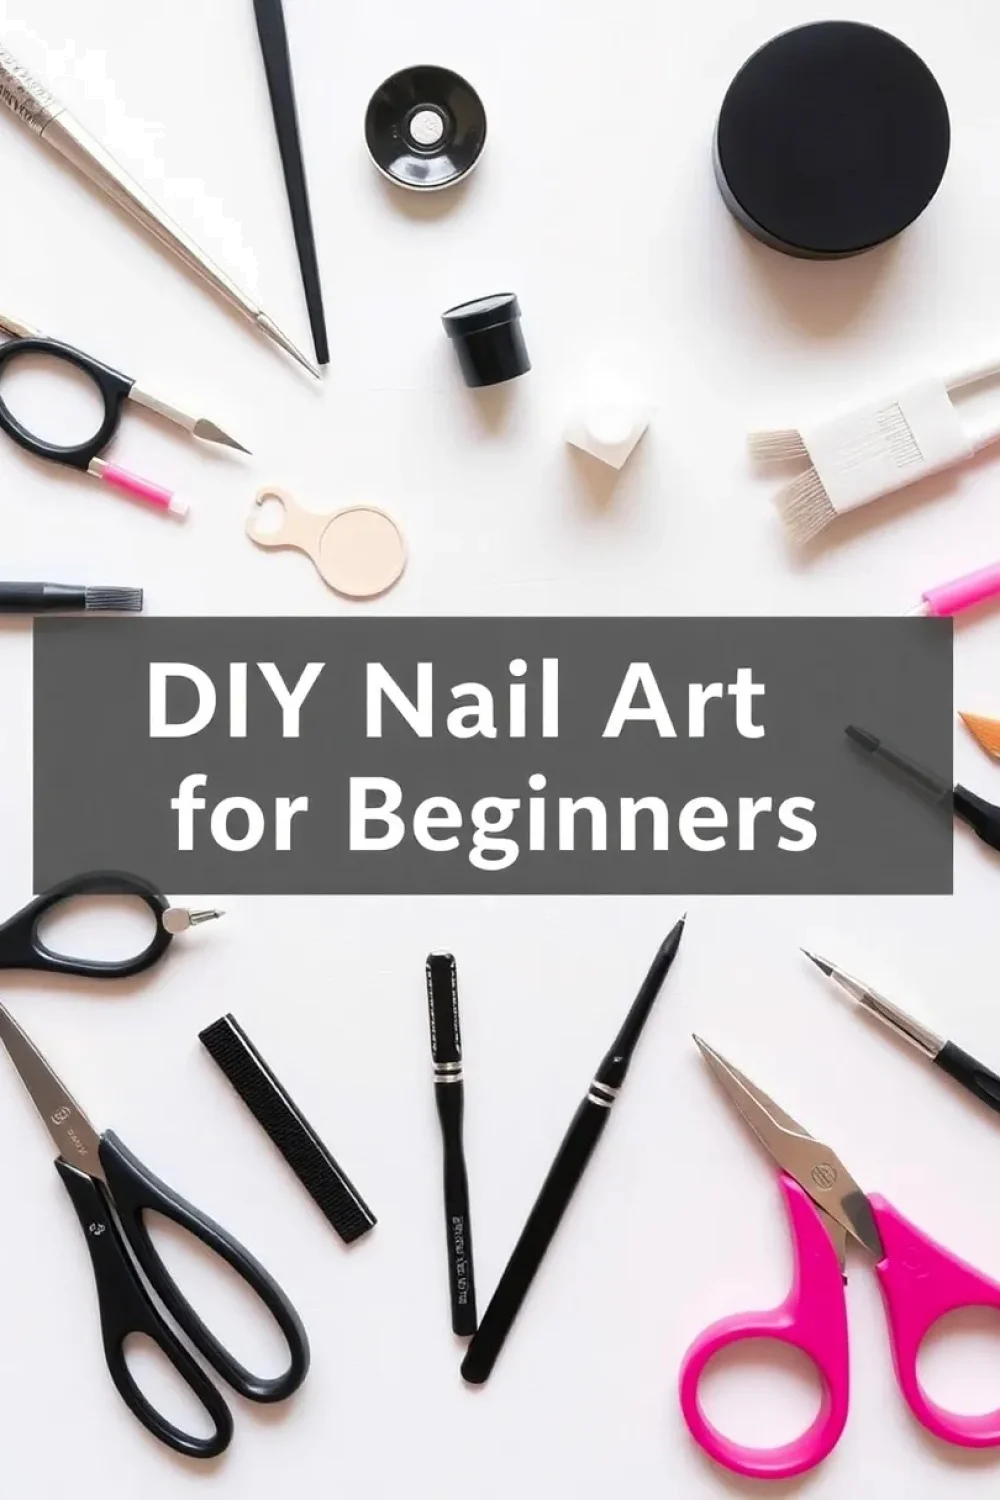
DIY Nail Art for Beginners: Easy Step-by-Step Guide
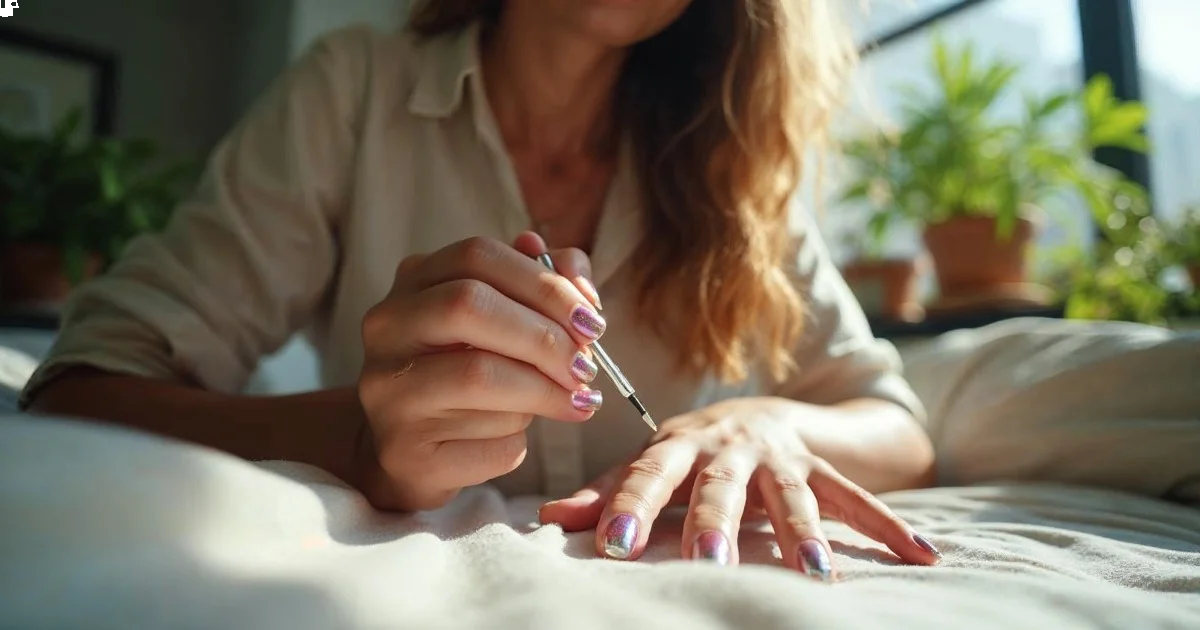
Start DIY nail art with proper nail prep, a $20 tool kit (dotting tools, striping tape, cleanup brush), and simple designs like polka dots or accent nails. Most beginner designs take under 30 minutes.

DIY nail art becomes manageable when you start with proper nail preparation, use basic tools like dotting tools and striping tape, and practice simple designs like polka dots or accent nails. With drugstore polishes and a $20 starter kit, you can create salon-quality manicures that last 5-7 days on natural nails.
- Nail prep (cleaning, filing, base coat) determines whether your design lasts 2 days or 7 days
- Five essential tools cost under $25: dotting tool, striping tape, thin brush, bobby pins, toothpicks
- Start with single-color accent nails before attempting full-hand designs
- Most beginner mistakes happen during drying time - wait 3 minutes between coats minimum
What You Need to Get Started
I spent way too much money on nail art supplies before realizing you need surprisingly few tools to create impressive designs. After testing dozens of products in my own kitchen, here's what actually works for beginners.
Essential Supplies (Under $30 total):
- Base coat: Sally Hansen Hard as Nails ($4)- 3-4 nail polishes in contrasting colors ($12-16)- Fast-dry top coat: Seche Vite or Sally Hansen Insta-Dri ($6)- Dotting tools set ($3 on Amazon)- Striping tape or regular scotch tape ($2)- Thin nail art brush ($3)- Cotton swabs and acetone for cleanup ($3)
Household Items That Work:
- Bobby pins (for dots and lines)- Toothpicks (for marbling)- Scotch tape (instead of striping tape)- Small scissors- Hair tie (to hold back cuticles)
Key Finding: Proper nail preparation, including dehydrating and base coat application, is the most important factor in DIY manicure longevity — American Academy of Dermatology
The biggest mistake I made initially was buying expensive gel systems. Regular polish works perfectly for learning, dries faster than you think, and costs a fraction of gel setups.
Step 1: Master Your Base Preparation
Skipping nail prep is why your first attempts probably chipped within hours. I learned this the hard way after wondering why my designs looked great in photos but fell apart by day two. Key Finding: Applying thin coats of polish, rather than thick ones, significantly improves drying time and reduces bubbling.
p> What to do:
- Remove all old polish completely2. File nails in one direction (never back-and-forth sawing)3. Push back cuticles with a cuticle pusher or orange stick4. Buff nail surface lightly to remove ridges5. Clean nails with rubbing alcohol or acetone to remove oils6. Apply thin base coat, avoiding skin7. Wait 2 full minutes before applying color
Why this matters: Oil residue prevents polish adhesion. Even tiny amounts from your skin create invisible barriers that cause chipping.
Expected result: Your base coat should look completely smooth without bubbles or thick spots near cuticles.
What can go wrong: Rushing the base coat dry time causes color to drag or create bald spots. I still catch myself being impatient here.
Time needed: 8-10 minutes total Cost: $4 for base coat that lasts 3+ months
Step 2: Apply Your Base Color Correctly
Most nail art fails because the base color isn't even or smooth. After ruining countless designs with streaky bases, I developed this foolproof method.
The three-stroke technique:
- Load brush with polish (don't wipe excess on bottle rim)2. Place brush in center of nail, 2mm from cuticle3. Push slightly toward cuticle, then stroke toward tip4. Make second stroke on left side of nail5. Make third stroke on right side6. One final stroke down the center if needed7. Cap the free edge by running brush along nail tip
Critical timing: Wait exactly 3 minutes between coats. Set a timer. I'm serious.
Apply second coat using identical technique.
For nail art, your base needs to be either completely dry (for tape techniques) or slightly tacky (for dotting). Test with a gentle finger tap - if it leaves a print, wait longer.
Common mistake: Loading too much polish creates thick, slow-drying coats that dent easily.
Key Finding: Most nail art techniques work best when base color is applied in thin, even layers rather than trying to achieve opacity in one coat — OPI Professional Blog
What Are the Easiest Designs for First-Timers?
After teaching nail art to friends, I've identified five designs that look impressive but forgive beginner mistakes. Start with these before attempting complex patterns.
Key Finding: Filing nails consistently in a single direction helps to seal the nail edge, preventing chips and splits.
Design 1: Single Accent Nail (Difficulty: 1/10)
Time needed: 15 minutes total
Paint four nails in your main color, one nail in a contrasting shade. That's it. This looks intentional and sophisticated while you practice basic application skills.
My go-to combination: OPI Lincoln Park After Dark (deep purple) with Essie Bikini So Teeny (bright coral) accent.
Why it works: Even if your accent nail isn't perfect, people assume it's supposed to look different.
Design 2: Polka Dots (Difficulty: 3/10)
Time needed: 25 minutes
After base color is completely dry:
- Dip dotting tool (or bobby pin head) into contrasting polish2. Press straight down onto nail - don't twist or drag3. Reload tool for each dot4. Start with corner dots, then fill center space5. Dots don't need to be perfect circles or evenly spaced
Reality check: My first attempt looked like chicken pox. The key insight - embrace imperfection. Slightly irregular dots look more hand-crafted than machine-perfect ones.
Advanced tip: Use three different sized dots (large dotting tool, small dotting tool, toothpick tip) for visual interest.
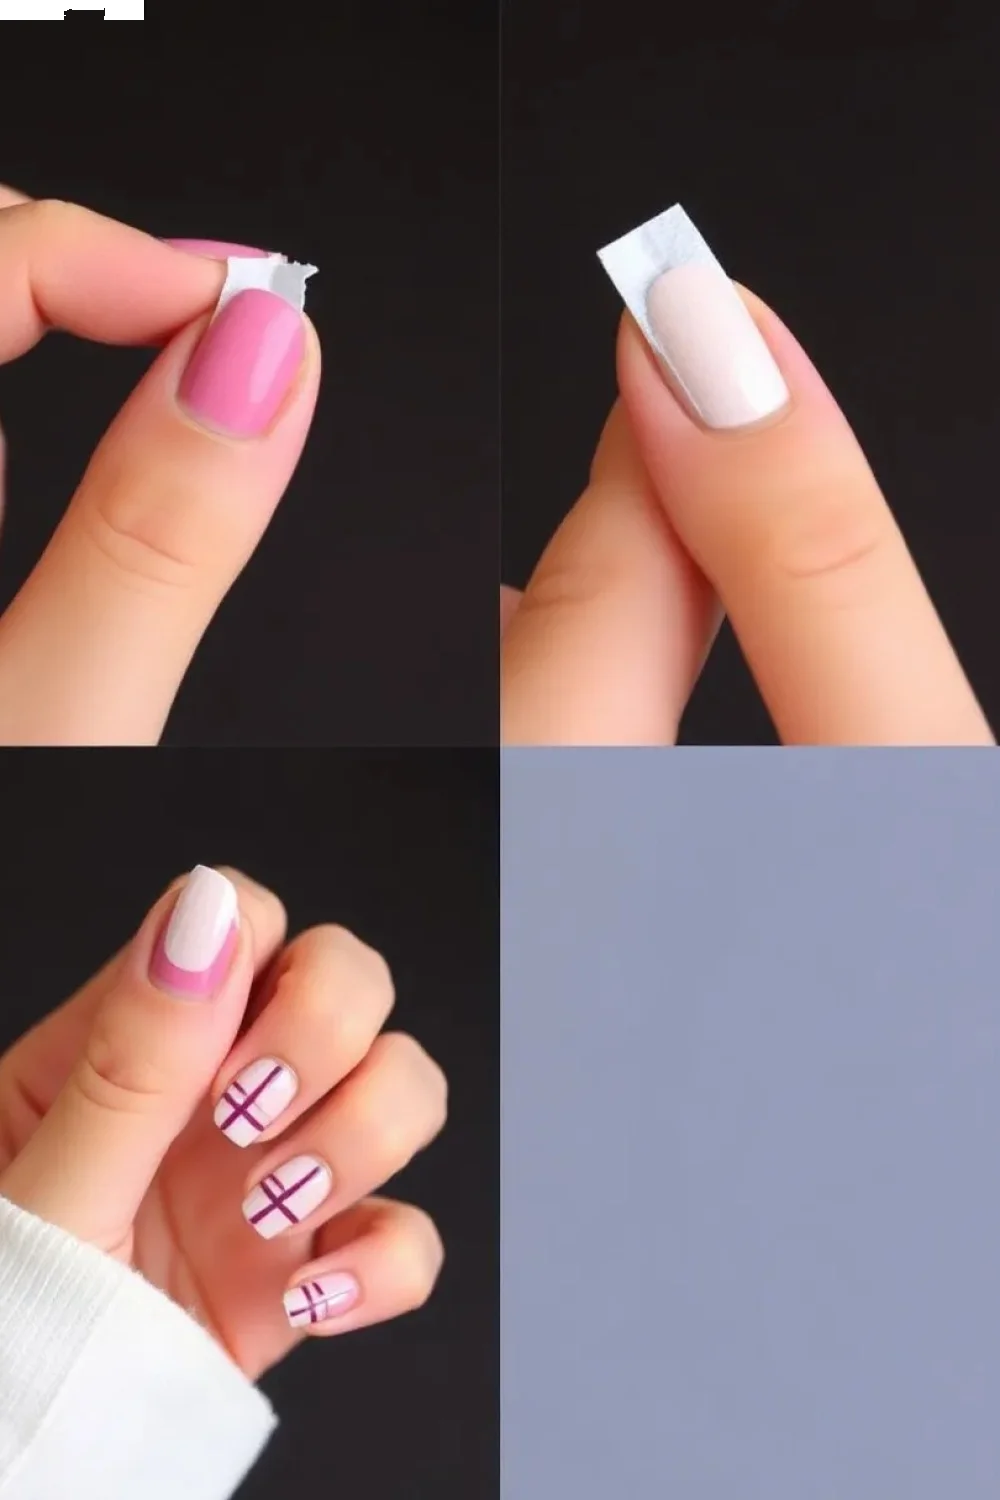
Design 3: Tape Stripes (Difficulty: 4/10)
Time needed: 35 minutes including dry time
- Apply base color, let dry completely (test with gentle tap)2. Apply thin layer of fast-dry top coat, wait 30 seconds3. Place tape strips where you want negative space4. Press tape edges down firmly5. Paint over entire nail with second color6. Remove tape immediately while polish is wet7. Clean up edges with small brush dipped in acetone
The top coat under tape prevents base color from peeling off - learned this after destroying three manicures.
Tape alternatives that work: Regular scotch tape, washi tape, band-aids cut into strips.
Design 4: Half-Moon Manicure (Difficulty: 5/10)
Time needed: 40 minutes
This vintage-inspired look uses hole reinforcement stickers (the kind for ring binders).
- Apply light base color, dry completely2. Place reinforcement stickers at base of each nail, covering half-moon area3. Paint over with darker color4. Remove stickers while polish is still slightly wet5. Apply top coat after everything dries
I buy reinforcement stickers in bulk from office supply stores - they're cheaper than nail-specific guides and work identically.
Design 5: Gradient Sponge Effect (Difficulty: 6/10)
Time needed: 45 minutes
Supplies needed: Makeup sponge, two coordinating polish colors, liquid latex or tape for cleanup
- Apply base color, let dry2. Paint stripes of both colors on makeup sponge3. Dab sponge onto nail, reloading and dabbing until you like the blend4. Clean up skin with acetone and small brush5. Apply top coat
Honest assessment: This gets messy. Use liquid latex around nails or accept that cleanup takes longer than the actual design.
The sponge technique works with any color combination, but I get best results with colors that are 2-3 shades apart rather than completely different hues.
How Long Should Each Step Take to Dry?
Timing killed my first dozen attempts. Here's what I wish someone had told me about drying times:
Base coat: 2 minutes minimum First color coat: 3 minutes Second color coat: 3 minutes Detail work: Work on completely dry base or slightly tacky (depends on technique) Top coat: 5 minutes before touching anything
I use my phone timer religiously. The "feels dry" test (light finger tap) beats guessing every time.
Speed up drying: Sally Hansen Insta-Dri drops actually work. Add one drop per nail after applying color.
Temperature matters: Cold nails dry faster. I sometimes hold my hands near the freezer (weird but effective).
Key Finding: Rushing dry time is the leading cause of smudged DIY nail art, with proper curing time being essential for design longevity — Essie Professional Techniques
What Goes Wrong and How to Fix It?
I've made every possible nail art mistake. Here's how to handle the most common problems:
Problem: Streaky base color Fix: Thin your polish with 2-3 drops of nail thinner (not polish remover). Old polish gets thick and streaky. Prevention: Store polish upright, roll between hands before using.
Problem: Smudged design Fix: If polish is still wet, use a thin brush with acetone to "erase" the mistake and repaint just that section. Prevention: Wait longer between steps. Seriously.
Problem: Bubbles in finish Cause: Shaking polish instead of rolling, applying over tacky base, thick coats Fix: Let dry completely, file off bubble with fine grit file, touch up with thin coat
Problem: Design looks crooked Reality check: Other people won't notice unless it's drastically off. I obsess over tiny imperfections that no one else sees. Fix: Add similar "imperfection" to other nails to make it look intentional
Problem: Polish chips immediately Cause: Skipped base coat, got polish on skin, didn't cap free edge Fix: Remove completely and start over with proper prep
Problem: Can't get thin lines Tool issue: Regular polish brush is too wide. Use striping brush or thin art brush from craft store. Technique: Pull brush toward you rather than pushing away
How Much Does This Actually Cost?
After tracking my spending for six months, here's the real breakdown:
Initial investment: $28 for basic supplies Monthly cost: $8-12 for new polishes Per manicure: About $1.50 in materials Salon comparison: $25-40 for basic nail art
Money-saving discoveries:
- LA Colors polishes ($1 each) work fine for practice- Dollar store dotting tools are identical to $15 sets- Regular scotch tape equals striping tape for most techniques- Sally Hansen base and top coats outperform expensive brands
Worth splurging on:
- Good top coat (Seche Vite is $6 but lasts months)- At least one high-quality black polish for details- Proper nail files (glass or crystal, not cardboard)
I spent $200+ on unnecessary tools before figuring out what actually matters. Start small, add tools as you attempt more complex designs.
Next Steps: Building Your Skills
Once you've mastered these basics, try [DIY spring nail art designs](/diy-spring-nail-art) for seasonal inspiration.
Week 1-2: Practice base application and single accent nails Week 3-4: Add polka dots and simple tape designs Month 2: Try gradients and half-moon manicures Month 3+: Experiment with stamping plates, water marbling, freehand designs
Keep a nail art journal (photos work) to track what techniques and color combinations you like. I wish I'd done this from the start - would have saved money on colors that looked good in bottles but terrible on my skin tone.
The goal isn't perfection. It's creating something you enjoy wearing that costs less than salon visits and fits your schedule. Some of my favorite manicures have tiny imperfections that make them uniquely mine.
- Proper nail preparation significantly extends manicure longevity from two days to seven days.
- Essential tools for impressive nail art designs cost under $25, including dotting tools and striping tape.
- Regular polish works perfectly for beginners and costs less than expensive gel systems.
- Mastering a smooth, even base coat with thin layers is crucial for successful nail art.
- Wait a minimum of three minutes between polish coats to prevent common application mistakes.
Frequently Asked Questions
What Are the Easiest Designs for First-Timers?
After teaching nail art to friends, I've identified five designs that look impressive but forgive beginner mistakes. Start with these before attempting complex patterns.
How Long Should Each Step Take to Dry?
Timing killed my first dozen attempts. Here's what I wish someone had told me about drying times.
What Goes Wrong and How to Fix It?
I've made every possible nail art mistake. Here's how to handle the most common problems.
How Much Does This Actually Cost?
After tracking my spending for six months, here's the real breakdown.