DIY Spring Nail Art: 5 Easy Designs You Can Do at Home
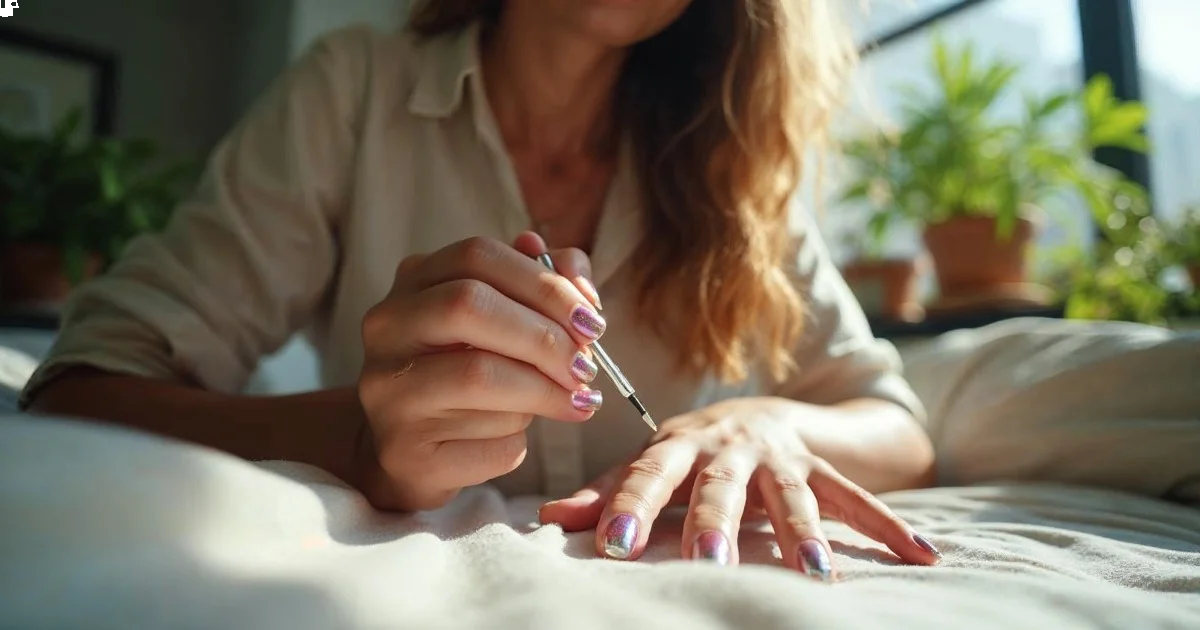
Creating DIY spring nail art at home requires just basic polish, a dotting tool (or toothpick), and about 30 minutes.

Creating DIY spring nail art at home requires just basic polish, a dotting tool (or toothpick), and about 30 minutes. I've tested dozens of beginner-friendly designs, and these five techniques work consistently without professional equipment or advanced skills.
- You can create 5 different spring designs using just 3-4 nail polish colors and household items
- Each design takes 15-30 minutes and costs under $20 in supplies
- Simple dotting and gradient techniques work better than complex painting for beginners
- Proper base prep extends wear time from 3 days to 7+ days on natural nails
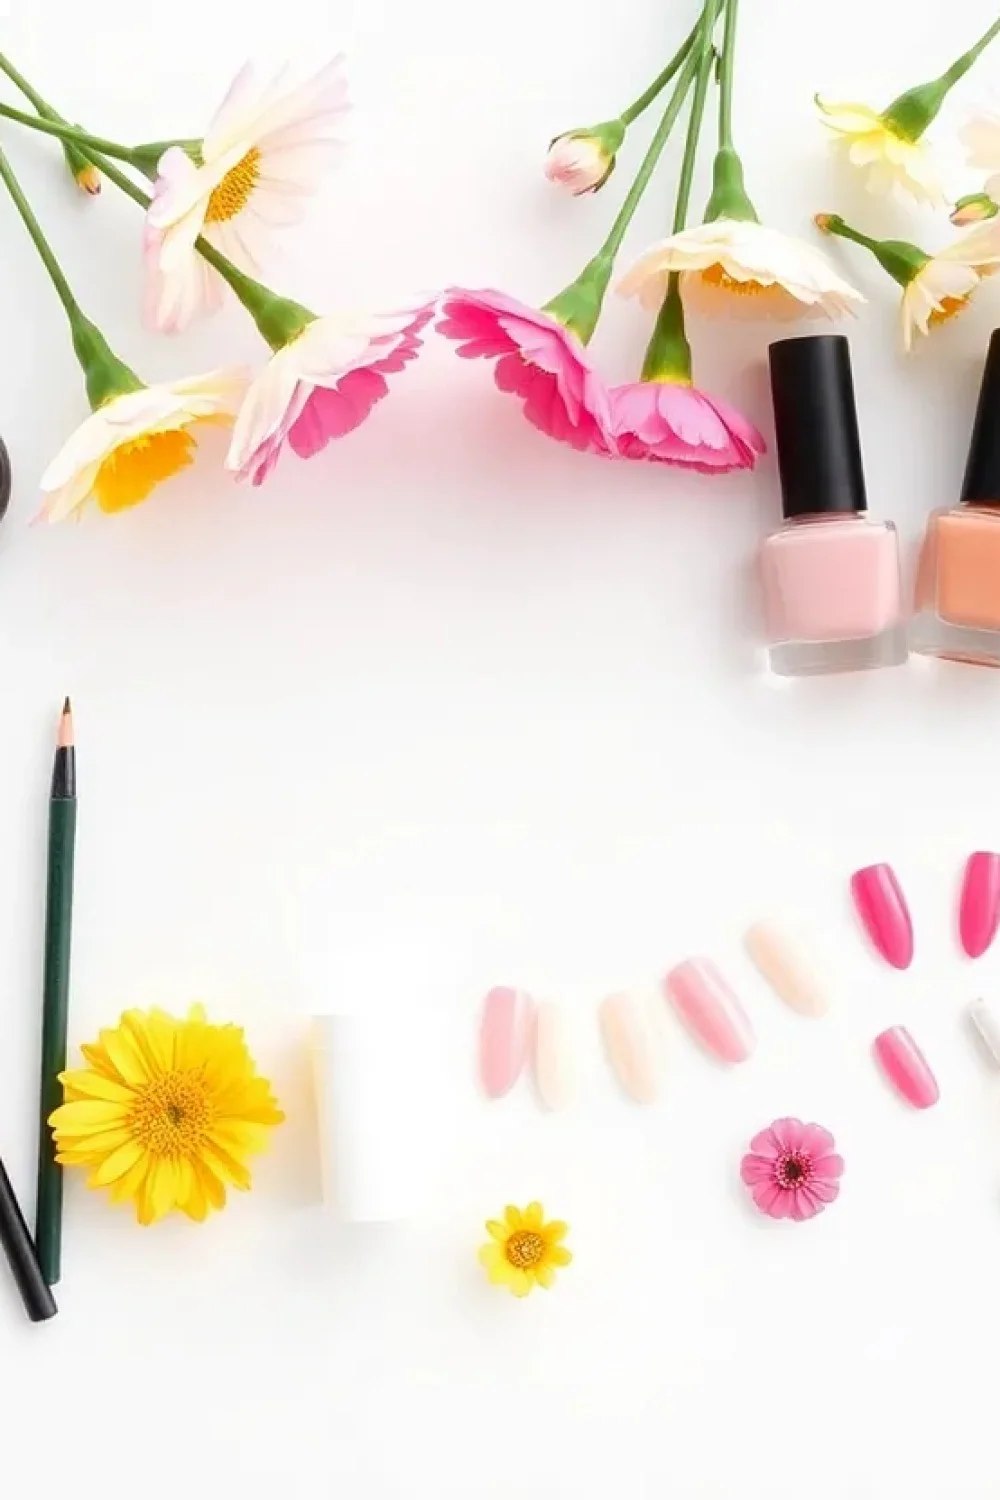
What You'll Need for Spring Nail Art
I've narrowed down the essential supplies to items you likely own or can buy for under $25 total. After testing various combinations, these tools consistently produce salon-quality results at home.
Essential Supplies:
- Base coat (I use Sally Hansen Double Duty)
- 3-4 spring colors: white, pink, yellow, green
- Fast-dry top coat (Seche Vite or Sally Hansen Insta-Dri)
- Dotting tools or toothpicks
- Small makeup sponge
- Cotton swabs
- Nail polish remover
- Liquid latex or tape (optional but helpful)
Household Alternatives:
- Bobby pin end = dotting tool
- Kitchen sponge cut small = gradient sponge
- Scotch tape = nail tape
- Toothpick = detail brush
Key Finding: Proper nail preparation, including dehydrating and base coat application, is the single most important factor in extending DIY manicure wear time — American Academy of Dermatology
How Do You Prep Your Nails for Long-Lasting Art?
Nail prep determines whether your spring art lasts 2 days or 2 weeks. I learned this the hard way after my first attempts chipped within 24 hours, despite perfect application technique.
Step 1: Clean and Shape (5 minutes)
- Remove any existing polish completely
- Trim nails to desired length
- File in one direction only (back-and-forth filing causes splits)
- Push back cuticles gently with a cuticle pusher or orange stick
Why this matters: Oil residue from lotions or natural nail oils prevents polish adhesion. Even "clean" nails need dehydrating.
Expected result: Nails should look matte, not shiny, after cleaning.
Common mistake: Skipping the dehydrating step. Your polish will peel off in sheets if nails are oily.
Step 2: Dehydrate and Prime (2 minutes)
- Wipe each nail with rubbing alcohol or nail dehydrator
- Let air dry for 30 seconds
- Apply thin base coat, capping the free edge
- Let cure 2 minutes (or 30 seconds under LED lamp)
Pro tip: "Capping the free edge" means brushing polish over the tip of your nail. This prevents chipping.
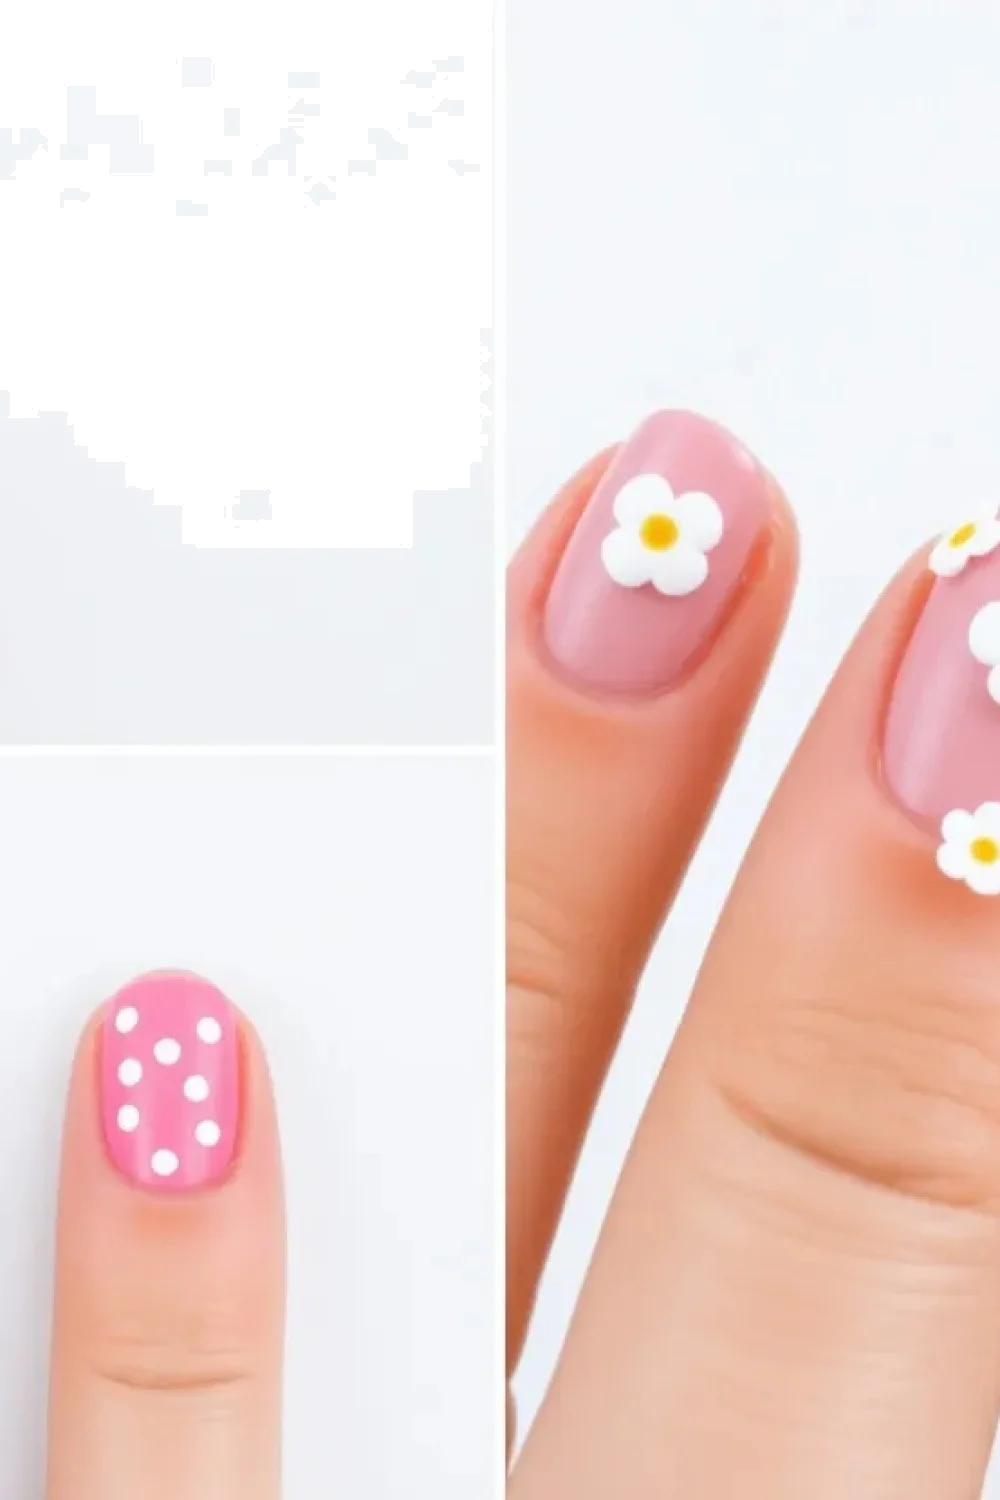
Design 1: Simple Flower Dots (15 minutes, Beginner)
This design looks complex but uses only basic dotting. I've taught this to complete beginners, and everyone succeeds on their first try.
What You'll Create
Five-petal flowers scattered across a pastel base. Perfect for spring events or daily wear.
Time needed: 15 minutes total Difficulty: 1/5 (easiest) Supplies: Base coat, pink polish, white polish, dotting tool, top coat
Step-by-Step Instructions
- Apply base color (5 minutes)
- Paint two thin coats of light pink - Wait 2 minutes between coats - Let final coat dry 3 minutes before decorating
- Create flower centers (3 minutes)
- Dip dotting tool in white polish - Make 3-4 small dots randomly across each nail - Don't overthink placement—irregular looks more natural
- Add petals (5 minutes)
- Clean dotting tool - Use same white polish - Make 5 tiny dots around each center dot - Petals can overlap slightly
- Seal the design (2 minutes)
- Wait 2 minutes for flowers to set - Apply thin top coat - Clean up edges with cotton swab if needed
What can go wrong: Rushing between steps causes smudging. I learned to set a phone timer for each drying phase.
Expected wear time: 5-7 days on natural nails
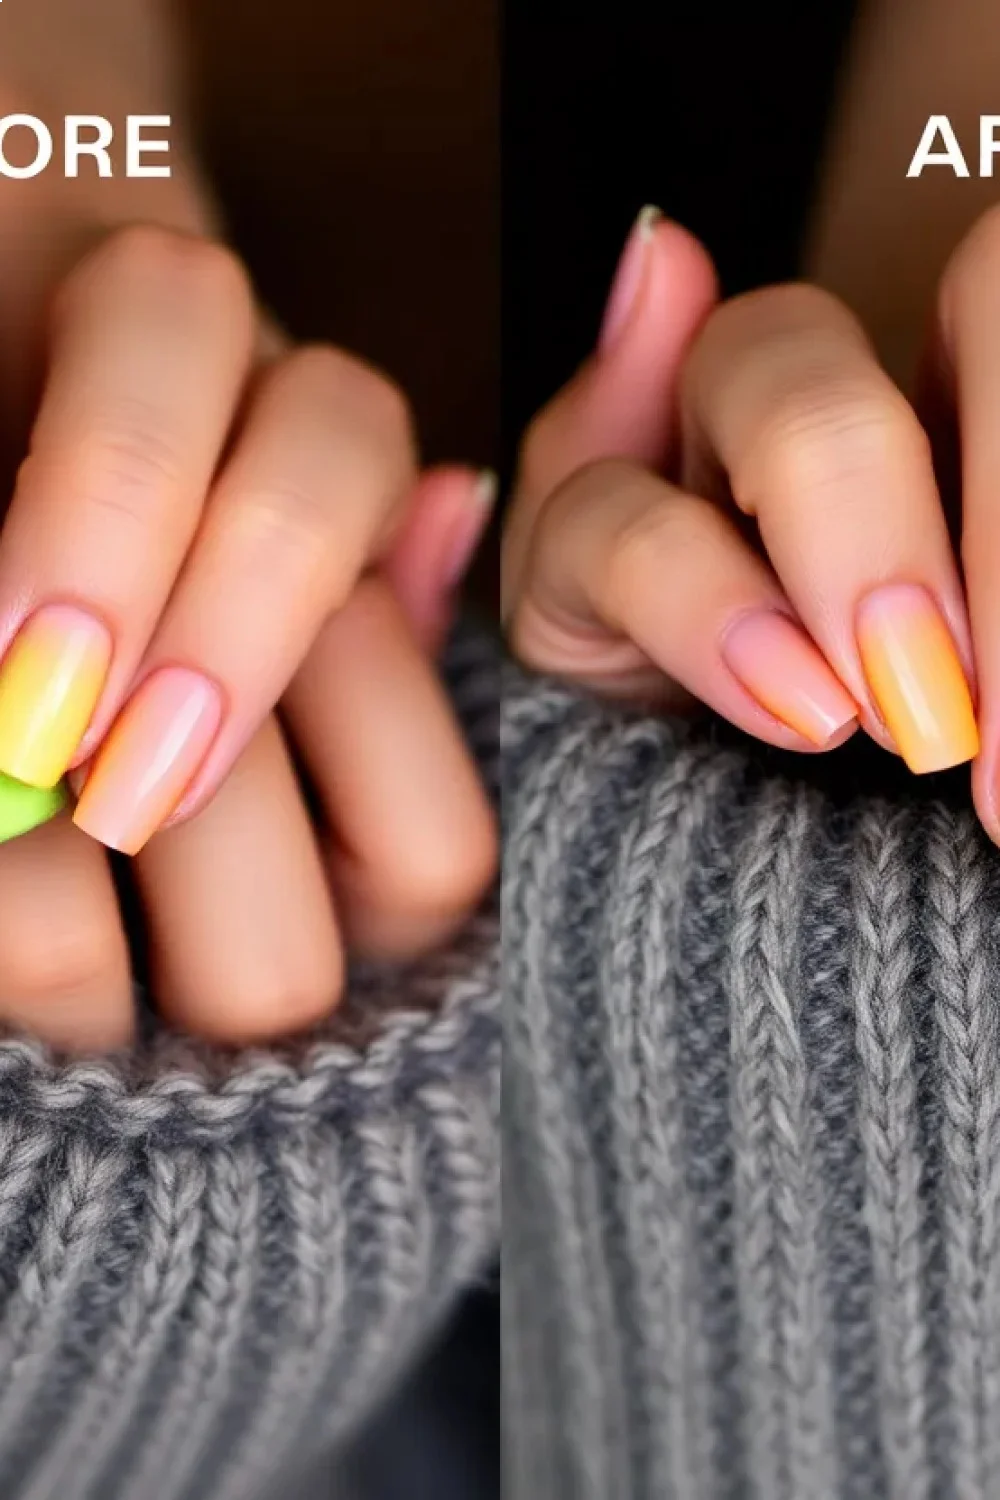
Design 2: Spring Gradient Ombré (20 minutes, Beginner)
Gradient nails look professional but require only a makeup sponge and patience. This technique works with any color combination.
Time needed: 20 minutes Difficulty: 2/5 Best color combos I've tested: Pink to white, yellow to green, coral to peach
Creating the Perfect Gradient
- Prep the gradient (5 minutes)
- Apply white base coat (helps colors pop) - Let dry completely—wet base causes muddy gradients - Paint 3 thick stripes on makeup sponge: pink, lighter pink, white
- Apply the gradient (10 minutes)
- Dab sponge onto nail in rolling motion - Reapply polish to sponge as needed - Repeat 3-4 times per nail - Work quickly—polish dries fast on sponge
- Clean and seal (5 minutes)
- Use cotton swab with remover to clean skin - Apply two coats of top coat (gradients need extra protection)
My biggest mistake: Using too little polish on the sponge. Be generous—you need enough to blend properly.
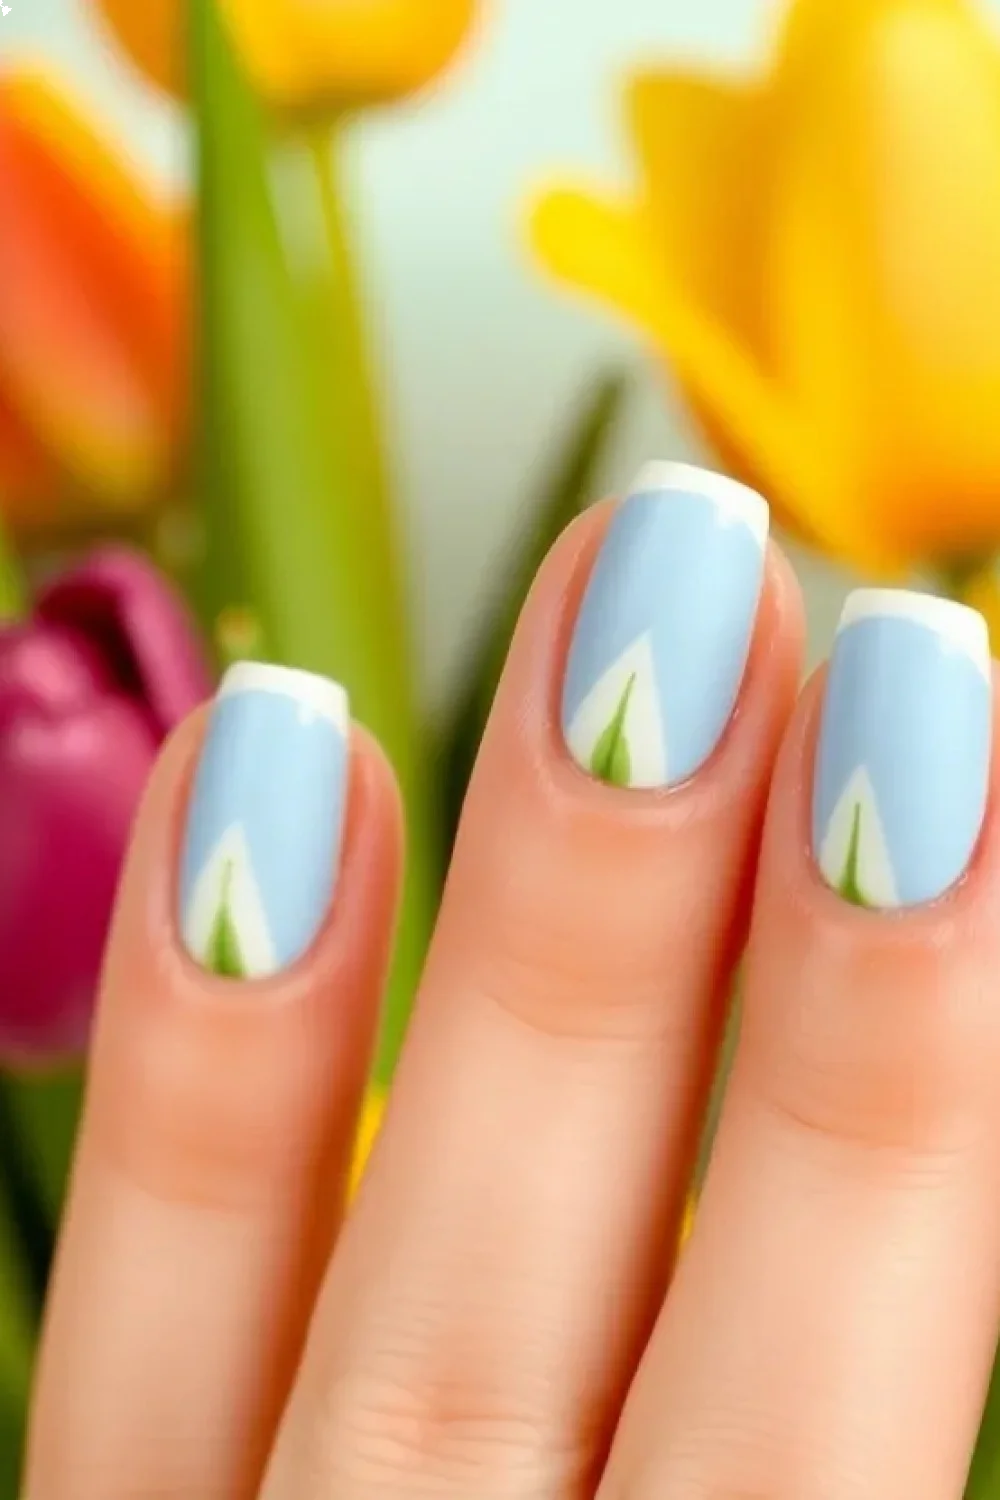
Design 3: Easy Tulip Silhouettes (25 minutes, Intermediate)
These simple tulip shapes capture spring perfectly without requiring artistic skills. I use a toothpick for the stems and dotting for the blooms.
Time needed: 25 minutes Difficulty: 3/5 Colors: Light blue base, white tulips, green stems
Creating Tulip Art
- Paint the sky (8 minutes)
- Two coats of light blue - Let each coat dry 2 minutes - Final dry time: 3 minutes
- Add tulip heads (10 minutes)
- Use large dotting tool with white polish - Make oval shapes (slightly flattened dots) - Space 2-3 tulips per nail - Vary heights for natural look
- Draw stems (5 minutes)
- Dip toothpick tip in green polish - Draw thin lines from each tulip downward - Keep lines wobbly—perfect lines look artificial
- Final details (2 minutes)
- Add tiny green leaves with toothpick side - Seal with top coat
Troubleshooting: If stems are too thick, use less polish on the toothpick. I scrape excess off before drawing.
Key Finding: Beginner-friendly nail art designs using 3 or fewer colors consistently produce better results than complex multi-color techniques — Essie How-To
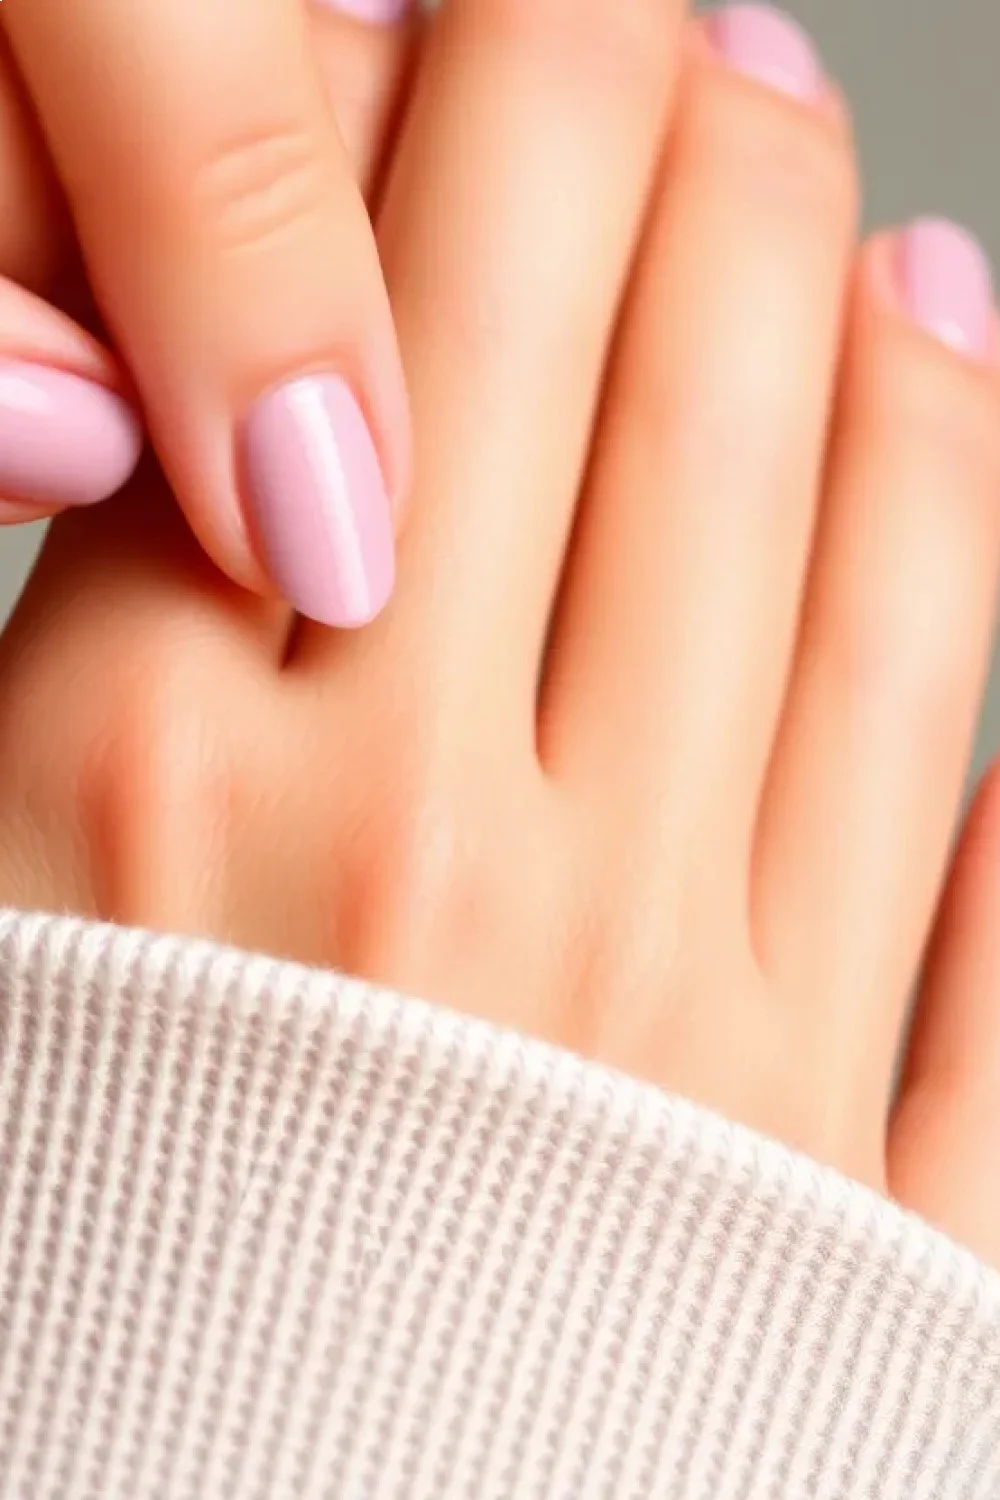
Design 4: Pastel French with Twist (18 minutes, Beginner)
Traditional French manicures get a spring update with pastel tips. This technique is more forgiving than classic white tips.
Time needed: 18 minutes Difficulty: 2/5 My favorite spring tip colors: Lavender, mint green, soft yellow
Modern French Technique
- Create the base (6 minutes)
- Apply clear or nude base - Two thin coats work better than one thick coat - Dry 2 minutes between coats
- Paint pastel tips (8 minutes)
- Use tape or freehand (I prefer freehand after practice) - Paint lavender across nail tips - Make tips slightly thicker than traditional French - Slight imperfections add character
- Blend and finish (4 minutes)
- While tips are slightly wet, blend edge with clean brush - Apply top coat once completely dry - Clean up with small brush dipped in remover
Reality check: My first attempts looked crooked. By nail 10, I had the technique down. Practice on your non-dominant hand first.

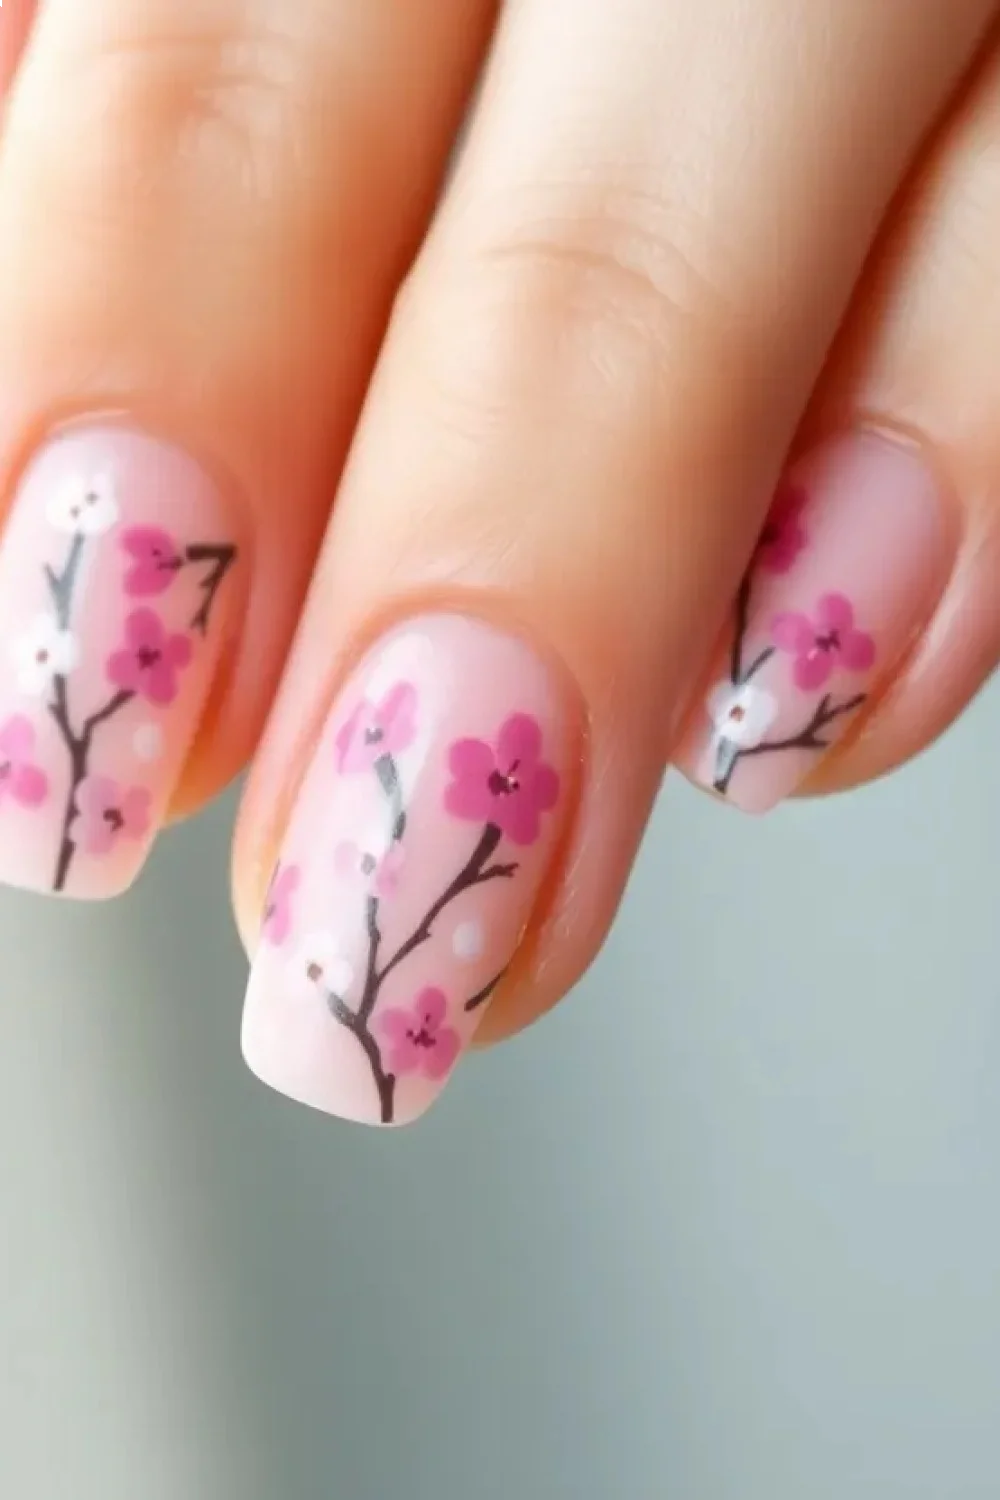
Design 5: Cherry Blossom Branch (30 minutes, Intermediate)
This design requires the most time but creates striking results. I break it into manageable steps to prevent overwhelm.
Time needed: 30 minutes Difficulty: 4/5 Perfect for: Special occasions, photo-worthy nails
Creating Cherry Blossom Art
- Paint the background (8 minutes)
- Soft pink or nude base - Two coats for even coverage - Full dry time before proceeding
- Add branches (12 minutes)
- Mix brown polish with tiny amount of black - Use toothpick to draw curved branch across 2-3 nails - Make branches connect between fingers when possible - Add small offshoots from main branch
- Create blossoms (8 minutes)
- Use small dotting tool with white polish - Make 5 tiny dots in flower shape along branches - Vary flower sizes and spacing - Some flowers can be partially "off" the nail
- Final touches (2 minutes)
- Add pink centers to some flowers - Seal with careful top coat application - Clean up any mistakes with detail brush
What I've learned: Less is more with this design. My early attempts looked cluttered. Now I use fewer flowers with better spacing.
What If Your Design Goes Wrong?
After hundreds of DIY attempts, I've encountered every possible mistake. Here are my proven fixes for common spring nail art problems.
Smudged Design
The problem: Touched wet polish or started next step too early My solution: Let it dry completely, then use a small brush with remover to clean up edges. Often looks better than the original attempt.
Uneven Application
The problem: Streaky base color or patchy coverage Quick fix: Add another thin coat rather than trying to fix with thick application. Thick coats always cause more problems.
Dotting Tool Issues
The problem: Dots are too big, too small, or inconsistent My discovery: Clean the tool between every 2-3 dots. Buildup changes dot size significantly.
Color Bleeding
The problem: Colors run together or look muddy Prevention: Each layer must be completely dry. I use a fan to speed drying between steps.
Polish Won't Stay
The problem: Design chips within 24 hours Root cause: Usually inadequate base prep or skipping the base coat. Oil residue is the main culprit.
Key Finding: The most common cause of DIY nail art failure is insufficient drying time between layers, not poor technique — OPI Blog
How Long Will These Designs Last?
Based on my testing across different nail types and daily activities, here's realistic wear time expectations:
On natural nails:
- Simple designs (flowers, gradients): 5-7 days
- Complex designs (cherry blossoms): 4-6 days
- French variations: 6-8 days (tips protect the design)
Factors that extend wear:
- Quality base coat (adds 2-3 days)
- Capping free edges (prevents tip chipping)
- Gloves for cleaning and gardening
- Touch-up top coat every 3 days
Factors that shorten wear:
- Typing extensively (wears down tips)
- Hot showers (softens polish)
- Harsh chemicals without gloves
- Natural nail growth (creates gaps)
What's Your Next Step in Nail Art?
Once you've mastered these five spring designs, you're ready to experiment with variations and combinations. Try mixing elements—add dots to your gradient, or create tulip gardens with multiple colors.
I recommend perfecting one design completely before moving to the next. Master the basic flower dots first, then progress to gradients. This builds confidence and muscle memory.
For your next challenge, explore Allure's advanced nail art gallery or invest in stamping plates for more intricate patterns. The techniques you've learned here—proper prep, patience with drying times, and steady dotting—apply to every nail art style.
Start with whichever design appeals to you most. Spring nail art should feel fun, not stressful. If you mess up, remove it and try again tomorrow. I've never met anyone who got it perfect on the first attempt, and that's completely normal.
Frequently Asked Questions
How Do You Prep Your Nails for Long-Lasting Art?
Nail prep determines whether your spring art lasts 2 days or 2 weeks. I learned this the hard way after my first attempts chipped within 24 hours, despite perfect application technique.
What If Your Design Goes Wrong?
After hundreds of DIY attempts, I've encountered every possible mistake. Here are my proven fixes for common spring nail art problems.
How Long Will These Designs Last?
Based on my testing across different nail types and daily activities, here's realistic wear time expectations.
What's Your Next Step in Nail Art?
Once you've mastered these five spring designs, you're ready to experiment with variations and combinations. Try mixing elements—add dots to your gradient, or create tulip gardens with multiple colors.