DIY Gradient Nails: Updated 2026 Technique Tutorial
DIY gradient nails create a seamless color fade using makeup sponges and nail polish applied in a dabbing motion.
DIY gradient nails create a seamless color fade using makeup sponges and nail polish applied in a dabbing motion. The updated 2026 technique focuses on peel-off latex for clean edges, color-depositing sponges, and fast-dry top coats that prevent the streaking common in older methods. Average cost: $28 for supplies that last 15+ manicures.
- Peel-off latex around cuticles eliminates 90% of cleanup work
- Dabbing motion (not dragging) prevents streaks in the gradient
- Two to three layers of sponging create smooth color transitions
- Fast-dry top coats like Seche Vite prevent sponge texture from showing
- Proper prep extends wear from 3 days to 7+ days
What Are Gradient Nails and Why Are They Still Trending in 2026?
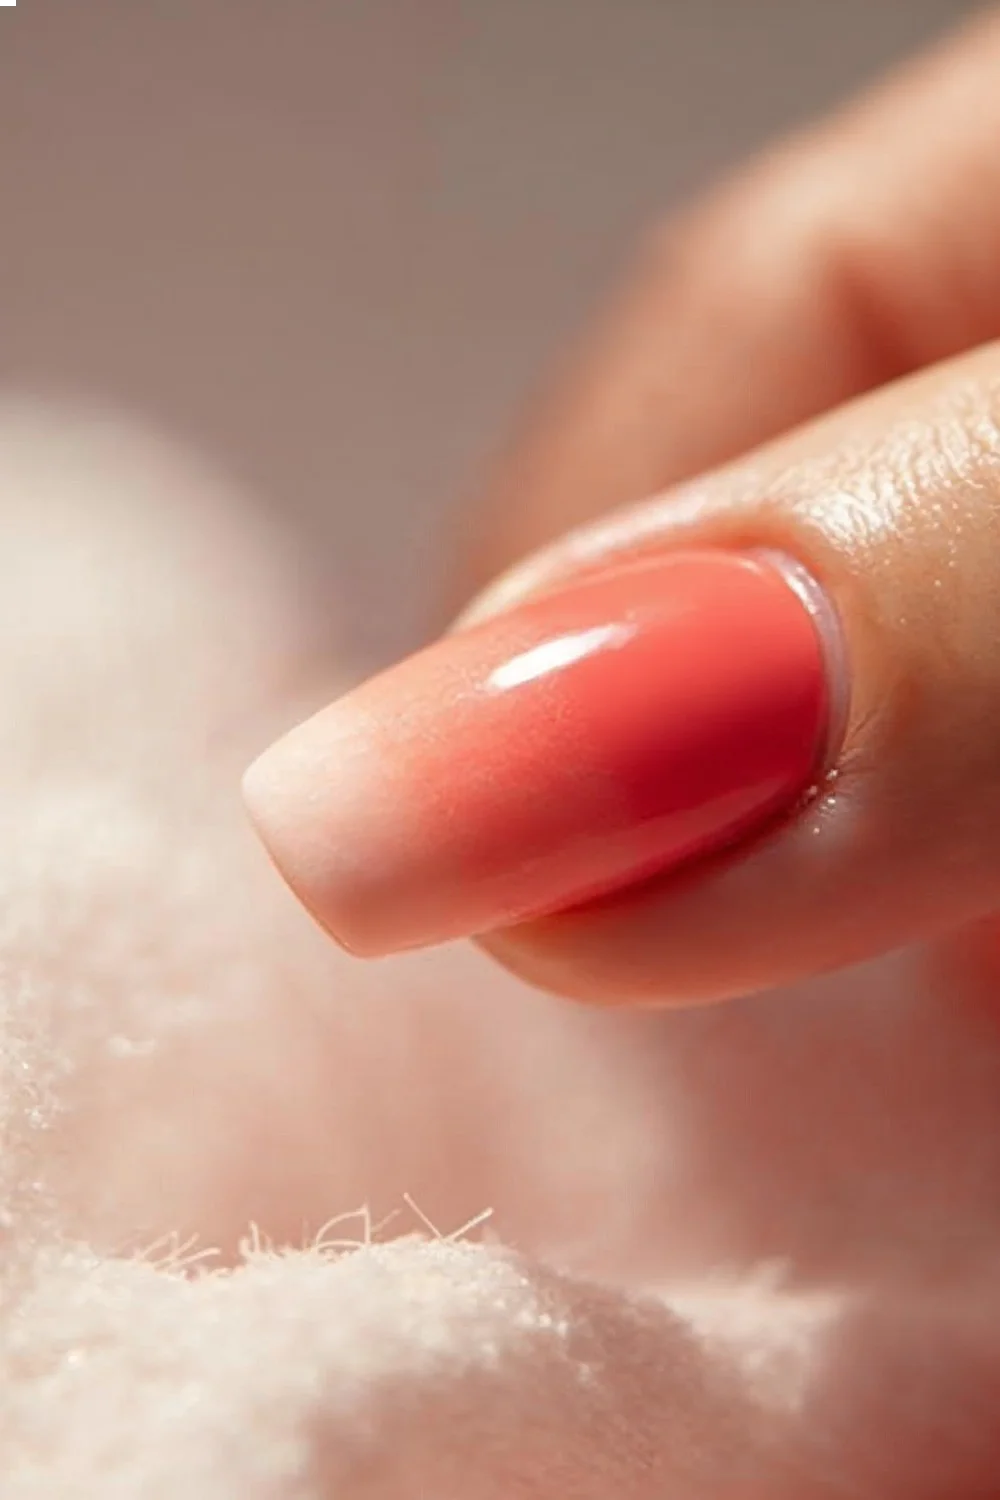
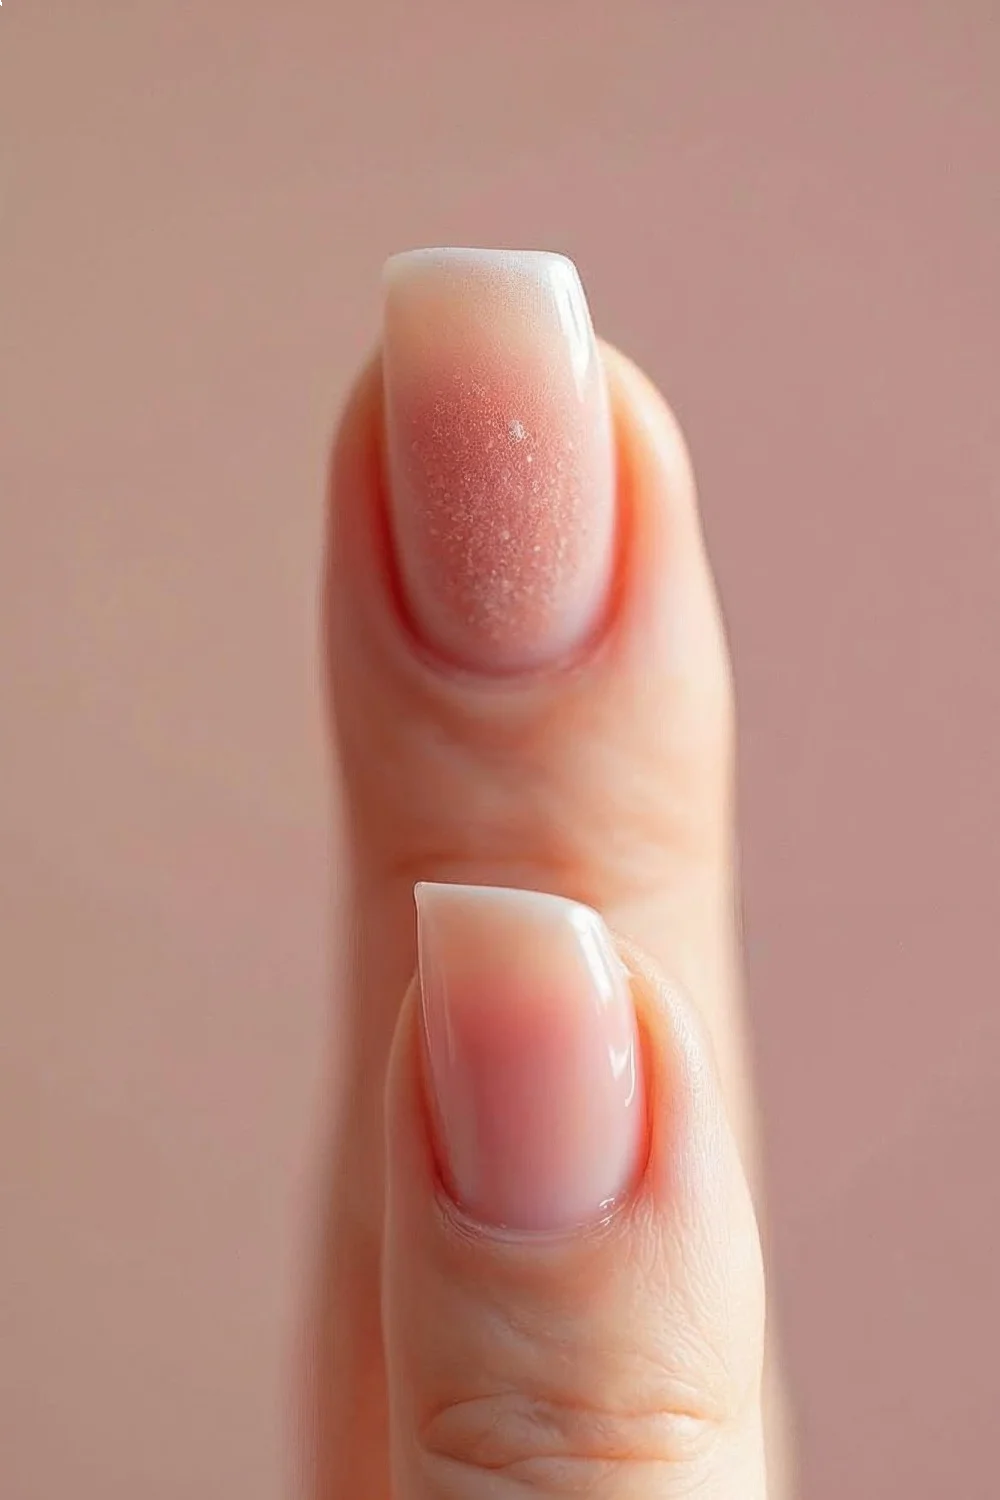
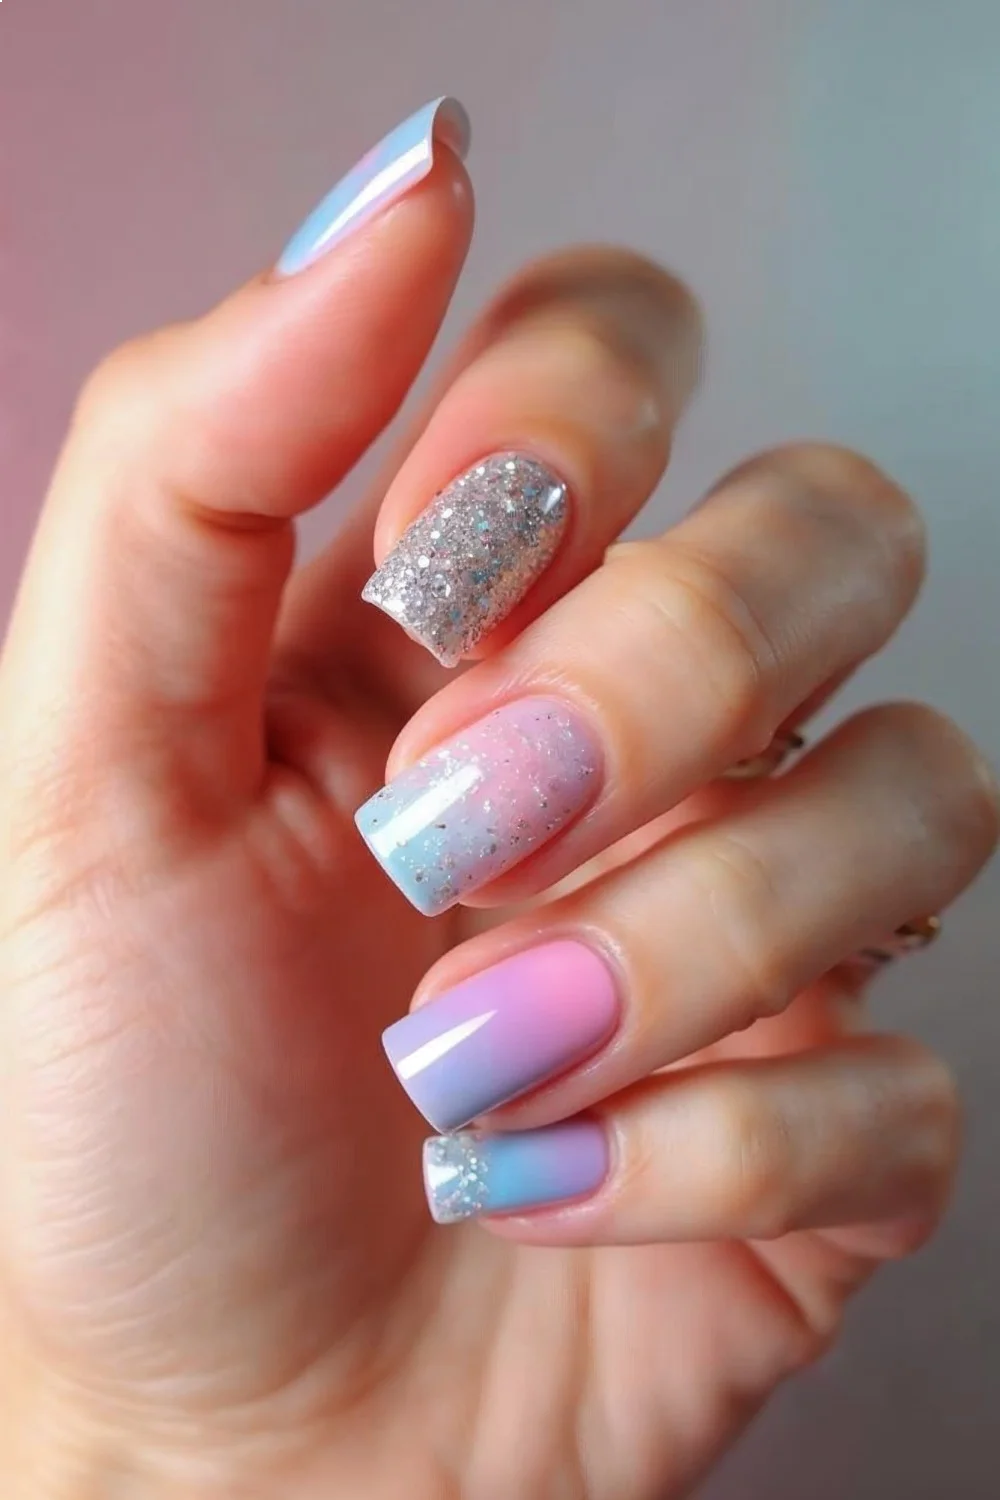
Gradient nails—also called ombre nails—feature a smooth transition between two or more colors, typically running from cuticle to tip. The technique remains popular in 2026 because it's more forgiving than precise nail art like florals or geometric designs, works with any color palette, and looks expensive despite being achievable at home with basic tools.
According to Byrdie's ombre nail guide, the gradient technique has evolved from the heavy-handed blends of the early 2010s to softer, more sophisticated fades that mimic professional airbrush work. The key difference in 2026? Better tools and smarter prep work.
The appeal comes down to versatility. You can create dramatic contrasts with neon-to-black fades, subtle transitions with nude-to-pink pastels, or trendy "aura" nails that blend three colors in a soft halo effect. I've noticed the technique works particularly well on longer nails (coffin or almond shapes) where there's more canvas for the fade, but it's equally striking on short natural nails if you keep the color transition tight.
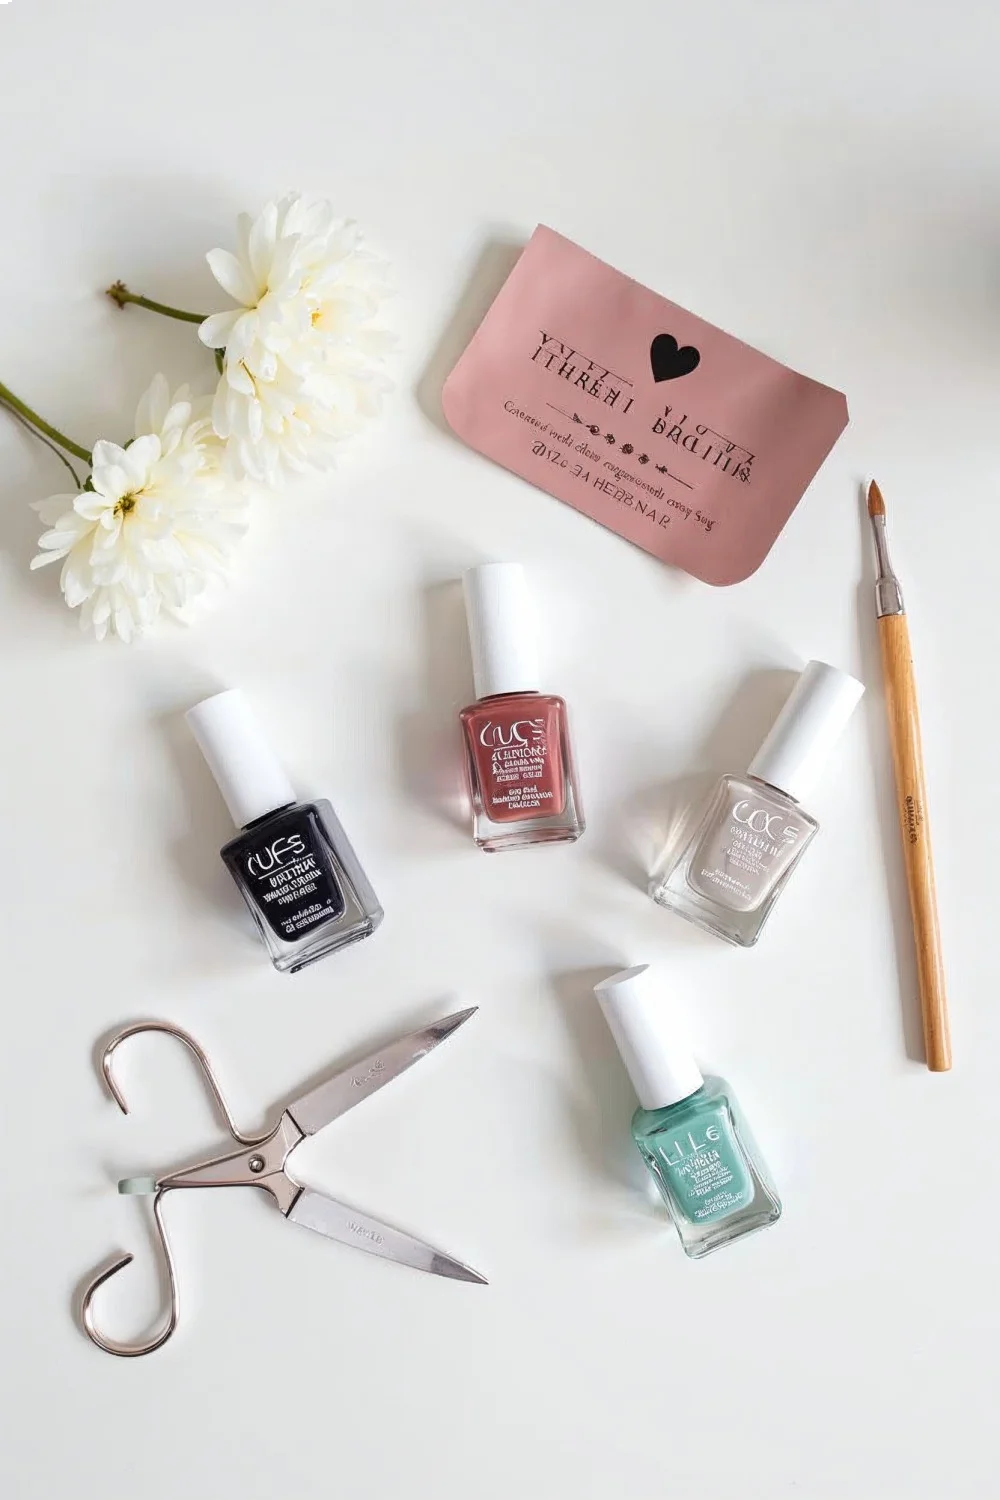
Essential Tools & Products for Your 2026 Gradient Mani Kit
You'll need eight specific items to execute the updated gradient technique: base coat, two or more nail polish colors, makeup sponges, peel-off latex barrier, acetone, cotton swabs, and a fast-dry top coat. Total startup cost runs $26-35 if you're buying everything new, though you likely own half these items already.
Base coat: Any standard base coat works, but I prefer ones with ridge-filling properties like OPI Natural Nail Base Coat ($10.50). The smoother your base, the better the gradient appears.
Nail polish colors: Choose polishes with similar formulas for easier blending. Mixing a cream finish with a jelly finish creates uneven opacity. OPI, Essie, and Sally Hansen Insta-Dri work well because they're pigmented enough to show color but sheer enough to blend. Budget $8-10 per bottle.
Makeup sponges: The dense, fine-pored cosmetic wedges from beauty supply stores ($3 for 24) outperform craft sponges with large holes. I cut each wedge into thirds—you'll use 2-3 pieces per full manicure.
Peel-off latex barrier: This is the 2026 game-changer. Brands like Kiesque Liquid Palisade ($9) or Unt Ready for Takeoff ($8.50) apply like polish around your cuticles and nail edges, then peel away with all the excess polish stuck to it. Cleanup time drops from 10 minutes per hand to under 30 seconds.
Fast-dry top coat: Seche Vite Dry Fast Top Coat ($10) remains the gold standard. The thick formula encapsulates the sponge texture and creates glass-like shine. Applying regular top coat over gradient nails often reactivates the polish and creates drag marks—learned that the hard way on attempt number three.
Acetone and cotton swabs: For detail cleanup and correcting mistakes before sealing.
| Item | Purpose | Cost | Where to Buy |
|---|---|---|---|
| OPI Natural Nail Base Coat | Smooth canvas | $10.50 | Ulta, Sally Beauty |
| Nail polish (2-3 colors) | Gradient colors | $8-10 each | Drugstores, Ulta |
| Cosmetic wedge sponges | Blending tool | $3/24-pack | Sally Beauty, Amazon |
| Kiesque Liquid Palisade | Skin barrier | $9 | Sally Beauty |
| Seche Vite Top Coat | Sealing, shine | $10 | Ulta, Sally Beauty |
Pre-Mani Prep: The Foundation for Flawless Gradient Nails
Proper nail preparation determines whether your gradient lasts three days or ten. Start with clean, dry nails—remove old polish completely, push back cuticles, and lightly buff the nail surface to remove shine. This takes 10-15 minutes but prevents premature lifting.
First, remove any existing polish with acetone. Wash hands with dish soap (not moisturizing hand soap—you want to strip oils). Dry thoroughly. Push cuticles back gently with a wooden orange stick, then trim any dead skin with cuticle nippers. I skip this step sometimes and regret it—polish catches on ragged cuticles and peels within days.
Buff each nail lightly with a 180-grit file or buffing block. You're not trying to thin the nail, just remove the natural oils and create slight texture for polish adhesion. The nail should look matte, not shiny. Wipe with rubbing alcohol on a cotton pad to remove dust and remaining oils.
Shape your nails to your preferred length and style. Gradient nails show best on almond, coffin, or oval shapes because the fade follows the natural nail curve. Square nails work but create a horizontal line effect rather than a soft transition. For more on nail shaping, check out our guide on Coffin Nails vs Stiletto: Shape Guide 2026.
Key Finding: Proper nail preparation, including dehydrating the nail plate and gentle buffing, is essential for polish adhesion and preventing premature lifting — American Academy of Dermatology
Don't moisturize or apply cuticle oil until after your manicure is complete and fully dry. Even tiny amounts of oil create a barrier that prevents polish adhesion. I made this mistake during my first five attempts—couldn't figure out why polish was peeling after one day until I realized I was applying cuticle oil too early in my routine.
Step-by-Step: Mastering the Updated DIY Gradient Nail Technique (2026)
Choosing Your Colors: 2026 Gradient Nail Color Trends
Select two to three colors that blend well together, staying within the same color family for your first attempt. The 2026 color trends favor soft transitions—muted pastels blending into each other, iridescent shimmer gradients, and "aura" effects where three colors meet in the center.
Based on observations from Allure's ombre nail trend coverage, the most popular 2026 palettes include:
Muted pastels: Sage green to lavender, dusty rose to cream, or soft peach to butter yellow. These create subtle, wearable gradients perfect for everyday looks.
Bold neons: Hot pink to electric orange, or lime green to cyan blue. These high-contrast fades make statements but require three to four layers of sponging to achieve smooth transitions.
Iridescent shifts: Any base color topped with an iridescent or color-shifting topper like ILNP's Ultra Chrome Flakies. The gradient comes from the multichrome pigments rather than multiple polish colors.
"Aura" nails: A 2026 variation where three colors (usually white or nude in the center, transitioning to two different colors at cuticle and tip) create a glowing halo effect.
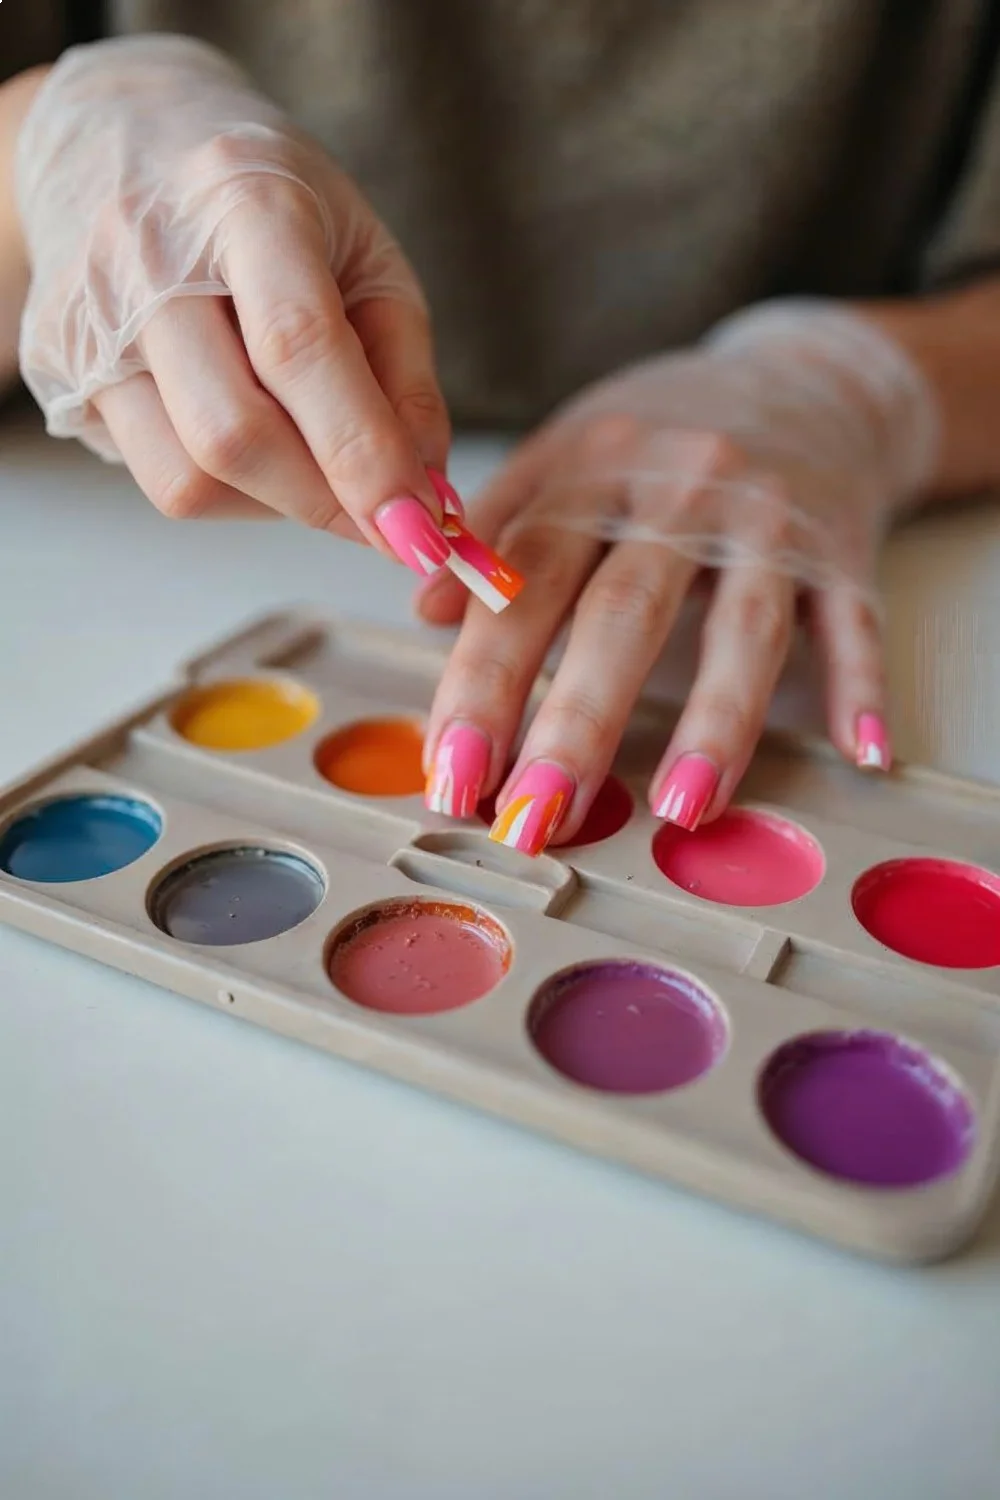
Test your color combination on paper first. Paint stripes of each color next to each other—if the middle where they touch looks muddy or brown, choose different shades. Colors with similar undertones (both cool-toned or both warm-toned) blend more smoothly.
For your first gradient, I recommend staying within a single color family: light pink to hot pink, or white to lavender. Once you nail the technique, experiment with contrasting colors. Our Spring Gel Nail Colors 2026: Best Shades + Application Tips guide has more palette inspiration.
Base Coat Application: Your Canvas
Apply one thin coat of base coat to each nail and let dry completely—wait 2-3 minutes. The base coat creates a smooth surface and prevents staining, especially important with highly pigmented polishes like neons or dark colors.
Use three strokes per nail: one down the center, one on each side. Keep the brush slightly flattened and avoid over-applying. Thick base coat takes longer to dry and can cause wrinkling when you apply the gradient colors on top.
Wait until the base coat is completely dry to the touch. Test by gently tapping your thumbnail against your index nail—if it makes a clicking sound, it's dry. If it feels tacky or makes a soft sound, wait another minute. Applying peel-off latex over wet base coat will pull it off when you remove the barrier later.
Protecting Your Skin: The Peel-Off Latex Advantage
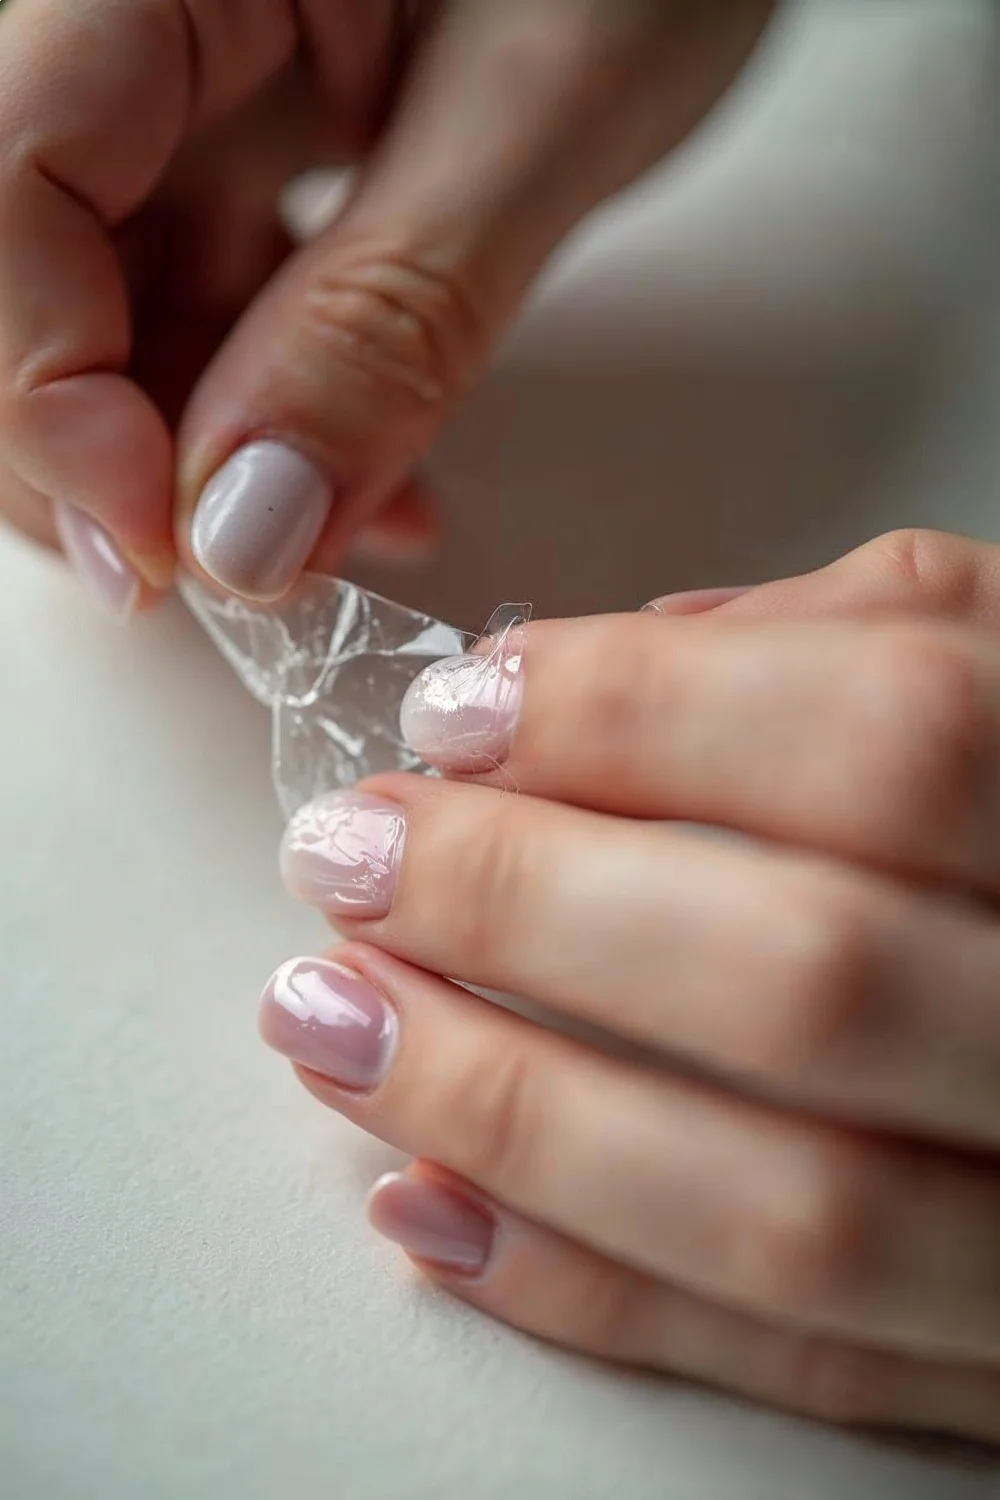
Apply peel-off latex barrier around each nail, covering the skin and cuticle area but not the nail plate itself. This step takes 5 minutes for both hands but saves 15 minutes of cleanup later—absolutely worth it.
Use the brush applicator to paint the latex around your nail edges, extending about 2-3mm onto the skin. Create a thick enough layer that it will peel off in one piece—thin applications crack and require tweezers to remove. I paint a U-shape around the cuticle and down both sides of each nail.
Let the latex dry until it turns from white to clear, usually 60-90 seconds per hand. You'll feel it tighten slightly on your skin. Test one finger by gently lifting an edge with your nail—if it peels up easily, it's ready.
Skipping this step means spending 10+ minutes with acetone and cotton swabs removing gradient polish from your skin. I've done gradient nails both ways, and I won't skip the latex barrier again. It's the single biggest time-saver in the updated 2026 technique.
The Sponge Method: Perfecting the Blend
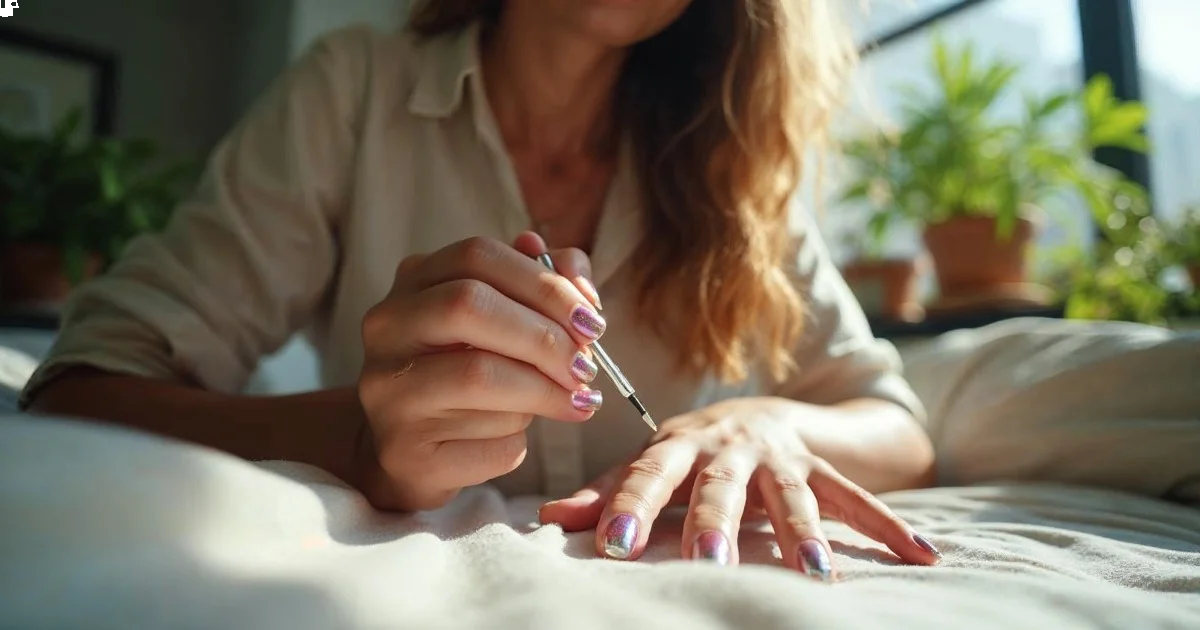
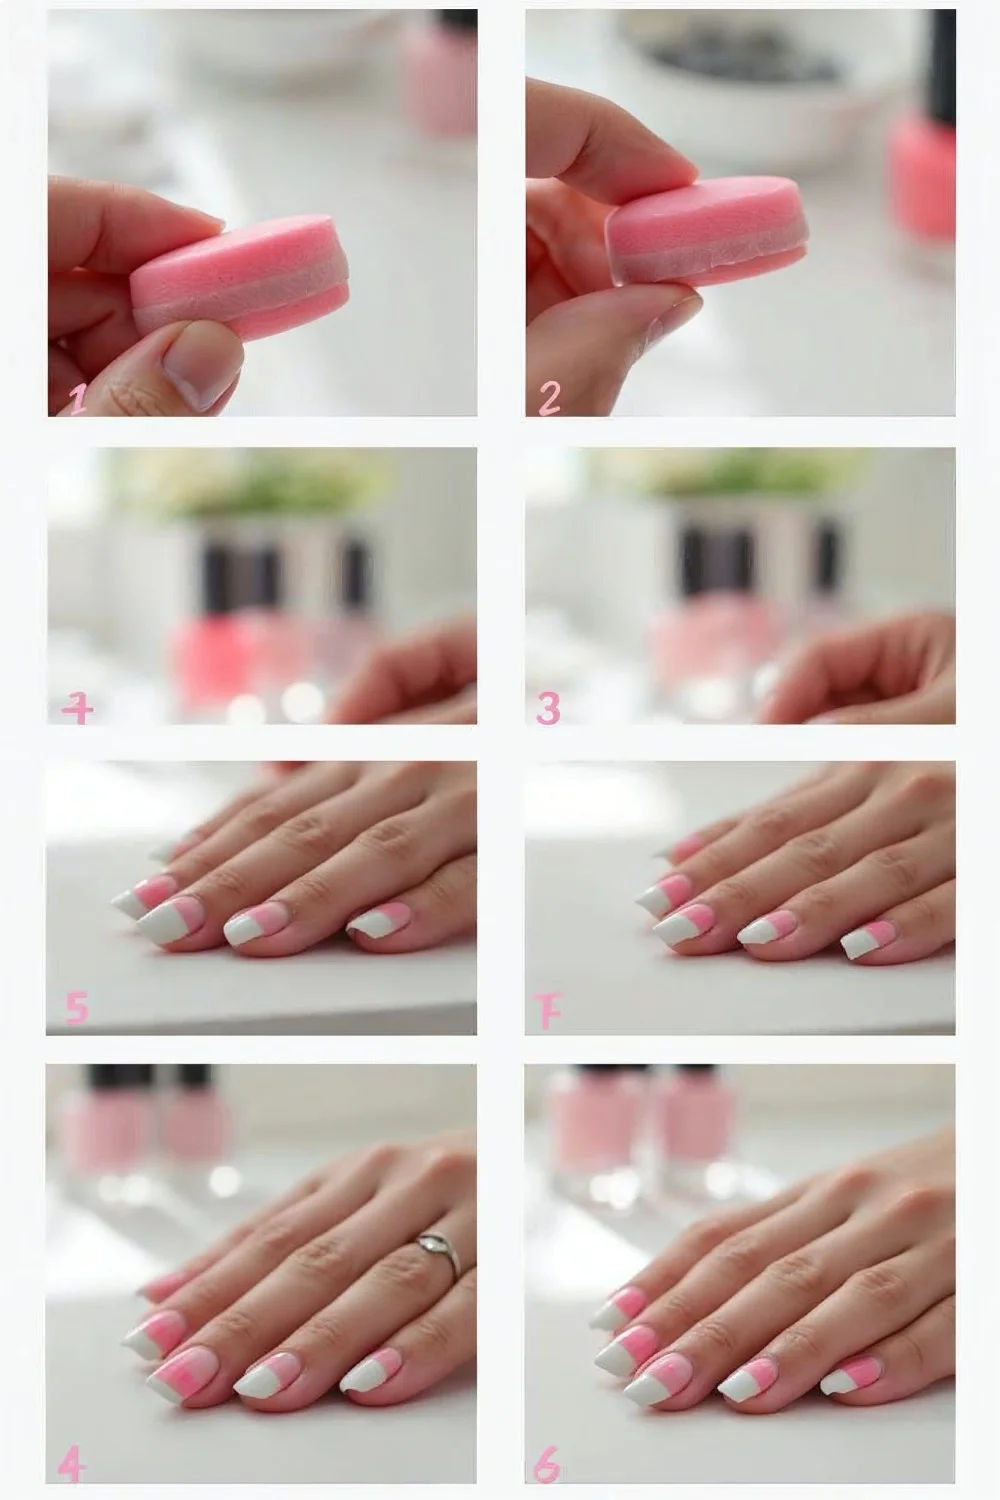
Paint stripes of your chosen colors directly onto a makeup sponge wedge, slightly overlapping where they meet. Dab the sponge onto your nail using a bouncing motion—never drag or swipe. This creates the smooth fade that defines gradient nails.
Cut your makeup sponge into workable pieces about 1 inch wide. On a plastic surface (I use a plastic palette from the dollar store, but a ziplock bag works), paint vertical stripes of your two colors, creating about a 2-3mm overlap zone in the middle. The overlap is where the blend happens.
Press the sponge gently onto your first nail, rocking it slightly to transfer the color. The motion is straight up and down—lift, press, lift, press—in the same spot 3-4 times. This deposits color without moving the gradient around.
The first layer will look sheer and patchy. That's expected. Reload your sponge with fresh polish stripes and repeat on the same nail. The second pass builds opacity. Most gradients need 2-3 layers to achieve the smooth, saturated look you're seeing in photos.
Between layers, let the polish dry for 60-90 seconds. If you sponge over wet polish, you'll lift the color rather than adding to it. I learned this after creating several bald patches in my gradient—patience is essential here.
For multi-color gradients (three or more shades), use the same technique but paint thinner stripes with overlaps between each color. The sponge will do the blending work. Aura nails require painting colors at different angles—typically the lightest color in the center with two darker shades angled toward cuticle and tip.
Key Finding: The dabbing technique with makeup sponges creates smoother color transitions than brush application because the porous texture naturally diffuses pigment — OPI Professional Nail Education
Common issue: If your sponge has large pores, the gradient will look textured or dotted. Switch to fine-pored cosmetic wedges. If polish soaks into the sponge too quickly, lightly dampen the sponge with water first, squeeze out excess, then apply polish. The moisture creates a barrier so polish sits on the surface.
Sealing the Deal: Top Coat for Shine and Longevity
Once your gradient is fully dry (wait 3-5 minutes), apply one thick coat of fast-dry top coat. Use a generous amount and cap the free edge by swiping the brush under your nail tip. This seals the gradient, adds shine, and smooths out any sponge texture.
Seche Vite remains my top recommendation because the formula is thick enough to fill in the slight texture from sponging. Apply one smooth stroke down the center of each nail, then one stroke on each side. Avoid going back over areas—this can drag the underlying gradient and create bare spots.
Cap the free edge by gently running the brush along the underside of your nail tip. This seals the polish and prevents tip wear, the most common cause of early chipping. Every manicure that lasted less than four days for me was because I skipped this step.
Wait 60 seconds, then carefully peel off the latex barrier. Start at one corner and pull slowly—the excess gradient polish comes off with it, leaving clean skin. Use a cotton swab dipped in acetone for any remaining polish on your skin, but you should have minimal cleanup if the latex was applied correctly.
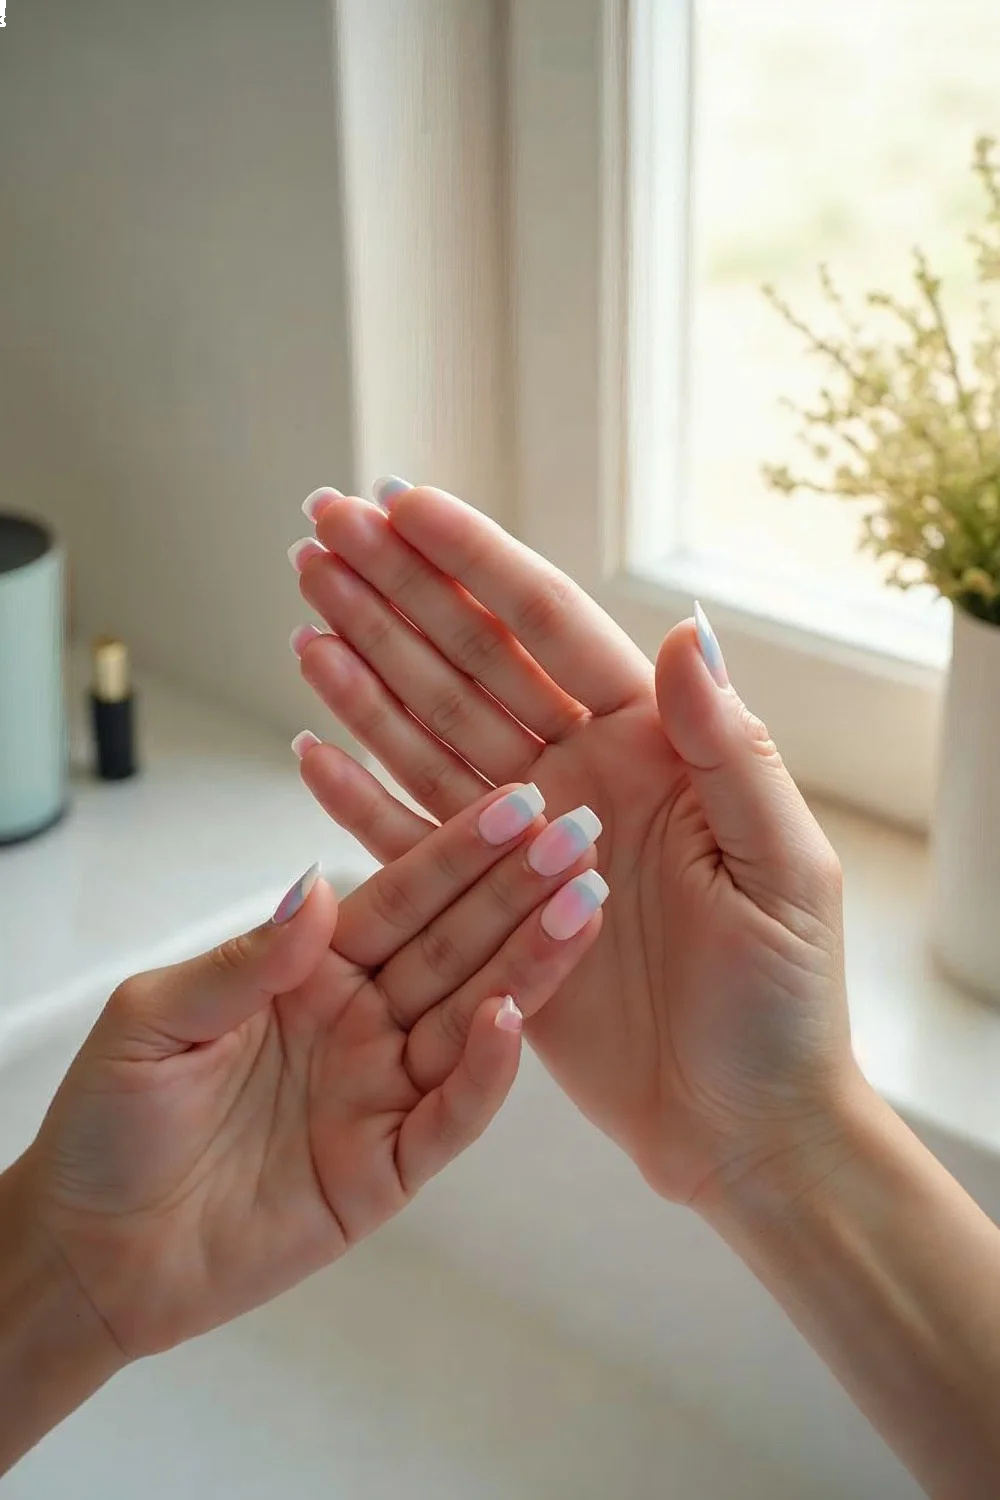
Let your nails dry completely before doing anything with your hands. Seche Vite feels dry to the touch in 3-4 minutes, but it's not fully cured. I wait 10 minutes before handling anything. After my first gradient attempt, I touched a surface after 5 minutes and got a fingerprint in the polish—had to start over.
Troubleshooting Common Gradient Nail Challenges
How to Fix Streaks and Uneven Blends
Streaks appear when you drag the sponge instead of dabbing, or when your polish is too thick. Fix streaky gradients by adding one more thin layer with a lightly loaded sponge, focusing on the streak area. Dab gently without applying pressure.
If your entire gradient looks streaky after two layers, your polish is likely too thick or fast-drying. Try adding one drop of nail polish thinner (not polish remover) to each bottle and mixing thoroughly. Sally Hansen Nail Polish Thinner ($4.50) restores proper consistency without affecting formula.
Uneven blends—where you can see a distinct line between colors—mean you need more overlap on your sponge. When painting stripes on your palette, let the colors overlap by 3-4mm rather than meeting edge-to-edge. The sponge will blend that overlap zone naturally.
Another fix: After your second layer of gradient, take a clean piece of sponge, lightly dab it in the lighter color, and gently tap it over the harsh line. This softens the transition without starting over.
Tackling Messy Cuticles After Sponging
If you skipped the peel-off latex (don't—seriously, don't), cleanup requires acetone and cotton swabs. Dip a precision cotton swab in acetone and carefully trace around your nail edge, removing excess polish. This takes about 90 seconds per nail if you're careful.
Use a pointed cotton swab or wrap cotton around an orange stick for detailed cleanup. Regular cotton swabs are too thick to clean tight corners. I keep a pack of precision swabs (like Ecotools Precision Swabs, $4) specifically for nail cleanup.
A small angled brush dipped in acetone gives even more control. Paint the acetone right along your cuticle line—the brush edge acts like an eraser. Be patient and work slowly. Rushing leaves polish smudges that become obvious once your hands are dry.
For cleanup around the nail edges, press the acetone-soaked swab flat against your skin and pull outward, away from the nail. This drags excess polish away rather than smearing it around.
Preventing Bubbles and Air Pockets
Bubbles form when you shake polish bottles or apply polish over wet base coat. Prevent bubbles by rolling polish bottles between your palms to mix rather than shaking, and ensuring each layer is completely dry before adding the next.
If you see bubbles in your gradient after sponging, let that layer dry completely (2-3 minutes), then lightly buff the surface with a 220-grit buffing block to smooth it down. Wipe with acetone, then apply one more thin gradient layer. The bubbles shouldn't show through.
Air pockets—gaps in color coverage—happen when your sponge is too wet or when polish soaks into the sponge instead of transferring to your nail. Pat your sponge on paper towel after dampening it. It should feel barely damp, not wet.
Applying polish in a humid environment (bathroom after a shower) can cause both bubbles and slow drying. Do your gradient nails in a well-ventilated room with moderate humidity. I avoid doing nail art on rainy days after ruining three manicures with mysterious bubbles before connecting the dots.
Advanced Gradient Nail Variations for 2026
Vertical Gradients: A Fresh Take on Ombre
Vertical gradients run side-to-side across your nail rather than cuticle-to-tip. The technique is identical—paint vertical stripes on your sponge instead of horizontal ones, then dab. This creates an unexpected twist on the classic gradient look.
I find vertical gradients work best on wider nails (thumb, ring finger) where you have enough surface area for the fade. On narrow nails, the transition happens too quickly and looks more like a French tip than a gradient.
Try a vertical gradient on accent nails while keeping the rest of your manicure solid. For example, four nails in coral, one accent nail with a coral-to-gold vertical gradient. This adds interest without overwhelming the overall look.
Glitter & Shimmer Gradients: Adding Sparkle
Glitter gradients use a solid color base with glitter polish concentrated at the tips, fading toward the cuticle. Apply your base color fully, let dry, then sponge glitter polish only on the top half of your nail. The second pass covers just the top third. The third pass, if needed, touches only the very tip.
This technique works beautifully with Spring Gel Nail Designs: The Complete Guide to Long-Lasting Pastel Nails for weddings or formal events. OPI's "Pirouette My Whistle" over a nude base creates an elegant glitter fade.
For full shimmer gradients, choose two shimmer polishes with similar base colors but different shimmer colors. Example: a pink shimmer with gold reflects transitioning into a pink shimmer with silver reflects. The base color gradient is subtle, but the shimmer shift creates dimension.
Multi-Color Gradients: Beyond Two Shades
Three-color gradients require more planning but create stunning rainbow effects. Paint three narrow stripes on your sponge with small overlap zones between each. You'll need 3-4 layers to build opacity since each color covers less surface area.
Start with analogous colors (next to each other on the color wheel): yellow, orange, red. This ensures the overlap zones blend into harmonious intermediary colors. Complementary colors (opposite on the wheel) like purple and yellow create muddy brown where they meet—less appealing.
Aura nails are technically multi-color gradients where three colors radiate from a central point. Paint white or nude in the center of your sponge, with two different colors at each end. Angle the sponge when dabbing so the colors fan out in a halo shape. This takes practice—my first three attempts looked like tie-dye instead of a soft aura.
For more creative approaches to multi-color nail art, see our guide on 12 Creative Nail Art Ideas That Actually Work at Home.
Gel Polish Gradients: For Longer-Lasting Looks
Gel polish gradients use the same sponge technique but require curing under LED or UV light between layers. The advantage? Your gradient lasts 2-3 weeks instead of 5-7 days. The disadvantage? Each layer requires a 30-60 second cure, extending the process from 20 minutes to 40+ minutes.
Apply gel base coat and cure. Paint your gel polish stripes on a plastic palette (not the sponge—gel polish is too thick to absorb into sponge properly). Dab the sponge into the gel, then transfer to your nail using the same bouncing motion. Cure for 60 seconds under LED or 120 seconds under UV.
Repeat the sponging and curing 2-3 times to build opacity. Finish with gel top coat and cure. Don't forget to wipe away the sticky inhibition layer with alcohol afterward.
The challenge with gel gradients: the polish doesn't dry between layers like regular polish does, so each uncured layer can drag or smear. Work quickly and cure immediately after each application. I also find gel polishes don't blend as seamlessly on the sponge—the thicker formula creates more distinct color bands. You may need 4-5 layers instead of 2-3.
For detailed information on gel polish application, see Gel vs Acrylic Nails: Complete 2026 Guide + Costs.
| Technique | Difficulty | Time Required | Longevity | Best For |
|---|---|---|---|---|
| Basic two-color horizontal | Beginner | 20-25 min | 5-7 days | First-timers, quick changes |
| Vertical gradient | Intermediate | 25-30 min | 5-7 days | Accent nails, unique looks |
| Glitter gradient | Beginner | 15-20 min | 6-8 days | Special occasions, dimension |
| Three-color gradient | Advanced | 30-35 min | 5-7 days | Bold statements, rainbow effects |
| Gel polish gradient | Intermediate | 40-45 min | 14-21 days | Long-lasting, less maintenance |
Extending the Life of Your DIY Gradient Nails
Top Coat Reapplication Tips
Reapply fast-dry top coat every 2-3 days to maintain shine and prevent tip wear. Use the same thick formula you applied initially—switching to a different top coat formula can cause compatibility issues and peeling.
When reapplying, focus on the free edge and tip area where wear happens first. One stroke across the tip, capping the edge, is sometimes all you need. Full nail reapplication works too but isn't necessary every time.
I reapply top coat on day 3 and day 5 of wearing my gradients. This extends wear from 5 days to 7-8 days consistently. The polish itself doesn't chip; the top coat wear exposes edges that then catch and peel.
Clean your nails before reapplying. Oils, lotion, and dirt prevent adhesion. Wipe each nail with rubbing alcohol on a cotton pad, let dry 30 seconds, then apply fresh top coat.
Daily Nail Care for Gradient Manicures
Wear gloves for wet work—dishes, cleaning, prolonged hand washing. Water causes polish to swell and contract, creating lifting at the edges. I destroyed a perfect gradient on day 2 by doing dishes without gloves. The next day, the polish was peeling at every cuticle.
Apply cuticle oil daily, focusing on the skin around your nails rather than the polish itself. Push back cuticles gently with your thumbnail after showering when they're soft. This prevents hangnails that catch on things and take your polish with them.
Avoid using your nails as tools. Opening cans, peeling stickers, or scratching off labels creates stress on the polish and causes chips at the tips. Use actual tools or the pads of your fingers instead.
Moisturize hands regularly but avoid getting heavy lotion on your nail plates. The oils break down polish over time. I apply hand cream, then wipe my nails with a clean towel to remove any residue from the polish surface.
For comprehensive nail health practices that support any manicure style, read Healthy Nail Care Tips: 12 Essential Practices.
Your Next Gradient Experiment
You now have the complete updated technique for DIY gradient nails in 2026, from proper prep through advanced variations. Start with a simple two-color horizontal gradient in analogous shades—light pink to hot pink, or nude to peach. Master the dabbing motion and the blend will follow.
Your first attempt might look slightly streaky or uneven. Mine did. By the third try, you'll understand how much polish to load onto the sponge, how many layers you need, and how the colors interact. The peel-off latex makes mistakes less frustrating since cleanup is minimal.
Once you've completed three successful basic gradients, experiment with the advanced variations. Try a vertical gradient on your accent nails, or add glitter to the tips of a solid-color mani. Track what works: which color combinations blend smoothly, which polishes are too sheer or too thick, how many sponge layers create your ideal opacity.
From formulation to flawless finish, every detail matters—but perfect technique comes from practice, not pressure. Your gradient nails should feel like an accomplishment, not a chore.
For your next nail art project after mastering gradients, explore DIY Nail Art for Beginners: Easy Step-by-Step Guide or try seasonal designs from DIY Spring Nail Art 2026: 10 Fresh Designs You Can Do at Home.
Frequently Asked Questions
What Are Gradient Nails and Why Are They Still Trending in 2026?
Gradient nails—also called ombre nails—feature a smooth transition between two or more colors, typically running from cuticle to tip. The technique remains popular in 2026 because it's more forgiving than precise nail art like florals or geometric designs, works with any color palette, and looks exp