Healthy Nail Care Tips: 12 Essential Practices
Strong, healthy nails require daily hydration, proper filing technique in one direction, a protein-rich diet with biotin and iron, strategic use of gloves...

Strong, healthy nails require daily hydration, proper filing technique in one direction, a protein-rich diet with biotin and iron, strategic use of gloves during wet work, and regular breaks from polish to prevent yellowing and brittleness.
- Hydrate cuticles twice daily with junk oil or dedicated cuticle cream to prevent hangnails and peeling
- File in one direction only using a 180-240 grit glass file to prevent splitting
- Eat biotin-rich foods like eggs, salmon, and almonds—most visible results appear after 3-4 months
- Wear gloves for any task involving water longer than 2 minutes to prevent keratin breakdown
- Take 2-week polish breaks every 8-10 weeks to let nails rehydrate and prevent discoloration
Healthy nails aren't just about aesthetics—they're a reflection of your overall wellness and daily habits. As someone who's spent years decoding the true pulse of the nail industry, I've observed that the gap between professional salon care and effective home maintenance is narrower than most people realize. The difference lies in understanding which practices actually strengthen nails versus which ones simply create the illusion of health. According to the American Academy of Dermatology, most nail problems stem from environmental damage and improper care rather than internal health issues.
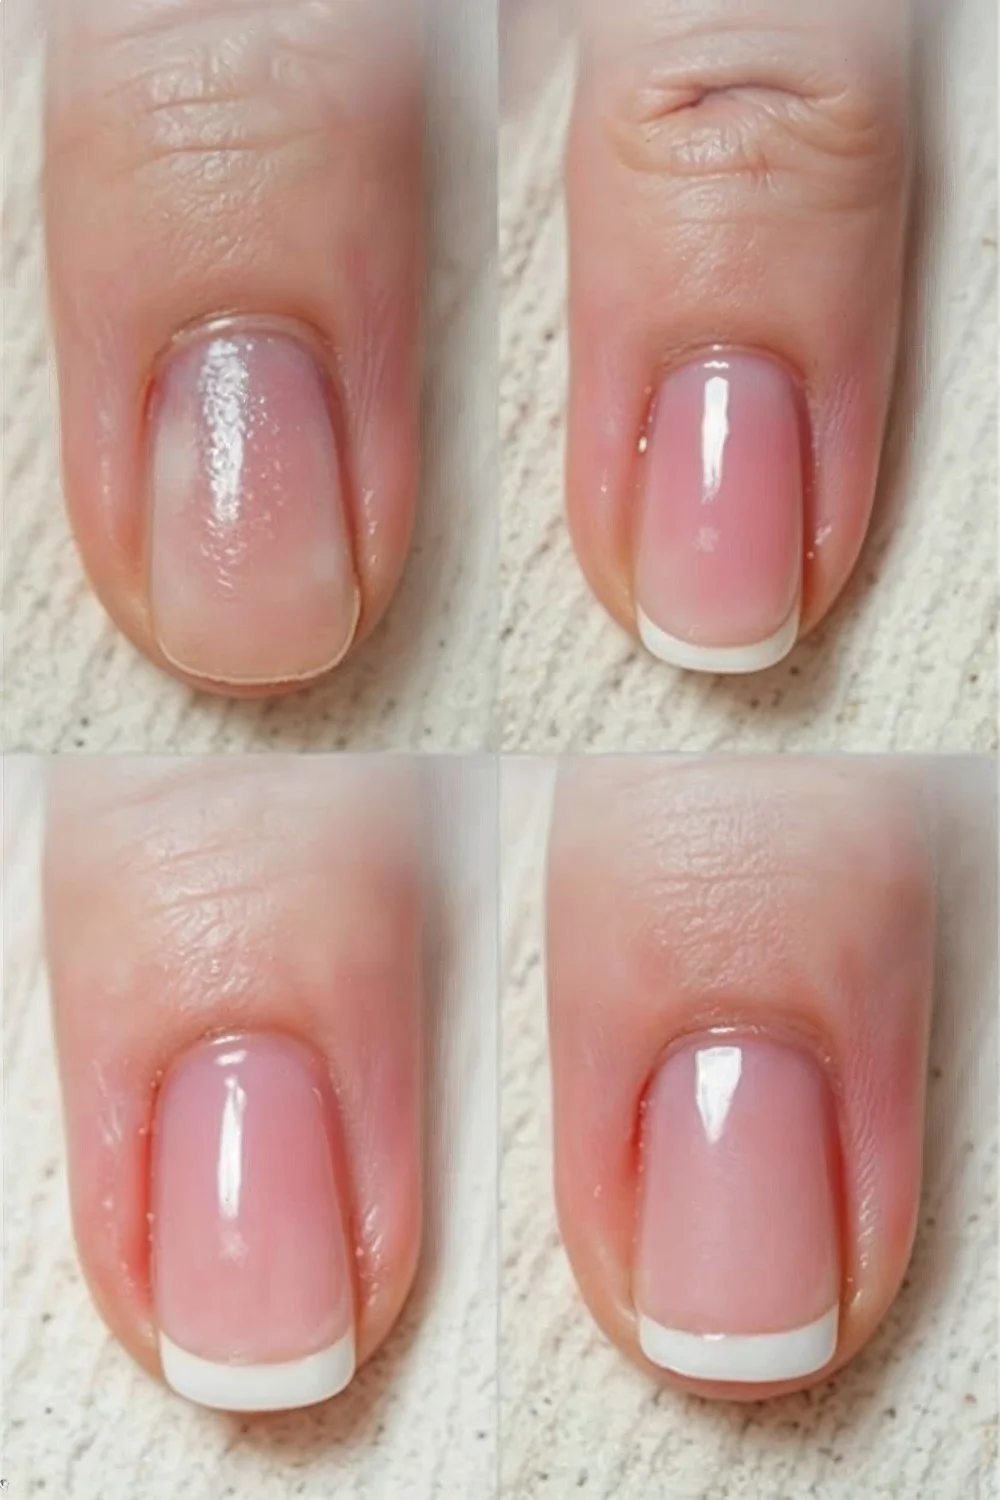
1. Master One-Direction Filing Technique
Filing direction matters more than file grit when preventing splits and peeling. I learned this after destroying three weeks of growth by sawing back and forth with a metal file—the nail plate layers literally separated at the free edge.
The nail plate consists of multiple keratin layers bonded together. When you file in a sawing motion, you create micro-tears between these layers, which eventually manifest as peeling or splitting. Filing in one direction—always moving the file from the outer edge toward the center—keeps these layers intact.
Use a glass or crystal file with 180-240 grit. I keep a glass file in my bag because it never wears down and can be sanitized with alcohol. Metal files are too coarse (typically 80-100 grit) and create more damage than they prevent. Hold the file at a 45-degree angle beneath the nail tip and use long, smooth strokes rather than short, choppy ones.
For shaping, work on dry nails only. Wet nails are swollen and soft—when they dry, the shape changes and you end up with uneven edges. I made this mistake for years before a nail tech pointed it out. File immediately after removing polish, before washing your hands.
Key Finding: Proper nail preparation, including filing technique and directional consistency, is fundamental to preventing mechanical damage to the nail plate — American Academy of Dermatology
The entire filing process should take 2-3 minutes per hand. If you're filing more frequently than once every 10-14 days, you're likely over-filing. Natural nail growth averages 3mm per month—there's simply not enough new growth to warrant weekly filing unless you're fixing breaks.
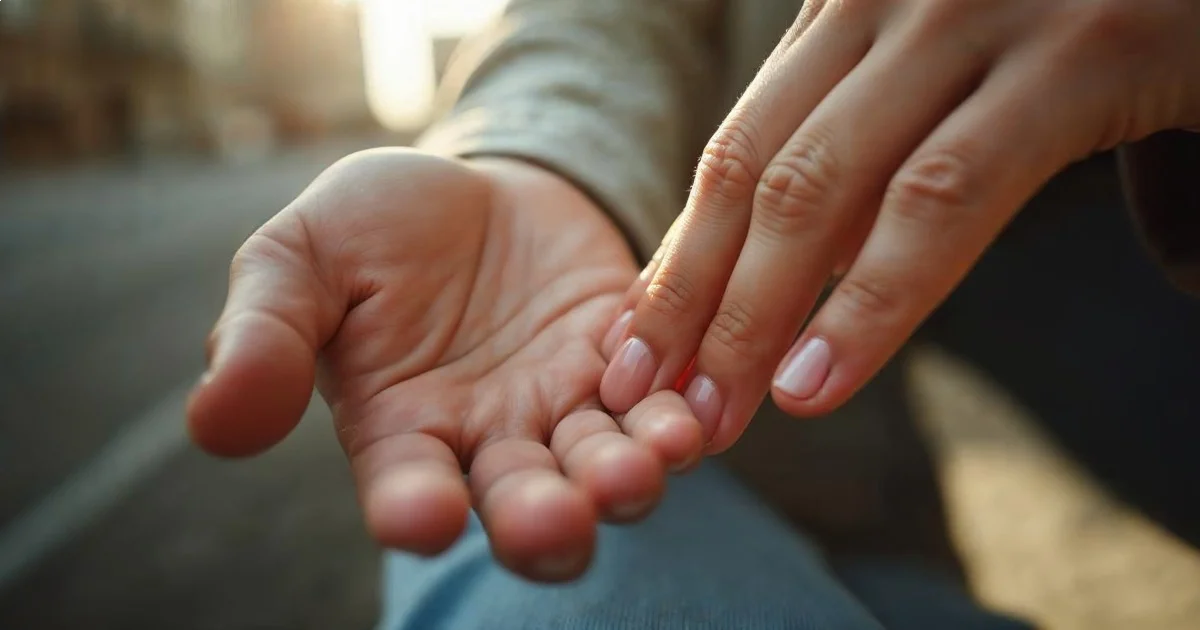
2. Hydrate Cuticles Twice Daily (Not Just After Manicures)
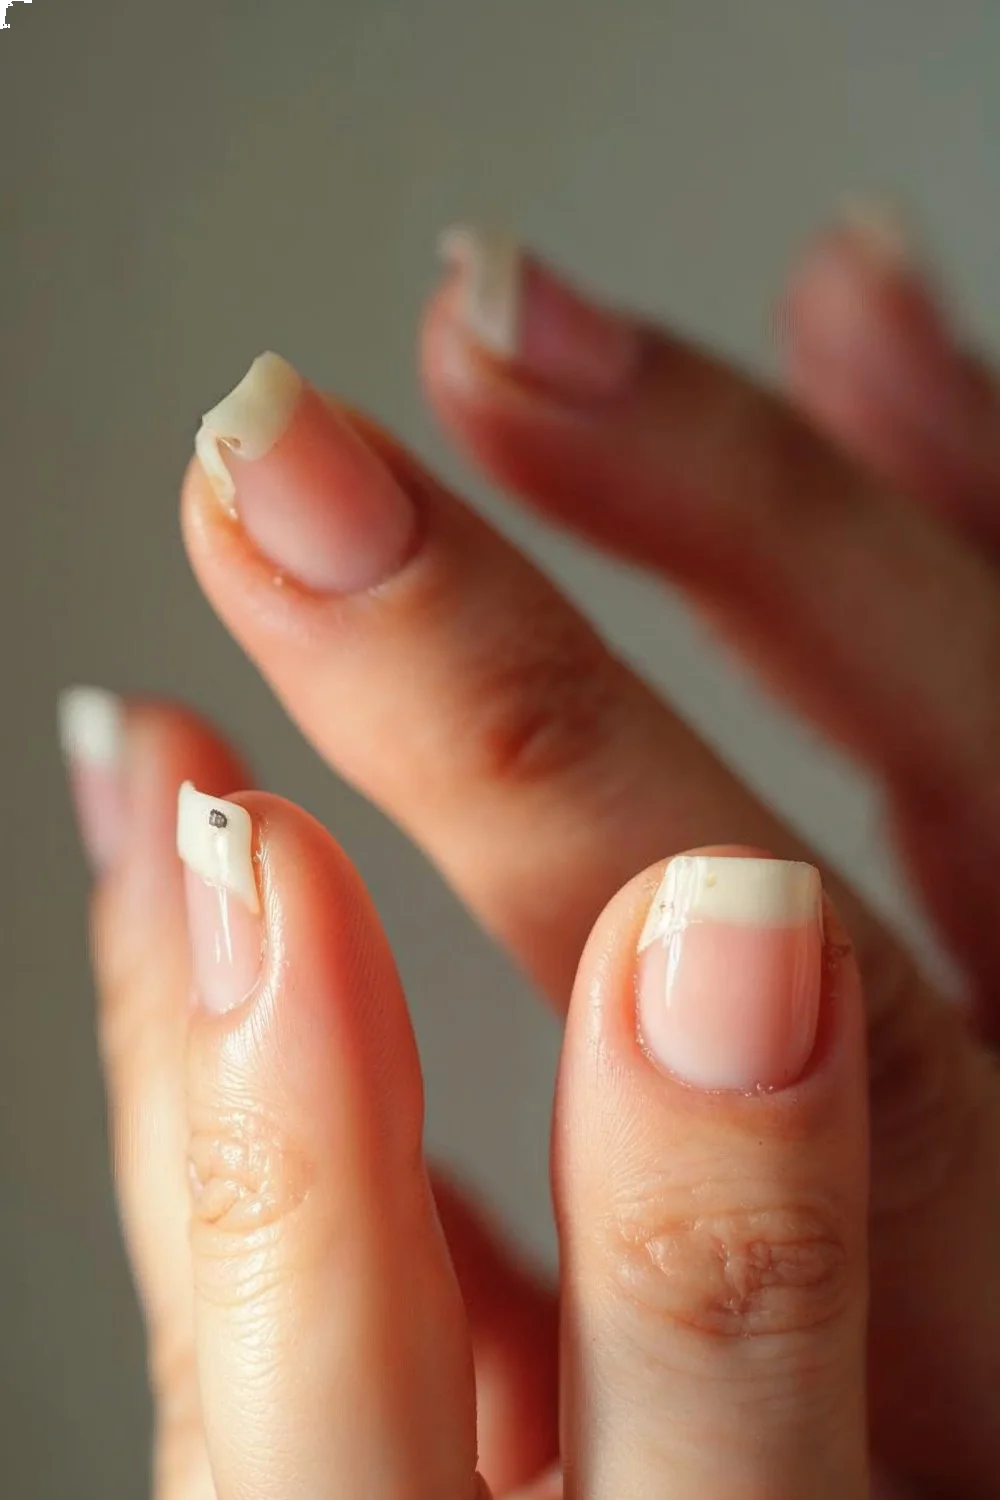
Cuticle hydration prevents 90% of the hangnails, peeling, and ragged edges that people mistake for "bad cuticles." The cuticle is dead tissue that protects your nail matrix—when it dries out, it cracks and pulls away from the nail plate.
I apply cuticle oil every morning after washing my hands and every night before bed. The timing matters because you're targeting moisture loss at peak dehydration points. Morning application replaces oils stripped by overnight evaporation and hand washing. Evening application works overnight when your body isn't directing resources to other tasks.
Jojoba oil works best for absorption—it's molecularly similar to skin sebum, so it penetrates rather than sitting on the surface. I buy a 4oz bottle from the grocery store for $8 and refill a nail pen from Amazon. Dedicated cuticle oils from OPI or CND cost $15-20 but contain the same base ingredients (jojoba, vitamin E, sometimes sweet almond oil).
Application technique: massage one drop into each cuticle using circular motions for 10-15 seconds. The massage increases blood flow to the nail matrix, which is where your nail actually grows. Don't just swipe it on—work it in until it's absorbed.
For severely dry cuticles, I do an overnight treatment once a week: apply a thick layer of cuticle oil, then petroleum jelly over top, then cotton gloves. The occlusive layer traps moisture and forces deeper penetration. My cuticles went from constantly peeling to smooth in about two weeks using this method.
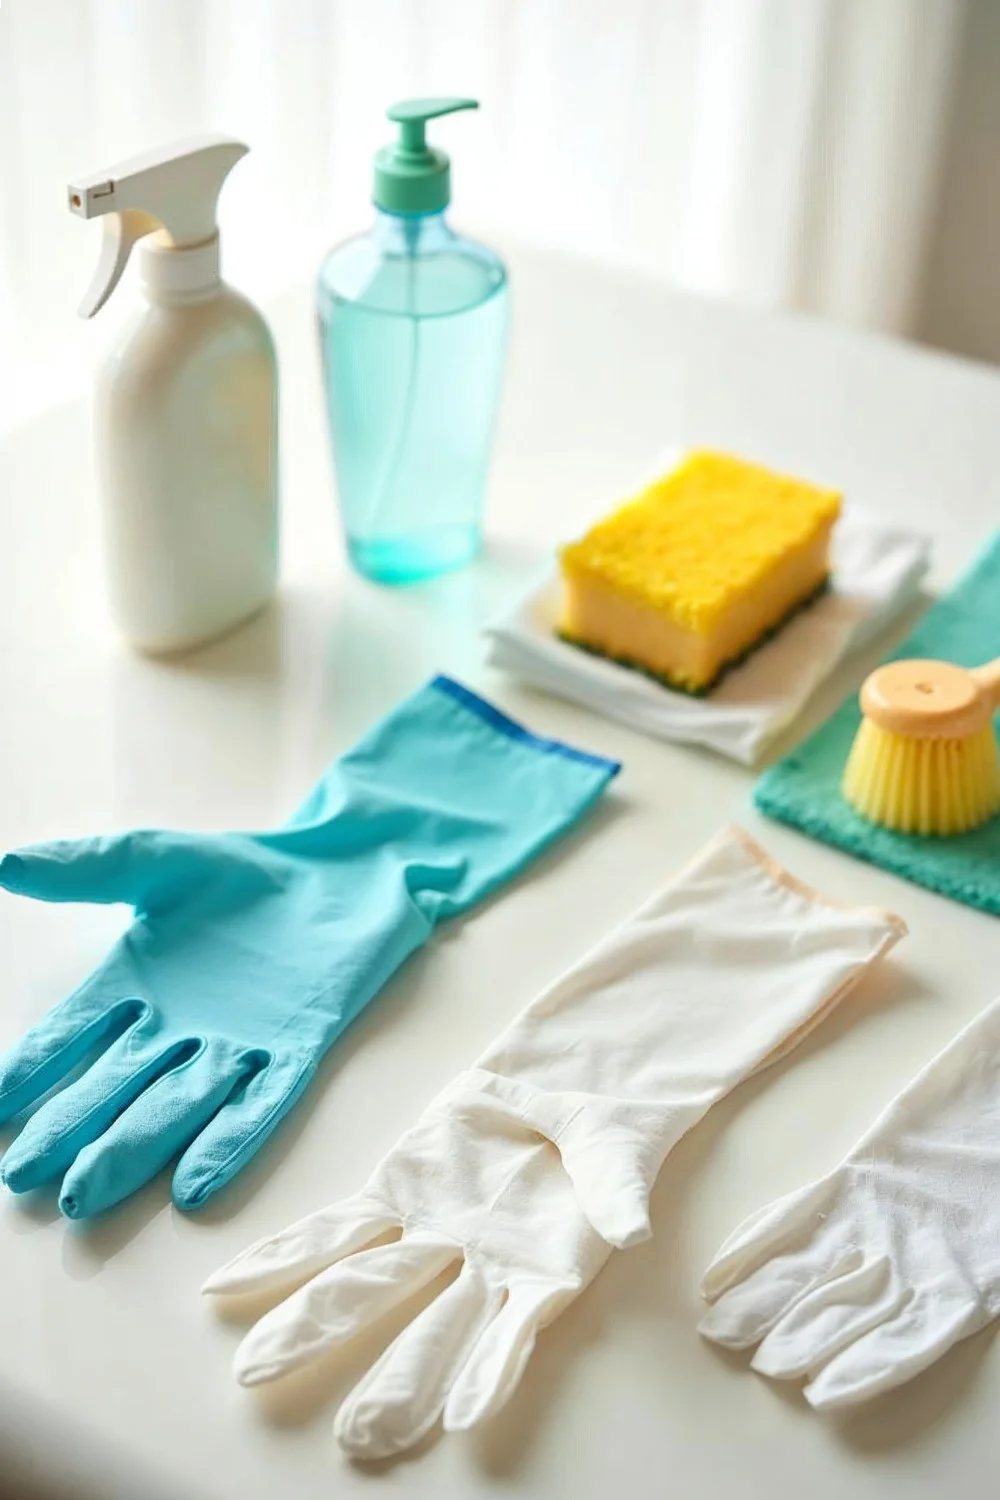
3. Protect Nails During Wet Work (The 2-Minute Rule)
Water is the biggest threat to nail strength because it causes expansion and contraction of the nail plate. Keratin absorbs water readily—nails can expand up to 25% when fully saturated, then contract as they dry. This constant swelling and shrinking weakens the bonds between keratin layers.
I wear gloves for any task involving water longer than 2 minutes: dishes, cleaning, gardening, even long showers. This was the single change that stopped my nails from peeling at the tips. Before I started this habit, my nails would grow to a certain length and immediately start splitting horizontally.
Nitrile gloves work better than latex or vinyl for most tasks. They're more durable, less likely to tear, and don't trigger latex allergies. I buy a box of 100 from Amazon for $12 and keep pairs under every sink. For dishes, I use reusable rubber gloves with cotton liners—the lining absorbs sweat so your hands don't get clammy.
For tasks shorter than 2 minutes, like hand washing, the exposure isn't enough to cause damage. It's the prolonged or repeated exposure that creates problems. If you wash your hands 15 times a day (healthcare workers, parents of young children), apply hand cream with each washing to replace lost moisture.
Temperature matters too. Hot water strips more natural oils than cold water. I wash dishes in warm water, not hot, and I stopped taking extremely hot showers. The steam alone was enough to soften my nails and make them flexible—a sign of over-hydration that leads to breakage.
4. Eat Protein and Biotin-Rich Foods Consistently
Nails are made of keratin, a structural protein. Without adequate protein intake, your body can't build strong nail tissue. I noticed this clearly during a month where I was eating poorly while traveling—my nails became noticeably thinner and more flexible.
Biotin (vitamin B7) is the most researched nutrient for nail strength. A study referenced by the Mayo Clinic found that biotin supplementation improved nail firmness and hardness in people with brittle nails. But dietary biotin is more effective than supplements because it comes with cofactors that aid absorption.
Biotin-rich foods include:
- Eggs (especially yolks): 10 mcg per egg
- Salmon: 5 mcg per 3oz serving
- Almonds: 1.5 mcg per ounce
- Sweet potatoes: 2.4 mcg per half cup
- Spinach: 0.5 mcg per half cup cooked
The recommended daily intake is 30 mcg. I track this loosely—two eggs at breakfast, a handful of almonds as a snack, and salmon twice a week gets me most of the way there.
Iron deficiency also causes brittle nails and vertical ridges. Women are particularly susceptible due to menstruation. I added red meat once a week and noticed my ridges became less pronounced after about three months. Cast iron cooking also adds dietary iron—I switched to a cast iron skillet for eggs and it makes a measurable difference.
Results take time. Nails grow slowly (3mm per month), so you won't see improvements in existing nail tissue. You're waiting for new, healthier nail to grow out from the matrix. Expect visible changes after 3-4 months of consistent dietary changes.
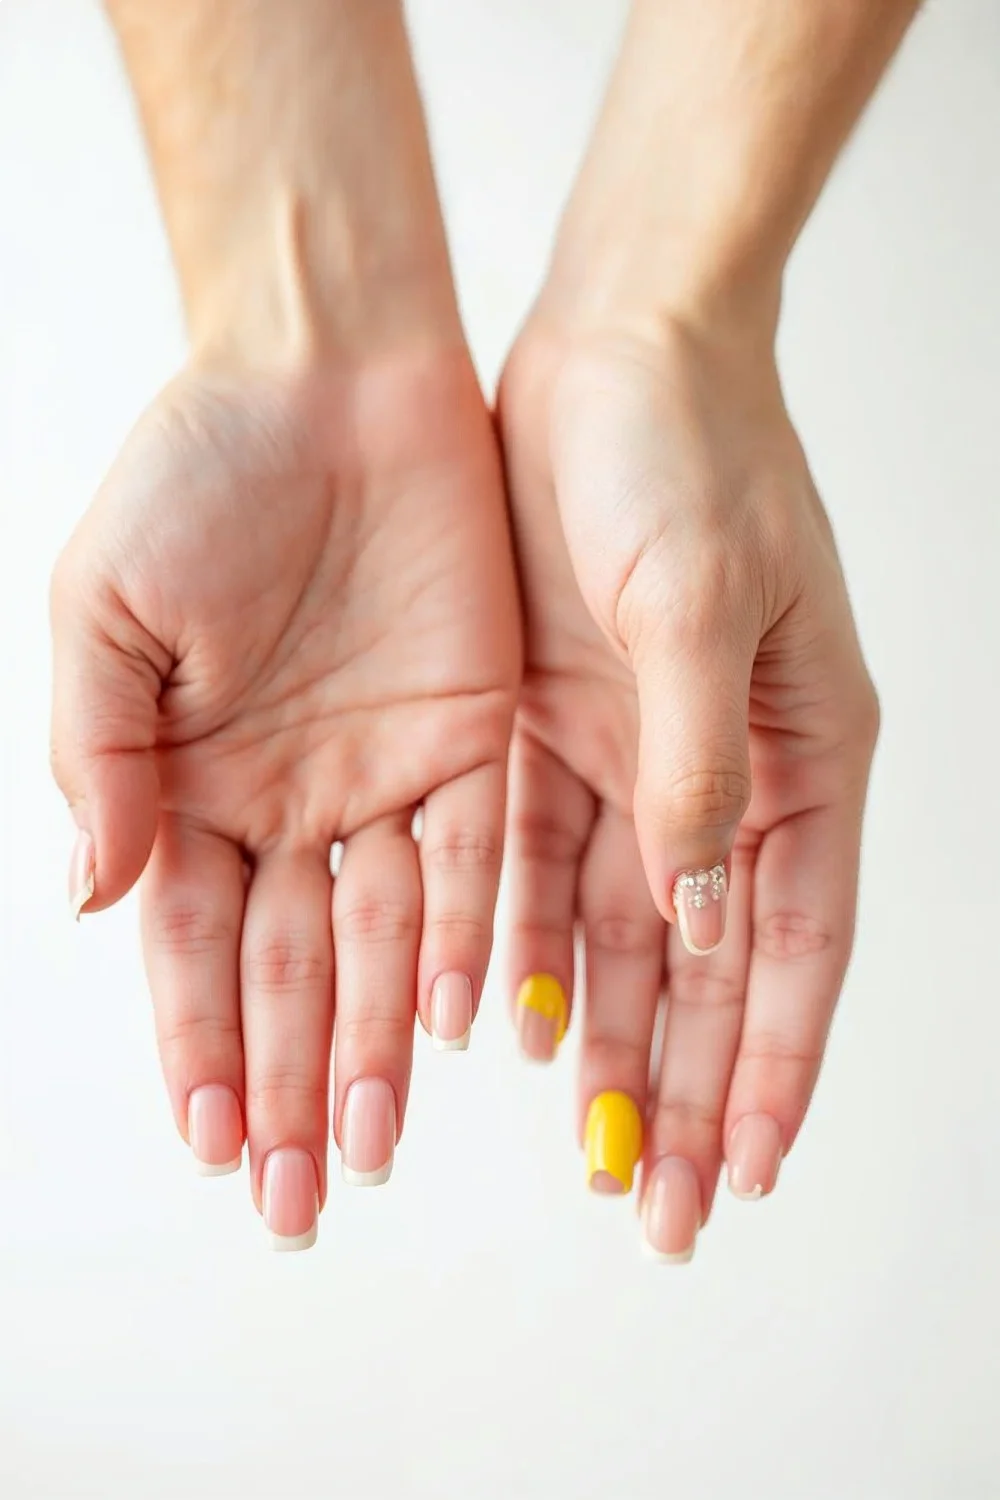
5. Take Strategic Polish Breaks (2 Weeks Every 8-10 Weeks)
Continuous polish wear prevents moisture exchange and causes yellowing, especially with darker shades. The nail plate is porous—it needs to "breathe" in the sense that it needs to maintain moisture balance with the environment.
I take a 2-week break from all polish (including base coat) every 8-10 weeks. During this break, I focus on hydration: cuticle oil twice daily, hand cream after every wash, and a nail strengthening treatment that's actually just a heavy moisturizer.
The yellowing I used to attribute to "my nails staining easily" was actually polish pigment penetrating the nail plate through micro-cracks in the base coat. Once I started taking regular breaks and never skipping base coat, the yellowing stopped appearing.
During polish breaks, your nails will feel weaker and look less uniform. This is normal. Polish acts as a protective shell, so removing it exposes the actual condition of your nails. Don't be tempted to file away surface imperfections—you're removing nail plate thickness, which makes them weaker.
If bare nails bother you aesthetically, use this time to focus on cuticle and nail bed appearance. Well-moisturized cuticles and a healthy nail bed make even bare nails look polished. I buff very lightly with a 400-grit buffer to smooth the surface without removing material.
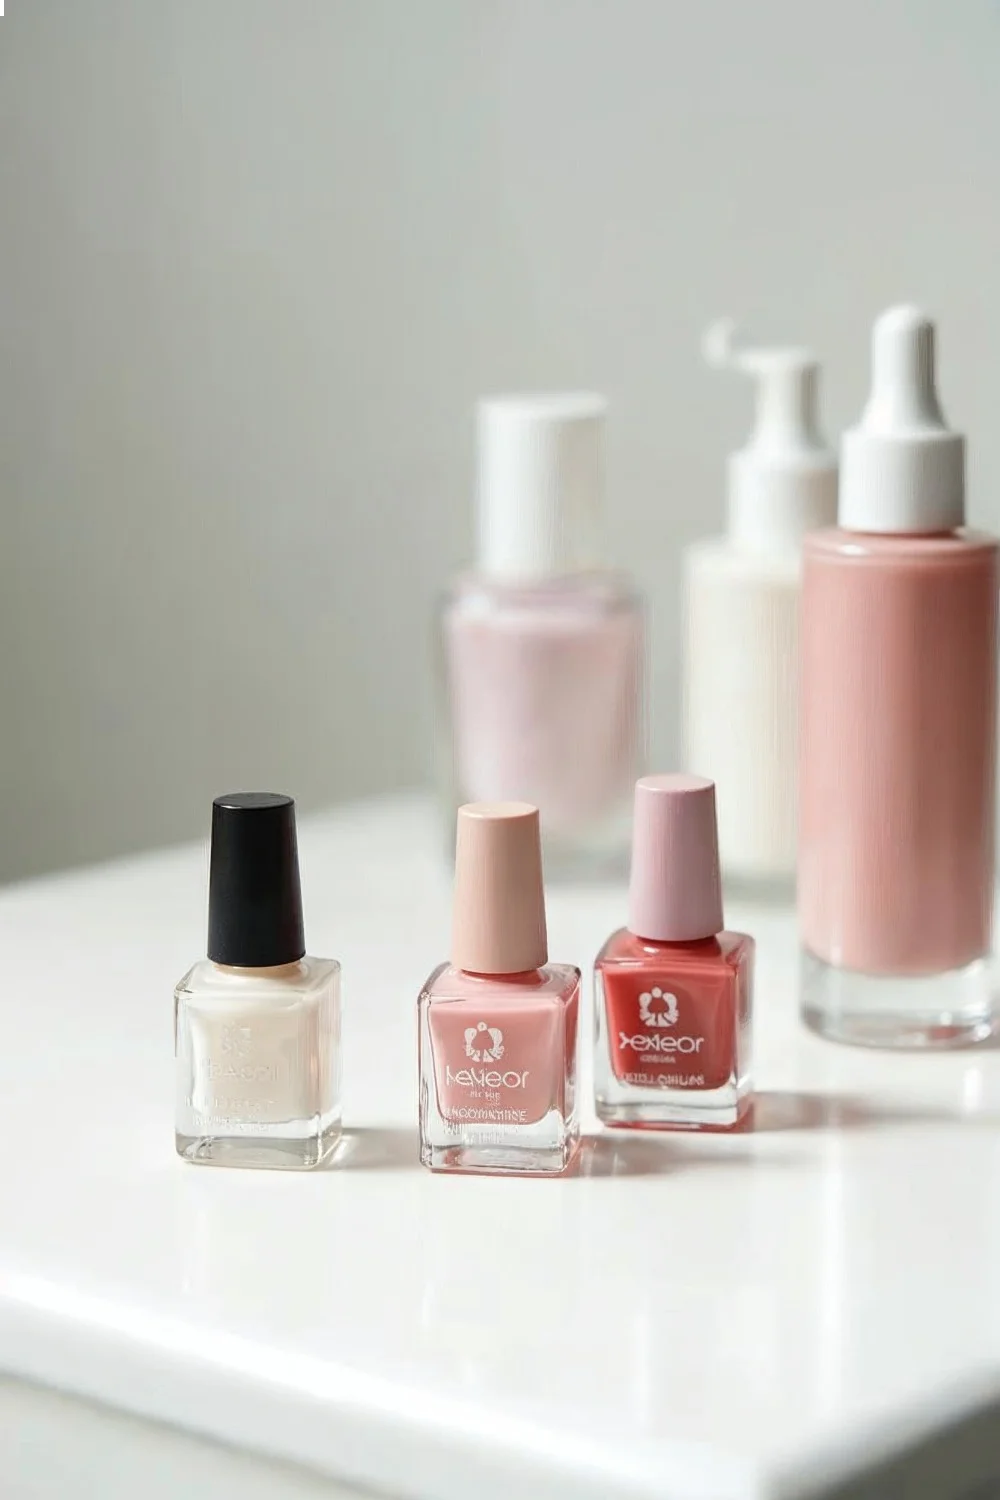
6. Choose "Free-From" Polishes Strategically
Polish formulation affects both application quality and nail health. The "free-from" trend (3-free, 5-free, 10-free) removes certain chemicals, but not all removals improve nail safety—some are marketing theater.
The three most important exclusions:
- Formaldehyde: A known carcinogen and allergen. No reason to have this in modern polish.
- Toluene: Affects the nervous system with prolonged exposure. Also unnecessary.
- Dibutyl phthalate (DBP): Endocrine disruptor. Banned in EU cosmetics.
Beyond these three, the benefits are less clear. I use 5-free polishes (adds camphor and formaldehyde resin to the exclusion list) from brands like Ella+Mila and Zoya. They cost $8-10 per bottle versus $3-5 for conventional drugstore polish, but they're worth it for peace of mind during regular use.
What matters more than free-from count: base coat usage. I never skip base coat, even for light colors. It creates a barrier that prevents pigment penetration and provides a smooth surface for color adhesion. My base coat of choice is Orly Bonder—$9, lasts 40+ manicures, and works under any polish brand.
Polish thickness affects drying time and chip resistance. Thin, even coats (two or three layers) last longer than one thick coat. I learned this after wondering why my careful manicures chipped faster than sloppy ones—the thick coats weren't fully drying, so they remained soft and flexible underneath a dry surface layer.
7. Use Acetone Correctly (Yes, Acetone)
Acetone gets demonized, but it's actually more efficient and less damaging than prolonged exposure to acetone-free removers. The key is minimizing contact time.
Acetone-free removers require more rubbing and soaking to dissolve polish. This extended friction and chemical exposure can dehydrate nails more than brief acetone use. I tested this directly: acetone removal took 45 seconds per hand, acetone-free took 3-4 minutes with significantly more rubbing.
My acetone removal method:
- Soak a cotton pad with pure acetone (100%, not nail polish remover with additives)
- Press firmly against the nail for 10 seconds to dissolve the polish
- Wipe once from cuticle to tip
- Repeat only if needed
- Immediately wash hands and apply cuticle oil
The entire process takes under 2 minutes for both hands. Acetone evaporates quickly, so the exposure time is minimal if you work efficiently. I buy pure acetone from the hardware store for $6 per quart—it's chemically identical to beauty supply acetone but costs a fraction of the price.
For glitter polish or gel, I use the foil wrap method: acetone-soaked cotton pressed against the nail, wrapped in aluminum foil for 10 minutes. This contains the acetone and prevents evaporation, allowing it to work without constant reapplication.
The dehydration you feel after acetone use is temporary and surface-level. Rehydrate immediately with cuticle oil and hand cream. Within 30 minutes, moisture levels return to baseline.
8. Sanitize Your Tools Monthly
Bacterial and fungal infections from contaminated tools cause more nail damage than any polish formula. Nail files, clippers, and cuticle tools sit in humid bathrooms collecting microorganisms between uses.
I sanitize my tools on the first of every month—the regular timing means I don't forget. Glass files and metal tools go in a jar of 70% isopropyl alcohol for 10 minutes. This kills bacteria, viruses, and most fungi. I bought a dedicated small jar for this purpose and keep it under the sink.
Buffers and foam files can't be sanitized effectively. I replace them every 3 months or when they show visible wear. A 10-pack of foam files costs $5 on Amazon—not worth the infection risk of using a contaminated file.
Cuticle nippers require special attention because they contact living tissue. After each use, I wipe them with an alcohol pad. Monthly, I wash them with dish soap and hot water, then submerge in alcohol. Rusty or dull nippers should be replaced immediately—rough cuts create entry points for infection.
Sharing tools spreads fungal infections readily. I learned this when a friend borrowed my clippers and later developed a fungal infection. Even though I sanitized them before using them again, I bought a new pair out of caution. Nail fungus is difficult to treat and takes months to resolve.
9. Address Brittleness With Jojoba, Not Hardeners
Nail hardeners create the illusion of strength by making nails more rigid, but rigidity isn't the same as health. Brittle nails break because they lack flexibility, not because they lack hardness.
I tried three different nail hardeners (Sally Hansen Maximum Growth, OPI Nail Envy, Duri Rejuvacote) when my nails were breaking constantly. All three made my nails harder, but they broke even more easily because they became inflexible. Hard + inflexible = shatters under pressure.
What actually fixed my brittle nails: jojoba oil applied twice daily for six weeks. Jojoba penetrates the nail plate and increases flexibility while maintaining strength. My nails went from snapping at the slightest impact to bending slightly and recovering.
The science: brittle nails are dehydrated nails. The keratin layers need moisture to maintain the slight flexibility that prevents breaking. Hardeners often contain formaldehyde or calcium, which increase rigidity but don't address the underlying dehydration.
If you're currently using a hardener, stop for 2-3 weeks and focus on hydration. Let your nails return to their natural state, then assess their actual condition. You might find they were healthier than they seemed—the hardener was just masking flexibility as weakness.
For severely brittle nails, I recommend the overnight occlusive treatment: jojoba oil, petroleum jelly, cotton gloves, three times per week for a month. This intensive hydration protocol restored my nails after a damaging gel removal.
10. Stop Cutting Cuticles (Push and Moisturize Instead)
Cutting cuticles removes your nail's primary infection barrier and causes them to grow back thicker and more ragged. I cut my cuticles religiously for years before learning they're not supposed to be cut at all.
The cuticle is dead tissue that seals the space between your nail plate and the living skin beneath (the nail fold). When you cut it, you create an opening where bacteria and fungi can enter. The body responds by growing the cuticle back thicker to better protect the area—creating a vicious cycle.
Proper cuticle care:
- Soften with warm water for 30 seconds or apply cuticle remover (I use Blue Cross Cuticle Remover, $4)
- Gently push back with a rubber-tipped cuticle pusher, not a metal one
- Remove only the translucent dead skin that's lifted onto the nail plate
- Apply cuticle oil immediately
I do this once a week, always after a shower when cuticles are naturally soft. Between weekly maintenance, I just moisturize. My cuticles look neater now than when I was cutting them, and I haven't had a cuticle infection since I stopped.
Cuticle nippers are for hangnails only—the actual torn pieces of skin that catch on everything. Even then, cut only the lifted portion, as close to the base as possible, after disinfecting the nippers with alcohol.
11. Recognize When to See a Dermatologist
Some nail changes indicate health issues beyond cosmetic care. I wasted three months trying to fix ridging with buffers and strengtheners before learning it was an iron deficiency requiring medical treatment.
See a dermatologist for:
- Horizontal lines (Beau's lines): Can indicate serious illness, high fever, or chemotherapy effects
- Dark streaks: Especially new ones or ones that extend into the cuticle—can indicate melanoma
- Yellow, thick, crumbly nails: Usually fungal infection requiring prescription treatment
- Persistent pain, redness, or swelling: Sign of infection
- Nail separation from the bed: Can indicate psoriasis, thyroid issues, or infection
- Sudden changes in growth rate: Either direction can signal health changes
Cosmetologists and nail techs can't diagnose medical conditions. If your nail issue doesn't respond to basic care within 4-6 weeks, or if you have pain or discoloration, see a doctor. I use this timeline: if moisturizing, diet changes, and gentle care don't show improvement within six weeks, I schedule an appointment.
According to the Mayo Clinic, nail changes can reflect systemic health issues including anemia, kidney disease, lung disease, and heart conditions. Don't dismiss persistent changes as "just cosmetic."
12. Recover From Gel and Acrylic Damage Systematically
Gel and acrylic nails thin the natural nail plate through filing and chemical exposure. Recovery requires 3-4 months of focused care—the time it takes to grow out a full nail.
I removed gel extensions after six months of continuous wear and my nails were paper-thin, flexible, and prone to tearing. The recovery protocol that worked:
Month 1: Intensive hydration
- Jojoba oil 3x daily
- No polish of any kind
- Gloves for all wet work
- Biotin-rich diet
- Short nails to prevent leverage breaks
Month 2-3: Gentle strengthening
- Continued oil 2x daily
- Introduced sheer polish only (with base coat)
- Added protein-rich hand cream
- Weekly buffing to smooth surface (400 grit minimum)
Month 4: Normal care resumption
- Return to regular polish (still with base coat)
- Maintained oil routine
- Gradual length increase as strength returned
The damaged portion doesn't heal—it has to grow out. You're protecting what exists while waiting for healthy nail to replace it. My nails returned to pre-gel strength around month 3, but I waited until month 4 to attempt full coverage colors or any nail art requiring cleanup.
If you want to continue using gel or acrylic, take 2-3 month breaks between applications. I now do gel polish (no extensions) for special occasions only, with minimum 8-week gaps between applications. This prevents cumulative damage. For more detailed information on minimizing damage, my analysis in the gel vs acrylic guide covers application differences and their impact on natural nails.
Key Finding: Proper filing technique, consistent hydration, and adequate protein intake form the foundation of natural nail strength and resilience — American Academy of Dermatology
Quick Comparison: Essential Nail Care Products
| Product Type | Budget Option | Mid-Range | Investment | Cost Per Use |
|---|---|---|---|---|
| Glass File | Generic from Amazon | Czech glass file | Leighton Denny | $0.02-0.05 |
| Cuticle Oil | Pure jojoba oil (grocery) | CND Solar Oil | Deborah Lippmann | $0.08-0.30 |
| Base Coat | Sally Hansen Hard as Nails | Orly Bonder | OPI Natural Nail | $0.15-0.35 |
| Polish Remover | Pure acetone (hardware) | Zoya Remove+ | Ella+Mila Soy | $0.05-0.20 |
| Hand Cream | CeraVe Therapeutic | Burt's Bees Shea Butter | L'Occitane | $0.10-0.50 |
Which Approach for Your Situation
If your nails are currently healthy: Focus on prevention (gloves, oil, strategic polish breaks). Maintain with minimal intervention.
If you have mild peeling or splitting: Start with one-direction filing and twice-daily jojoba oil. Results in 4-6 weeks.
If you're recovering from gel/acrylic: Follow the 4-month intensive protocol. No shortcuts—damage has to grow out.
If you have persistent discoloration or pain: Skip home remedies and see a dermatologist. Don't waste time on treatments that can't address medical issues.
If you want stronger nails for upcoming events: Increase protein and biotin intake 3-4 months in advance. Topical treatments only affect existing nail (which is already formed).
If you're dealing with constant breakage: Check your diet, water exposure, and filing technique in that order. Most breakage is environmental, not genetic.
Healthy nails are built through consistent daily habits, not dramatic interventions. The practices that work aren't glamorous—they're just systematic application of hydration, protection, and proper technique over months. Once you've established a foundation of nail health, you can explore the designs and techniques covered in guides like spring nail art or summer nail designs with confidence that your natural nails can support them.