Summer Nail Designs: 10 Hot Looks That Actually Work at Home
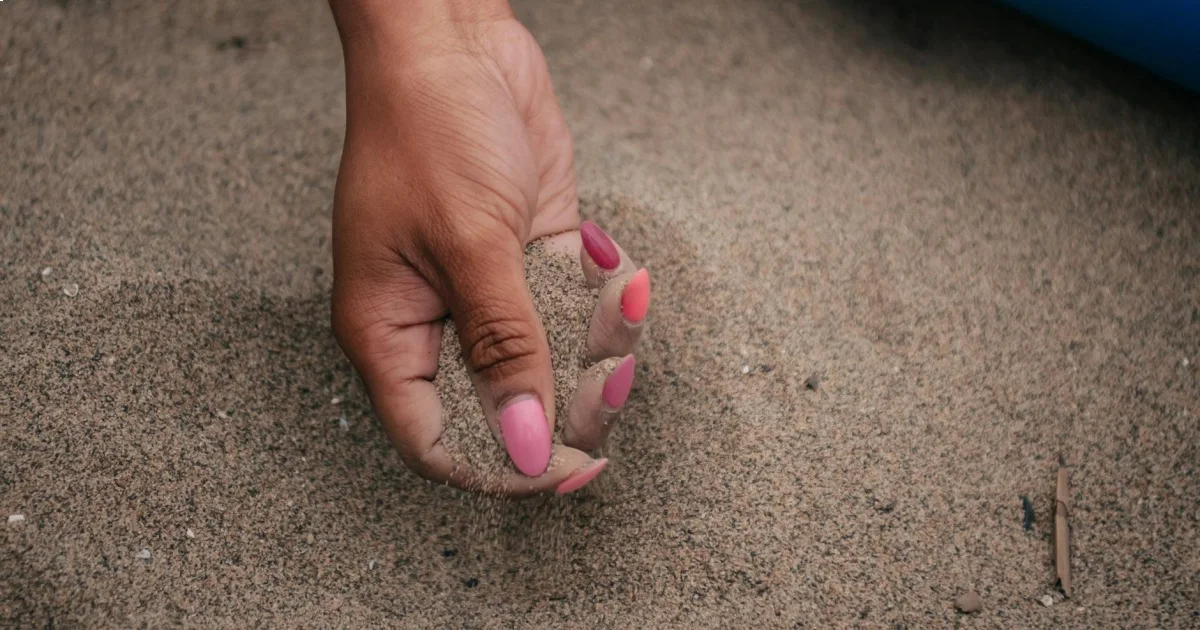
Summer nail designs aren't just about color. They protect your nails against chlorine, salt water, and constant sun exposure.

Summer nail designs aren't just about color. They protect your nails against chlorine, salt water, and constant sun exposure. I learned this the hard way after my spring pastels turned yellow and chippy during my first beach weekend.
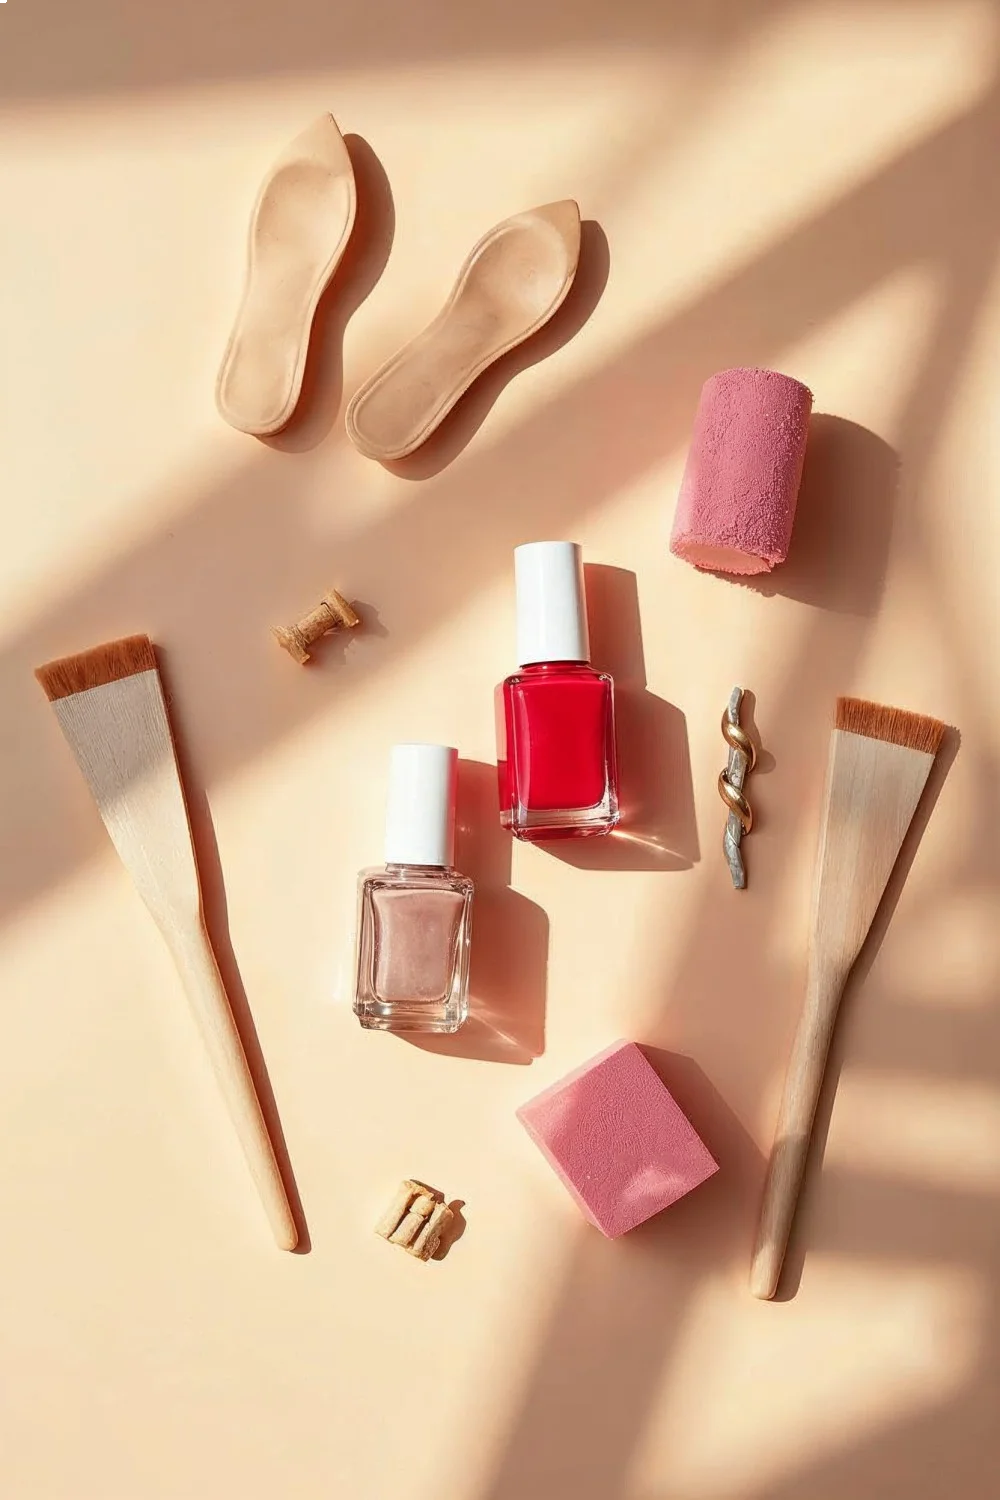
- Coral sunset ombré using makeup sponges creates professional gradients in under 20 minutes
- Neon French tips with gel polish last 2+ weeks versus 3 days with regular polish
- Jelly nail effect requires specific sheer formulas - Essie's Gel Couture line works best
- Tropical leaf stamping costs $15 total and creates 20+ different manicures
The key difference? Summer formulas are built tougher. They contain UV filters to prevent fading and stronger resins to handle temperature swings from air conditioning to poolside heat. Plus, bold summer colors hide minor chips better than delicate spring shades.
Key Finding: Proper nail preparation, including dehydrating and base coat application, is the most important factor in DIY manicure longevity — American Academy of Dermatology
The Color Science: What Actually Works in Summer Heat
Neons That Don't Fade
Neon polishes are notoriously tricky, but I've cracked the code. The secret is starting with white base polish, not clear base coat. China Glaze Liquid Leather in "White On White" creates the perfect canvas for neons to pop true to bottle color.
My go-to neons that actually last:
- OPI "Life Gave Me Lemons" - stays bright for 8+ days
- Essie "Haute In The Heat" - coral-orange that photographs well
- China Glaze "Pool Party" - electric blue that doesn't chip at pool edges
Heat-Resistant Pastels
Pastels in summer require specific formulas. Cream finishes melt in heat, but jelly and sheer finishes actually get more beautiful as they warm up. Essie's Gel Couture line in "Fairy Tailor" and "Frilly Lilies" are my heat-tested winners.
The Glitter Factor
Glitter polishes are summer MVPs because they hide inevitable wear. But not all glitters are created equal. Fine glitters like OPI "Rainbow Connection" apply smooth and don't catch on everything. Chunky glitters like Sally Hansen "Big Money" look amazing but are removal nightmares.
10 Summer Nail Designs That Actually Work
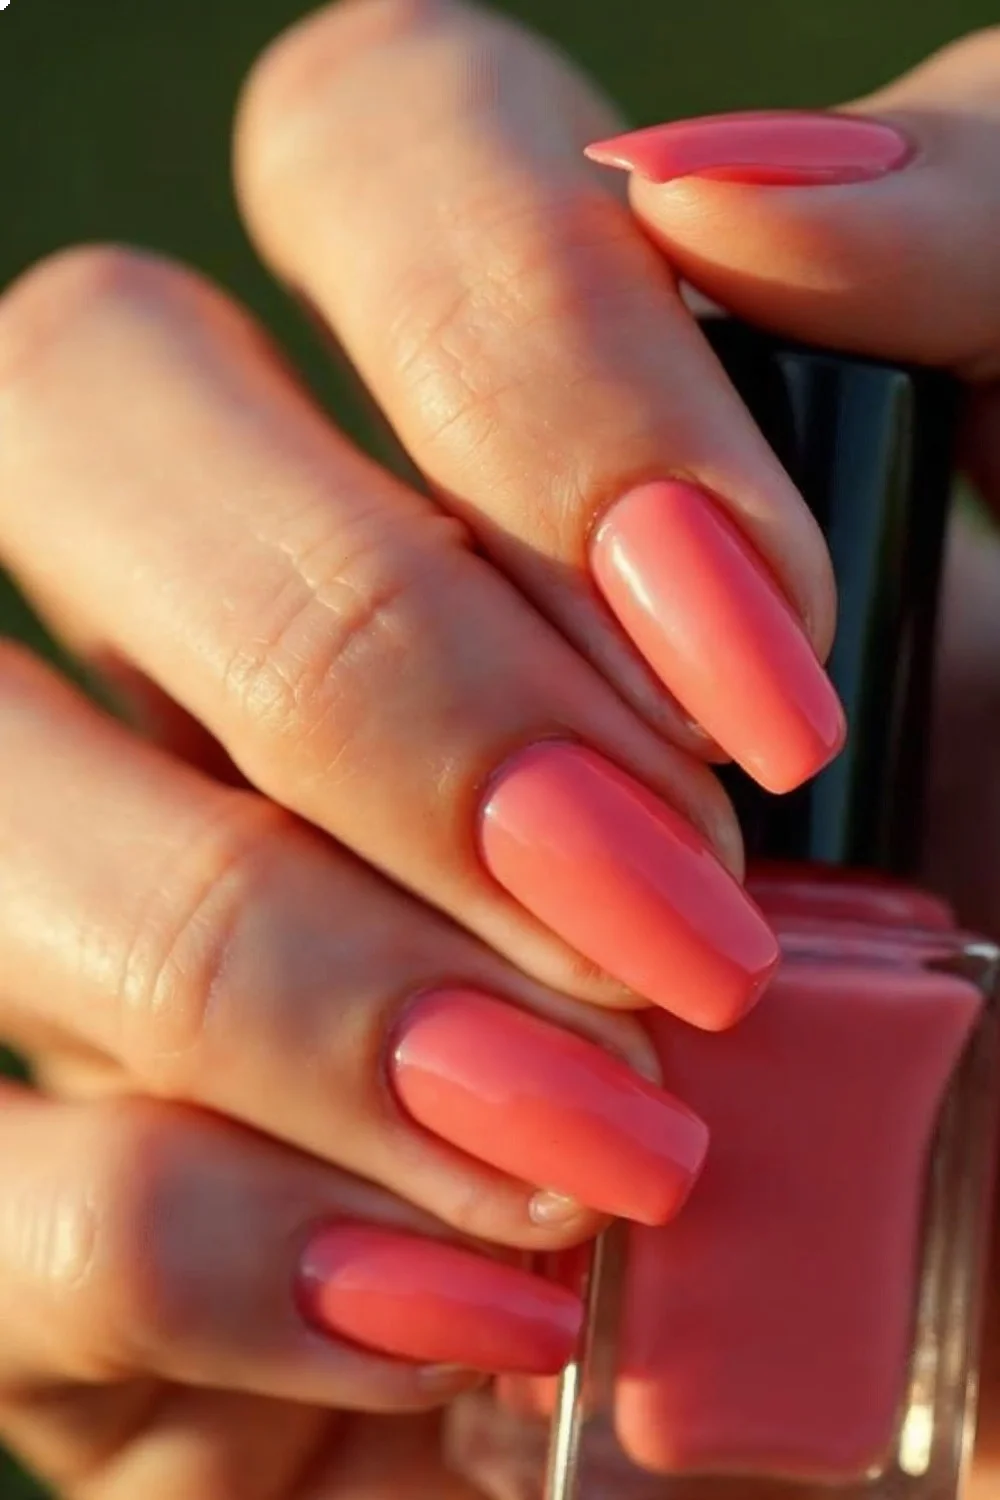
Coral Sunset Ombré
This design consistently gets the most compliments, and it's surprisingly foolproof. The gradient effect mimics actual sunsets, and the technique works on any nail length.
What you need:
- Essie "Tart Deco" (coral base)
- OPI "A Red-vival City" (orange middle)
- China Glaze "Sun Worshipper" (yellow tips)
- Makeup sponges (the cheap triangular ones work best)
- Liquid latex for cleanup
The process: Paint base coral on all nails. While tacky, dab sponge with orange and yellow, then press onto nail tips. The key is building slowly - three light layers beat one heavy application. Total time: 18 minutes plus dry time.
Reality check: My first attempt looked muddy because I used too much polish on the sponge. Less is more with this technique.
Neon French Tips
Classic French gets a summer upgrade with neon tips. This design lasted through a 5-day beach trip without major chips, which impressed me.
The game-changer: Use gel polish for the neon tips only. Base stays regular polish, but gel tips cure rock-hard and stay bright. OPI GelColor in "Life Gave Me Lemons" over Essie "Mademoiselle" base creates the perfect contrast.
Pro tip I learned the hard way: Cap the free edge with color, then immediately cap with top coat. This seals the edge and prevents peeling.
Tropical Leaf Stamping
Stamping plates revolutionized my nail game. The MoYou London Tropical Collection plate (£8 on their site) has 15 different leaf designs that work with any base color.
My stamping setup:
- Stamping plate: MoYou Tropical 06
- Stamping polish: Born Pretty "Black" (regular polish doesn't transfer well)
- Scraper: Old credit card works fine
- Stamper: Clear silicone head shows placement better than rubber
The technique: Paint base color, let dry completely. Apply stamping polish to design, scrape excess, roll stamper over design, then roll onto nail. Practice on fake nails first - I wasted a full manicure learning this.
Jelly Nails (The Translucent Trend)
Jelly nails look complicated but are actually beginner-friendly. The translucent finish hides imperfections and creates depth.
Formula matters: Regular polish thinned with thinner looks cheap. True jelly polishes like Essie Gel Couture "Fairy Tailor" or Zoya "Kennedy" have the right consistency built-in.
Application trick: Three thin coats work better than two thick ones. Each coat adds depth without losing the see-through effect.
Watercolor Florals
This technique uses nail art brushes and thinned polish to create soft, painterly flowers. It sounds advanced but is more forgiving than precise designs.
Supply list:
- Liner brush (size 000)
- Dotting tool
- Polish thinner (Seche Restore)
- Light base color (OPI "Put It In Neutral")
- Contrasting flower colors
The method: Thin your polish with 1-2 drops of thinner until it flows like watercolor. Paint abstract petal shapes, letting colors bleed together. Add dots for flower centers. The imperfection is the point.
My discovery: Accidents create the best effects. When my pink "bleeding heart" polish bled into white, it created gradient petals I couldn't replicate on purpose.
Negative Space Geometric
Negative space designs use your natural nail as part of the pattern. They're modern, minimize drying time, and work on short nails.
Essential tool: Striping tape or nail vinyls. I prefer Twinkled T nail vinyls because they don't leave residue.
Process: Apply base coat, place vinyls in geometric patterns, paint over everything with color, remove vinyls while polish is wet, seal with top coat. The timing is crucial - remove vinyls too late and they pull up dried polish.
Design variations I've tested:
- Diagonal stripes: Classic and flattering on almond shapes
- Triangular cutouts: Modern but tricky on curved nails
- Half-moon base: Vintage-inspired and surprisingly easy
Chrome Effect
True chrome nails require specific products, but the mirror finish is worth the investment. This isn't regular silver polish - it's actual chrome powder over gel.
What you actually need:
- Black gel base (essential for chrome to show)
- Chrome powder (Born Pretty has the best selection)
- No-wipe gel top coat
- UV/LED lamp
- Eyeshadow applicator for powder
The process: Paint black gel base, cure, apply no-wipe top coat, cure, rub chrome powder with applicator until mirror-smooth, seal with regular top coat. The black base makes chrome pop - don't skip it.
Fruit Slice Art
Tiny fruit slices are summer's cutest trend. They look complex but use simple techniques: dots and lines.
For watermelon slices:
- Pink semicircle base
- White thin line for rind
- Green outline
- Black dots for seeds
Tool reality: You don't need fancy brushes. Bobby pins make perfect dots, toothpicks create thin lines, and cleanup brush handles draw curves.
Time investment: Each nail takes 3-4 minutes plus drying time between steps. Plan for a full evening session.
Tie-Dye Swirls
Water marble's easier cousin uses the same supplies but simpler technique. Drop different colored polishes into water, swirl with toothpick, dip nail through surface.
Water temperature matters: Room temperature water (around 70°F) keeps polish from spreading too fast or too slow. I keep a thermometer in my nail area now.
Polish selection: Fast-drying formulas don't work - they skin over too quickly. Sally Hansen Insta-Dri is terrible for this technique despite being great for regular manis.
Cleanup strategy: Liquid latex around nails is essential. Without it, cleanup takes longer than the actual nail art.
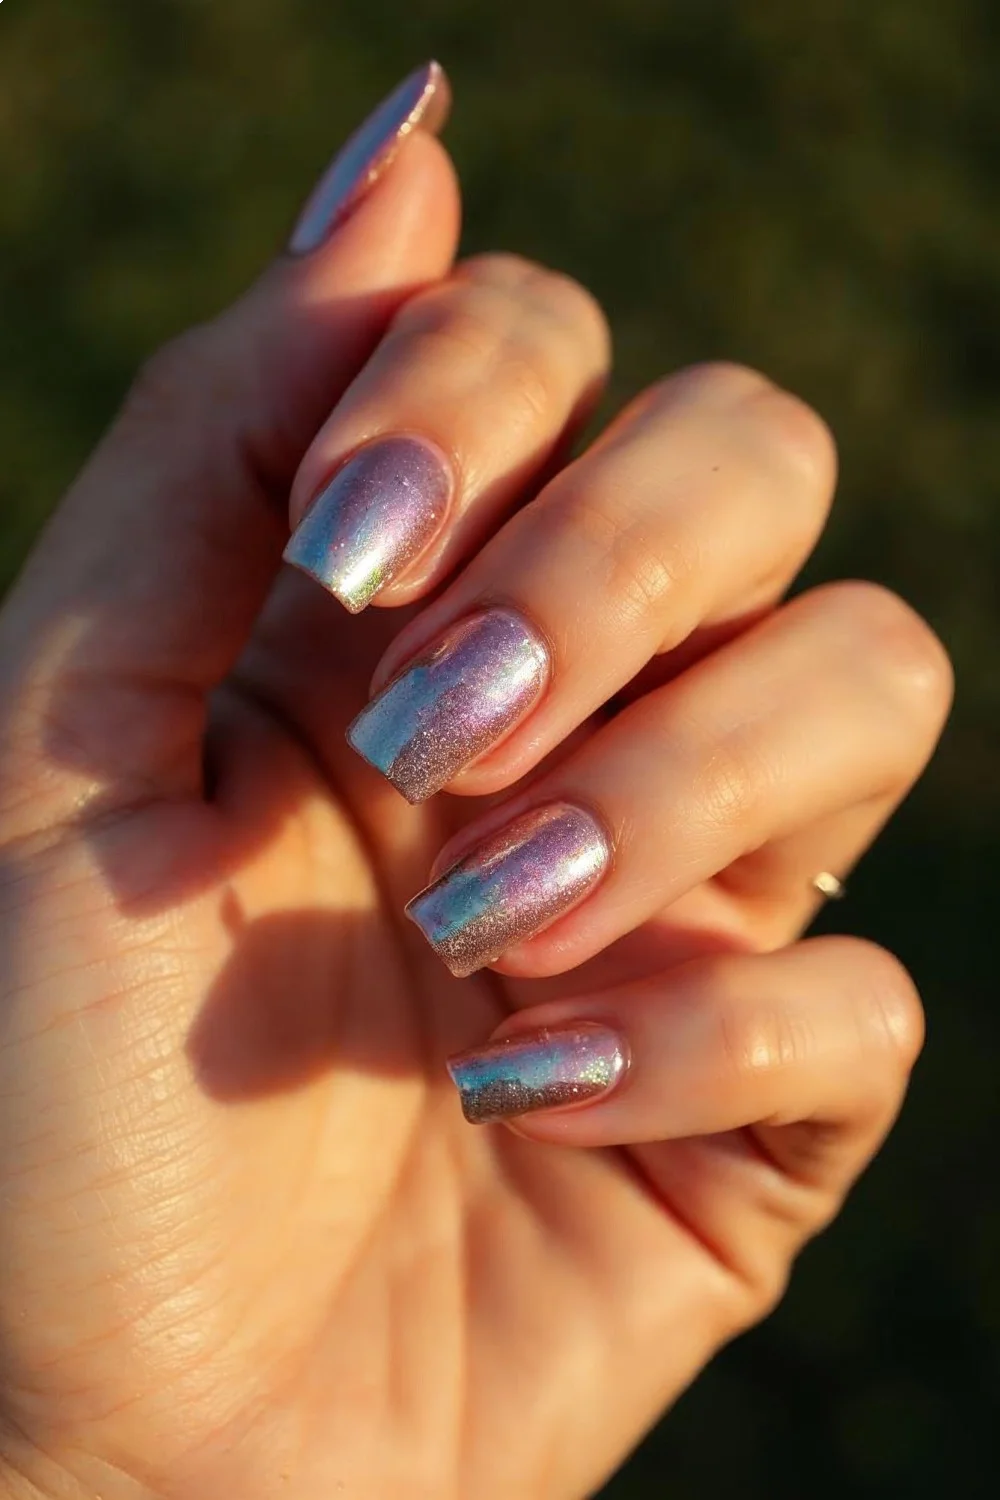
Holographic Gradient
Holographic polishes create rainbow effects in direct light. Layering them over different bases changes the holographic display.
Base color impact:
- Over black: Dramatic rainbow contrast
- Over white: Soft rainbow shimmer
- Over matching color: Subtle holographic depth
My holographic favorites:
- ILNP "Mega" - linear holographic that works over any base
- Holo Taco "Flakie Holo Taco" - scattered holo with flakes
- Fun Lacquer "Love 2015" - intense linear holo
Application tip: Don't overthink it. Two coats over your chosen base, seal with holo-friendly top coat (Glisten & Glow is my pick).
What Tools Do You Actually Need?
After testing hundreds of nail art tools, here's what earns permanent space in my kit versus what collects dust:
| Tool | Cost | Essential? | Why |
|---|---|---|---|
| Makeup sponges | $3/bag | Yes | Ombré, gradients, texture |
| Striping tape | $5 | Yes | Clean lines, geometric designs |
| Dotting tools | $8/set | Yes | Dots, drag designs, cleanup |
| Nail art brushes | $15/set | Maybe | Only if you do detailed work |
| Stamping kit | $25 | Yes | Infinite design possibilities |
| UV lamp | $30 | Maybe | Only needed for gel techniques |
The most versatile single tool? Dotting tools. They create dots obviously, but also drag designs, clean up mistakes, and apply tiny details.
How Long Do These Designs Actually Last?
I track wear time because I hate redoing nails every three days. Here's real-world durability data:
Longest-lasting: Chrome effect (8-10 days), neon French (7-9 days), stamped designs (6-8 days)
Shortest-lasting: Water marble (3-4 days), detailed hand-painted art (4-5 days), fine glitter gradients (5-6 days)
The durability secret: It's not the design complexity, it's the polish formula and application technique. Gel bases extend any design's life by 2-3 days.
Key Finding: Base coat selection significantly impacts manicure longevity, with ridge-filling formulas providing the best foundation for nail art — OPI Professional Guide
What If Your Design Goes Wrong?
Because it will, and here's how to fix common disasters:
Smudged stamping: Don't restart. Paint over with base color, let dry, try again. The extra opacity actually helps subsequent stamps show better.
Uneven ombré: Blend harsh lines with a dry makeup sponge while polish is tacky. Add more base color if needed and re-blend.
Bleeding tape lines: Remove tape immediately when you see bleeding. Clean up with small brush dipped in acetone, then freehand the line with a steady hand.
Chrome not smooth: Usually means not enough powder or uneven rubbing. Add more powder and blend with firmer pressure.
Summer Nail Care That Actually Matters
Summer destroys nails through UV exposure, chlorine damage, and temperature swings. Here's my defense strategy:
Pre-pool routine: Apply cuticle oil (I use CND Solar Oil) before swimming. It creates a barrier against chlorine damage.
Post-beach care: Rinse nails with fresh water immediately after ocean swimming. Salt water is more damaging than chlorine.
UV protection: Use base coats with UV filters like OPI Natural Nail Base Coat. Your polish color will thank you.
Hydration: Summer heat dehydrates nail beds. I apply cuticle oil twice daily and notice significantly less peeling and hangnails.
Your Next Steps
Start with one design that matches your skill level and available time. If you're new to nail art, try the jelly nails or negative space geometric - they're forgiving and look intentional even with imperfections.
Already comfortable with basics? The coral sunset ombré or tropical stamping will challenge you without overwhelming complexity.
For your first supply order, grab a good base coat, cuticle oil, and materials for whichever design caught your eye. You can always build your collection as you discover what techniques you enjoy most.
Check out my DIY nail art guide for fundamental techniques that apply to all these designs, or browse more seasonal nail inspiration once you've mastered your first summer look.
Frequently Asked Questions
What Tools Do You Actually Need?
After testing hundreds of nail art tools, here's what earns permanent space in my kit versus what collects dust: | Tool | Cost | Essential? | Why | |------|------|------------|-----| | Makeup sponges | $3/bag | Yes | Ombré, gradients, texture |
How Long Do These Designs Actually Last?
I track wear time because I hate redoing nails every three days. Here's real-world durability data: Longest-lasting: Chrome effect (8-10 days), neon French (7-9 days), stamped designs (6-8 days) Shortest-lasting: Water marble (3-4 days), detailed hand-painted art (4-5 days), fine glitter gra
What If Your Design Goes Wrong?
Because it will, and here's how to fix common disasters: Smudged stamping: Don't restart. Paint over with base color, let dry, try again. The extra opacity actually helps subsequent stamps show better.