French Manicure Tutorial: Modern DIY Guide (2026)
I've been perfecting French manicures for years, and while the classic version never goes out of style, the modern variations have changed my approach.

I've been perfecting French manicures for years, and while the classic version never goes out of style, the modern variations have changed my approach. Whether you want the timeless white tips or something more on-trend, this guide covers everything I've learned through countless attempts at my kitchen table.
- Master the traditional white-tip French first before trying modern variations
- Use nail guides or tape for perfectly straight tip lines every time
- Gel versions last 2-3 weeks versus 5-7 days for regular polish
- Modern twists include ombré tips, colored French, and minimalist thin lines
- Proper nail prep and base coat application prevent chipping and extend wear
What Tools Do You Need for a French Manicure?
You'll need specific tools to create clean, professional-looking French tips at home. Here are the essentials that work.
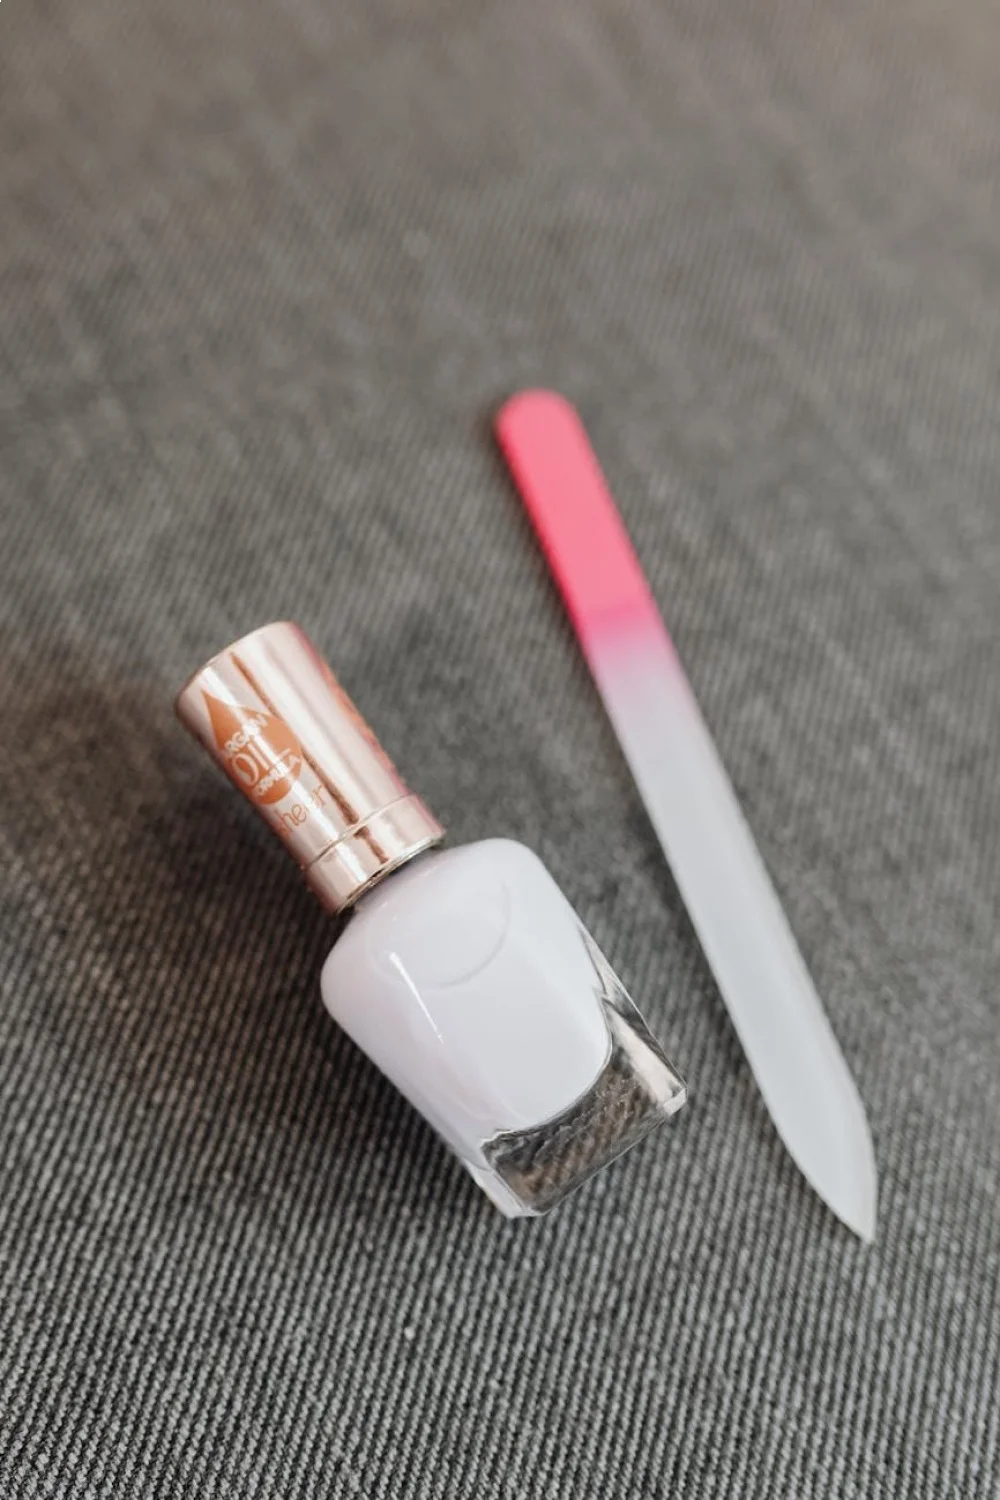
Essential Supply List
Base Products:
- Base coat (I use OPI Natural Nail Base Coat)
- Nude or pink base polish (Essie Ballet Slippers is my go-to)
- White tip polish (OPI Alpine Snow has the best opacity)
- Top coat (Seche Vite Dry Fast Top Coat for quick results)
Application Tools:
- French manicure guides or striping tape
- Small detail brush for cleanup
- Cuticle pusher and nail file
- Lint-free wipes
- Nail dehydrator or rubbing alcohol
Product Recommendations That Actually Work
After trying countless white polishes that looked streaky or required four coats, these are the ones I keep repurchasing:
| Product | Price | Coverage | Best For |
|---|---|---|---|
| OPI Alpine Snow | $12 | Opaque in 2 coats | Traditional white tips |
| Essie Blanc | $10 | Sheer, buildable | Natural-looking tips |
| Sally Hansen White On | $8 | Full coverage | Beginner-friendly |
| Zoya Snow White | $11 | Creamy, no streaks | Gel-like finish |
For nail art tutorials and design ideas, quality tools make the difference between a design that lasts and one that chips by day two.
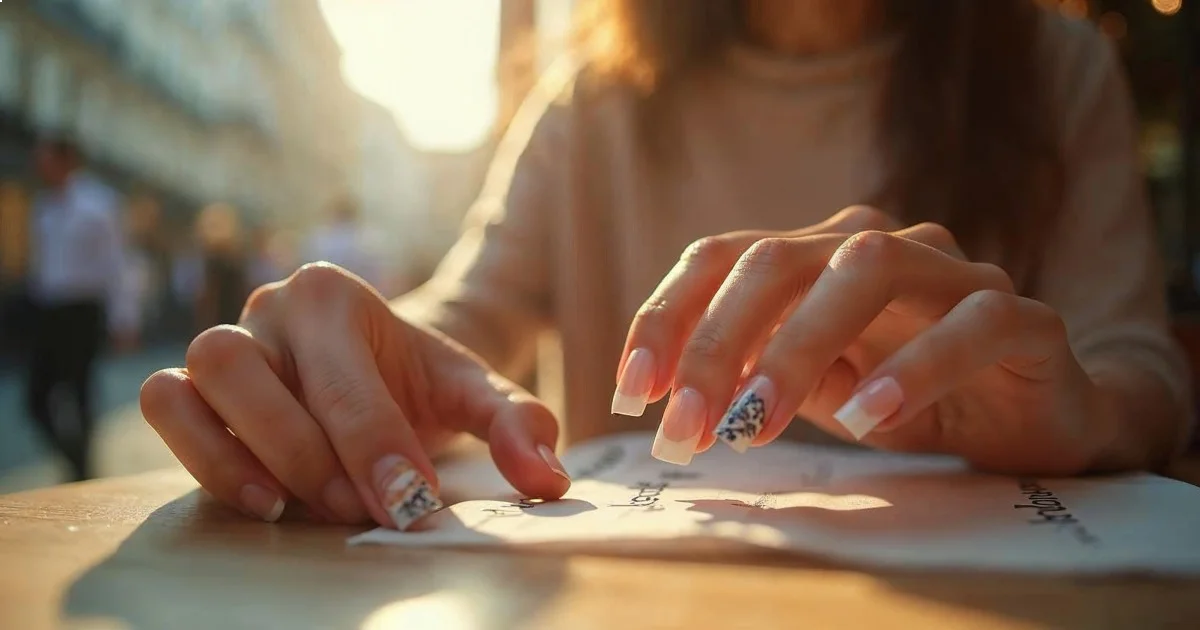
How Do You Create a Traditional French Manicure?
The classic French manicure follows a specific four-step process that ensures smooth application and long-lasting results.
Step 1: Prep Your Nails Properly
Start with clean, dry nails. Push back cuticles and file nails into your preferred shape—oval or square work best for French tips. Remove any oils with nail dehydrator or rubbing alcohol on a lint-free wipe.
Key Finding: Proper nail preparation, including dehydrating and base coat application, is the most important factor in DIY manicure longevity — American Academy of Dermatology
Apply a thin layer of base coat and let dry for 2-3 minutes. This step prevents staining and helps polish adhere better.
Step 2: Apply Your Base Color
Apply two thin coats of your nude or pink base color, allowing 2 minutes between coats. I prefer Essie Ballet Slippers for fair skin tones or OPI Put It in Neutral for deeper skin tones.
The key here is thin coats—thick application leads to bubbles and longer dry times. Each coat should be barely visible on the brush when you start painting.
Step 3: Create the White Tips
This is where most people struggle, but using guides makes it foolproof. Place French manicure guides or striping tape across each nail, leaving the tip exposed. The guide should curve naturally with your nail shape.
Apply white polish to the exposed tip area in one smooth stroke. OPI Alpine Snow gives perfect opacity in just one coat, which prevents the guides from lifting. Remove guides immediately while polish is still wet.
Pro tip: If you wait too long to remove the guides, they'll peel up your white polish. Remove them within 30 seconds of application.
Step 4: Seal Everything
Once white tips are completely dry (about 3-4 minutes), apply top coat over the entire nail. This blends the base and tip colors while adding shine and protection.
Seche Vite Dry Fast Top Coat dries to touch in 60 seconds and completely hardens in 5 minutes—perfect when you're doing your nails before bed.
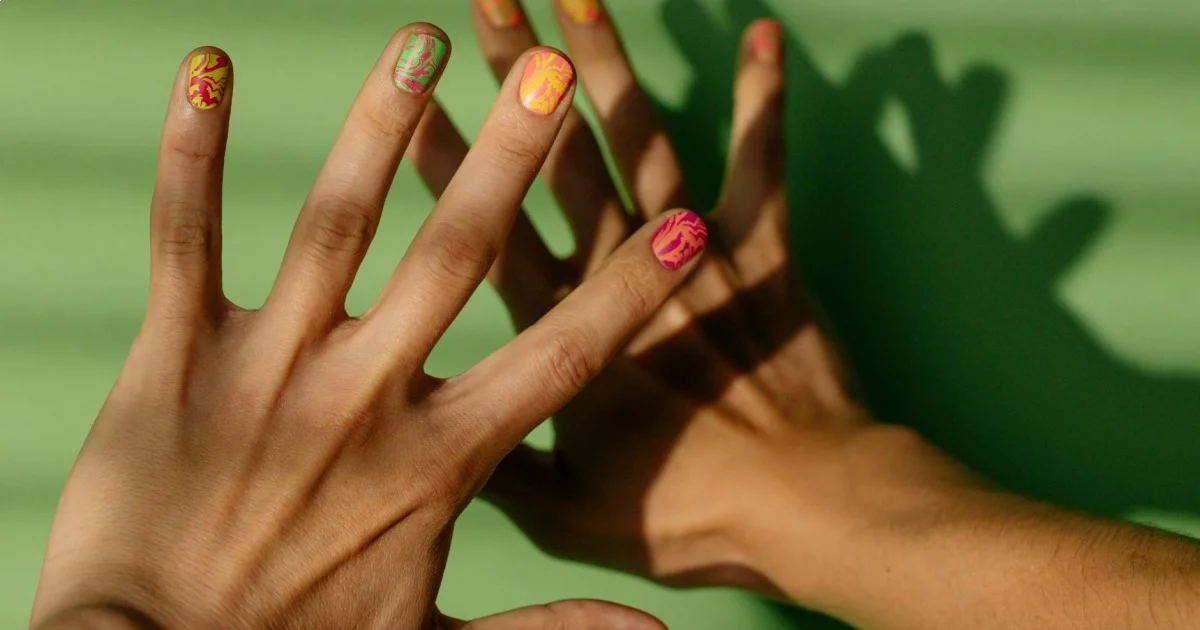
What Are the Best Modern French Manicure Variations?
The traditional white-tip French has evolved into countless modern interpretations. Here are the variations I've tested that actually look sophisticated.
Ombré French Tips
This gradient effect softens the harsh line between base and tip. Use a makeup sponge to dab white polish onto the tips, creating a fade effect. It takes practice, but the result looks incredibly professional.
Start with a light base like Essie Mademoiselle, then use the sponge technique with OPI Alpine Snow. The key is building the gradient slowly with light dabbing motions.
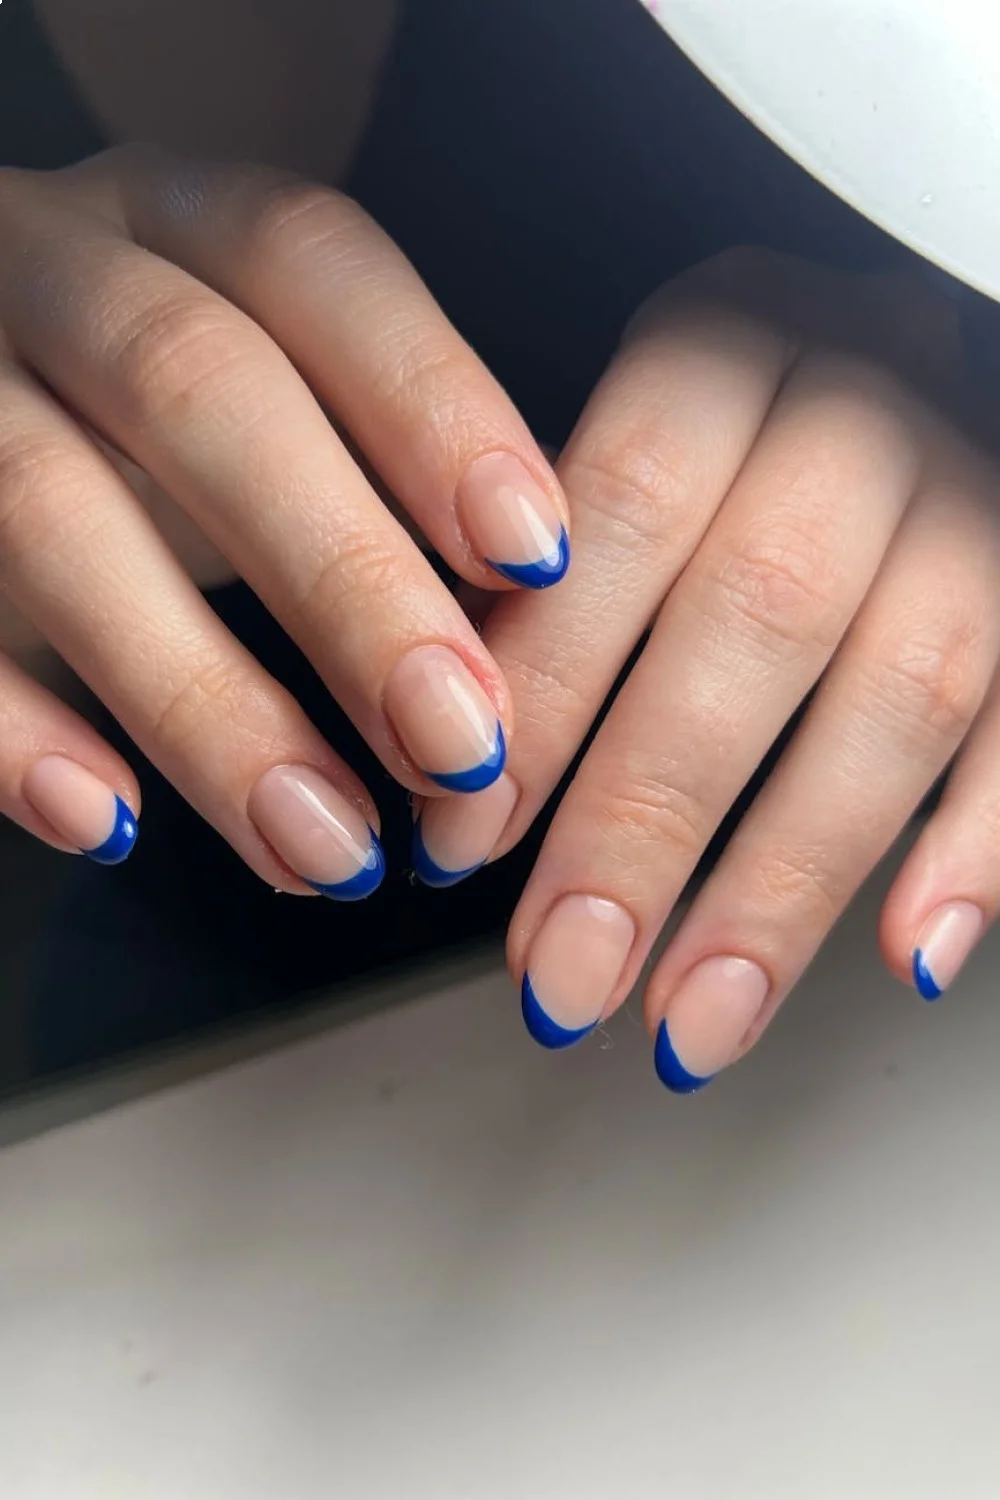
Colored French Manicure
Swap white tips for seasonal colors. I love sage green tips (try OPI Olive for Pearls) in spring or burgundy tips (OPI Lincoln Park After Dark) for fall. The application technique stays the same—only the tip color changes.
For spring gel nail colors, soft pastels create beautiful French variations that feel fresh and modern.
Minimalist Thin-Line French
Instead of painting the entire tip, create just a thin line at the very edge. Use a detail brush or nail art pen for precision. This looks incredibly chic and modern while being much easier than traditional French tips.
Reverse French Manicure
Paint the half-moon at the base of your nail instead of the tip. This works beautifully with metallic polishes or bright colors. Use the same guide technique but position it near your cuticle area.
How Do You Apply Gel French Manicures?
Gel French manicures last 2-3 weeks versus 5-7 days for regular polish, making them worth the investment in a UV lamp. The application process differs slightly from traditional polish.
Gel vs. Traditional Polish: Key Differences
| Factor | Traditional Polish | Gel Polish |
|---|---|---|
| Dry Time | 15-20 minutes total | 2-3 minutes under lamp |
| Durability | 5-7 days | 2-3 weeks |
| Removal | Easy with acetone | Requires soaking and filing |
| Initial Cost | $30-40 | $80-120 (includes lamp) |
For gel application, you'll need a base coat, colored gel polishes, top coat, and UV or LED lamp. I use the Beetles Gel Polish Kit—it's affordable and includes everything needed.
Gel French Application Steps
- Prep nails the same way as traditional polish
- Apply gel base coat and cure for 60 seconds
- Apply base color in thin coats, curing 60 seconds between coats
- Create white tips using the same guide technique, cure 60 seconds
- Finish with gel top coat and cure 60 seconds
- Wipe with alcohol to remove sticky residue
The curing time is shorter than air-drying, but you need to cure after each layer. Don't skip the alcohol wipe at the end—gel top coats leave a tacky layer that must be removed.
Key Finding: UV light exposure during gel manicures is minimal and poses no significant health risk when used as directed — OPI Professional Insights
What Are the Most Common French Manicure Mistakes?
After years of practice, these are the mistakes I see repeatedly.
Uneven or Crooked Tip Lines
This happens when you freehand the tips without guides. Even with steady hands, it's nearly impossible to get perfectly matched curves on all ten nails.
Fix: Always use French manicure guides or striping tape. Position them carefully before applying white polish, and remove while the polish is still wet.
Polish Streaking and Bubbles
Thick polish application causes streaks, bubbles, and uneven coverage. I used to glob on polish thinking it would save time—it never does.
Fix: Apply multiple thin coats instead of trying to get full coverage in one pass. Let each coat dry completely before adding the next.
Tips Chipping Within Days
This usually means you skipped the base coat or didn't cap the free edges with top coat.
Fix: Always apply base coat and make sure your top coat wraps slightly under the nail tip. This seals the edge and prevents chipping.
Which Nail Shape Works Best for French Manicures?
Nail shape dramatically affects how French tips look. Here's what actually works.
Oval and Almond: The Classic Choices
These shapes create the most elegant French manicure silhouette. The curved tip line follows the natural nail shape, making application easier and results more polished.
Oval works for shorter nails, while almond requires more length but looks incredibly sophisticated. Both shapes are forgiving if your tip line isn't perfectly straight.
Square and Coffin: Modern Takes
Square French manicures look sharp and contemporary, but require precise application since any wobble in the tip line is obvious. Coffin shape creates dramatic length but can look overwhelming with traditional white tips.
For these shapes, I recommend thin-line French or colored tips instead of full white coverage.
How Can You Make Your French Manicure Last Longer?
Proper maintenance extends wear time significantly.
Daily Care Tips
- Wear gloves when cleaning, gardening, or doing dishes
- Apply cuticle oil daily to prevent dryness and lifting
- Reapply top coat every 3-4 days to refresh shine
- File breaks immediately instead of letting them catch and tear
I keep a nail file in my purse because catching a break early prevents the entire manicure from failing.
Protecting Your Tips
The nail tips take the most abuse, so:
- Use your knuckles instead of fingertips to open cans
- Type gently and use fingerpads instead of nail tips
- Avoid using nails as tools for opening packages or scratching
For comprehensive nail care tips, proper daily maintenance makes any manicure last longer.
What Colors Work for Different Seasons?
While white tips are timeless, colored French manicures let you follow seasonal trends.
Spring and Summer Options
Soft pastels like lavender, mint green, or coral create fresh spring looks. For summer, try bright coral, sunny yellow, or classic red tips.
Metallic tips in gold or rose gold work year-round but feel especially summery. Check out spring gel nail designs for more seasonal inspiration.
Fall and Winter Variations
Deep jewel tones like emerald, sapphire, or burgundy create rich autumn French tips. For winter, try navy, deep purple, or even black tips for a dramatic look.
Should You DIY or Go Professional?
After doing hundreds of French manicures at home and getting professional ones, here's the honest comparison:
DIY Advantages:
- Costs about $15 in supplies versus $35-50 per salon visit
- You can touch up chips immediately
- Perfect for trying new color combinations
- No appointment scheduling needed
Professional Advantages:
- Consistently perfect tip lines
- Longer-lasting results (especially gel)
- Access to high-end products
- Time-saving for busy schedules
For budget-friendly nail art options, DIY French manicures offer the best value once you master the technique.
I recommend starting with DIY to learn the basics, then going professional for special events when you want guaranteed perfection.
Key Finding: Regular at-home manicures can maintain nail health when proper sanitation and technique are followed — Byrdie Beauty Authority
French manicures remain popular because they're universally flattering and appropriate for any occasion. Whether you choose the classic white tips or experiment with modern variations, the key is practice and patience.
Start with the traditional technique using guides for straight lines, then experiment with colors and variations once you've mastered the basics. Your first attempt might not be perfect—mine looked like I painted them in a moving car—but each one gets better.
Grab your supplies and try the basic technique this week. Once you nail the traditional version, you'll have the foundation for every modern variation.
Frequently Asked Questions
What Tools Do You Need for a French Manicure?
You'll need specific tools to create clean, professional-looking French tips at home. Here are the essentials that work.
How Do You Create a Traditional French Manicure?
The classic French manicure follows a specific four-step process that ensures smooth application and long-lasting results.
What Are the Best Modern French Manicure Variations?
The traditional white-tip French has evolved into countless modern interpretations. Here are the variations I've tested that actually look sophisticated.
How Do You Apply Gel French Manicures?
Gel French manicures last 2-3 weeks versus 5-7 days for regular polish, making them worth the investment in a UV lamp. The application process differs slightly from traditional polish.
What Are the Most Common French Manicure Mistakes?
After years of practice, these are the mistakes I see repeatedly.