French Manicure Tutorial: 6 Modern Takes on the Classic
Modern French manicures range from colored tips and negative space designs to abstract shapes and metallic accents, all achievable at home with standard...
Modern French manicures range from colored tips and negative space designs to abstract shapes and metallic accents, all achievable at home with standard polish or gel systems. These updated variations maintain the classic French structure—a defined tip on a neutral base—while introducing contemporary color theory and minimalist art techniques that reflect current trends observed across social media platforms and salon floors.
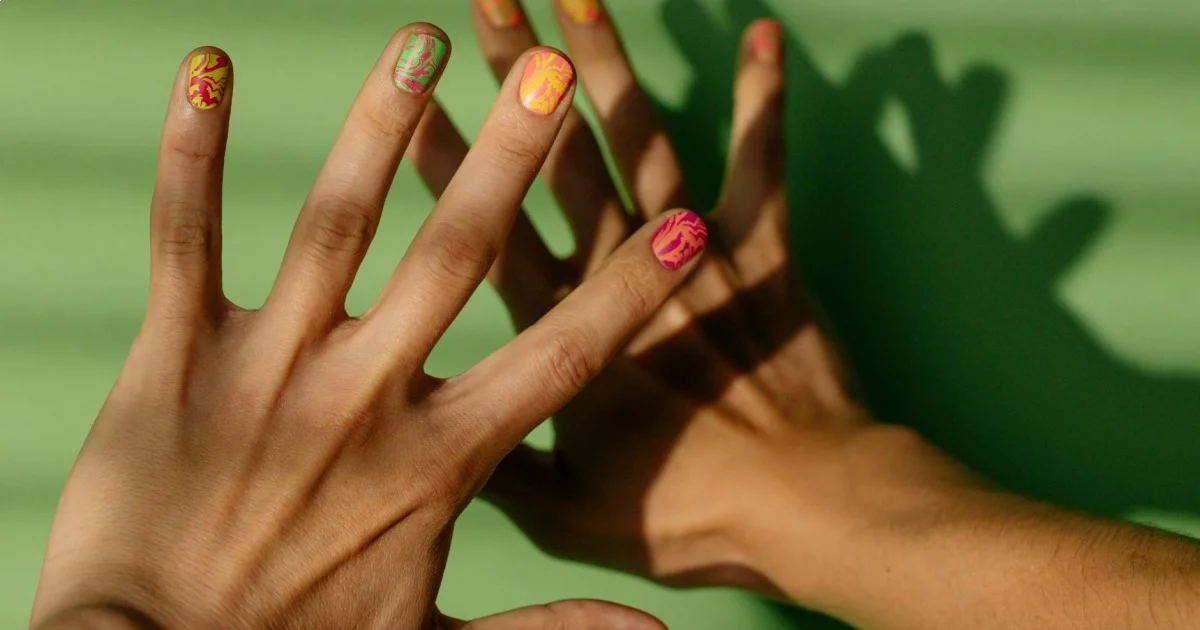
- Colored French tips in jewel tones or pastels replace traditional white, creating statement nails while maintaining the elongating effect
- Negative space French manicures skip the base coat color entirely, allowing natural nail to show through for a breathable, modern aesthetic
- Abstract French tips feature wavy, geometric, or angled lines instead of traditional curves, requiring steady hand control but no special tools
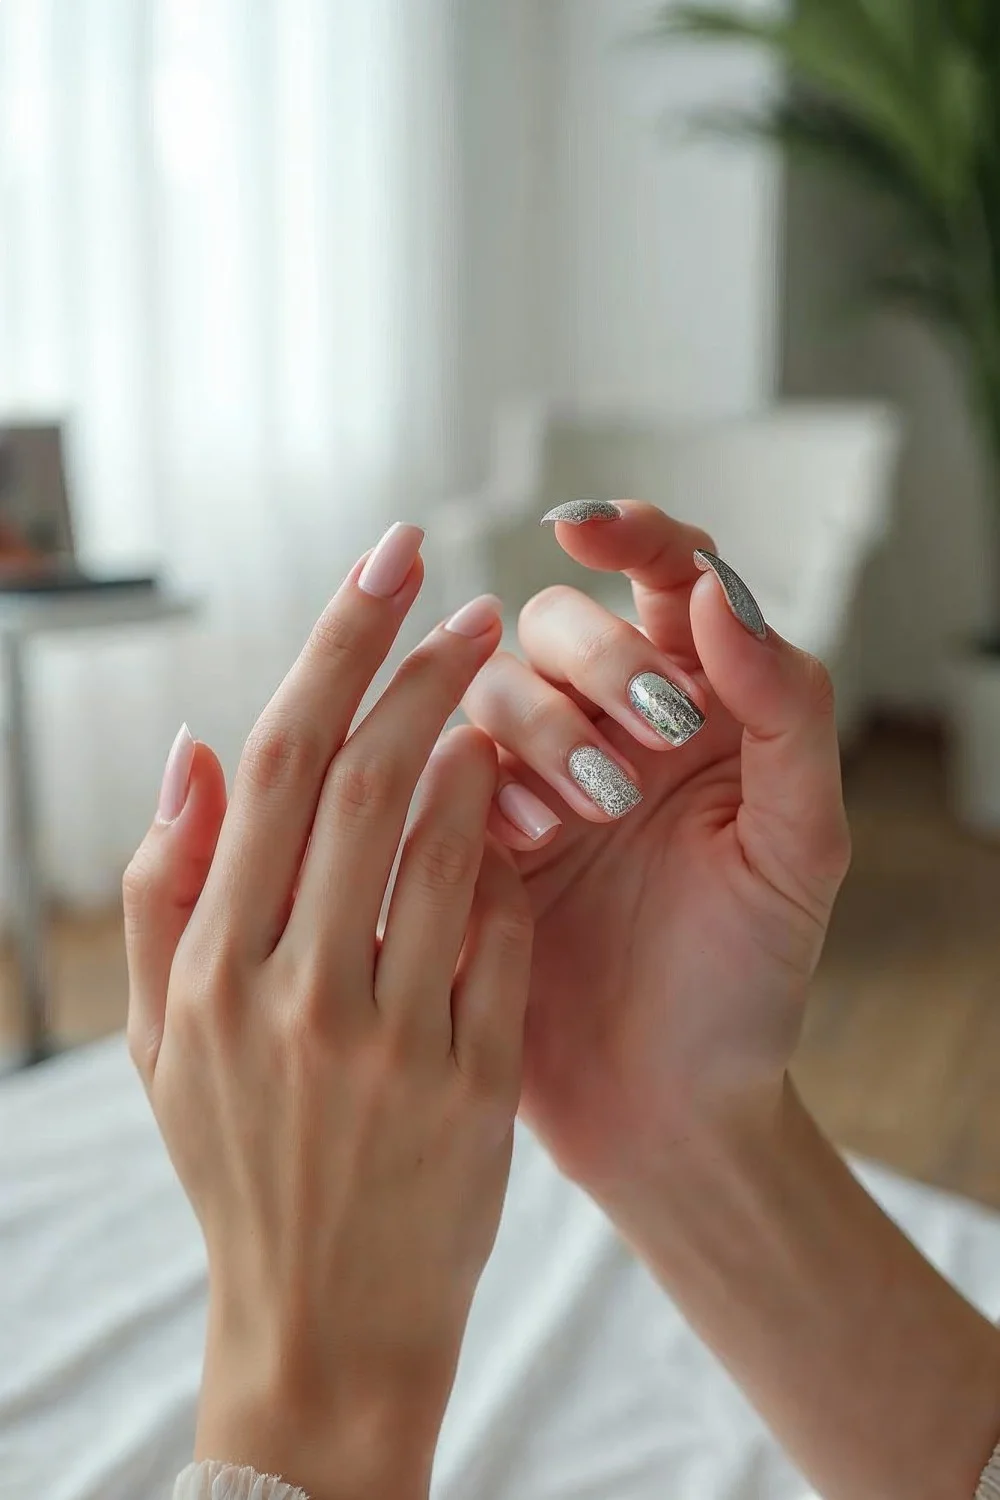
- Metallic and chrome French accents transform the classic look using specialized polishes that require gentle application to avoid streaking
- Modern French styles work on any nail length and shape, with design adjustments for short natural nails versus longer extensions
Required Supplies and Tools
Successful modern French manicures depend on having the right supplies assembled before you start. The base requirements include a quality base coat (which protects the nail plate and prevents staining), your chosen color polishes, and a top coat for sealing. Beyond these fundamentals, you'll need cleanup tools—a small brush dipped in acetone or nail polish remover works for correcting mistakes around the cuticle area.
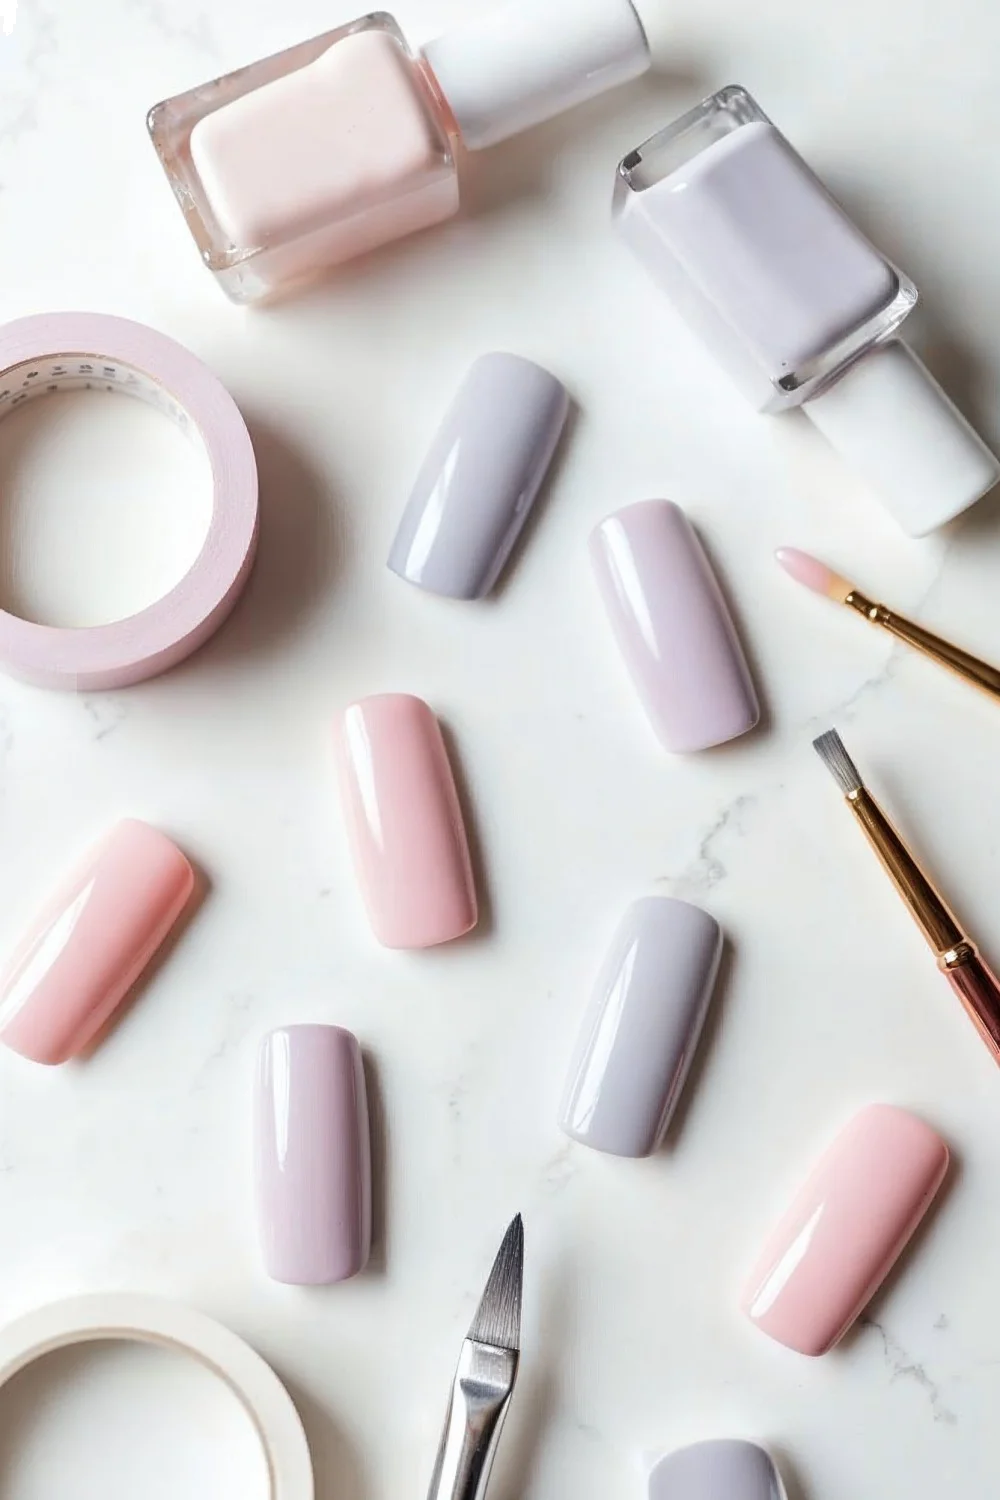
For precision work, consider adding striping tape or nail guides to your toolkit. Allure's guide to nail stencils and strips highlights how these tools help achieve clean lines without requiring professional-level brush control. A detail brush with a fine tip (typically 5mm or smaller) provides more control than standard polish brushes for creating thin or angled tips.
| Tool | Purpose | Price Range | Skill Level |
|---|---|---|---|
| Base coat | Adhesion and protection | $8-12 | All levels |
| Detail brush | Precision lines and thin tips | $3-8 | Intermediate+ |
| Striping tape | Creating negative space sections | $4-10 per roll | All levels |
| Cleanup brush | Correcting edges | $2-5 | All levels |
| Dotting tool | Adding accent details | $5-12 set | All levels |
Nail preparation supplies matter just as much as the polish itself. You'll need a nail file (180-240 grit for natural nails), buffer block, cuticle pusher, and alcohol or nail dehydrator to remove oils from the nail surface before application.
Step 1: Prepare the Nail Surface
Proper nail preparation creates the foundation for extended wear, regardless of which modern French variation you choose. Start by filing nails to your desired length and shape, moving the file in one direction rather than sawing back and forth—this prevents the nail layers from separating at the free edge. Most modern French designs work on any shape, though different nail shapes create distinct visual effects with the tip placement.
Push back cuticles gently using a wooden or rubber-tipped pusher, working around the nail in small sections. Remove any dead cuticle tissue with light pressure—aggressive pushing can damage the nail matrix underneath. Buff the nail surface lightly with a 240-grit buffer to remove shine and create texture for better polish adhesion. This step is particularly important for gel applications, which bond through mechanical adhesion to the roughened surface.
Key Finding: Proper nail preparation, including dehydrating and base coat application, is the most important factor in DIY manicure longevity — OPI
Wipe each nail with rubbing alcohol (70% isopropyl or higher) or a dedicated nail dehydrator to remove oils, lotions, and dust from filing. Let nails dry completely—about 30 seconds—before moving to base coat application. Skip this step and you'll notice lifting at the cuticle area within 2-3 days, even with quality products.
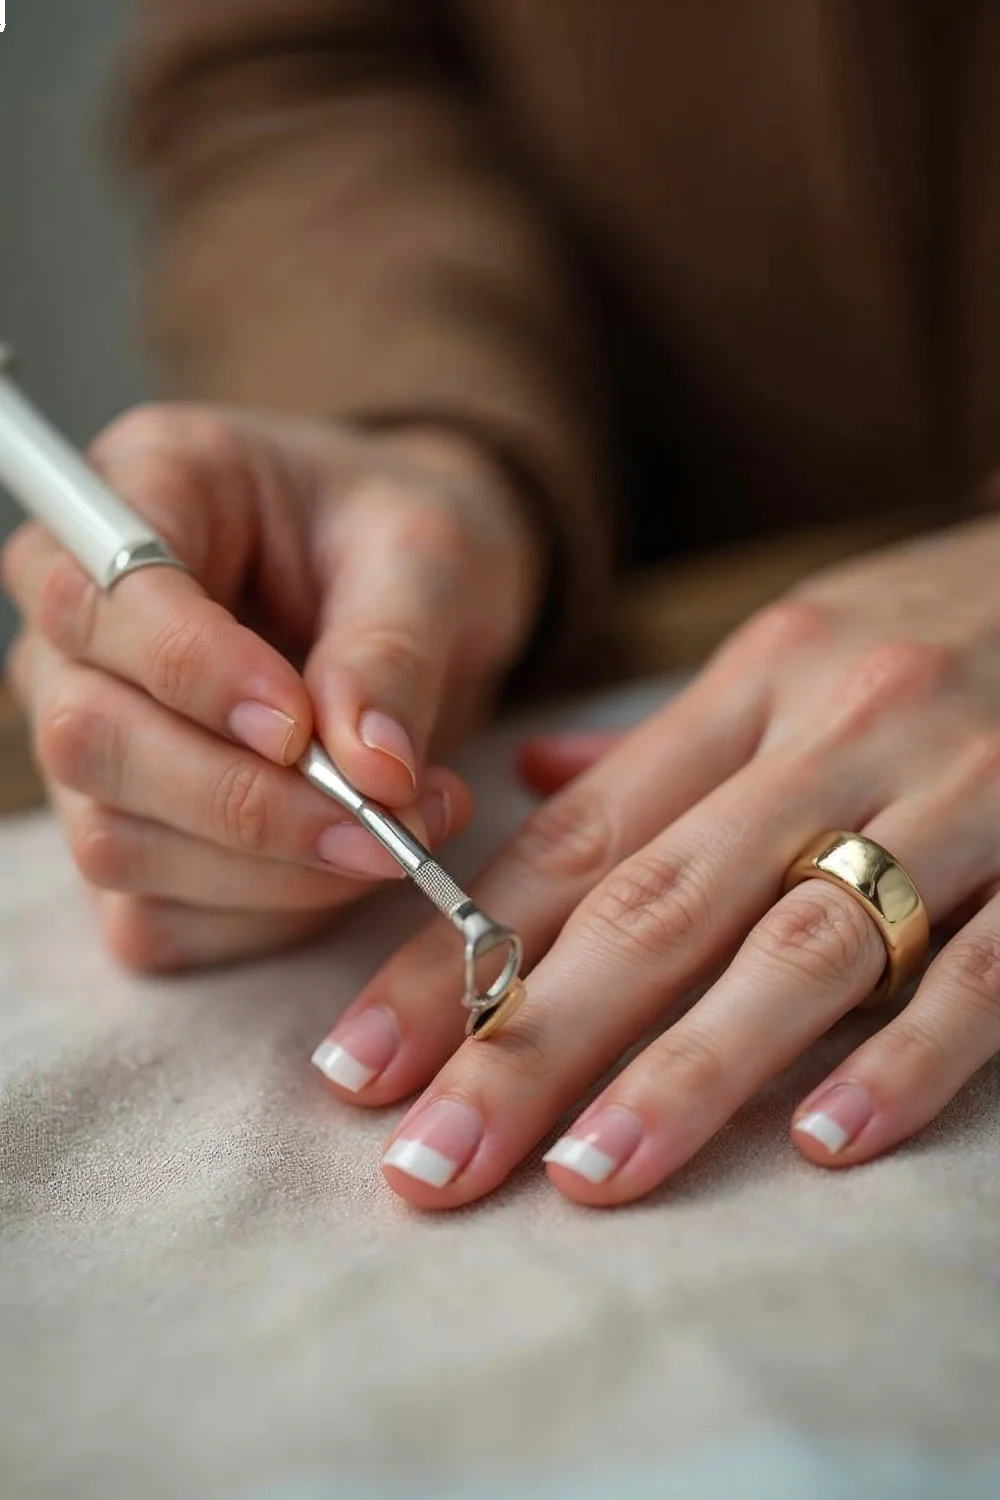 french manicure tutorial, showing cuticle pushing and filing" loading="lazy">
Step 2: Apply Base Coat and Foundation Color
Base coat application follows a specific technique that differs from regular polish application. Apply a thin layer starting from the center of the nail, then sweeping to each side, staying 1-2mm away from the cuticle line. Cap the free edge by running the brush along the tip—this seals the nail layers and prevents chipping. Allow base coat to dry for 60-90 seconds before proceeding.
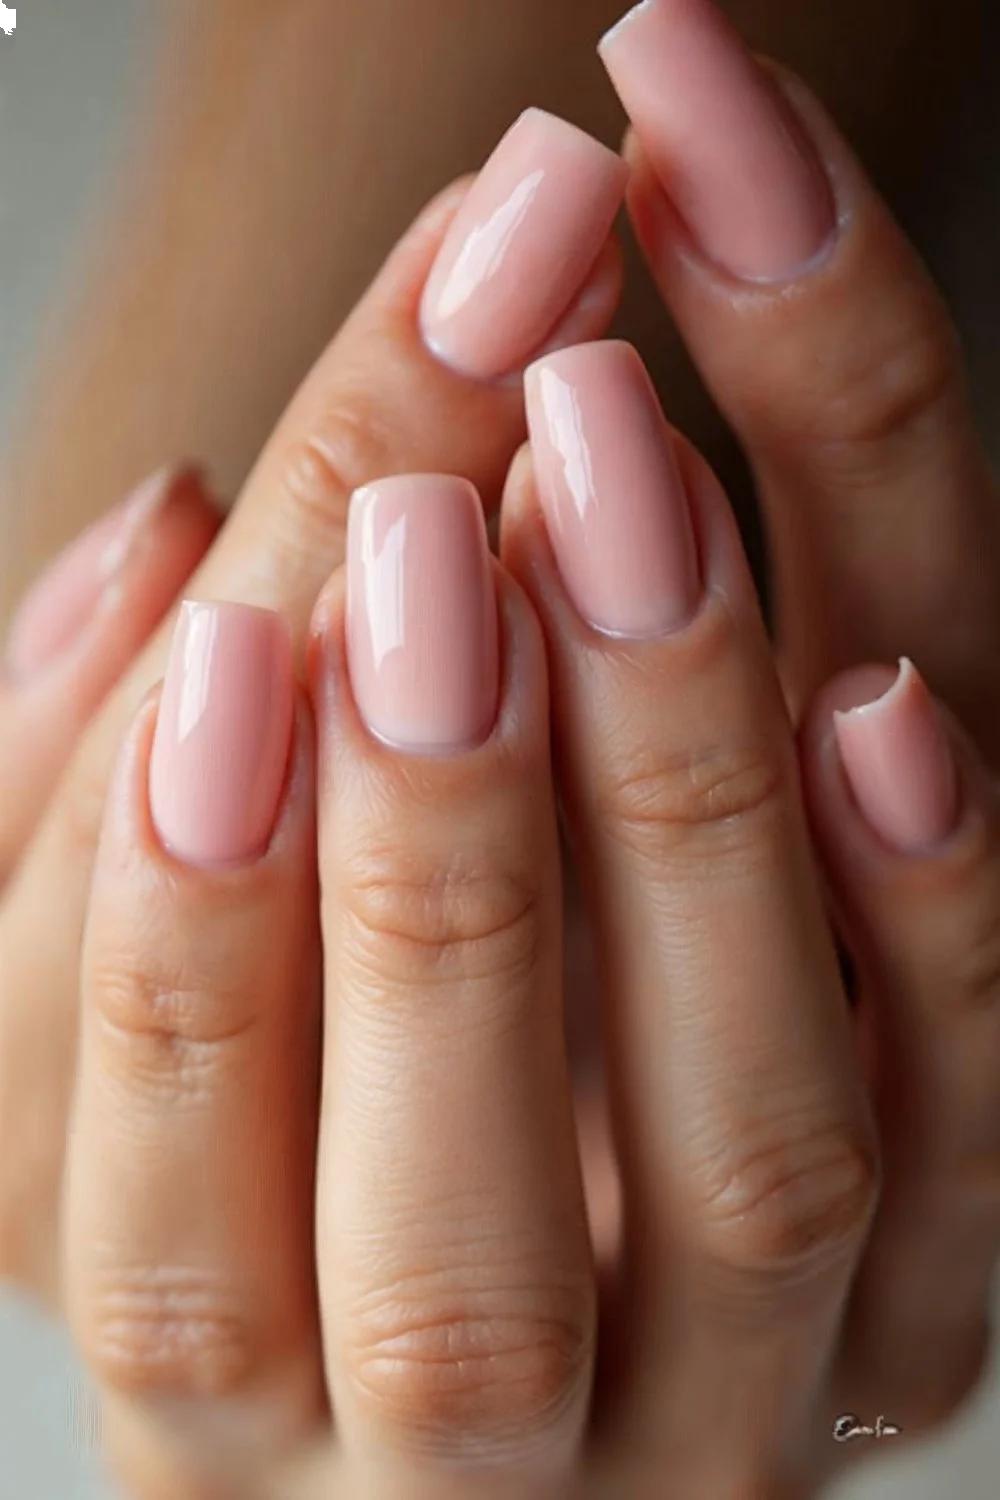
For traditional modern French with a nude or pink base, apply your foundation color in two thin coats rather than one thick coat. Thin coats dry faster, level more smoothly, and create less bulk at the nail tip. OPI, Essie, and Sally Hansen all produce sheer nude shades specifically formulated for French manicure bases—these contain fewer pigments than standard colors, allowing them to self-level without visible brushstrokes.
If you're creating a negative space French design that shows the natural nail, skip the foundation color entirely and proceed directly to tip application after base coat. This technique works particularly well on healthy, even-toned natural nails. For discolored or stained nails, a sheer pink base balances the nail tone without covering it completely.
Dry time between coats matters more than most tutorials acknowledge. Standard polish needs 2-3 minutes between coats; gel polish should be cured under UV/LED according to manufacturer specifications (typically 30-60 seconds for LED, 120 seconds for UV). Rushing this step causes the layers to mix, creating a gummy texture that never fully hardens.
Step 3: Create Colored French Tips
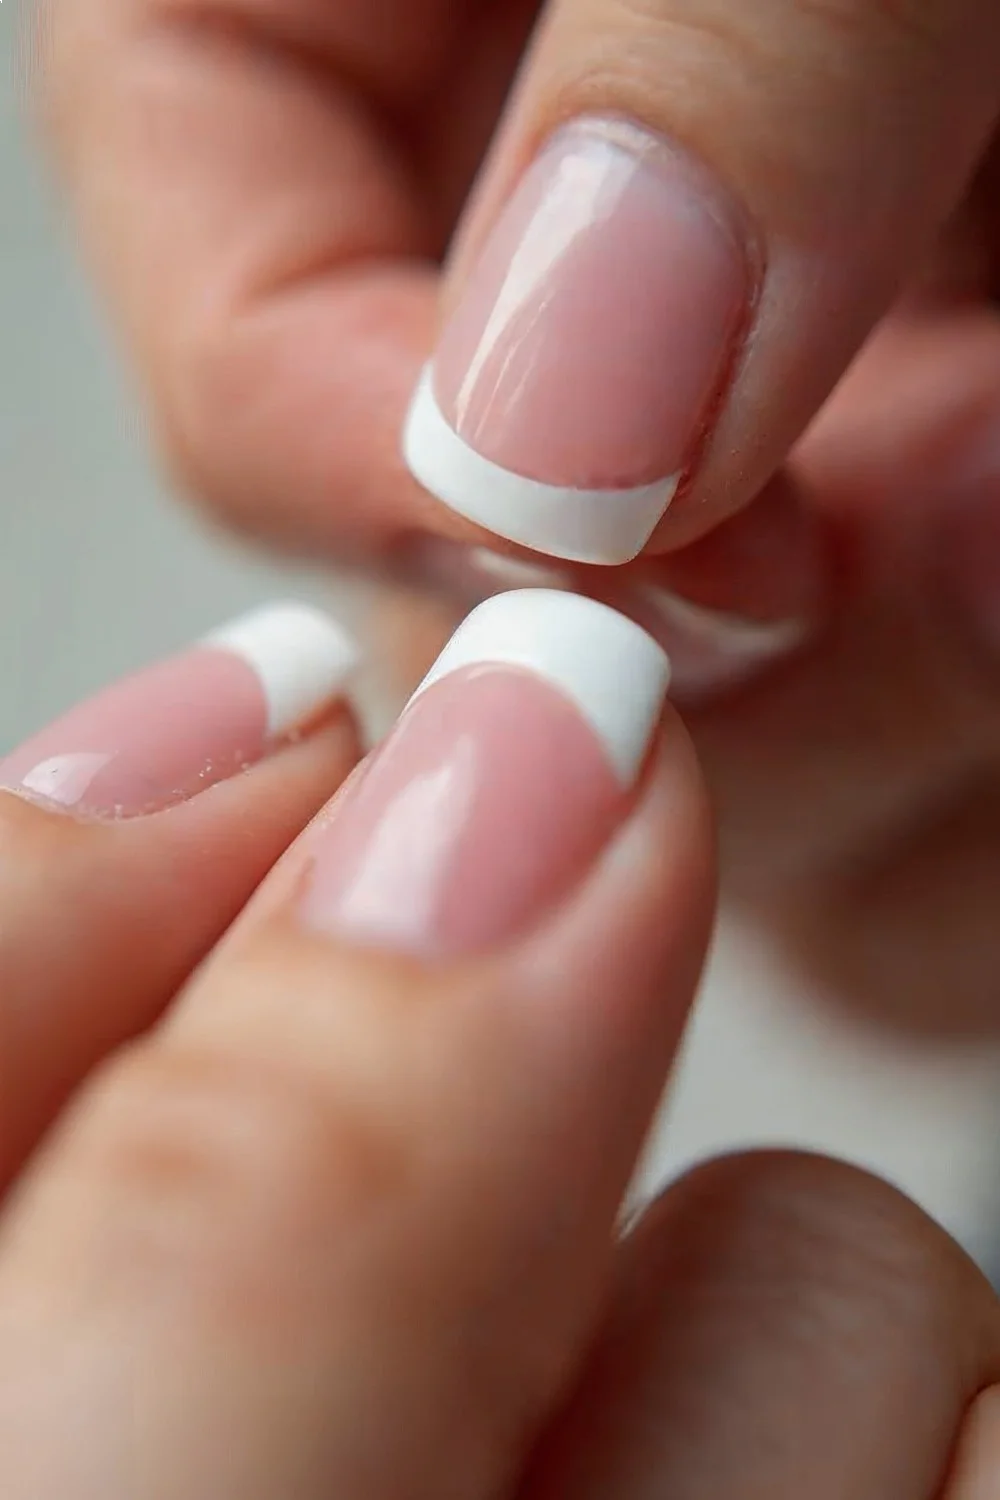
Colored French tips represent the most accessible modern variation, requiring only steady hand control and no special tools. Select a contrasting color—jewel tones like emerald, sapphire, or ruby create high impact, while pastels offer softer sophistication. The tip should cover approximately one-third of the nail length, though this proportion adjusts based on nail shape and personal preference.
Start at one side of the nail, placing the brush at your desired tip line at a 45-degree angle. Sweep the brush in a curve toward the opposite side, following the natural smile line of your nail. Most beginners find it easier to create a slightly flatter curve than attempting the deep semicircle of traditional French manicures—this also aligns with current trend observations showing preference for subtler curves.
Byrdie's collection of modern French designs demonstrates how color placement changes the overall effect. Tips that extend higher on the nail read as bold and statement-making, while thin tips maintaining the classic proportion appear more refined. For your first attempt, aim for a 3-4mm tip height—enough to be visible but forgiving of slight asymmetry between nails.
If the line comes out shaky or uneven, immediately wipe it away with a brush dipped in acetone and try again while the base color is still tacky. Once both layers have dried completely, corrections become more difficult without removing all layers. Apply a second coat of tip color for opacity, following the same line you created with the first coat.
Step 4: Design Negative Space French Manicures
Negative space designs expose sections of the natural nail within the manicure, creating geometric patterns that feel contemporary and architectural. The simplest approach uses striping tape to section off areas before applying polish. Apply base coat to the entire nail, cure or dry completely, then place thin striping tape in your desired pattern—diagonal lines, geometric shapes, or parallel strips work well.
Apply your chosen color over the tape and exposed nail areas, working carefully to avoid disturbing the tape placement. For standard polish, remove the tape while the polish is still wet (after 30-45 seconds) by gently pulling at a 180-degree angle away from the nail. For gel polish, cure the color first, then carefully remove the tape—gel's thickness prevents bleeding under the tape edge.
A popular variation combines negative space with French tips: leave the middle section of the nail bare while coloring both the base near the cuticle and the tip. This creates a floating tip effect that maintains the French manicure's elongating properties while adding visual interest. The exposed natural nail section should measure at least 4-5mm to read clearly as intentional design rather than application error.
Negative space manicures work particularly well for those following healthy nail care practices, as they allow the nail to breathe between full-coverage applications. The reduced polish coverage also makes these designs lighter and more comfortable on longer nails.
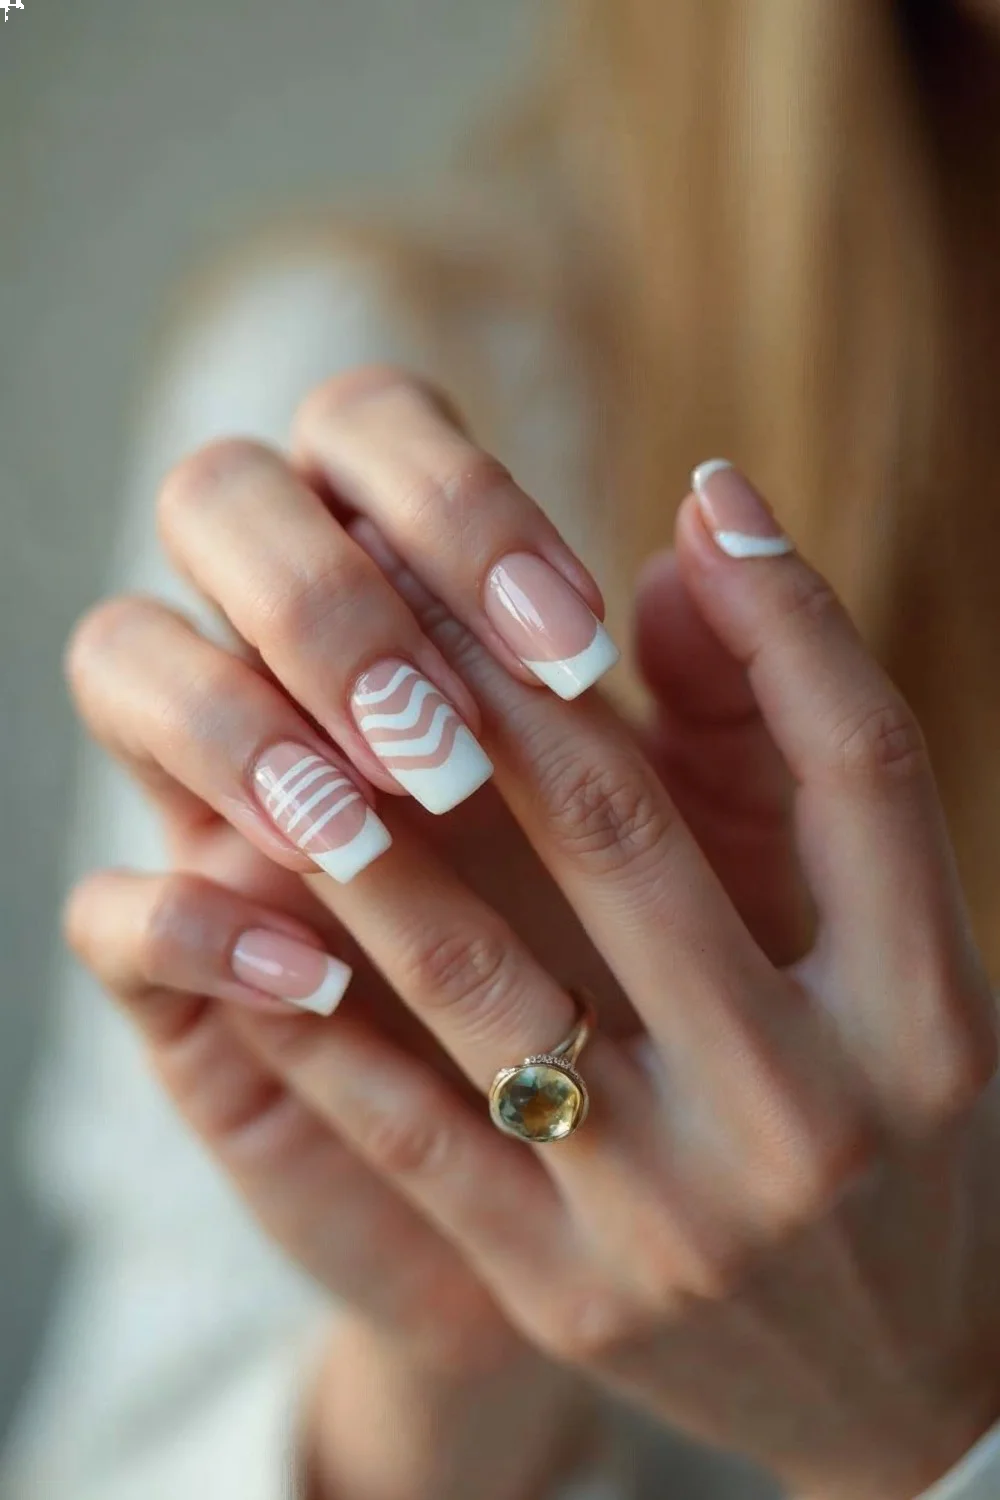
Step 5: Execute Abstract and Geometric Tips
Abstract French tips abandon the traditional curved smile line for angular, wavy, or asymmetric shapes. These designs gained significant traction on social media platforms throughout 2025-2026, with nail artists experimenting with architectural shapes that complement modern fashion aesthetics. The appeal lies in the design's flexibility—no two nails need to match exactly, making slight variations between fingers feel intentional rather than accidental.
For wavy French tips, use a detail brush to create an undulating line across the nail tip rather than a smooth curve. Start at one side, creating gentle hills and valleys as you move across the nail. The waves should measure roughly 1-2mm in height variation—larger waves can overwhelm shorter nails. This technique works best with cream polishes rather than shimmers, as the solid color emphasizes the line shape.
Geometric tips feature sharp angles and straight lines instead of curves. Use striping tape as a guide, placing it at your desired angle across the nail tip (45-degree angles create dynamic diagonal lines). Apply tip color, remove tape while wet, and clean up any bleeding with a detail brush dipped in acetone. For truly sharp corners, a cleanup brush is essential—the naked eye doesn't detect slight blur, but photos reveal imprecise lines immediately.
Tracking industry-wide shifts from salon floors and beauty expos, the most commonly requested abstract variation combines multiple angles on a single nail, creating a shattered or faceted glass effect. This requires mapping your design before application—mental planning alone typically results in unbalanced proportions.
Step 6: Apply Metallic and Chrome Accents
Metallic French manicures use specialized polishes containing reflective particles or chrome powders to create high-shine tips. Standard metallic polishes apply like regular color but require a gentler hand—overworking metallic formulas causes the reflective particles to spread unevenly, creating bald spots. Load the brush with polish, place it on the nail, and gently press and pull rather than brushing back and forth.
Chrome powder French tips require gel polish as a base. Apply gel color for your tip, cure it until tacky (typically 30-45 seconds under LED), then use a silicone applicator or makeup sponge to rub chrome powder onto the tacky surface. The powder adheres to the uncured top layer, creating a mirror-like finish. Brush away excess powder with a soft makeup brush, then seal with gel top coat and cure fully.
Gold and silver remain the most popular metallic choices, but rose gold, copper, and iridescent options create softer, more nuanced effects. Cosmopolitan's French tip design collection shows how metallic accents pair with nude or colored bases to create dimension without overwhelming the nail.
One common failure point: applying top coat too thickly over metallic polish causes the reflective particles to shift, creating a cloudy appearance. Use thin top coat layers, allowing each to dry completely before adding another if additional shine is desired.
Step 7: Seal with Top Coat
Top coat application determines how long your modern French manicure maintains its crisp lines and glossy finish. Like base coat, top coat should cap the free edge—run the brush along the nail tip to seal the color layers underneath. This step is particularly important for French manicures since the tip receives the most wear and contact with surfaces.
For standard polish, quick-dry top coats like Seche Vite reduce total drying time from 20-30 minutes to 5-8 minutes. These formulas contain solvents that penetrate the color layers beneath, helping them cure from the inside out. Apply top coat 2-3 minutes after the final color coat when the polish is dry to touch but not fully hardened—this timing allows the top coat to bond properly.
Gel top coats require curing under UV or LED lamps according to manufacturer instructions. Most gel top coats cure in 30-60 seconds under LED, creating a hard shell that resists chipping significantly longer than standard polish. The trade-off involves removal difficulty—gel requires soaking in acetone for 10-15 minutes, while regular polish removes immediately with remover.
Matte top coats create an alternative finish for modern French designs. These flatten the shine while maintaining color intensity, creating a velvety appearance that photographs particularly well. Apply matte top coat as the final layer over glossy top coat for best results—this base layer protects the color and provides a smooth surface for the matte finish.
Common Mistakes and How to Avoid Them
The most frequent error in modern French manicures involves inconsistent tip thickness across all nails. When tip lines vary by more than 1mm between fingers, the asymmetry becomes obvious. Before starting color application, use a fine-tip marker or piece of striping tape to mark your intended line on each nail—this creates a visual guide ensuring consistency.
Shaky lines plague beginners attempting freehand French tips. Rather than trying to paint one continuous curve, break the line into three sections: start at one side, paint to the center, then start at the opposite side and meet your first line in the middle. This technique provides two opportunities to correct your angle, and the connection point disappears after the second coat.
Flooding the cuticle area with polish causes lifting within 24-48 hours as the polish lacks proper adhesion to the nail plate. Maintain a 1-2mm gap between polish and cuticle—this margin prevents product from touching the skin while allowing natural oil production without interference. For gel applications, this gap is critical since gel that touches skin prevents proper curing.
Skipping the free edge cap when applying base coat and top coat causes chipping to start at the nail tip within 2-3 days. The free edge experiences the most stress during daily activities, and unsealed polish layers separate easily. Each polish layer—base coat, color, and top coat—should wrap slightly under the nail tip.
Applying thick coats to speed up the process creates the opposite effect. Thick polish takes longer to dry, remains flexible longer, and shows brushstrokes more obviously. Two thin coats always outperform one thick coat in terms of durability, dry time, and appearance.
Design Variations for Different Occasions
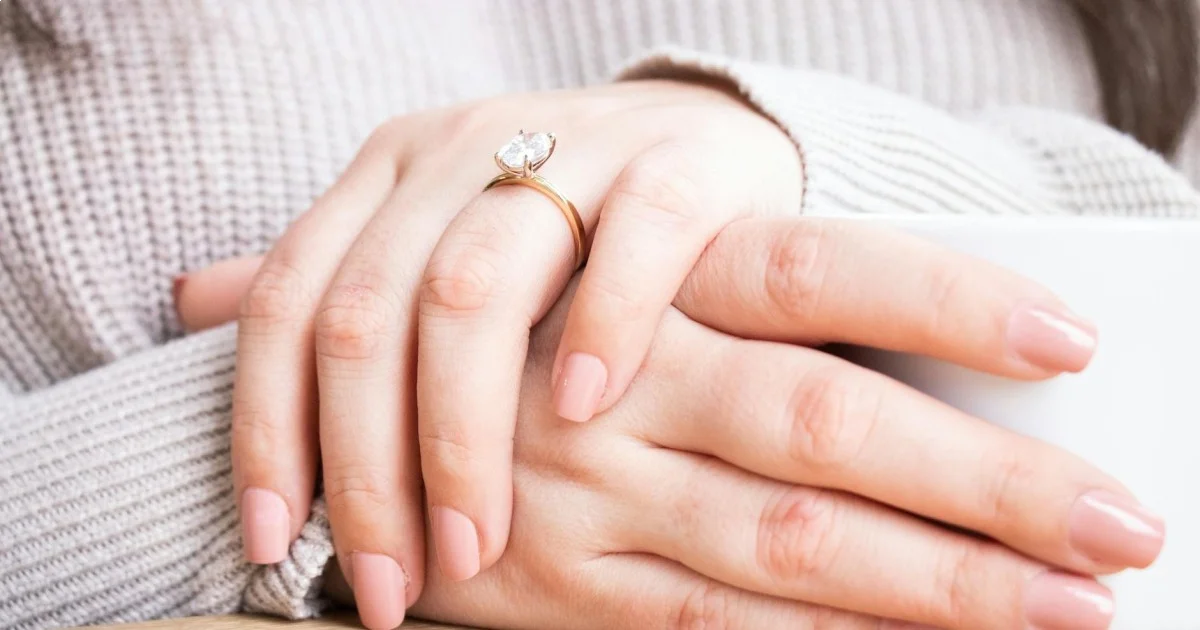
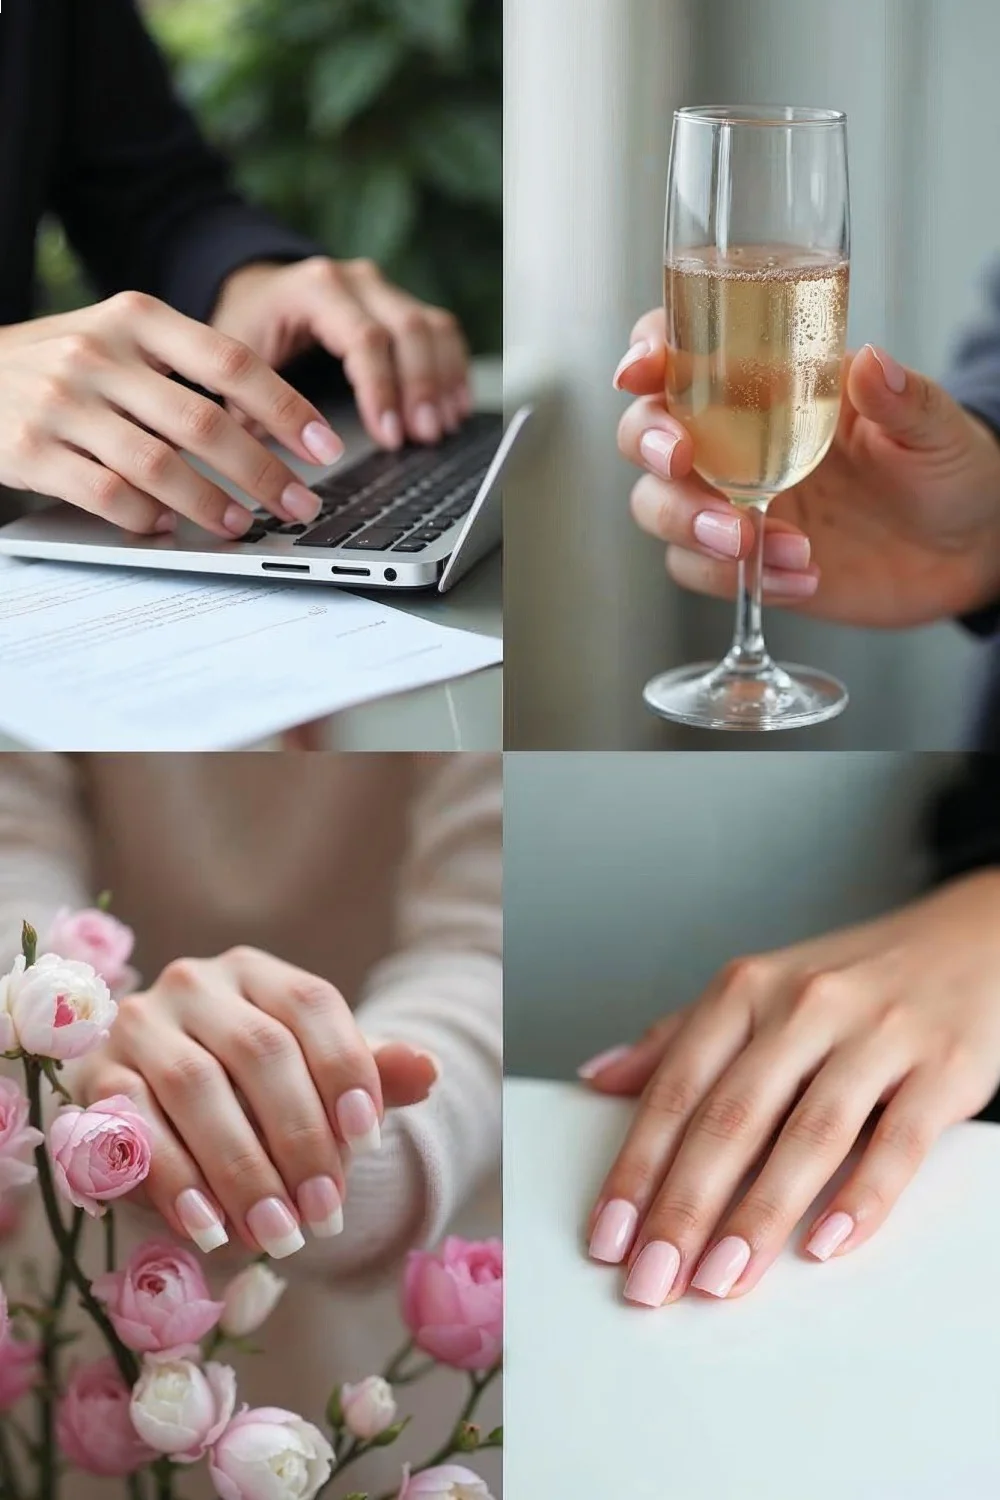
Workplace-appropriate modern French manicures typically feature neutral bases with subtle tip variations. Soft pink, beige, or sheer nude bases paired with white, light gray, or barely-there metallic tips maintain professionalism while updating the traditional look. Keep tip thickness to 2-3mm and avoid embellishments like rhinestones or 3D elements.
For special events, jewel-toned tips on nude bases create impact without appearing costume-like. Deep emerald, sapphire, or burgundy tips paired with a barely-there pink base work for evening events, while metallics suit celebratory occasions. These cute nail designs maintain sophistication through color choice rather than complex art techniques.
Seasonal variations align modern French manicures with current color trends. Spring designs incorporate pastel tips—lavender, mint, or coral—on sheer bases, connecting to broader spring nail art trends. Summer versions use bright neons or tropical shades, while fall manicures feature burnt orange, olive, or chocolate tips.
Minimalist negative space French manicures suit those wanting maximum visual interest with minimum maintenance. Since less nail surface carries polish, regrowth appears less obvious, extending time between applications. These designs also appeal to individuals transitioning between gel and acrylic systems, as they allow assessment of natural nail condition while maintaining polished appearance.
Longevity and Maintenance
Modern French manicures using standard polish typically last 4-6 days before showing chips, with the dominant hand wearing faster due to increased use. Gel versions extend this to 10-14 days, though tip regrowth becomes visible around day 7-8 depending on nail growth rate. Capping the free edge during each application step provides the single most effective method for extending wear time.
Daily maintenance involves applying cuticle oil around the nail perimeter each evening. This keeps the skin flexible, preventing hangnails that can catch and lift polish edges. Sally Hansen's French manicure guide emphasizes that moisturized cuticles contribute to longer-lasting manicures by reducing the force applied during daily nail use.
Wearing gloves during wet work—dishwashing, cleaning, prolonged water exposure—prevents premature lifting. Water causes the nail plate to expand, then contract during drying. This cycle creates stress on the polish layer, particularly at the cuticle where polish meets skin. Gloves eliminate this expansion-contraction cycle during the first 24 hours when polish remains most vulnerable.
Touch-ups extend manicure life when only one or two nails show damage. Remove polish from affected nails only, prep the surface with alcohol, and reapply your French design to match the remaining nails. This targeted approach requires keeping your exact color shades available, which is why noting product names during initial application proves helpful.
Advanced Techniques for Experienced Users
Double French manicures feature two tip colors or two tip lines at different heights on the nail. Create the first tip in one color following standard technique, allow it to dry completely, then add a second, thinner tip in a contrasting shade either inside or outside the first line. This technique works particularly well with analogous colors—shades next to each other on the color wheel like blue and purple, or orange and red.
Reverse French manicures place the colored section at the cuticle rather than the tip, leaving the remainder of the nail bare or lightly tinted. This variation complements shorter nails well since the design sits near the base where it remains visible regardless of nail length. Use striping tape to create a clean line 3-4mm from the cuticle, apply your chosen color, and remove tape while wet.
Ombre French tips blend two or more colors from cuticle to free edge, creating a gradient effect that terminates in a defined tip line. This combines gradient nail techniques with French structure. Apply your lighter base color, then use a makeup sponge to dab darker shades toward the tip, creating smooth color transition. Define the actual tip edge with your darkest shade using a detail brush for precision.
Textured French manicures incorporate sugar, velvet, or caviar beads along the tip line rather than using contrasting polish color. Apply base and foundation colors as normal, then while top coat remains wet, sprinkle your chosen texture along the tip area. Press gently to embed, allow to dry completely, then seal with additional top coat if desired—though many textured finishes lose their dimensional quality under top coat.
Choosing Colors for Your Skin Tone
Decoding the true pulse of the nail industry reveals that color selection based on undertone creates more harmonious results than following trend recommendations blindly. Those with cool undertones (pink or blue visible in veins) find that French tips in jewel tones, true reds, and cool metallics like silver complement their natural coloring. Warm undertones (green visible in veins) pair better with coral, gold, warm browns, and peachy shades.
Neutral undertones have the most flexibility, working well with both warm and cool shades. For these individuals, the base color matters more than tip color—selecting a nude that closely matches natural nail tone allows virtually any tip color to work successfully. OPI, Essie, and Sally Hansen each offer nude collections with 8-12 shades spanning the full range of skin tones.
Contrast level between base and tip colors affects how dramatic the manicure appears. High contrast (nude base with black tips or dark skin with white tips) creates bold, graphic nails that photograph well and suit statement-making contexts. Low contrast (nude base with brown tips or pink base with coral tips) reads as subtle and sophisticated, appropriate for conservative environments.
Cosmopolitan's trend coverage demonstrates how same-design French manicures appear dramatically different based solely on color selection. The structural technique remains identical, but color choices communicate entirely different aesthetics—professional versus playful, subtle versus bold, classic versus contemporary.
| Skin Tone | Undertone | Recommended Tip Colors | Base Shade Guidance |
|---|---|---|---|
| Fair | Cool | Berry, navy, silver | Sheer pink |
| Fair | Warm | Coral, peach, gold | Sheer peach |
| Medium | Cool | Plum, emerald, rose gold | Nude pink |
| Medium | Warm | Terracotta, olive, copper | Warm beige |
| Deep | Cool | Fuchsia, royal blue, platinum | Mauve |
| Deep | Warm | Burnt orange, chocolate, bronze | Warm tan |
Troubleshooting Application Issues
Bleeding occurs when color polish spreads beyond the intended tip line, typically caused by overloading the brush or applying polish over uncured base coat. Prevention requires wiping excess polish from the brush before application—one side of the brush should show visible bristles with minimal product. If bleeding occurs, immediately wipe the area with a clean brush dipped in acetone before the polish dries.
Bubbles in the top coat result from shaking the bottle rather than rolling it between palms, or from applying top coat over insufficiently dried color. Air bubbles trapped in shaken polish transfer to the nail surface during application, then expand as solvents evaporate. Roll polish bottles gently to mix settled pigments without incorporating air.
Wrinkling happens when top coat is applied over color that appears dry on the surface but remains liquid underneath. The top coat's solvents penetrate and disturb the color layer, creating a wrinkled texture. This occurs most commonly when thick color coats are rushed. If wrinkling appears, remove all polish and start over—there's no effective fix once wrinkling begins.
Patchy metallic tips result from overworking the polish during application. Metallic formulas contain suspended particles that redistribute each time the brush passes over them. The solution involves loading the brush well, placing it on the nail, and making one smooth stroke without going back over the same area.
Tools Worth Investing In
Quality base coats make the difference between 3-day and 7-day wear for standard polish French manicures. Rubberized base coats from brands like OPI Natural Nail Base Coat or Orly Bonder create a flexible foundation that moves with the nail rather than cracking under stress. These typically cost $8-12 and last for 40-50 applications.
Detail brushes with 3-5mm tips provide control that standard polish brushes lack for precision tip work. Art supply stores sell suitable brushes for $3-8, often at lower prices than beauty-specific versions of identical quality. Look for synthetic bristles that maintain their shape when wet—natural hair brushes tend to splay when saturated with polish remover.
Striping tape in multiple widths ($4-10 per roll) expands design possibilities significantly. Tape remains reusable for 3-5 applications if carefully removed and stored on the backing paper between uses. Widths from 1mm to 3mm cover most modern French variations, from thin accent lines to bold geometric sections.
A proper cleanup brush—an angled detail brush dedicated to acetone use—saves more frustration than any other single tool. These cost $2-5 and eliminate the need for cotton swabs, which leave behind fibers that stick to wet polish. The angled shape allows precise work along the cuticle line and sidewalls where mistakes most commonly occur.
UV/LED lamps for gel applications range from $15-40 for home use. The wattage (typically 36-48W for combination UV/LED lamps) determines cure time rather than cure quality—higher wattage cures faster, not better. For occasional home use, a 36W lamp curing in 60 seconds works as effectively as professional 48W versions that cure in 30 seconds.
Removing Modern French Manicures
Standard polish French manicures remove with regular nail polish remover and cotton pads using the press-and-wipe method. Saturate a cotton pad with remover, press it onto the nail for 5-10 seconds to allow the solvent to penetrate, then wipe firmly toward the tip. This method requires less rubbing and causes less dehydration than continuous wiping.
Gel French manicures require acetone soaking for removal. File the top coat layer to break the seal, then soak cotton pads in pure acetone (not regular nail polish remover), place them on each nail, and wrap with foil or use clip-on soaking caps. After 10-12 minutes, the gel lifts away from the nail plate and scrapes off gently with a wooden cuticle stick.
For those concerned about acetone exposure, the wrapped cotton method minimizes skin contact compared to bowl soaking. Applying cuticle oil around the nail perimeter before wrapping provides additional protection. Remove foil wraps one at a time, scrape softened gel, then immediately apply more cuticle oil—this timing prevents excessive dehydration.
Never peel or pick gel polish, even when lifting at the edges. This removes layers of the natural nail along with the product, creating permanent damage that requires months to grow out. If you're experiencing frequent broken nails, improper gel removal often contributes to weakened nail structure.
After removal, buff nails gently with a fine-grit buffer to remove any remaining product residue, then apply cuticle oil and hand cream. Wait at least 2-3 hours before applying a new manicure to allow the nail plate to rehydrate—polish applied to dehydrated nails shows decreased adhesion and increased chipping.
Take Your French Manicure Further
Modern French manicures bridge the gap between classic elegance and contemporary aesthetics, providing endless variation within a recognizable structure. The techniques covered here—from colored tips to negative space designs—all build on the same fundamental skills of proper nail preparation, steady application, and thorough sealing. Start with the variation that appeals most to your aesthetic, practice the basic technique until your lines show consistency across all nails, then experiment with color combinations and abstract shapes.
Your next step involves selecting your first modern French design and assembling the specific supplies needed for that variation. For additional nail art inspiration and technique guidance, explore the broader DIY nail art collection to see how French manicure elements combine with other contemporary designs. The foundation you've built through this tutorial applies directly to gradient techniques, geometric art, and seasonal designs that extend your creative range while maintaining wearability.