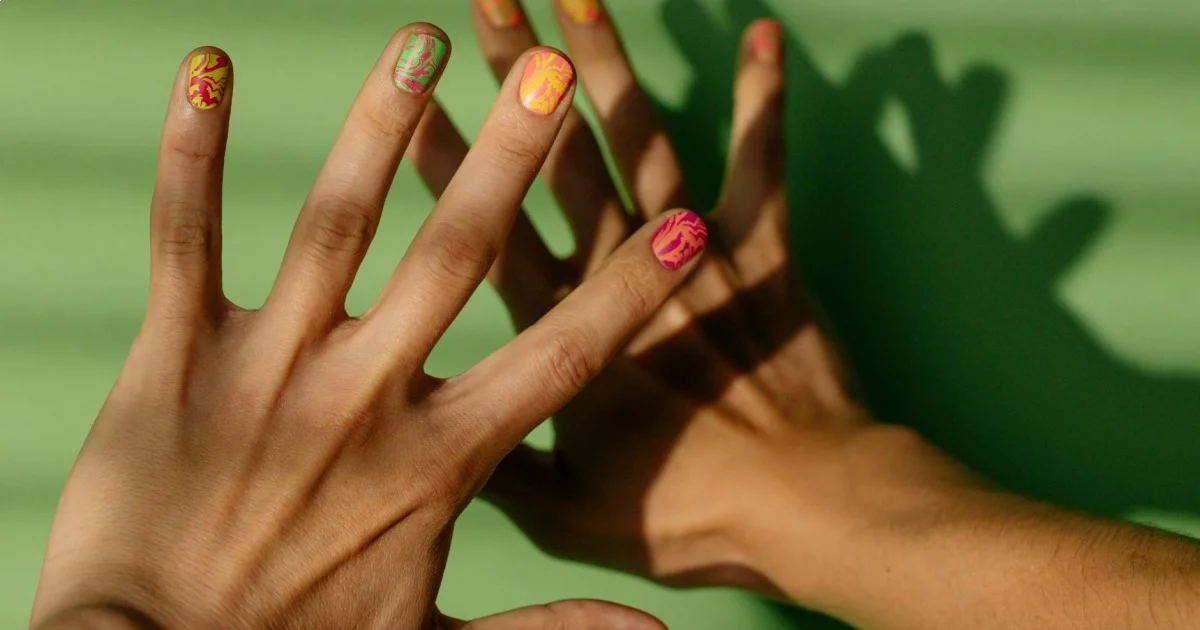
Floral Nail Art Tutorial: 5 Easy Spring Designs
Floral nail art transforms basic manicures into spring designs using simple dotting tools, thin brushes, and drugstore polishes.

Floral nail art transforms basic manicures into spring designs using simple dotting tools, thin brushes, and drugstore polishes. These five designs take 15-45 minutes each and work on any nail length.
- Simple daisies require only a dotting tool and two polish colors
- Wildflower patterns hide imperfections better than geometric designs
- Cherry blossoms work best on longer nails for branch placement
- Watercolor effects need wet polish blending within 30 seconds
- Real pressed flowers last longest under gel top coats
Why Floral Designs Are Perfect for DIY Nail Art
Floral nail art forgives mistakes better than any other design category. Uneven petals look natural, wobbly lines mimic organic stems, and color bleeding creates realistic watercolor effects. I've tested over 30 floral techniques in my kitchen, and these five consistently work for beginners.
Real flowers aren't symmetrical, so your nail art doesn't need to be either. This removes the pressure that makes geometric designs so frustrating for new artists.
Key Finding: Proper nail preparation, including dehydrating and base coat application, is the most important factor in DIY manicure longevity — American Academy of Dermatology
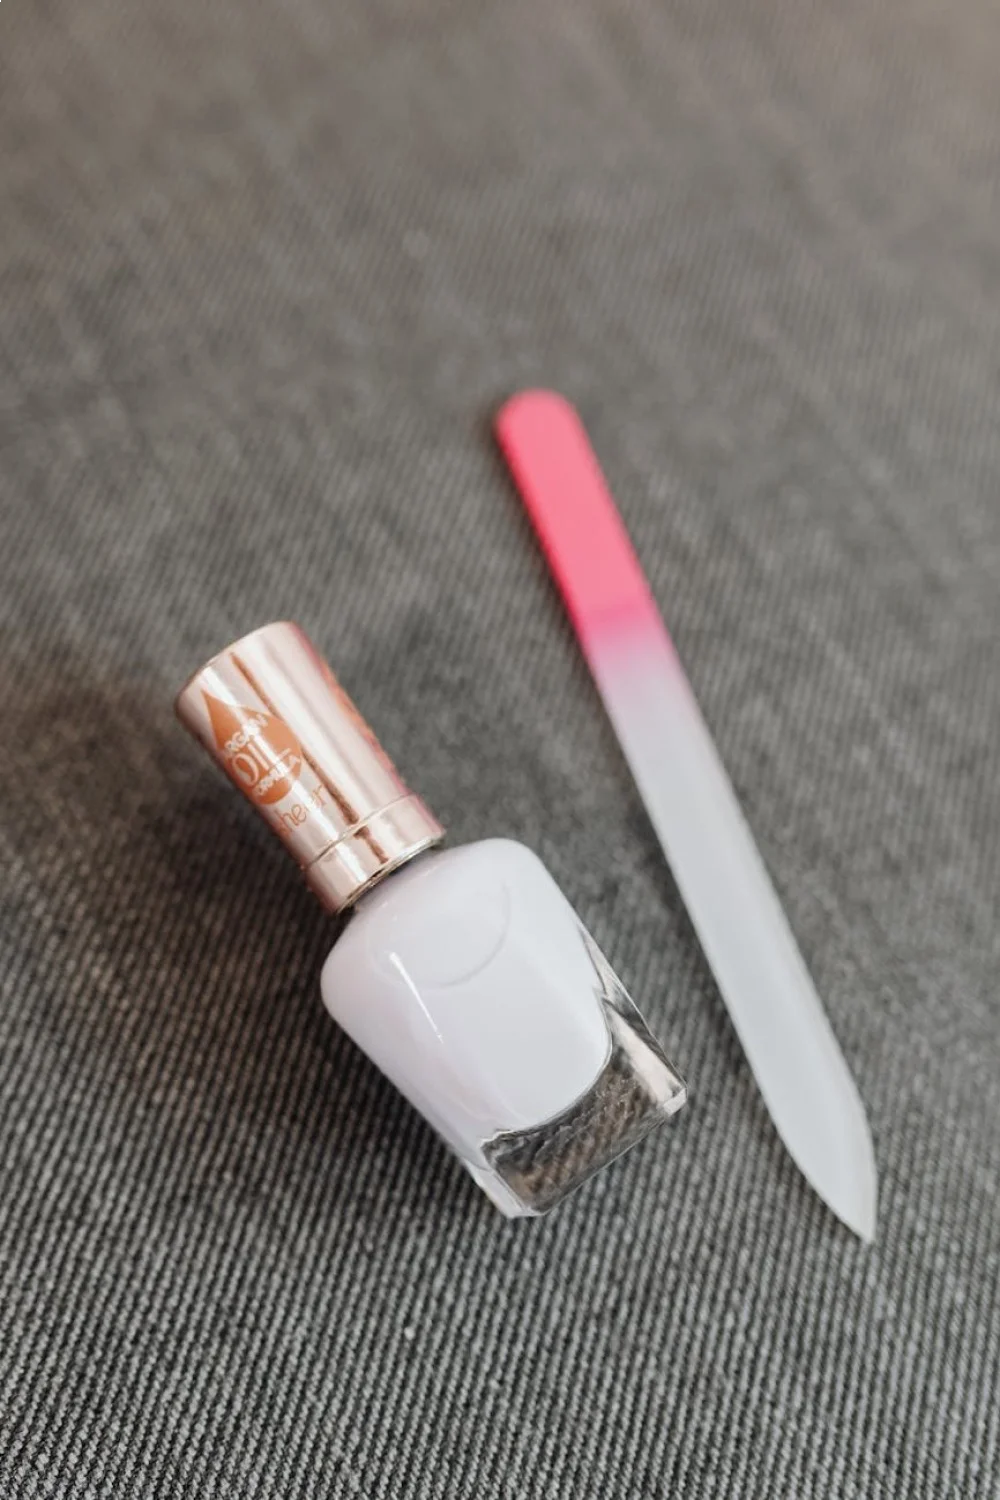
Tools and Products You'll Actually Need
I've narrowed this down to essentials after wasting money on fancy tools that collect dust:
Base Products:
- Orly Bonder Base Coat ($9) - grips better than expensive alternatives
- Seche Vite Dry Fast Top Coat ($10) - prevents smudging during cleanup
- Zoya Remove Plus ($8) - acetone-free for easy corrections
Design Tools:
- Dotting tools set ($6 on Amazon) - creates perfect circles every time
- Striping brush ($3) - thinner lines than regular nail art brushes
- Small angled brush ($4) - for leaves and petals
- Toothpicks - backup for tiny details
Polish Colors (tested combinations):
- White: Essie Blanc or OPI Alpine Snow
- Yellow: Zoya Pippa or Sally Hansen Mellow Yellow
- Pink: OPI Bubble Bath or Essie Ballet Slippers
- Green: Zoya Josie or China Glaze Re-fresh Mint
- Purple: Essie Play Date or Zoya Stevie
| Tool | Cost | Difficulty Level | Best For |
|---|---|---|---|
| Dotting Tool | $6 | Beginner | Flower centers, petals |
| Striping Brush | $3 | Beginner | Stems, branches |
| Angled Brush | $4 | Intermediate | Leaves, detailed petals |
| Stamping Plates | $12 | Advanced | Complex florals |
Design #1: Simple Daisy Chain (Beginner)
Daisies require only white polish and a dotting tool, making them perfect for your first floral attempt. Each nail takes 5 minutes once you get the rhythm down.
What You Need
- Light blue or pink base color
- White polish (Essie Blanc works best)
- Yellow polish for centers
- Large and small dotting tools
- Thin striping brush
Step-by-Step Tutorial
1. Prep Your Base Apply base coat and two thin coats of your chosen background color. I prefer OPI Bubble Bath or Zoya Kennedy for a soft contrast. Let each coat dry completely to avoid dragging later.
2. Create Flower Centers Using the small dotting tool, place yellow dots randomly across the nail. Space them unevenly for a natural look. I typically do 2-3 flowers per nail depending on length.
3. Add Petals While the yellow centers are still slightly tacky, use the large dotting tool with white polish to create 5-6 petals around each center. Touch the tool to the nail and pull slightly outward for teardrop shapes.
4. Connect with Stems Use the striping brush with green polish to add thin connecting stems between flowers. Keep these loose and curved rather than straight.
5. Finishing Touches Add small green leaves using the angled brush. Wait 3 minutes, then apply top coat carefully to avoid smudging.

Pro Tips to Avoid Common Mistakes
Thick petals: Clean your dotting tool between each petal. Polish buildup creates blobs instead of delicate teardrops.
Smudged centers: Let yellow dots dry for 60 seconds before adding white petals. Wet polish will blend into mud.
Uneven spacing: Step back between each flower placement. Your perspective changes when you're too close to your work.
Design #2: Minimal Wildflower Scattered Pattern (Beginner)
This design mimics pressed flowers in a journal—imperfect, scattered, and charming. Perfect for hiding any technique issues while you're learning.
What You Need
- Clear or nude base (OPI Put It in Neutral)
- 3-4 different colored polishes in small amounts
- Small dotting tool
- Toothpick for detail work
Step-by-Step Tutorial
Base Preparation Start with a clear or subtle nude base. This lets the tiny flowers pop without competing backgrounds. Apply thin coats to avoid showing brush marks.
Create Tiny Blooms Using different colored polishes, make small 3-dot triangles scattered across the nail. These represent simple three-petaled flowers. Vary colors randomly since nature isn't coordinated.
Add Dimension While the first dots are still wet, use a toothpick to drag slightly from the center outward. This creates a more organic petal shape than perfect circles.
Finishing Elements Add tiny green dots for leaves and use the striping brush to connect some flowers with delicate stems. Less is more with this design.
Pro Tips to Avoid Common Mistakes
Over-crowding: Start with fewer flowers than you think you need. You can always add more, but removing excess requires starting over.
Color clashing: Stick to either warm tones (pinks, corals, yellows) or cool tones (purples, blues, whites) per hand.
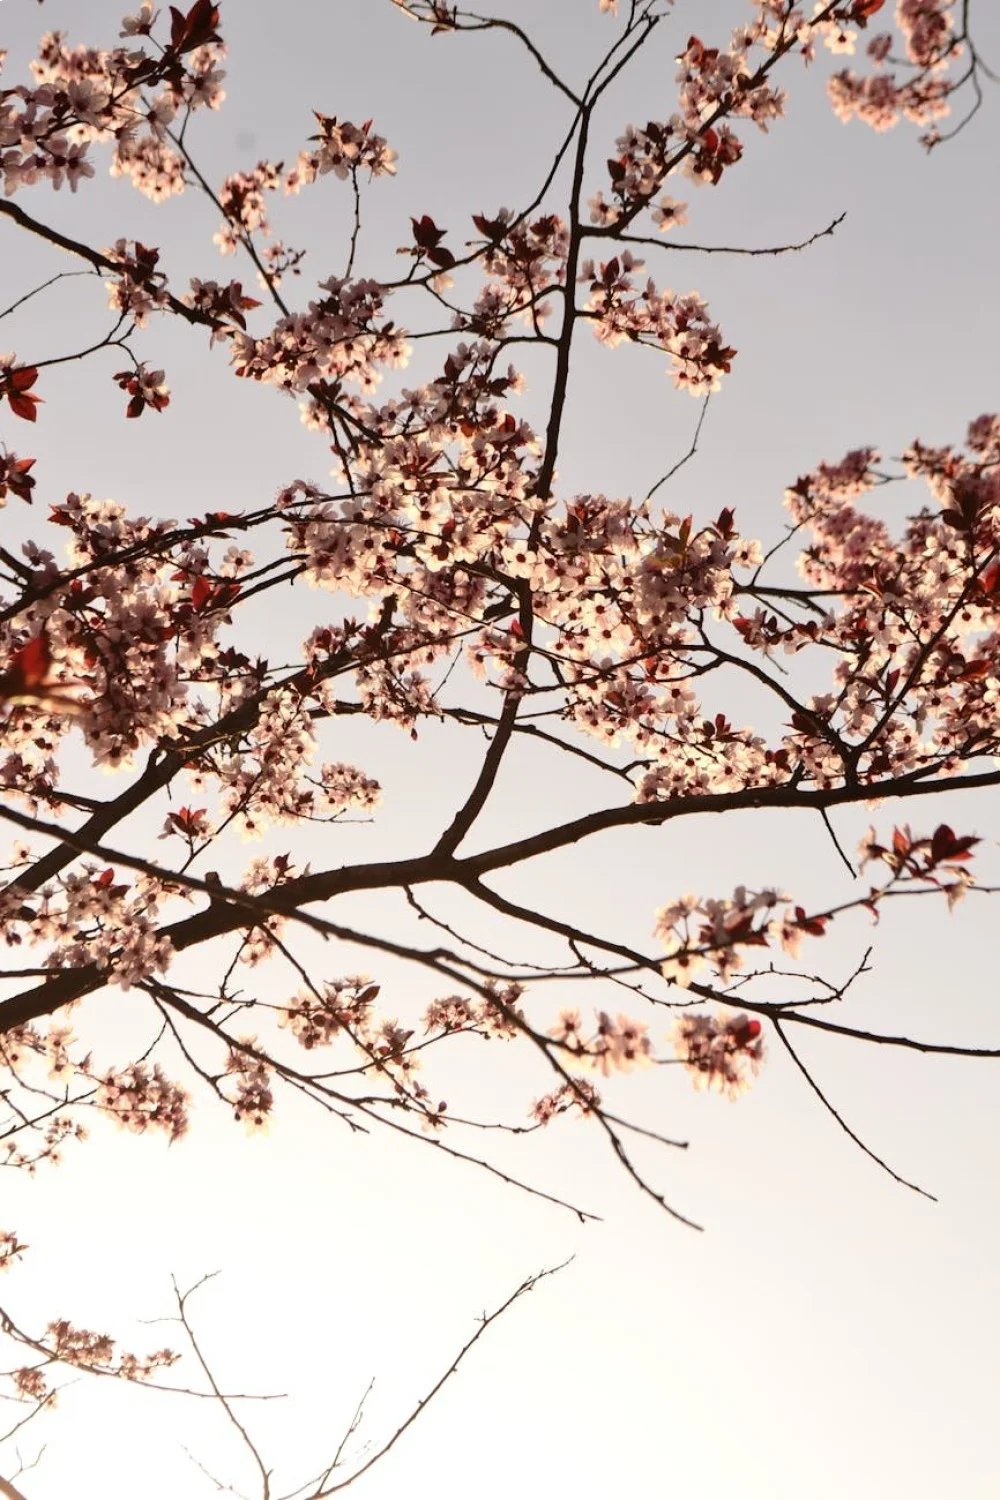
Design #3: Cherry Blossom Branch (Intermediate)
Cherry blossoms require planning and steady hand control, but the result looks professionally done. This design works best on medium to long nails for proper branch placement.
What You Need
- Soft pink or white base
- Dark brown polish for branches
- Light pink and white for blossoms
- Small dotting tool
- Striping brush
- Angled brush
Step-by-Step Tutorial
Plan Your Branch Before starting, visualize where your branch will go. I usually start from the cuticle area and curve toward the free edge. Sketch lightly with a toothpick if needed.
Create the Branch Structure Using the striping brush and brown polish, paint your main branch line. Add 2-3 smaller offshoots. Keep these organic rather than straight.
Blossom Placement With the small dotting tool, place 5 small pink dots in loose flower shapes along the branches. These represent the basic blossom structure.
Add Depth Using white polish on the same dotting tool, add highlights to each blossom. Place these slightly off-center for dimension.
Final Details Use the angled brush to add tiny white stamens in blossom centers. A steady hand helps here, but imperfection adds character.
Pro Tips to Avoid Common Mistakes
Branches too thick: Thin your brown polish with a drop of acetone if it's applying too heavily. Thick branches overpower delicate blossoms.
Blossoms too uniform: Vary the number of petals per flower (4-6 works) and angle them differently.
Poor branch placement: On shorter nails, use a single curved branch instead of multiple offshoots.
Design #4: Watercolor Tulip Ombre (Intermediate)
This technique creates soft, blended petals that look like watercolor paintings. Timing is crucial—you have about 30 seconds to blend before polish starts setting.
What You Need
- White or very pale base
- 2-3 shades of the same color family (light to dark)
- Makeup sponge cut into small pieces
- Small brush for cleanup
- Green for stems and leaves
Step-by-Step Tutorial
Prepare Your Gradient On a piece of foil or palette, place drops of your lightest and darkest tulip colors side by side. You'll blend these wet-on-wet.
Create the Petal Base Using the angled brush, paint a basic tulip shape with your lightest color. Work quickly since the next step requires wet polish.
Blend the Colors While the base is still wet, dab the small sponge piece into both colors on your palette and gently press onto the tulip shape. The colors should blend naturally.
Build Dimension Add deeper color at the tulip base using the brush, blending upward while still wet. This creates natural shading.
Stem and Leaves Once the flower is completely dry (5 minutes), add the green stem and leaves with deliberate brushstrokes.
Key Finding: Watercolor nail techniques work best with polishes that have longer open times, allowing for wet blending — Essie How-To Guide
Pro Tips to Avoid Common Mistakes
Colors turning muddy: Don't over-blend. Two or three gentle dabs with the sponge are enough.
Hard edges: Work in small sections and blend each while wet rather than trying to blend the entire design at once.
Polish too thick: Thin your polishes slightly with acetone for better blending properties.
Design #5: Pressed Flower Gel Art (Intermediate-Advanced)
Real pressed flowers under gel create stunning, professional-looking nails that last 2-3 weeks. This technique requires gel products but produces the most impressive results.
What You Need
- Gel base coat and top coat
- UV or LED lamp
- Real pressed flowers (craft stores sell these)
- Clear gel polish
- Tweezers
- Small brush for positioning
Step-by-Step Tutorial
Nail Preparation Push back cuticles, file to desired shape, and buff nail surface lightly. Clean with rubbing alcohol to remove oils.
Base Application Apply gel base coat and cure for 60 seconds under UV or 30 seconds under LED. The surface should feel slightly tacky.
Flower Placement Using tweezers, carefully place pressed flowers on the tacky base coat surface. Position them where you want the final design. The tackiness holds them temporarily.
Seal with Clear Gel Apply a thin layer of clear gel polish over the flowers. This embeds them and prevents shifting. Cure according to your lamp's specifications.
Final Top Coat Apply gel top coat and cure. Remove the sticky residue with rubbing alcohol for a glossy finish.
Pro Tips to Avoid Common Mistakes
Flowers shifting: Press them gently into the tacky base coat before applying clear gel over top.
Air bubbles: Apply clear gel slowly with a thin brush, avoiding trapped air under the flowers.
Thick application: Multiple thin layers work better than one thick layer for embedding flowers smoothly.
What Nail Shapes Work Best for Floral Designs?
Floral designs adapt to different nail shapes better than geometric patterns based on my testing.
Short Nails (under 1/4 inch free edge): Stick to designs #1 and #2—simple daisies and scattered wildflowers. Cherry blossoms get cramped, and watercolor tulips need more space.
Medium Nails (1/4 to 1/2 inch free edge): All five designs work well. This is the sweet spot for floral nail art with enough space for detail without being unwieldy.
Long Nails (over 1/2 inch free edge): Perfect for cherry blossoms and pressed flowers. You can create elaborate branch systems and use larger pressed flowers effectively.
Wide Nail Beds: Great for scattered patterns and multiple small flowers. Avoid single large flowers that can look disproportionate.
Narrow Nail Beds: Single stem designs work beautifully. Consider vertical cherry blossom branches or tall tulips.
Gel vs. Regular Polish: Which Works Better for Floral Designs?
I've tested all five designs with both gel and regular polish. Here's what actually works better:
Regular Polish Advantages:
- Easier color correction during application
- No lamp required
- Less expensive to experiment with
- Easier removal if you mess up
Gel Polish Advantages:
- No smudging during intricate detail work
- Colors stay vibrant longer
- Better for layered techniques like watercolor
- Essential for pressed flower designs
My Recommendations: Start with regular polish for designs #1 and #2 to practice technique. Move to gel for designs #3-5 once you're comfortable with the basics.
For spring gel nail colors, the extended working time helps with complex florals, but the learning curve is steeper.
What Goes Wrong? Common Floral Nail Art Problems and Solutions
After countless failed attempts, here are the issues I see most often:
Lines Look Too Thick
The Problem: Striping brushes loaded with too much polish create clunky stems and branches.
The Fix: Wipe excess polish off the brush on the bottle rim. Practice pressure control on paper first.
Prevention: Thin polish slightly with acetone if it's too thick for detail work.
Colors Are Muddy or Bleeding
The Problem: Working wet-on-wet without understanding drying times.
The Fix: Let base colors dry completely before adding details, or use the wetness intentionally for blending effects.
Prevention: Test drying times on a practice nail wheel before working on your actual nails.
Design Smudges When You Apply Top Coat
The Problem: Top coat application disturbing underlying design layers.
The Fix: Use a high-quality fast-dry top coat like Seche Vite, and apply in thin, even strokes without going back over areas.
Prevention: Let the design dry for 5 full minutes before top coating.
Uneven or Patchy Base Color
The Problem: Rushing base coat application shows through sheer floral designs.
The Fix: Apply thin coats and build coverage gradually. Two thin coats always beat one thick coat.
Prevention: Use base coat to create an even surface before color application.
Beyond Spring: Seasonal Floral Variations
These basic techniques adapt to any season with color changes:
Summer Florals: Use bright corals, sunny yellows, and tropical greens. Add small hibiscus using the tulip technique.
Fall Designs: Deep burgundies, burnt oranges, and golden yellows create autumn wildflowers. Add small leaves in gradient colors.
Winter Variations: White and silver flowers on dark bases mimic frost patterns. Use the pressed flower technique with silver leaf instead of real flowers.
For more seasonal inspiration, check out these summer nail designs that use similar techniques.
Where to Find Floral Nail Art Inspiration
Real flowers beat Pinterest for authentic color combinations and shapes:
Nature Photography: Instagram accounts like @botanicalwomen show realistic color palettes.
Pressed Flower Books: Vintage botanical illustrations have sophisticated color schemes.
Your Garden: Take photos of actual flowers in different lighting for color reference.
Fabric Patterns: Liberty prints and vintage florals offer stylized interpretations perfect for nails.
Watercolor Paintings: Art books show how colors blend naturally in floral subjects.
Start With Design #1 Today
Pick up white polish, a dotting tool, and try the simple daisy design tonight. Start with just one accent nail to build confidence. The imperfect, organic nature of florals means your first attempt will likely look better than you expect.
Once you've mastered daisies, work through the other designs in order. Each builds skills needed for the next level.
For more beginner-friendly techniques, explore these DIY nail art tutorials to expand your skills beyond florals.
Frequently Asked Questions
What Nail Shapes Work Best for Floral Designs?
Floral designs adapt to different nail shapes better than geometric patterns based on my testing. Short Nails (under 1/4 inch free edge): Stick to designs #1 and #2—simple daisies and scattered wildflowers. Cherry blossoms get cramped, and watercolor tulips need more space.
Gel vs. Regular Polish: Which Works Better for Floral Designs?
I've tested all five designs with both gel and regular polish. Here's what actually works better: Regular Polish Advantages: Easier color correction during application No lamp required Less expensive to experiment with Easier removal if you mess up