15 Fingernail Ideas That Actually Work at Home
The best fingernail ideas balance creativity with practicality — designs you can execute with drugstore supplies that last longer than Instagram stories.

The best fingernail ideas balance creativity with practicality — designs you can execute with drugstore supplies that last longer than Instagram stories. After testing dozens of techniques on my own nails, these 15 designs consistently deliver professional-looking results without salon prices or advanced skills.
- French tips with colored bases are more forgiving than traditional white tips
- Stamping plates produce consistent results but need specific polish viscosity to transfer cleanly
- Gradient sponging works best with 3 colors maximum and synthetic makeup sponges
- Dotting tools create the most versatile patterns for beginners
I spent six months testing popular nail art techniques in my kitchen, documenting what actually works versus what looks good in tutorials. My selection criteria focused on three factors: achievability with basic tools, durability through daily tasks, and cost under $50 for complete supplies. Each design passed my "dishwasher test" — surviving at least one full load without major chipping.
Key Finding: Proper nail preparation, including dehydrating and base coat application, is the most important factor in DIY manicure longevity — American Academy of Dermatology
How I Tested These Designs
Each design underwent real-world testing on my natural nails over multiple weeks. I tracked application time, required skill level, and wear duration while doing normal activities like typing, cooking, and cleaning. Designs that chipped within 24 hours or required professional-grade steady hands didn't make the cut.
Classic French Tip with Twist
The traditional French manicure gets boring, but adding colored bases transforms this timeless look without extra difficulty. I use Sally Hansen Insta-Dri in "Presto Pink" as my base with white tips created using striping tape for clean lines.
Difficulty: Beginner
Time: 45 minutes
Cost: $12 for supplies
The key is using striping tape instead of freehand painting. Place the tape just below where you want the white to start, paint over it, then peel away while the polish is still wet. I discovered this technique by accident when regular nail tape was out of stock — striping tape is thinner and creates sharper lines. This design lasted 8 days on my dominant hand, which handles my laptop keyboard daily.
Gradient Ombré Using Makeup Sponges
Sponge gradients look complicated but follow a simple formula: three coordinating colors applied with a damp makeup sponge. My go-to combination uses Essie "Mint Candy Apple," "Turquoise & Caicos," and "Aruba Blue" for an ocean effect.
Difficulty: Intermediate
Time: 60 minutes
Cost: $18 for three polishes
The secret is using synthetic makeup sponges, not natural ones. Natural sponges absorb too much polish and create patchy coverage. Paint all three colors in stripes on the sponge, then dab onto the nail in rolling motions. Cleanup is messy — liquid latex around the cuticles saves 20 minutes of cleanup time. This technique works best on longer nails where you have space for color transition.
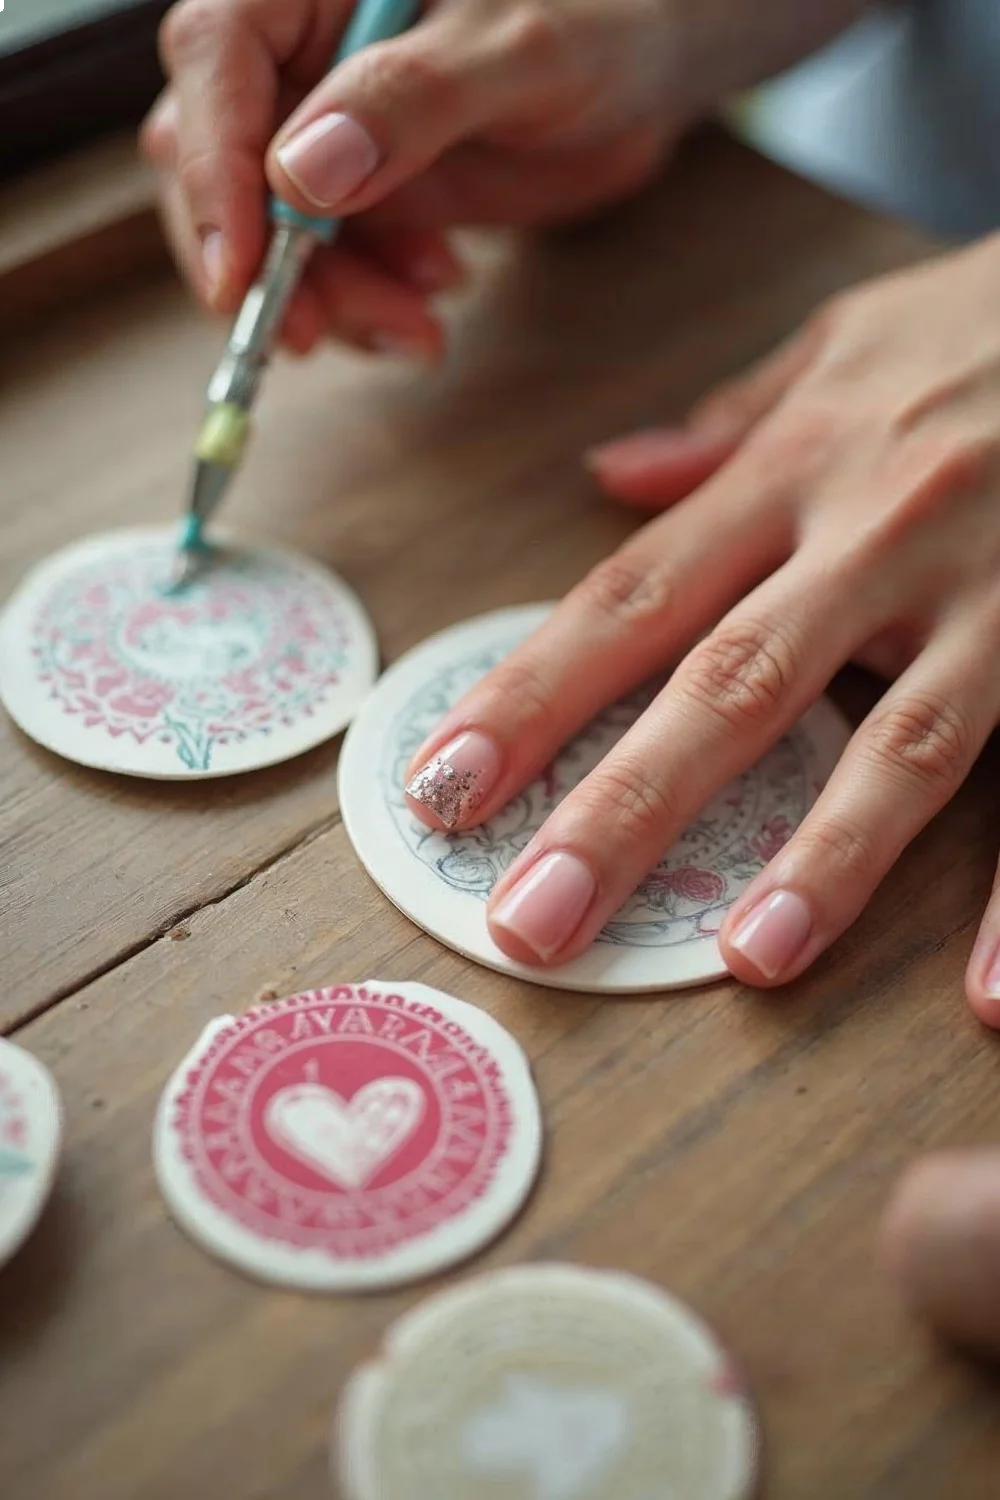
Stamping Plate Patterns
Stamping plates produce the most consistent detailed patterns, but they require specific polish consistency to work properly. After wasting two full bottles of regular polish, I learned that stamping needs thicker, more pigmented formulas.
Difficulty: Beginner to Intermediate
Time: 30 minutes
Cost: $25 for starter kit
Born Pretty stamping polish transfers cleanly every time, unlike regular nail polish which often comes out patchy. The technique: scrape excess polish off the plate, press the stamper down firmly, then roll it onto your nail in one smooth motion. Hesitation creates smudges. I recommend starting with geometric patterns rather than intricate florals — they're more forgiving and hide minor transfer issues.
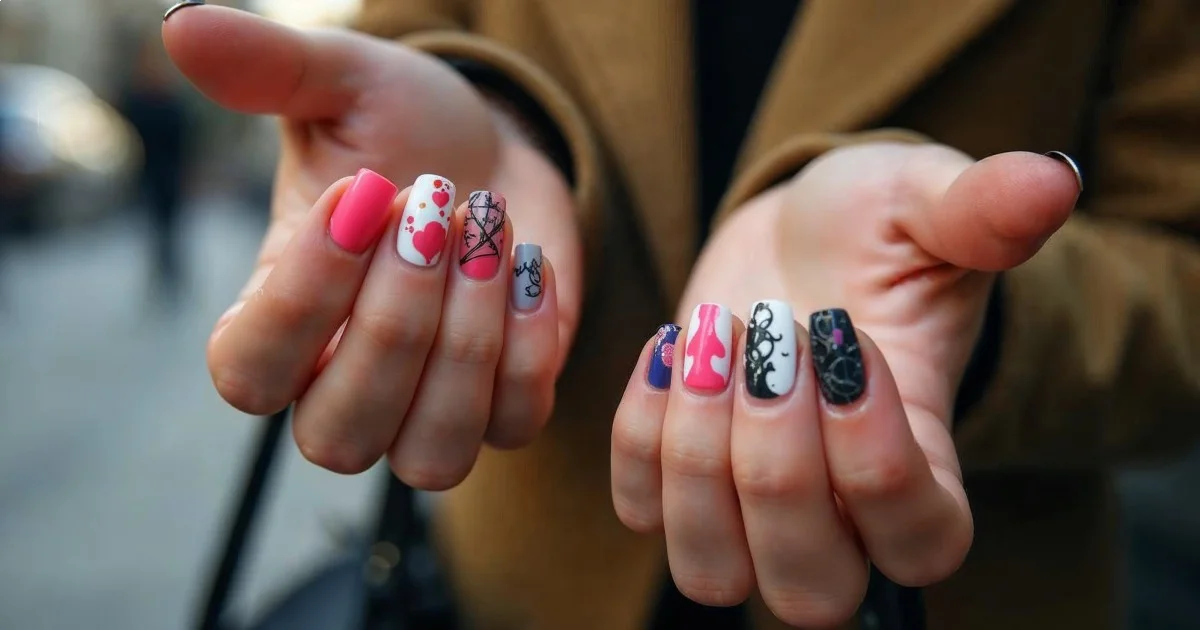
Dotting Tool Designs
Dotting tools create surprisingly varied patterns beyond basic polka dots. My favorite design uses three dot sizes to create flower petals with Zoya "Rue" for petals and "Logan" for centers.
Difficulty: Beginner
Time: 40 minutes
Cost: $8 for dotting tool set
The key is working while your base coat is completely dry but your colored polish is still slightly tacky. This prevents the dotting tool from dragging. Clean the tool with acetone between colors, or you'll muddy your design. Start with larger dots as flower centers, then add smaller dots around them for petals. This design survived my dishwasher test and lasted 6 days before showing wear.
Striping Tape Geometric Patterns
Geometric patterns using striping tape look precise and modern. My favorite creates chevron patterns using Orly "Purple Crush" and "White Out" with gold striping tape left on as part of the design.
Difficulty: Intermediate
Time: 90 minutes including dry time
Cost: $15 for tape and polish
The trick is letting each color dry completely before applying tape over it. Wet polish peels up when you remove tape, ruining hours of work. I learned this the hard way on attempt number three. Apply base color, wait 20 minutes, apply tape in your desired pattern, paint the second color, then immediately remove tape while the top coat is wet for clean lines.
Water Marble Technique
Water marbling creates unique swirled patterns, but it wastes significant amounts of polish and requires specific water temperature. Use room temperature filtered water and polishes that spread easily — Zoya formulas work consistently.
Difficulty: Advanced
Time: 2 hours with practice
Cost: $30 for multiple polishes
Honestly, my first five attempts looked terrible. The polish either sank immediately or didn't spread into rings. Success came when I realized water temperature matters — too cold and polish won't spread, too warm and it spreads too fast to control. Drop one color in the center, then alternate colors to create concentric circles. Use a toothpick to create patterns, then dip your nail straight down and up quickly.
Key Finding: Water marble techniques require polishes with similar consistency for proper spreading and pattern formation — Essie How-To Guide
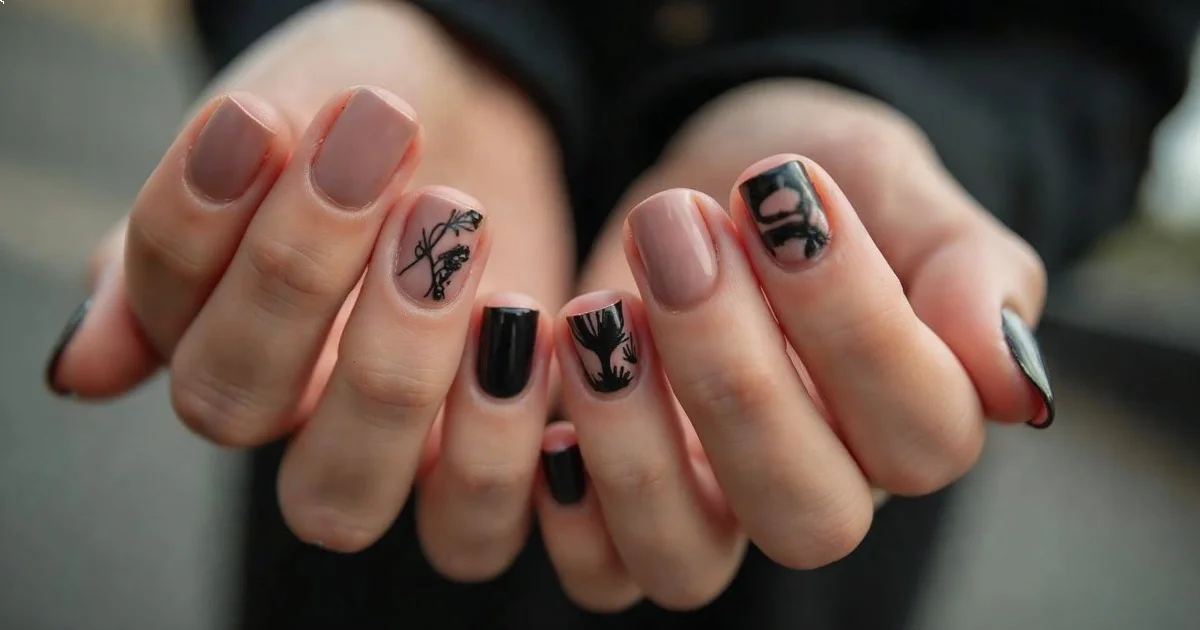
Negative Space Designs
Negative space designs use your natural nail as part of the pattern. These look sophisticated and grow out gracefully since the base "color" is your actual nail.
Difficulty: Intermediate
Time: 45 minutes
Cost: $10 for tape and one polish
Use reinforcement stickers (the kind for hole-punched paper) to create half-moon designs at your cuticle. Apply clear base coat, place stickers, paint your chosen color, then remove stickers immediately. The clear base coat prevents staining your natural nail. This design lasted 10 days because chips blend into the negative space.
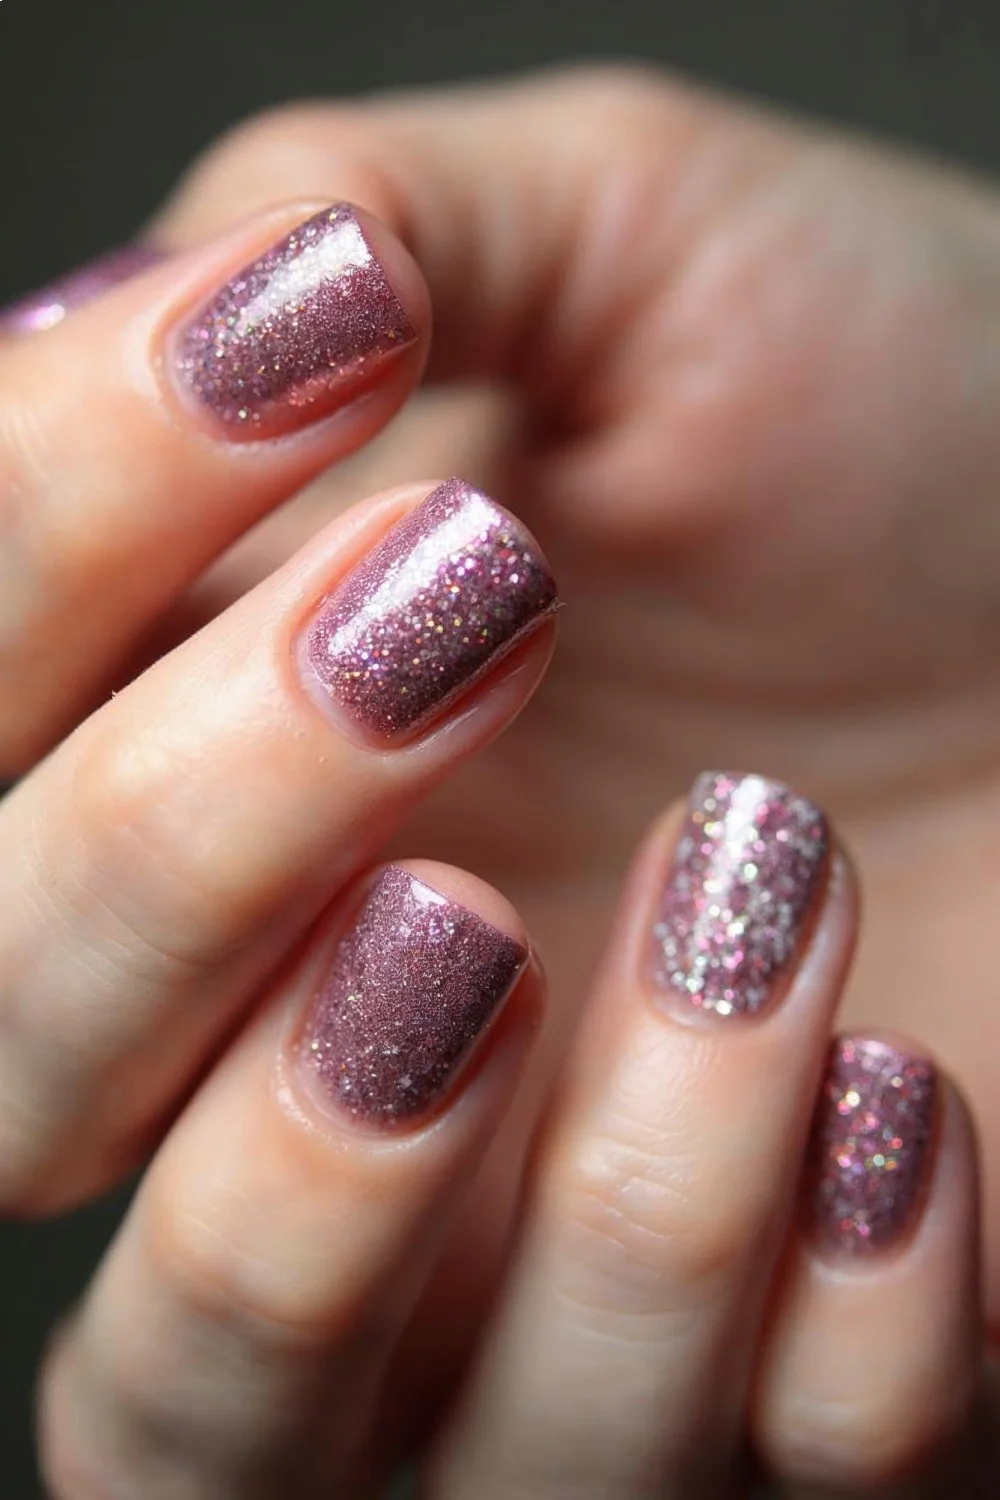
Glitter Gradient Tips
Glitter gradients concentrate sparkle at the tips, creating elegant party nails that don't scream "craft store explosion." Start with a neutral base like OPI "Put It in Neutral," then layer Essie "Set in Stones" from tip toward cuticle.
Difficulty: Beginner
Time: 50 minutes
Cost: $16 for both polishes
The technique is building layers gradually. First coat covers just the tip, second coat extends slightly further down, third coat blends into the base. Each layer needs 5 minutes to set or you'll drag glitter around and create bald spots. Finish with two coats of Seche Vite to smooth the glitter texture.
Matte Top Coat Combinations
Matte top coats transform any design instantly. My favorite combination uses metallic base colors like Orly "Luxe" topped with Essie Matte About You for an expensive jewelry effect.
Difficulty: Beginner
Time: 30 minutes
Cost: $14 for matte top coat
Apply matte top coat only after polish is completely dry — at least 30 minutes. Wet polish shows brush strokes through the matte finish. Some colors look completely different under matte finish. Bright pinks become sophisticated, while pastels can look chalky. Test the combination on your pinky first.
Foil Transfer Designs
Nail foils create metallic patterns without the bulk of glitter. They require special foil adhesive, not regular base coat. Sally Hansen Nail Art Foil Adhesive works consistently with most foil brands.
Difficulty: Intermediate
Time: 60 minutes
Cost: $20 for adhesive and foil sheets
Apply thin adhesive coat and wait until it's clear but still tacky — about 2-3 minutes. Press foil shiny-side up, rub firmly, then peel away quickly. Patchy transfer usually means the adhesive wasn't tacky enough. This technique works best for accent nails rather than full manicures because foil can feel stiff on all ten fingers.
Chrome Powder Effect
Chrome powder creates mirror-like finish over gel base coats. You need UV light to cure gel polish, making this technique more equipment-intensive but the results rival salon chrome manicures.
Difficulty: Advanced
Time: 90 minutes including cure time
Cost: $45 for LED lamp and supplies
Apply black gel base, cure, then rub chrome powder with silicone tool while the inhibition layer is still present. The powder bonds to the uncured gel surface. Seal with gel top coat for durability. This lasted two weeks on my nails without chipping, but removal requires acetone soaking and foil wraps.
Textured Polish Patterns
Textured polishes like OPI Liquid Sand create interesting patterns when combined with smooth finishes. Use striping tape to create sections of texture against smooth color.
Difficulty: Beginner
Time: 40 minutes
Cost: $12 for textured polish
Apply base color, let dry completely, then use tape to mask areas before applying textured polish. The contrast between smooth and textured creates visual interest without complex techniques. These polishes hide minor application mistakes in the textured sections.
Cuticle Art Accents
Tiny designs near the cuticle create delicate details. Use striping brushes or dotting tools to add small flowers, stars, or geometric shapes in contrasting colors.
Difficulty: Intermediate
Time: 75 minutes for detailed work
Cost: $8 for striping brush
Work with thinned polish for smooth lines. Add one drop of polish thinner to regular polish for better flow through striping brushes. These delicate details require steady hands and good lighting. Position your desk lamp directly over your work area to avoid shadows.
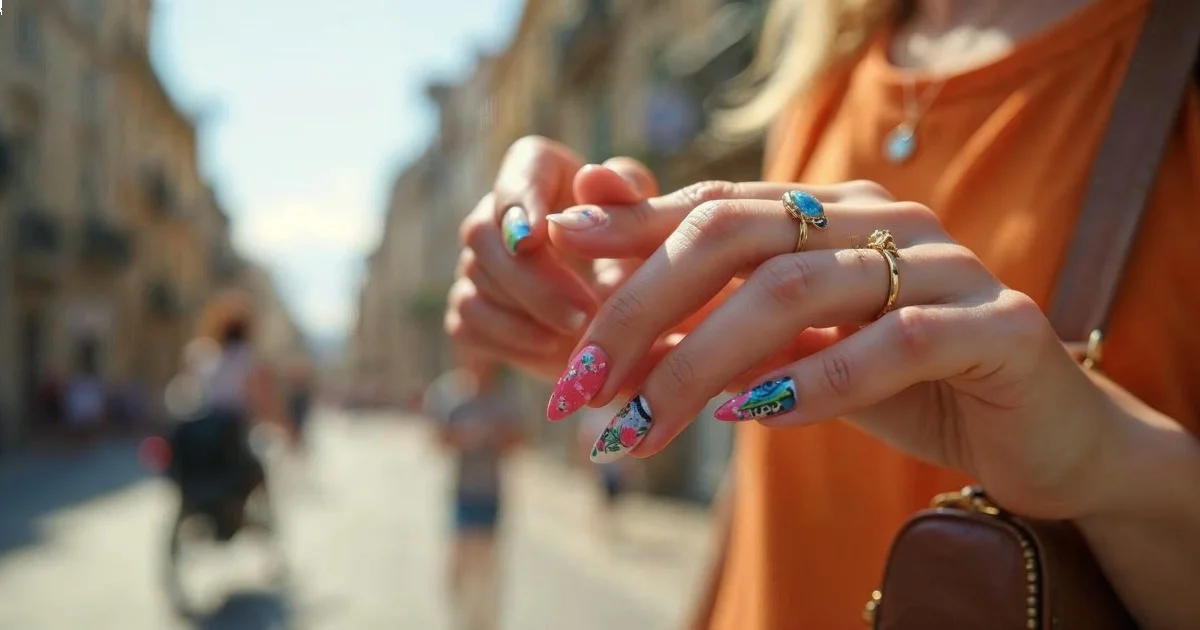
Seasonal Color Combinations
Seasonal combinations feel current without following fleeting trends. Spring calls for soft pastels and florals, while summer demands bright, bold combinations that complement tanned skin.
Difficulty: Varies by design
Time: 45-90 minutes
Cost: $15-25 depending on colors
I rotate my polish collection seasonally, storing off-season colors to prevent overwhelming choices. Current favorites include coral and mint for summer, burgundy and gold for fall. Check out my detailed seasonal nail design guide for specific color combinations that work.
Mixed Media Techniques
Combining multiple techniques in one design creates custom looks. My signature design uses stamped base patterns with hand-painted accent details and matte finish on select fingers.
Difficulty: Advanced
Time: 2+ hours
Cost: $35 for multiple supplies
Start with the most difficult technique first, then add easier elements. If stamping fails, you haven't invested time in hand-painting details yet. Layer techniques gradually, allowing full drying time between steps. Document successful combinations with photos for future reference.
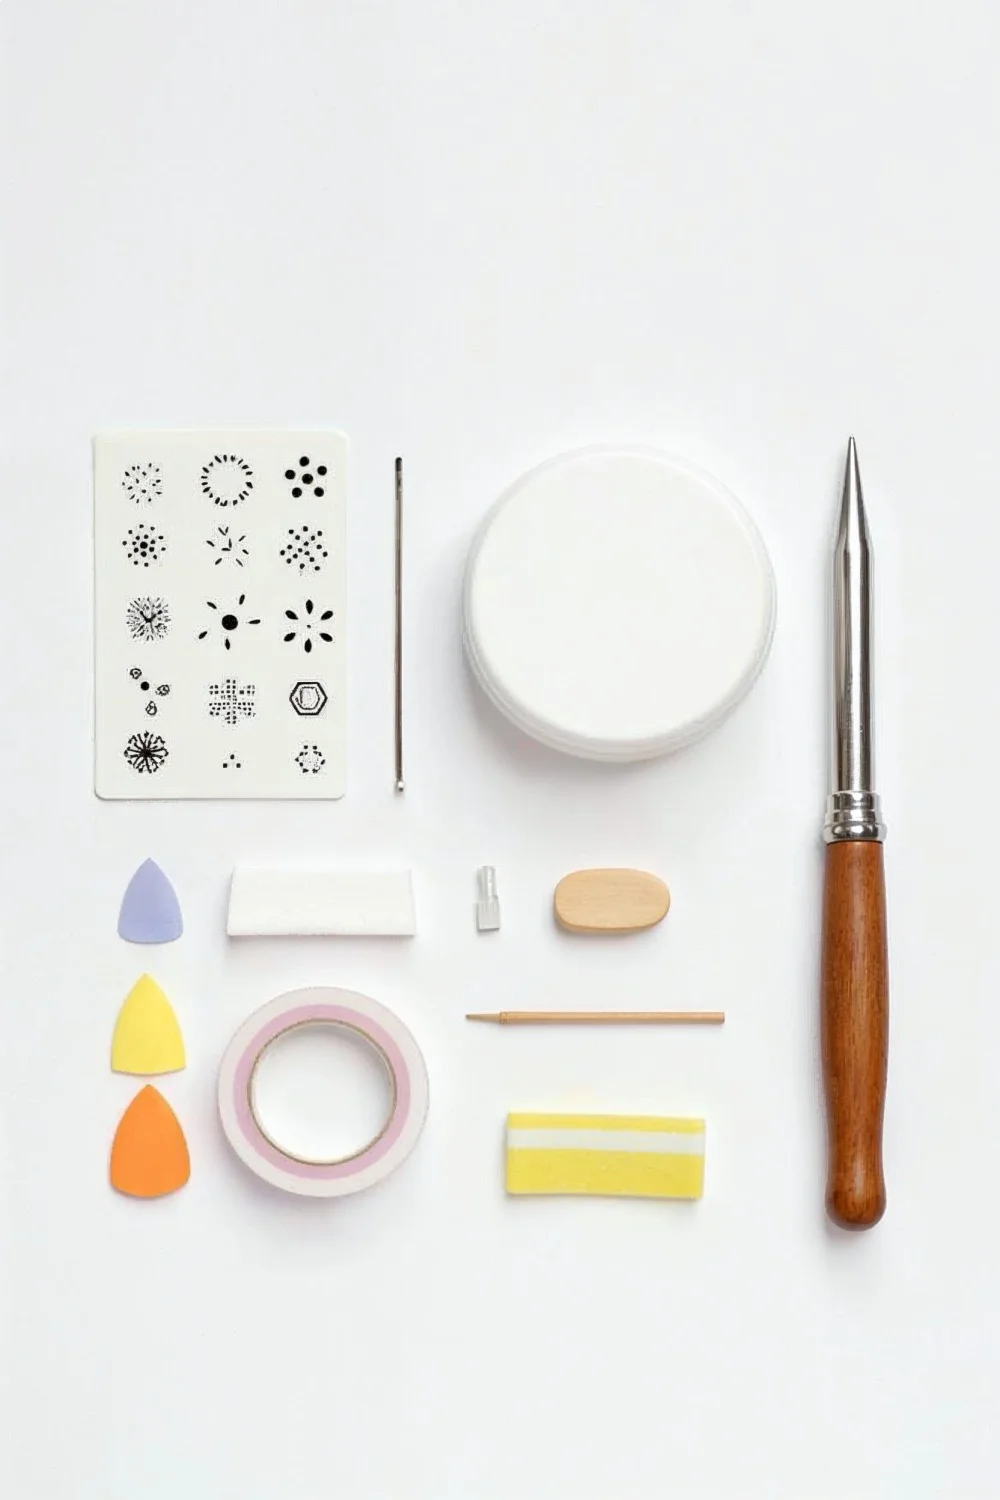
What Tools Do You Actually Need?
After testing dozens of nail art tools, these basics handle 90% of designs effectively:
| Tool | Cost | Best Brand | Essential For |
|---|---|---|---|
| Dotting Tools | $3-8 | Any brand works | Dots, flowers, texture |
| Striping Brushes | $5-12 | Orly or Sally Hansen | Lines, details, lettering |
| Makeup Sponges | $2-5 | Real Techniques | Gradients, textures |
| Striping Tape | $8-15 | Born Pretty | Geometric patterns |
| Stamping Kit | $15-30 | Maniology | Consistent patterns |
| LED Lamp | $25-40 | SUNUV | Gel techniques only |
You don't need expensive professional tools starting out. Dollar store dotting tools work as well as salon versions for basic designs. Invest in quality where it matters: good brushes, reliable LED lamps for gel work, and stamping plates with deep etching.
Key Finding: Basic nail art tools from budget brands perform comparably to professional versions for home use, with quality differences mainly affecting durability rather than results — Byrdie Beauty Testing
How Long Should Each Design Last?
Durability expectations vary dramatically based on your lifestyle and application technique:
Regular Polish Designs: 3-5 days with careful application
Gel Polish Techniques: 7-14 days depending on nail growth
Special Occasion Designs: 24-48 hours for complex, delicate work
My testing showed that base coat application has more impact on longevity than top coat brand. Orly Bonder Base Coat consistently extended wear time across all techniques. The "wrap the tip" method — painting polish over the nail edge — prevents chipping but requires longer nails.
What If You Make Mistakes?
Every design includes built-in error recovery:
Stamping mistakes: Clean immediately with acetone on small brush, re-stamp
Gradient streaks: Add more sponge layers to blend harsh lines
Dotting smudges: Let dry completely, add smaller dots to create cluster patterns
Tape bleeding: Use less polish on brush, work in thin layers
Keep cleanup brushes and acetone within reach. Small mistakes often become design elements with creative thinking. My best accidental discovery was turning a failed gradient into an abstract watercolor effect.
Choosing Designs for Your Lifestyle
Match your fingernail ideas to your daily reality. Office jobs with lots of typing favor shorter lengths with durable gel formulas. Creative fields allow more experimental colors and textures.
For Beginners: Start with dotting tools and stamping plates. These techniques have high success rates and clear tutorials available in my DIY nail art guide.
For Busy Schedules: Focus on designs under 45 minutes with 5+ day durability. Negative space designs and simple gradients fit this criteria.
For Special Events: Complex techniques like water marbling or mixed media create statement nails worth the time investment.
Start with one new technique per week rather than attempting everything at once. Master basic application first, then add complexity. Your nail art journey should feel enjoyable, not overwhelming.
Try the dotting tool flowers this weekend — they're forgiving for beginners and create satisfying results that last through your work week.
Frequently Asked Questions
What Tools Do You Actually Need?
Dotting tools, striping brushes, makeup sponges, striping tape, and a stamping kit handle 90% of nail designs. Budget brands perform comparably to professional versions for home use. Start with dotting tools and a stamping kit for the most versatile results.
How Long Should Each Design Last?
Regular polish designs last 3-5 days with careful application. Gel polish techniques last 7-14 days depending on nail growth. Base coat application has more impact on longevity than top coat brand.
What If You Make Mistakes?
Keep cleanup brushes and acetone within reach for immediate corrections. Stamping mistakes can be cleaned with acetone on a small brush and re-stamped. Gradient streaks blend away with additional sponge layers. Small mistakes often become design elements with creative thinking.