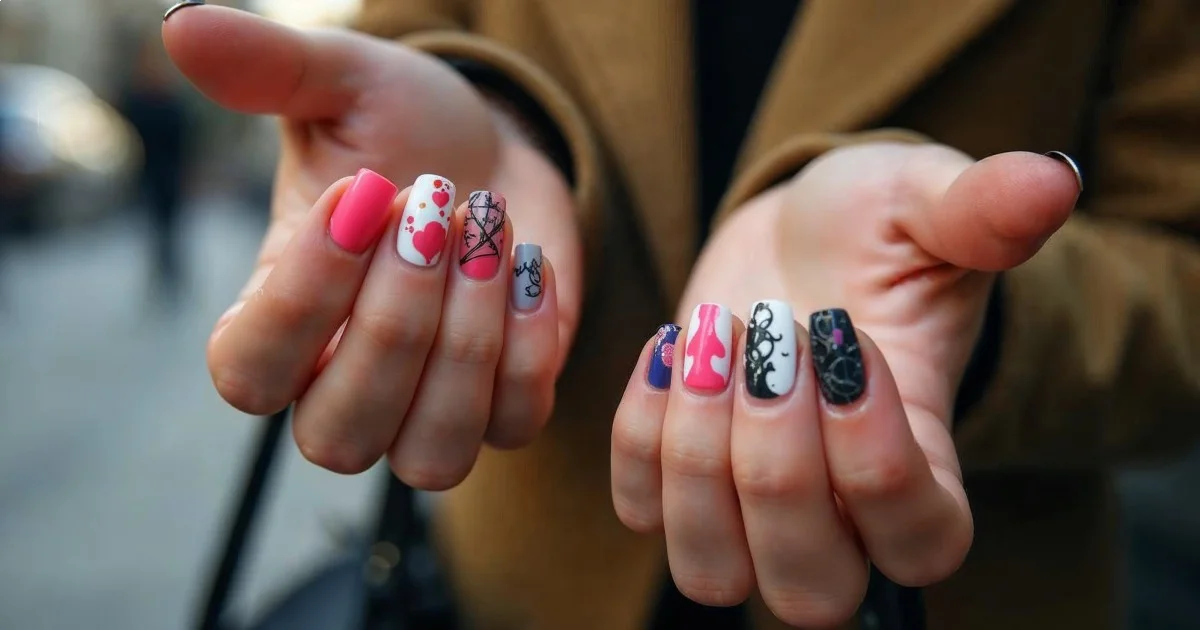
Matte Nails: 15 Sophisticated 2026 Design Ideas
Matte nails in 2026 move beyond basic black into sophisticated territory: textured overlays, dual-finish contrasts, and color-blocked neutrals dominate.
Matte nails in 2026 move beyond basic black into sophisticated territory: textured overlays, dual-finish contrasts, and color-blocked neutrals dominate. Expect velvet-touch topcoats over layered pigments, micro-metallic accents on matte bases, and strategic glossy detailing that elevates the finish from flat to architecturally complex.
- Textured matte finishes (velvet, suede-effect) outperform standard matte topcoats in wear retention
- Dual-finish designs combining matte and gloss on the same nail require gel systems for dimensional clarity
- Neutral matte bases in warm terracottas and cool taupes replace the previous dominance of black and grey
- Strategic matte placement (negative space, geometric sections) extends visual interest beyond all-over application
Selection Methodology: Decoding 2026 Matte Sophistication
This collection represents design directions compiled from salon technicians, social media creatives, and industry events throughout late 2025 and early 2026. The differentiation from existing matte nail guidance lies in the focus on emerging sophistication markers: textural complexity, multi-finish layering, and color theory applications that move past single-tone executions.
Industry data from beauty expos and professional forums shows a clear shift toward matte as a strategic accent rather than an all-over commitment. Byrdie's guidance on matte application emphasizes proper base preparation, which becomes critical when working with the textured and layered approaches detailed here.
Each design below includes difficulty assessment, time requirements, and specific product or technique details that separate sophisticated execution from basic matte application.
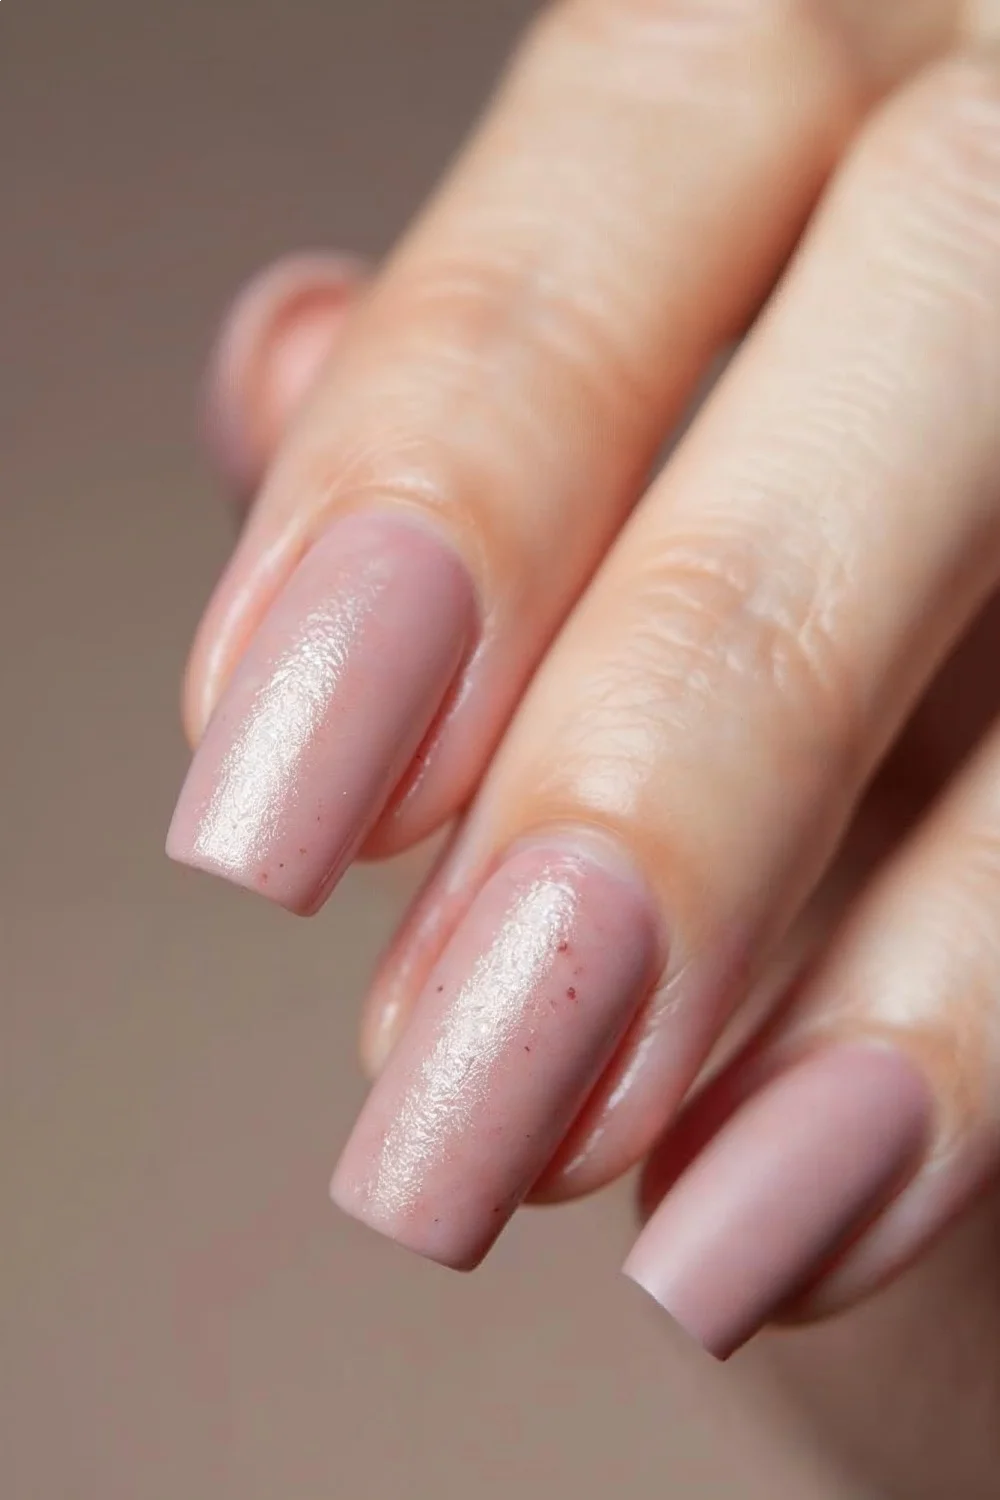
Velvet Matte Over Sheer Pigment Layers
This technique builds depth through translucent color layers before applying a velvet-finish topcoat. The result reads as soft-focus color with dimensional richness that standard matte polish cannot achieve.
Difficulty: Intermediate | Time: 45 minutes including dry time
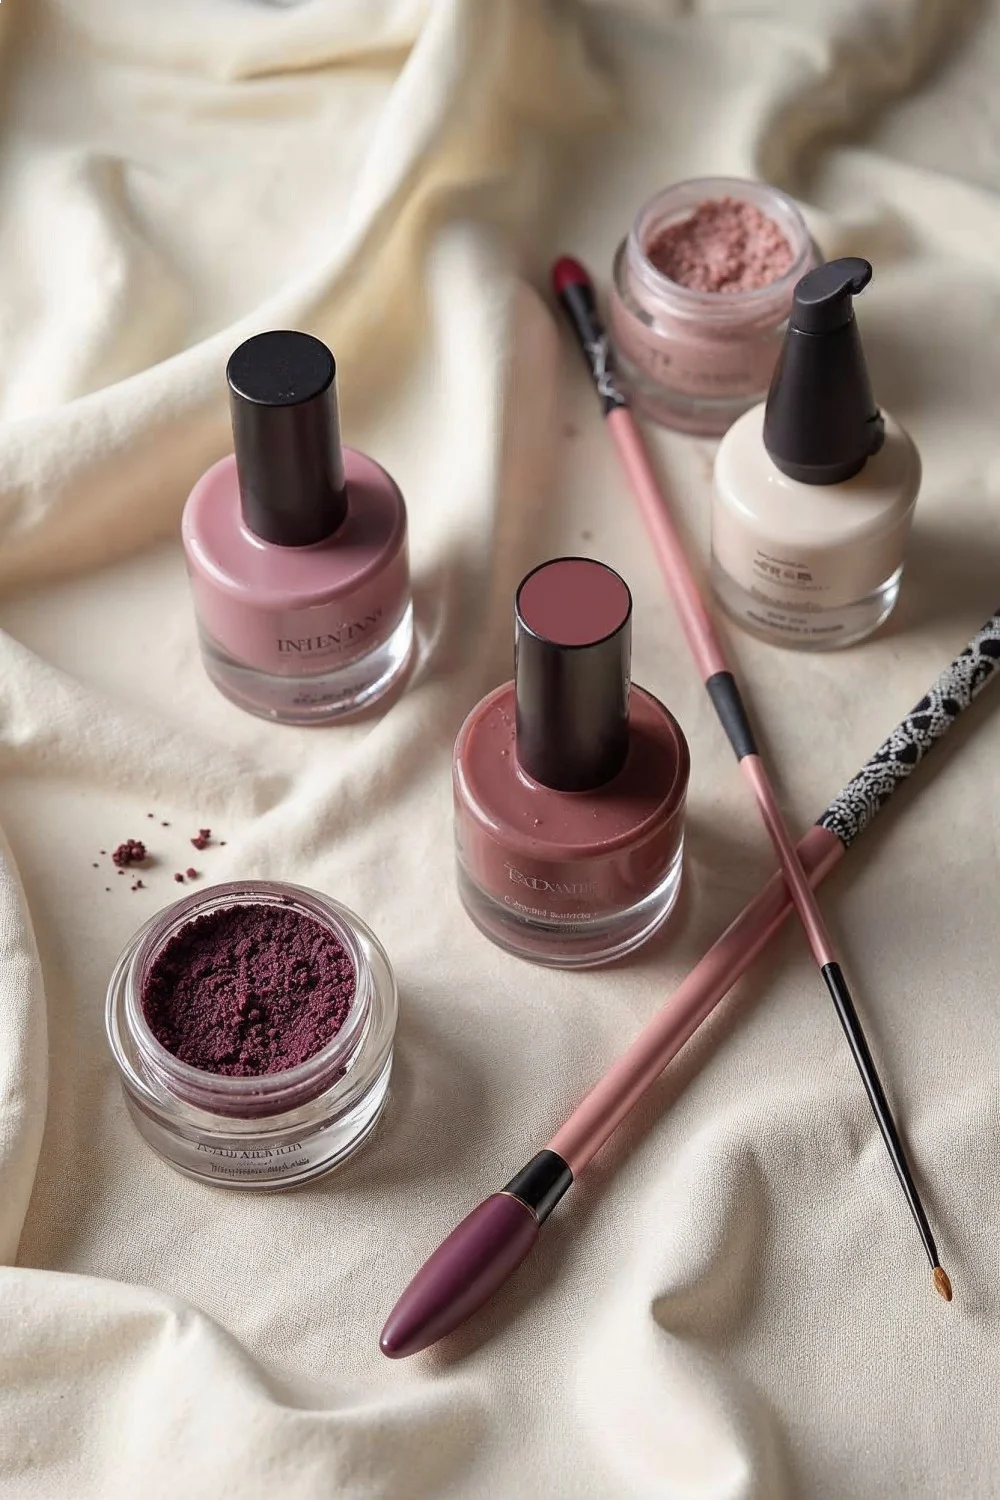
What makes it work: Sheer pigments (Essie Gel Couture in Ballet Slippers or similar translucent bases) are applied in 2-3 thin coats, allowing each to dry for 3-4 minutes. The layering creates color saturation without opacity. OPI's Matte Top Coat or Sally Hansen's Big Matte Top Coat transforms the finish, but specialty velvet topcoats (available from brands like Orly) provide a tactile suede texture that wears 5-7 days on average.
Technique specifics: Each sheer layer must be completely dry before the next application. Wet layers drag and create streaks under matte topcoat. The velvet topcoat should be applied slightly thicker than standard glossy topcoats (one generous coat versus two thin) to achieve the textured finish.
Color recommendations: Warm terracotta sheers, dusty rose variations, and soft sage greens show the dimensional quality best. Avoid stark whites or deep blacks—the layering technique shows most effectively in mid-tone ranges.
Key Finding: Proper nail preparation, including dehydrating and base coat application, is the most important factor in DIY manicure longevity — American Academy of Dermatology

Dual-Finish Geometric Blocking
Glossy and matte sections on the same nail create architectural contrast. This design requires precision—the finish difference is the design element, so clean lines matter.
Difficulty: Advanced | Time: 60-75 minutes
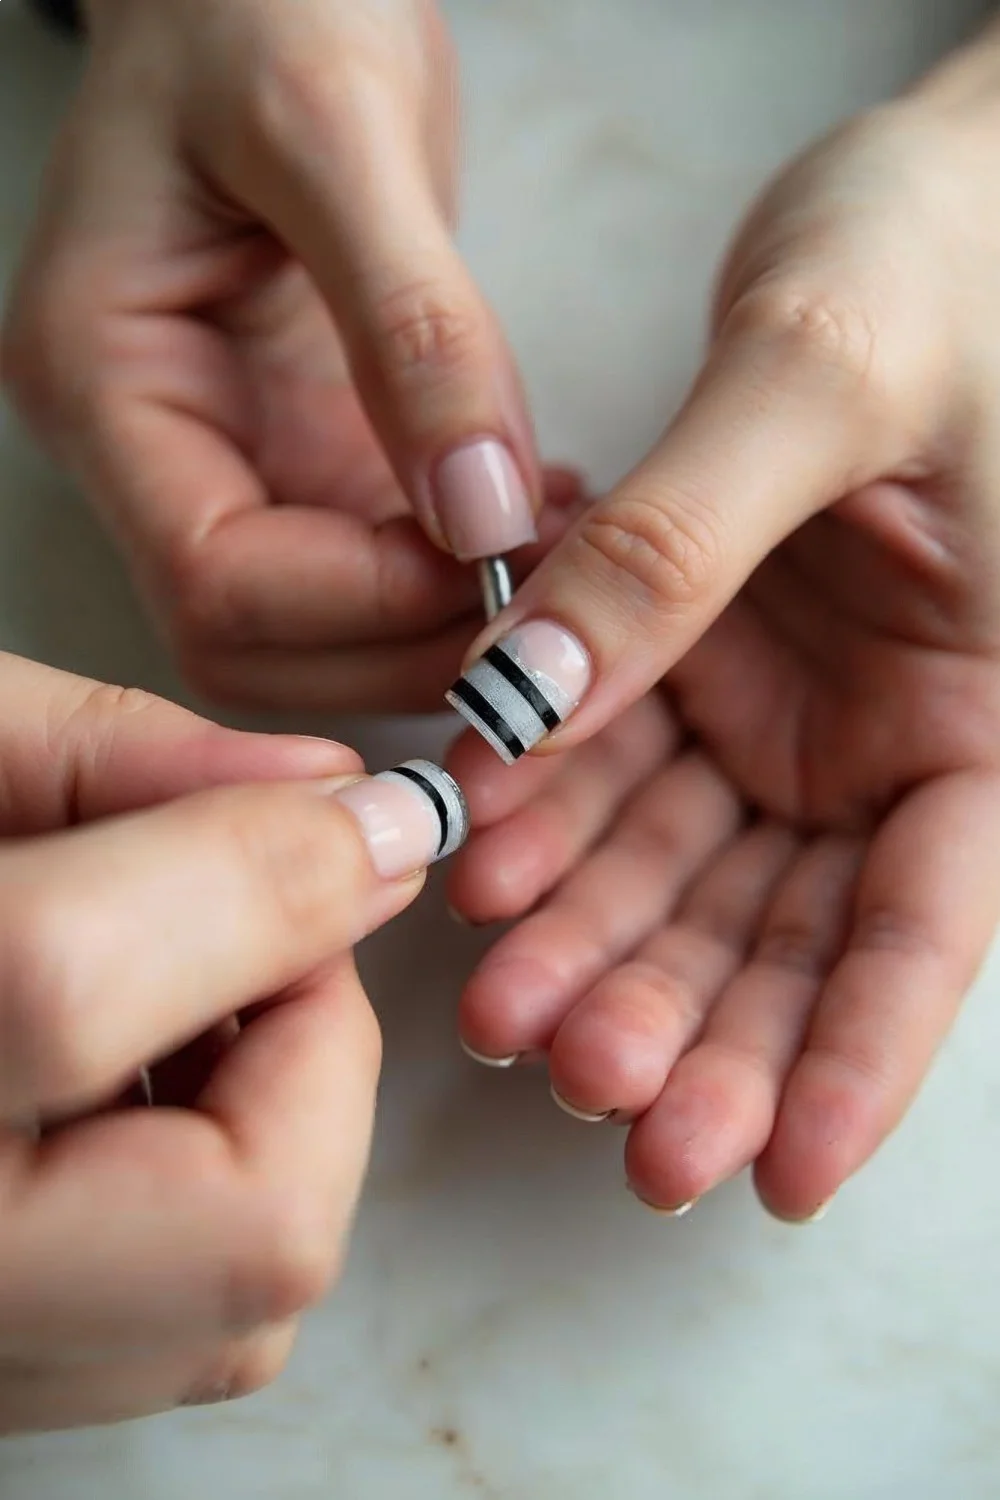
Execution approach: Apply base color (any finish) to all nails and cure if using gel, or dry completely if using traditional polish. Gel systems work better here because they allow repositioning before cure. Use striping tape or vinyl stencils to mask off sections that will remain glossy. Apply matte topcoat only to exposed sections. Remove tape immediately while topcoat is wet.
Product specifics: OPI GelColor base with OPI Matte Top Coat works reliably for this technique. Traditional polish alternatives include any base color plus Essie's Matte About You topcoat, though gel provides sharper finish boundaries. Vinyl nail stencils from brands like Winstonia or Twinkled T hold edges better than striping tape for matte applications.
Common failure point: Matte topcoat bleeds under tape edges if applied too heavily. One thin coat prevents seepage. The contrast works best with bold base colors (deep burgundy, forest green, navy) rather than pastels.
Design variations: Diagonal splits, chevron patterns, negative-space triangles, or half-moon geometric sections all translate well to dual-finish treatment.
Micro-Metallic Foil on Matte Neutral
Delicate metallic foil accents on matte bases create jewelry-like detail. The technique relies on contrast between ultra-flat matte and reflective foil fragments.
Difficulty: Beginner to Intermediate | Time: 30-40 minutes
How it works: Apply matte base color in warm taupe, soft grey, or muted mauve. Let dry completely (8-10 minutes for traditional polish, cure time for gel). Apply tiny sections of foil adhesive (dedicated nail foil glue, not regular polish) in random placement or along the cuticle edge. Wait until adhesive turns clear (2-3 minutes). Press metallic foil (gold, rose gold, or silver) onto adhesive sections and peel away backing. Seal with matte topcoat over the entire nail.
Product notes: Born Pretty foil adhesive has a working window of about 5 minutes after turning clear. Regular nail glue does not work—foil requires specific adhesive chemistry. The foil itself comes in sheets from brands like Winstonia, Daily Charme, or Amazon generic packs for around $8-12 per multi-sheet set.
Placement strategy: Less is more. Three to five small foil fragments per nail reads as sophisticated. Full coverage looks costume-like under matte topcoat.
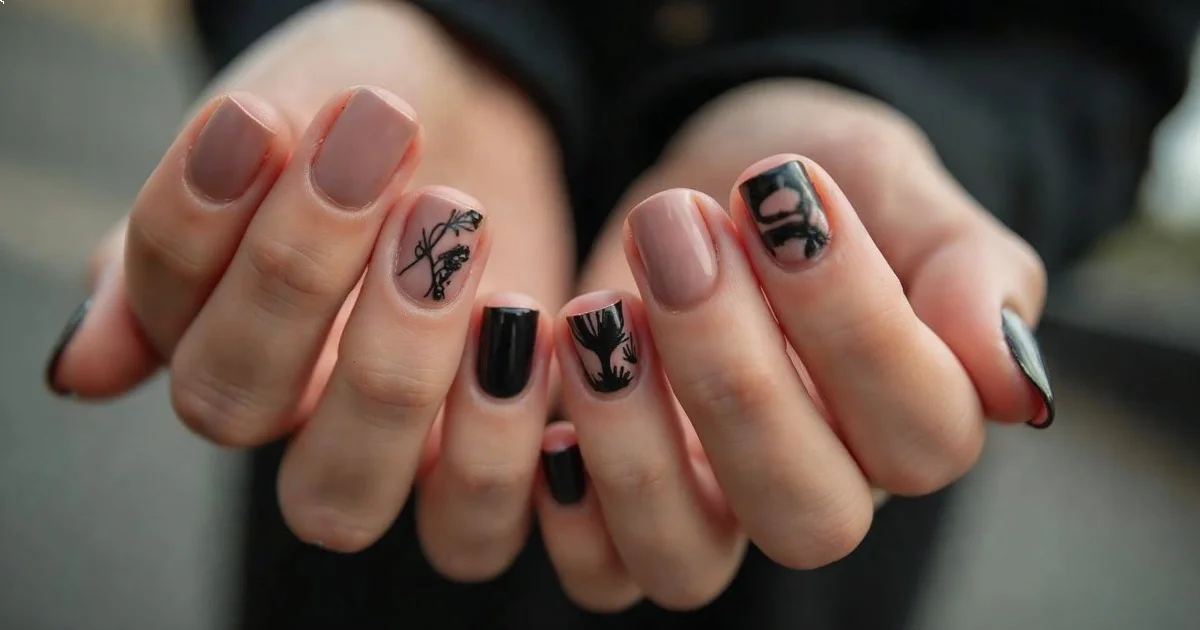
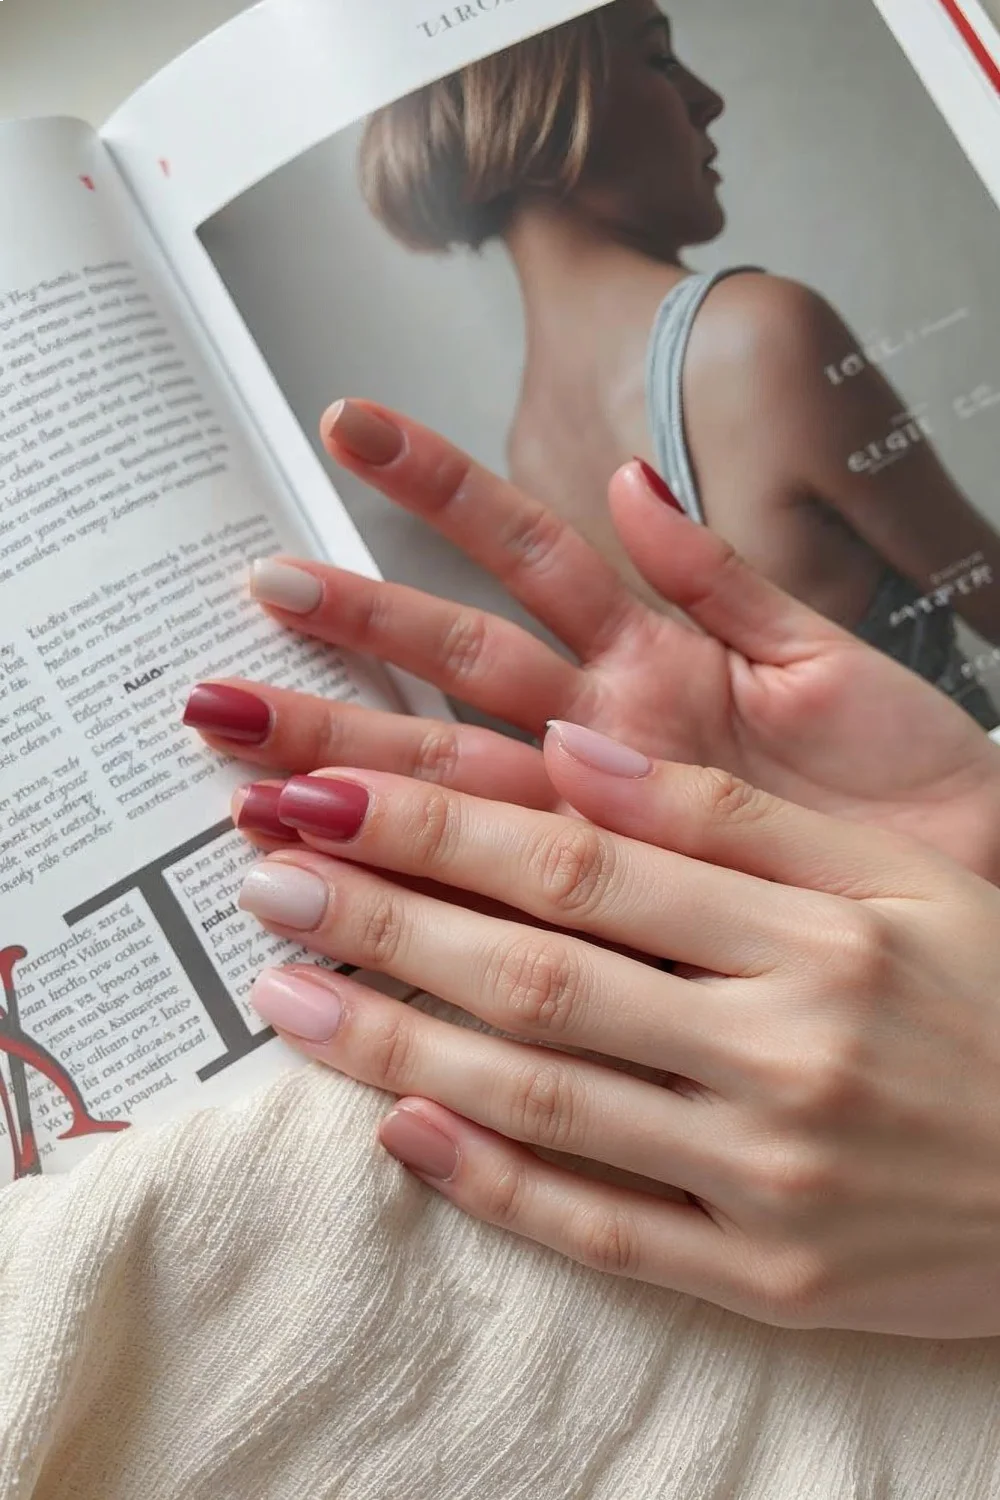
Tonal Matte Color Blocking
Multiple matte shades in the same color family create subtle definition through value shifts rather than high contrast.
Difficulty: Intermediate | Time: 50 minutes
Color theory application: This design works within analogous color schemes—three shades separated by one step in saturation or value. Example: dusty rose base with mauve and deep rose sections. Or: sage green with olive and forest green blocks.
Technical execution: Apply lightest shade as base to entire nail. Dry completely. Use thin striping brush or detail brush to paint geometric sections in mid-tone shade. Dry. Add darkest shade in smallest sections. After all colors dry completely (10-12 minutes minimum), apply one thin coat of matte topcoat across all sections.
Why it works: The matte finish removes the visual distraction of shine variation between color layers, making the subtle tonal shifts read more clearly. Gloss versions of the same design often look muddy because light reflection competes with color distinction.
Recommended palettes: Terracotta/rust/burnt sienna; lavender/mauve/plum; sage/olive/forest; or cream/tan/chocolate.

Matte French with Glossy Reverse Detail
The classic French manicure inverted: matte nude base with a glossy white tip, plus a thin glossy line at the smile line boundary.
Difficulty: Advanced | Time: 55-65 minutes
Why this version matters: Standard matte French tips look unfinished. The strategic gloss detail adds intentionality. The technique involves precise brush control or guide tools.
Step-by-step approach: Apply nude or soft pink base (two coats). Dry completely. Apply matte topcoat to entire nail except tip area. Let matte topcoat dry fully (8 minutes minimum). Paint white tips freehand or use French manicure guides. Before white tip dries, use a fine detail brush to paint a thin glossy topcoat line exactly at the smile line boundary, extending across the white tip. This creates a gloss accent line plus glossy tip against matte base.
Product combinations: OPI Bubble Bath or Essie Ballet Slippers for base. OPI Alpine Snow or Sally Hansen White On for tips. Seche Vite or any quick-dry gloss topcoat for detail work.
Difficulty note: The glossy accent line requires steady hand control. Most beginners need cleanup with a pointed cotton swab dipped in acetone. Round nail shapes or oval shapes work better than sharp almond or stiletto for this technique because the smile line curve is gentler.
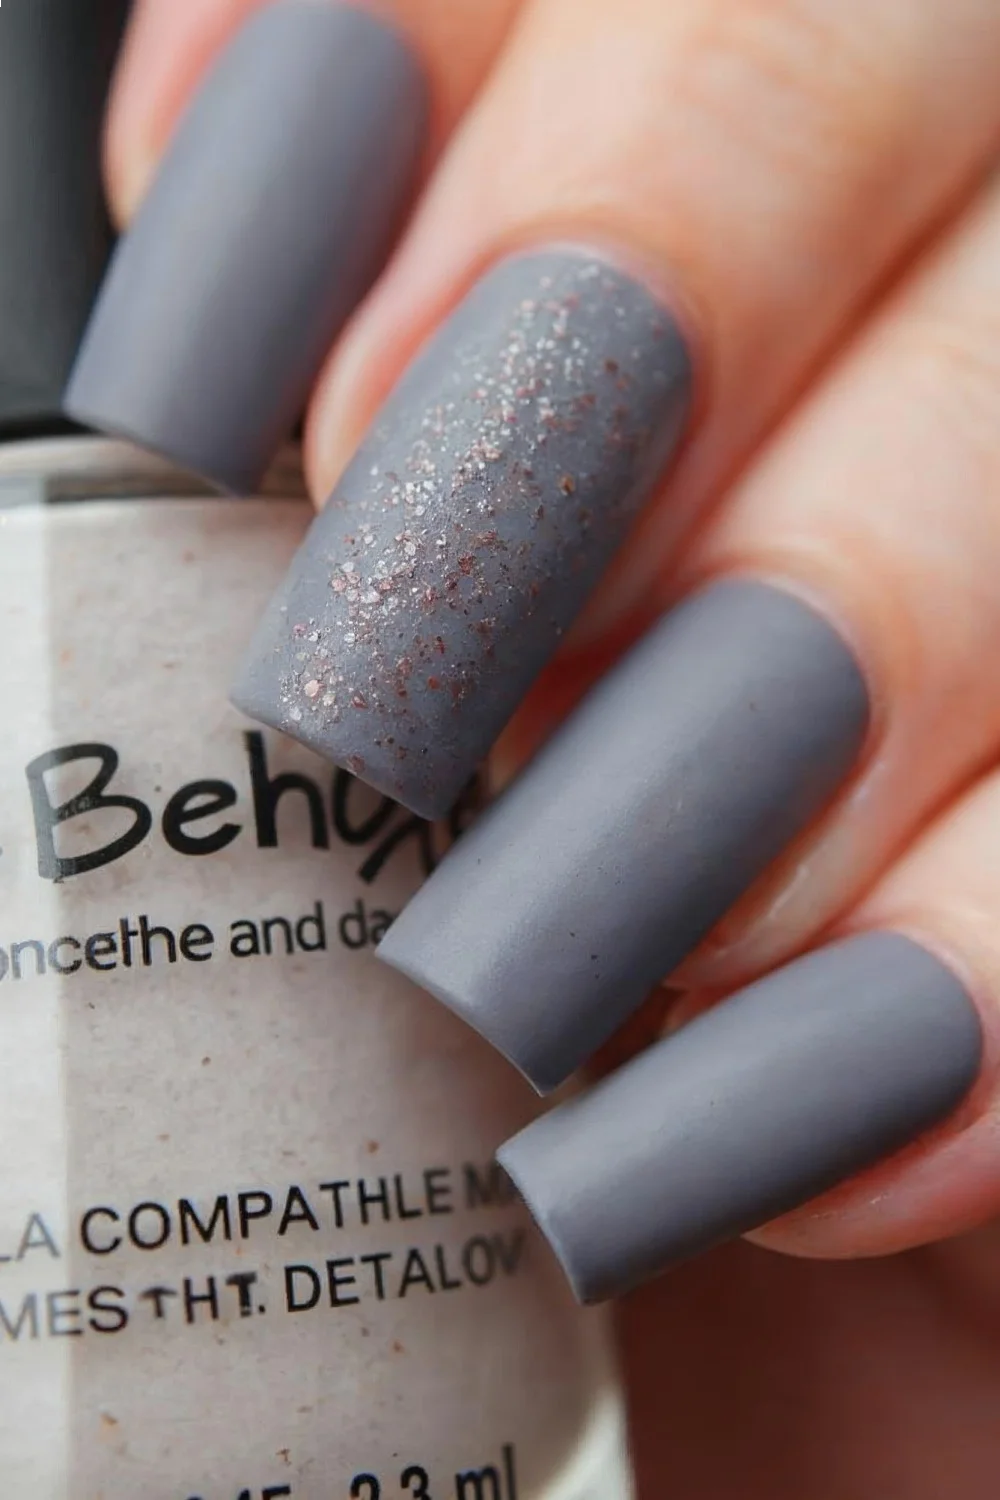
Suede-Effect Powder Over Gel Color
Velvet or suede powder pressed into uncured gel topcoat creates a tactile, fabric-like texture that standard matte topcoats cannot replicate.
Difficulty: Intermediate (requires gel system) | Time: 40 minutes including cure time
What you need: Gel base coat, gel color, gel topcoat (no-wipe formula works best), velvet or suede powder (available from nail art suppliers like Makartt, Born Pretty, or Daily Charme), small powder brush.
Application method: Apply gel base and cure. Apply gel color (two coats, curing between). Apply gel topcoat but DO NOT cure. Immediately dust velvet powder liberally over wet gel topcoat using soft brush or finger. Tap off excess. Cure under LED lamp (60 seconds) or UV lamp (2 minutes). Use clean brush to remove any loose powder.
Texture result: The powder embeds in the uncured gel and creates a raised, fuzzy texture. Unlike matte topcoat which is smooth, this finish has actual tactile dimension. It catches light differently and photographs with depth.
Color choices: Deep jewel tones (emerald, sapphire, ruby) show the texture most dramatically. Black creates a true suede look. Pastels read more vintage-velvet.
Wear expectation: 7-10 days with minimal chipping. The powder is locked into the gel matrix, so it does not shed like loose glitter.
Negative Space Matte Sections
Clear nail areas paired with matte color blocks create contemporary minimalism. The bare nail becomes part of the design.
Difficulty: Intermediate | Time: 35-45 minutes
Design strategy: This works best on shorter nails where the negative space does not extend far enough to show natural yellowing or ridges. Apply base coat to entire nail for protection. Use striping tape or freehand detail brush to create geometric color sections—half-moons, diagonal stripes, corner triangles—leaving portions of the natural nail visible. Apply matte topcoat over the entire nail including clear sections.
Why matte matters here: Matte topcoat over bare nail creates a unified finish that reads as intentional design rather than incomplete application. Glossy topcoat over negative space looks like you forgot to finish.
Color recommendations: Single bold color (coral, cobalt, burgundy) against clear space works better than multiple colors, which can look busy.
Technical note: This requires healthy, even-toned natural nails. If nail beds show discoloration, substitute a sheer nude in the "negative" space instead of leaving completely bare.
Watercolor Blur with Matte Seal
Soft, blended color transitions sealed under matte topcoat create a diffused, artistic effect. The matte finish enhances the watercolor illusion by removing shine.
Difficulty: Beginner to Intermediate | Time: 40 minutes
Technique breakdown: Apply white or pale cream base (two coats). Dry completely. While base is dry, drop small amounts of 2-3 coordinating polish colors onto a makeup sponge or silicone mat. Dab colors onto nail in overlapping sections, blending edges by stippling. The colors will mix slightly where they meet. Let dry fully (10 minutes minimum). Apply matte topcoat.
Color combinations: Analogous schemes work best—purple/pink/blue, or yellow/peach/coral, or green/teal/blue. High contrast combinations (red/yellow/blue) look muddy when blended.
Why matte transforms this: Glossy versions of watercolor nails often look like messy application. Matte finish unifies the blurred edges and makes the soft transitions look intentional.
Cleanup: Watercolor techniques are messy. Liquid latex or painter's tape around cuticles during application saves cleanup time. According to Byrdie's matte application guidance, proper cleanup before topcoat application prevents premature chipping.
Matte Ombre with Glossy Gradient Line
A gradient fade from light to dark sealed in matte, with a single glossy stripe at the transition point.
Difficulty: Advanced | Time: 65-75 minutes
How to build it: Create standard ombre/gradient using makeup sponge method with two shades (light to dark). Apply lightest shade as base. Dab sponge with both colors overlapping in center section, then press and roll onto nail. Repeat 2-3 times for smooth gradient. Dry completely (12-15 minutes). Apply matte topcoat to entire nail. After matte dries, use fine detail brush to paint one thin horizontal stripe of glossy topcoat exactly at the gradient transition point.
Visual effect: The gloss line acts as a focal point, drawing attention to the gradient's center. Without it, matte ombres can look flat and lack dimension.
Color pairings: White-to-grey, nude-to-chocolate, peach-to-terracotta, or lavender-to-deep-purple all show gradient transitions clearly under matte finish.
Product specifics: Ombre requires at least 4 sponge applications for smooth blending. Each application should dry 3-4 minutes before the next to prevent dragging.
Micro-Dot Glossy Pattern on Matte Field
Tiny glossy dots scattered across a matte base create subtle texture variation. The dots catch light while the base absorbs it.
Difficulty: Beginner | Time: 25-30 minutes
Tools required: Dotting tool (or toothpick), matte base color, glossy topcoat.
Application: Apply matte base color and let dry completely. Apply matte topcoat. Let dry fully (8 minutes). Use dotting tool dipped in glossy topcoat to create small dots in scattered or pattern placement across each nail. The glossy topcoat dots dry clear but remain shiny against the matte background.
Pattern options: Random scatter, gradient concentration (more dots at tips), linear rows, or clustered groups. Five to eight dots per nail reads as intentional; more than twelve looks busy.
Alternative version: Use metallic polish (gold or silver) instead of clear glossy topcoat for the dots. The matte base makes metallics read more refined and less costume-jewelry.
Matte Animal Print with Glossy Spots
Abstract leopard or cow print in matte with selective glossy spots creates dimensional animal texture.
Difficulty: Intermediate | Time: 50 minutes
Design execution for leopard: Apply tan or camel matte base. After drying, use detail brush to paint irregular organic shapes in chocolate brown, clustered in groups of 2-4 shapes. Let dry. Paint thin black outlines around some (not all) brown shapes. Apply matte topcoat everywhere. After matte dries, use glossy topcoat to paint selected brown spots only, leaving others matte.
For cow print: White matte base. Irregular black organic shapes. Matte topcoat. Selective gloss on some black patches.
Why the mixed finish matters: All-matte animal print looks flat. All-gloss reads juvenile. The strategic gloss placement creates visual hierarchy and makes the print look layered rather than stamped.
Color variations: Grey leopard on charcoal base, or white spots on sage green (abstract interpretation) work for less literal animal references.
Textured Matte Base with Glossy Line Art
Minimalist line drawings in glossy finish over textured or suede matte base. Think single-line face profiles, abstract curves, or geometric wireframes.
Difficulty: Advanced | Time: 55-65 minutes
Base preparation: Apply velvet powder technique (described earlier) or use specialty textured matte polish. Let cure or dry completely. The base must be fully set before line work.
Line art technique: Use fine detail brush (size 0 or 00) with glossy topcoat or metallic polish (gold and silver work particularly well). Paint simple, continuous line designs—abstract faces, single-stroke florals, minimalist outlines. The lines should be thin and deliberate.
Design complexity: Less is more. One continuous line design per nail or a design split across 2-3 nails reads as sophisticated. Heavy line work competes with the textured base.
Skill requirement: Steady hand control necessary. This design shows every wobble. Practice line work on paper or practice wheels before committing to nails.

Matte Checkerboard with Glossy Accent Squares
Classic checkerboard pattern where most squares are matte but select squares are glossy, creating visual rhythm.
Difficulty: Advanced | Time: 75-90 minutes
Grid creation: This design requires precision taping or a steady hand with striping brush. Apply light base color (white, cream, or pale grey). Dry completely. Use striping tape to create grid lines, or paint freehand using detail brush. Paint alternating squares in contrasting color (black or dark grey for classic look). Remove tape. Dry fully. Apply matte topcoat to entire nail. After matte dries, apply glossy topcoat to 2-3 selected squares per nail (not random—follow a pattern like diagonal line or corners only).
Pattern logic: The glossy squares should follow intentional placement—every third square, or corner squares only, or a diagonal line across the checkerboard. Random gloss looks unfinished.
Size consideration: This design works better on medium to long nails. Short nails do not have sufficient surface area for readable checkerboard detail.
Color alternatives: Navy and white, forest green and cream, or burgundy and blush pink for less stark contrast than traditional black and white.
Matte Tip with Glossy Moon at Cuticle
Reverse French approach where the tip and majority of nail are matte, but a half-moon at the cuticle is glossy.
Difficulty: Intermediate | Time: 45 minutes
Application sequence: Apply base color to entire nail (two coats). Dry completely. Use half-moon stencils (adhesive guides available from brands like Twinkled T or generic Amazon packs) positioned at cuticle. Apply matte topcoat to exposed nail area (everything except half-moon). Remove stencils carefully. Let matte dry fully. Apply glossy topcoat only to the half-moon section at cuticle.
Color strategy: Monochromatic (same color, different finishes) reads most sophisticated. Contrasting colors can work but risk looking costume-like—test combinations first.
Why this direction works: Traditional glossy moons on matte nails have been done extensively. Reversing the placement feels current and unexpected.
Wear consideration: The half-moon placement means gloss detail is visible when looking at hands from above, making it more noticeable than tip details.
Matte Color Fade from Finger to Finger
Each nail is a different shade in the same color family, all in matte finish, creating a gradient across the hand rather than per nail.
Difficulty: Beginner | Time: 35 minutes
Color selection: Choose five polishes in graduated shades. Example: white, light pink, medium pink, rose, deep rose. Or: cream, beige, tan, caramel, chocolate. Each nail gets one shade, arranged from lightest on thumb to darkest on pinky (or reverse).
Application: Standard polish application—two coats per nail, allow drying between coats. After all nails are fully dry (10 minutes minimum), apply matte topcoat to all nails.
Why this works: The matte finish unifies disparate shades and makes the progression read as intentional design rather than indecisive color choice. Gloss versions often look like you could not pick a color.
Set recommendations: OPI's collections often include coordinated color families. Essie and Sally Hansen also offer shade ranges that work for hand-gradient techniques. Expect to invest $8-12 per bottle, so five coordinated shades runs $40-60 total.
Maintenance note: As colors chip, the gradient effect breaks down. This design works best for shorter nails or occasions with 5-7 day wear expectation rather than extended 2-week wear.
Design Comparison Table
| Design | Difficulty | Time Required | Best Nail Length | Key Products Needed | Approximate Cost |
|---|---|---|---|---|---|
| Velvet Matte Layers | Intermediate | 45 min | Any | Sheer polish, velvet topcoat | $15-20 |
| Dual-Finish Geometric | Advanced | 60-75 min | Medium to Long | Vinyl stencils, matte topcoat | $12-18 |
| Micro-Metallic Foil | Beginner-Intermediate | 30-40 min | Any | Foil adhesive, foil sheets | $10-15 |
| Tonal Color Blocking | Intermediate | 50 min | Medium to Long | 3 analogous shades, detail brush | $25-35 |
| Reverse French Detail | Advanced | 55-65 min | Medium to Long | French guides, matte & gloss topcoat | $12-18 |
| Suede Powder Texture | Intermediate | 40 min | Any | Gel system, velvet powder | $30-45 |
| Negative Space Design | Intermediate | 35-45 min | Short to Medium | Striping tape, matte topcoat | $10-15 |
| Watercolor Blur | Beginner-Intermediate | 40 min | Any | Makeup sponge, 2-3 colors | $15-25 |
| Matte Ombre + Gloss Line | Advanced | 65-75 min | Medium to Long | Sponge, 2 shades, detail brush | $18-28 |
| Micro-Dot Pattern | Beginner | 25-30 min | Any | Dotting tool, glossy topcoat | $8-12 |
| Animal Print Mixed Finish | Intermediate | 50 min | Medium to Long | Detail brush, 3 colors | $20-30 |
| Line Art on Texture | Advanced | 55-65 min | Medium to Long | Velvet powder, fine brush, metallic | $35-50 |
| Checkerboard Accents | Advanced | 75-90 min | Medium to Long | Striping tape or steady hand | $15-22 |
| Glossy Moon at Cuticle | Intermediate | 45 min | Any | Half-moon guides | $12-18 |
| Hand Gradient Fade | Beginner | 35 min | Short to Medium | 5 coordinated shades | $40-60 |
How to Choose Your Matte Design Approach
Selection depends on three factors: your technical skill ceiling, available time, and nail length limitations.
For beginners or time-constrained situations: Micro-dot patterns, hand gradient fades, or simple watercolor techniques offer sophisticated results without advanced brush control. These designs forgive small application inconsistencies because the matte finish minimizes shine-based imperfections.
For intermediate skill levels: Tonal color blocking, negative space designs, and foil accent techniques provide visible sophistication while building brush control and precision skills. These methods introduce masking and detail work without requiring the steady-hand expertise of fine line art.
For advanced techniques: Dual-finish geometric designs, glossy line art on textured bases, and precision checkerboard patterns demand steady brush control and patience. These are statement designs that showcase technical skill—wedding nails or special event applications where impact matters most.
Nail length considerations: Designs with fine detail (line art, checkerboard, multi-section blocking) need medium to long nails for readable execution. Shorter nail beds work better with larger design elements—overall texture changes, simple geometric splits, or hand-gradient approaches. For additional guidance on working with shorter nails, see our short nail design collection.
Product investment strategy: Start with quality matte topcoat ($8-12) that works across multiple designs. OPI Matte Top Coat and Essie Matte About You both perform reliably based on industry guidance from nail care authorities. Add specialized products (velvet powder, foil adhesive, vinyl stencils) as you progress to advanced techniques.
Maintenance expectations: Matte finishes show wear differently than gloss—they do not chip visibly at edges but develop shiny patches where fingers contact surfaces frequently (phone screens, keyboards, steering wheels). Most designs here last 5-8 days before requiring touch-up or removal. Gel-based versions extend this to 10-14 days.
For foundational matte application techniques and troubleshooting common issues (streaking, premature shine development, uneven texture), see our comprehensive guide on matte nail designs and application methods. That resource covers base preparation and topcoat selection that applies across all designs in this collection.