How to Strengthen Weak Nails: 10 Proven Methods
Strengthening weak nails requires a combination of proper hydration, protective base coats, dietary adjustments, and avoiding harsh chemicals.
Strengthening weak nails requires a combination of proper hydration, protective base coats, dietary adjustments, and avoiding harsh chemicals. According to the American Academy of Dermatology, brittle nails affect roughly 20% of the population, making this a widespread concern that responds well to targeted intervention and consistent care routines.
- Protective base coats create a barrier that prevents peeling and splitting
- Biotin supplementation shows promise for nail strength when taken consistently over several months
- Keeping nails properly hydrated with cuticle oil prevents brittleness and breakage
- Limiting water exposure and wearing gloves during household tasks reduces weakening from moisture fluctuation
- Avoiding acetone-based removers preserves the nail plate's natural oils and integrity
Weak nails can make it difficult to achieve polished looks featured in seasonal nail designs or experiment with DIY nail art. This guide breaks down ten research-backed methods that address the root causes of nail weakness rather than masking symptoms with temporary fixes.
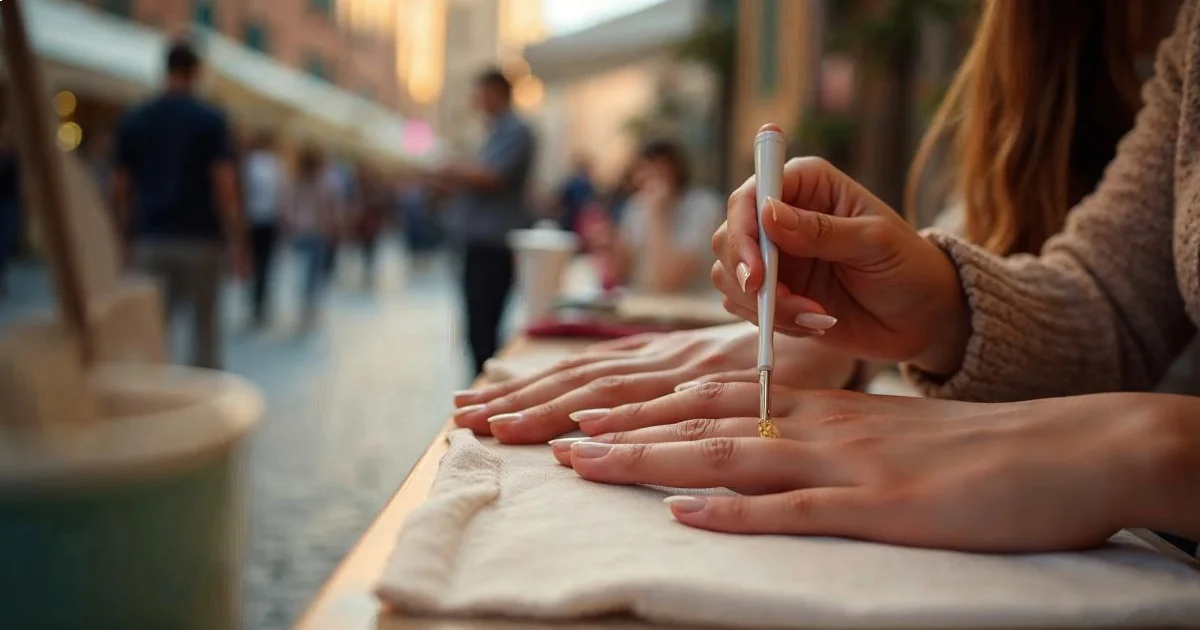
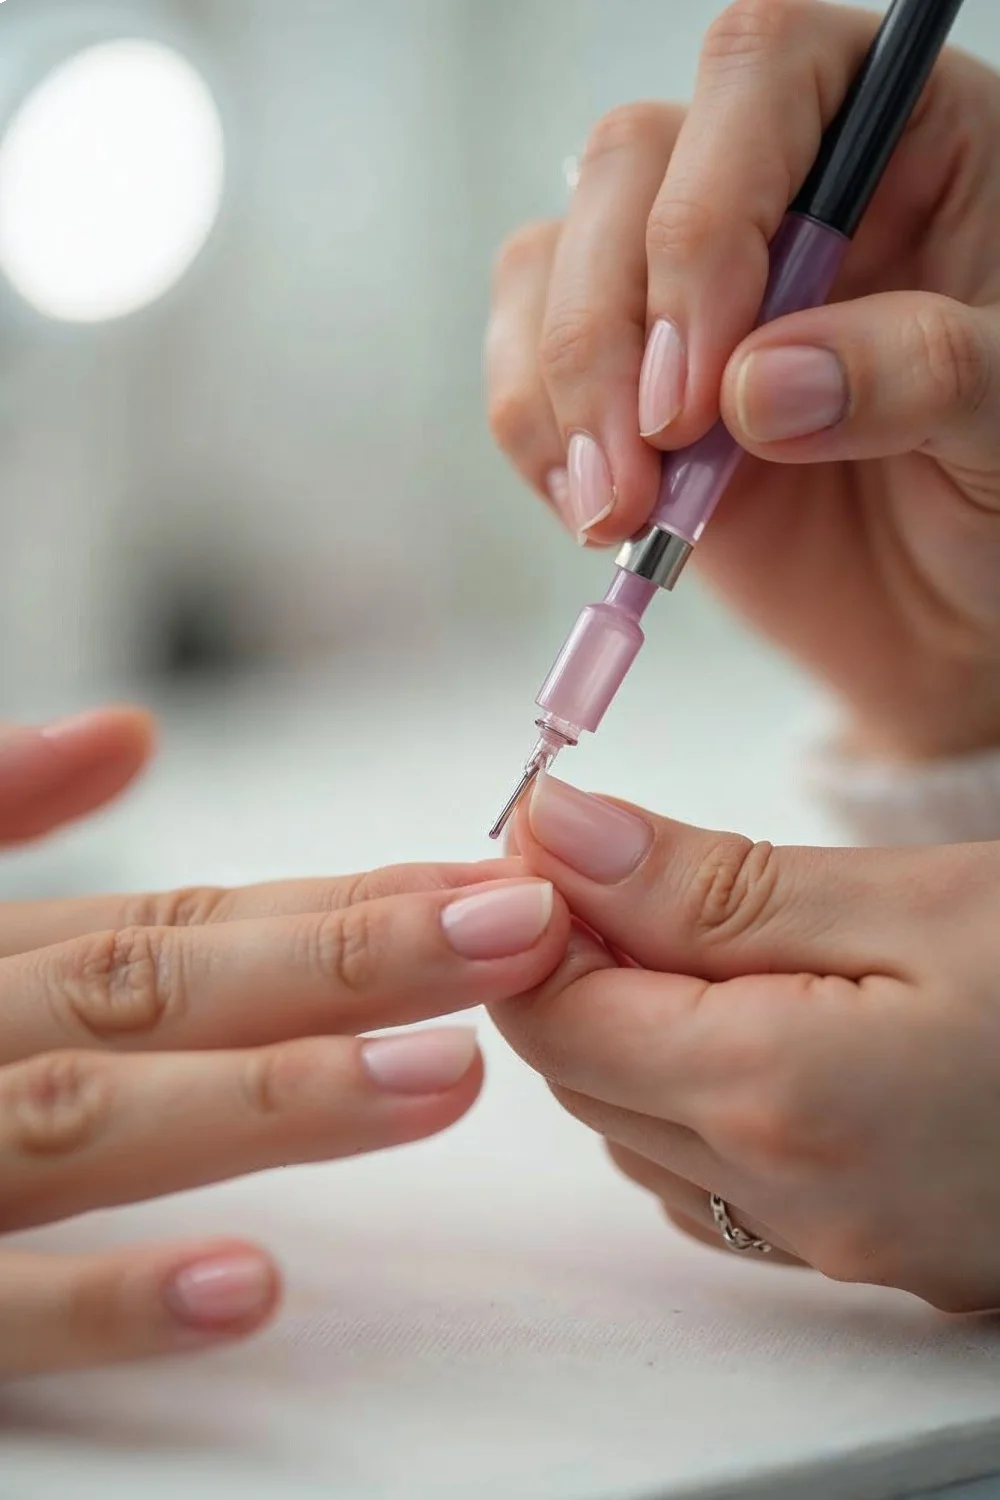
1. Apply a Strengthening Base Coat
Strengthening base coats create a protective barrier on the nail plate while delivering ingredients like keratin, calcium, and proteins that support structural integrity. These formulations work by filling microscopic gaps in the nail surface and providing a flexible shield against environmental stress.
The nail plate consists of layers of keratin cells that can separate and peel when damaged. A quality strengthening base coat bonds these layers together while allowing natural flexibility. OPI's Nail Envy remains the industry standard, formulated with hydrolyzed wheat protein and calcium that penetrate the nail plate rather than sitting on the surface.
For comprehensive coverage of base coat options, review our guide to the best base coat for nails, which compares formulations designed for specific nail concerns. Look for products that list strengthening actives in the first five ingredients rather than relying on marketing claims alone.
Application technique matters as much as formula selection. Apply one thin coat to clean, dry nails, wrapping the free edge to seal the tip where splitting typically begins. Allow two minutes of dry time before applying color or a second strengthening layer. Reapply every two to three days if wearing nails bare, or use as a base under regular polish.
Key Finding: Proper nail preparation, including dehydrating and base coat application, is the most important factor in preventing peeling and breakage — American Academy of Dermatology
Strengthening base coats typically cost between $8 and $15 per bottle, yielding approximately 40 to 50 applications. While salon brands like OPI and CND command higher prices, drugstore alternatives from Sally Hansen and Revlon use similar active ingredients at lower price points.
2. Supplement with Biotin
Biotin supplementation has gained attention for its potential role in nail health, though results vary based on individual deficiency levels and consistency of use. Biotin, a B-vitamin also called vitamin B7, supports keratin production—the protein that forms the structural foundation of nails.
According to the Mayo Clinic, while evidence remains limited, some research suggests that biotin supplementation may increase nail thickness in people with brittle nails. The typical therapeutic dose ranges from 2.5 to 5 milligrams daily, significantly higher than the 30 micrograms recommended for general health.
Results don't appear overnight. Nails grow approximately 3 millimeters per month, meaning visible improvement requires three to six months of consistent supplementation. Biotin supplements are widely available at drugstores and online retailers, with monthly costs ranging from $8 to $20 depending on brand and dosage.
Before starting any supplement regimen, consult with a healthcare provider, particularly if taking other medications. Biotin can interfere with certain lab test results, including thyroid function tests and troponin levels used in cardiac diagnostics. When purchasing supplements, look for third-party testing certifications from USP or NSF International, which verify ingredient accuracy and purity.
Combine biotin supplementation with topical treatments and proper nail care habits for comprehensive strengthening. Supplements address internal nutritional factors, while external treatments protect the nail plate from environmental damage.
3. Hydrate with Cuticle Oil Daily
Cuticle oil delivers essential fatty acids and vitamins directly to the nail matrix, where new nail cells form, while preventing moisture loss that leads to brittleness. The nail plate lacks living cells and cannot produce its own moisture, making external hydration critical for flexibility and strength.
Jojoba oil closely mimics the skin's natural sebum, allowing deep penetration into the nail plate and surrounding skin. Vitamin E provides antioxidant protection, while essential oils like tea tree or lavender offer antimicrobial benefits. Quality cuticle oils blend these ingredients in carrier oils that won't leave greasy residue.
Application timing matters more than frequency. Apply cuticle oil after any water exposure—washing hands, showering, or doing dishes—to replace moisture stripped away by water and soap. Massage a small drop into each cuticle and nail bed, paying attention to the sidewalls where hangnails typically develop. The massaging action also stimulates blood flow to the nail matrix, supporting healthy growth.
Cuticle oil products range from $4 drugstore pens to $25 salon formulations. CND Solar Oil remains the professional standard, featuring jojoba and vitamin E in a blend that absorbs quickly without staining clothing. Smaller pen applicators work well for on-the-go application, while dropper bottles offer better value for home use.
For those interested in nail health beyond strengthening, our guide to healthy nail care tips covers comprehensive cuticle care and maintenance routines.

4. Limit Water Exposure
Prolonged water contact causes the nail plate to swell and contract repeatedly, weakening the bonds between keratin layers and leading to peeling and splitting. This expansion-contraction cycle is one of the primary causes of nail damage, particularly for those who frequently wash hands or work in wet environments.
Water molecules penetrate between the keratin layers of the nail plate, forcing them apart. When nails dry, rapid moisture loss causes shrinkage that doesn't perfectly realign the layers, creating microscopic separations that develop into visible peeling. This process accelerates with temperature fluctuations and the presence of harsh soaps or detergents.
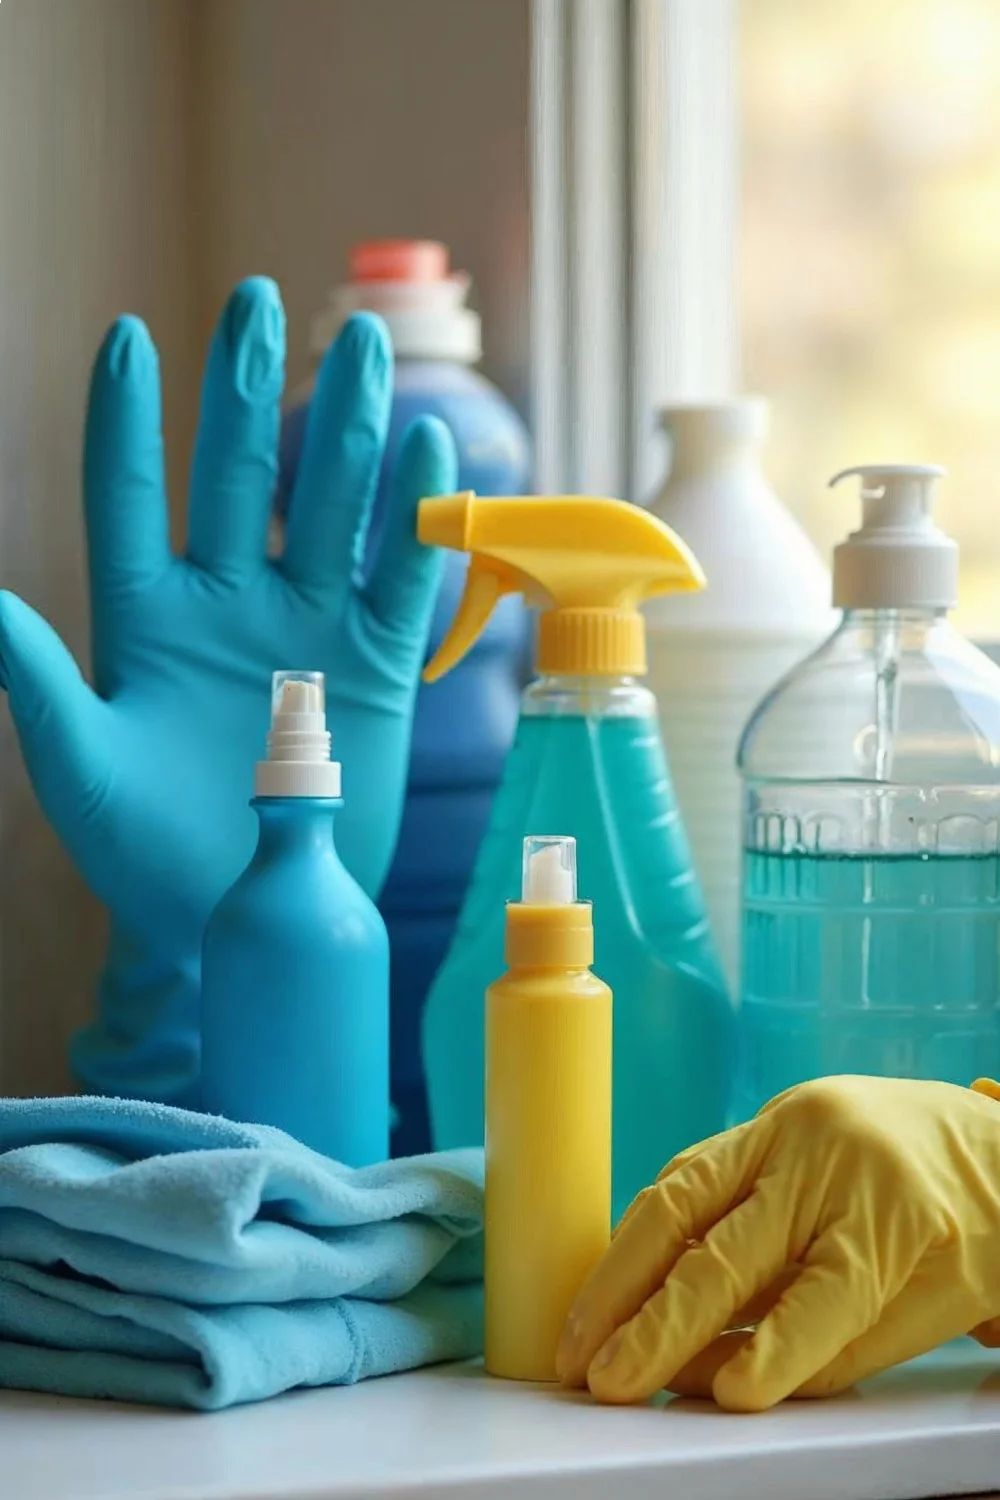
Protective measures make a difference. Wear nitrile or vinyl gloves when washing dishes, cleaning, or performing other tasks involving prolonged water contact. Cotton-lined gloves provide better comfort for extended wear, though plain nitrile gloves work fine for quick tasks. Keep a pair under the kitchen sink and another in the bathroom cleaning caddy for easy access.
When gloves aren't practical, apply a thick layer of cuticle balm or petroleum jelly to nails before water exposure. This creates a temporary moisture barrier that reduces water penetration. After any water contact, immediately apply cuticle oil to replenish lost moisture and seal the nail plate.
For professional manicures or gel and acrylic applications, discuss your water exposure levels with your technician. They can recommend specific sealants or maintenance schedules that account for your lifestyle factors.
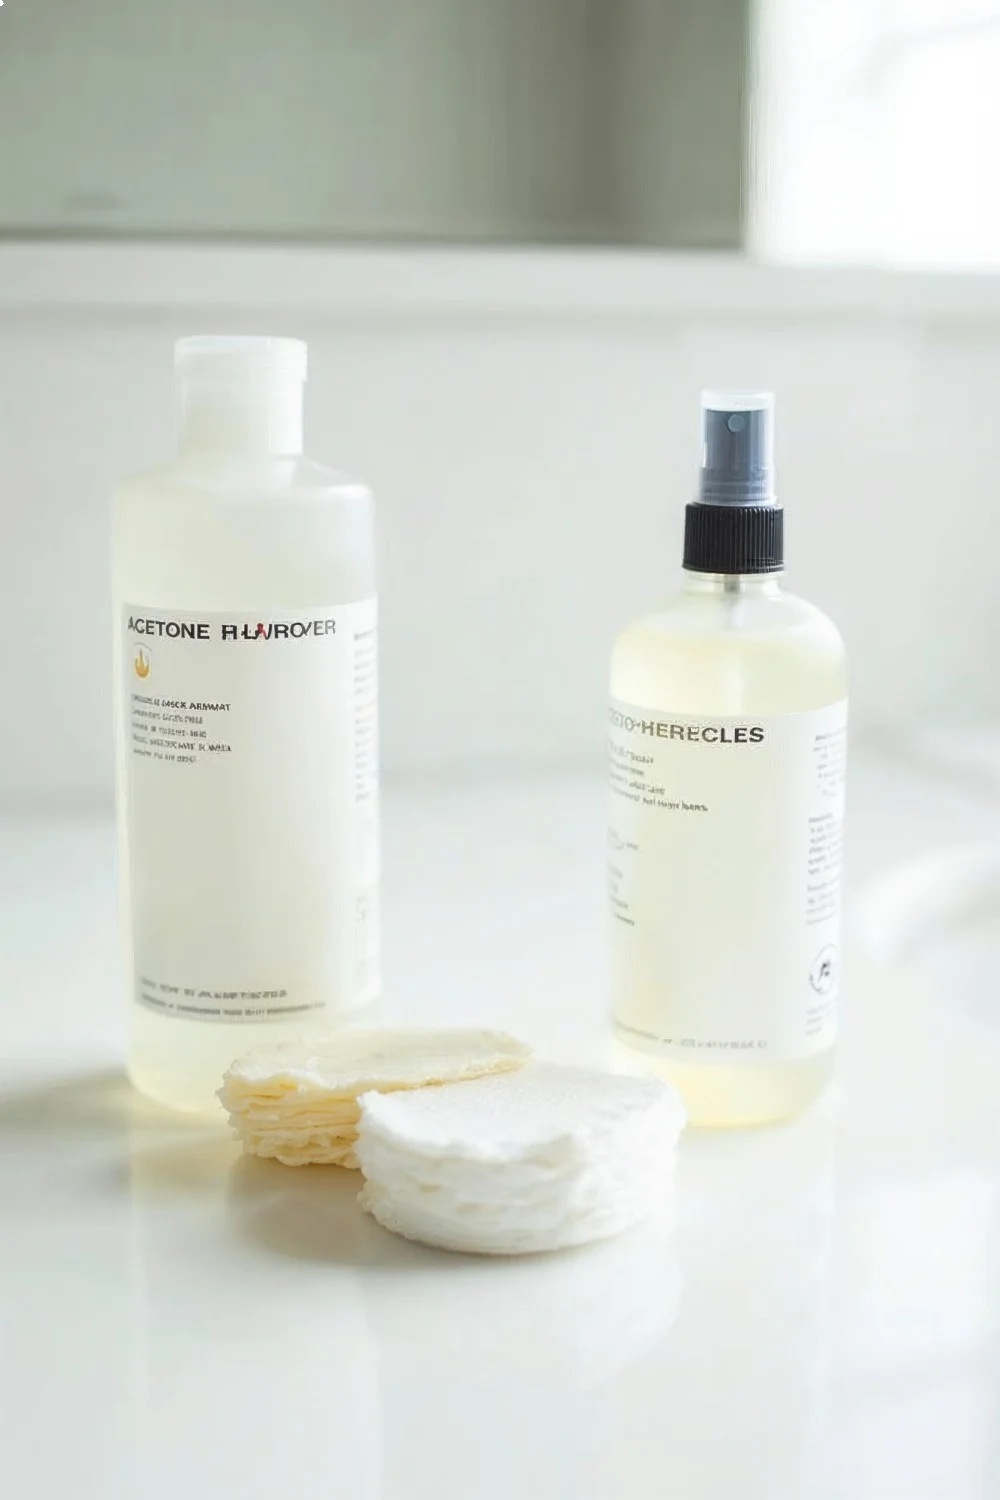
5. Avoid Acetone-Based Polish Removers
Acetone strips natural oils from the nail plate, leaving it dry, brittle, and prone to cracking. While acetone effectively dissolves nail polish through its strong solvent properties, this same characteristic damages the lipid barriers that maintain nail flexibility and moisture balance.
The nail plate contains small amounts of natural oils and water—typically around 10 to 15% water content—that provide flexibility. Acetone disrupts this balance, extracting both water and oils and leaving the keratin structure rigid and prone to breakage. Regular acetone use compounds this damage, as nails don't have time to restore their natural moisture levels between applications.
Non-acetone removers use gentler solvents like ethyl acetate or methyl ethyl ketone, which dissolve polish without severely disrupting the nail's moisture content. These formulations take slightly longer to work—typically 30 to 60 seconds of contact time versus acetone's nearly instant action—but the trade-off in nail health proves worthwhile.
Brands like Zoya and Ella+Mila offer non-acetone removers formulated with conditioning agents like vitamin E and glycerin. These typically cost between $6 and $10 for an 8-ounce bottle, comparable to acetone-based options. For gel polish removal, soak-off wraps infused with gentler solvents reduce exposure time compared to traditional foil-and-acetone methods.
When removing polish, saturate a cotton pad with remover and press onto the nail for 10 to 15 seconds before wiping. This technique requires less rubbing and reduces mechanical stress on the nail plate. If you're dealing with damage from aggressive removal, consult our guide on how to fix broken nails for emergency repair techniques.
6. Maintain Proper Nail Length
Shorter nails reduce leverage points where stress concentrates, minimizing the risk of breaks, tears, and splits. The physics of nail strength follows basic cantilever principles: the longer the free edge, the more force required to support everyday activities, and the higher the likelihood of structural failure.
Nail strength decreases with length. A nail with 3 millimeters of free edge handles significantly more stress than one with 6 millimeters, even though the length difference seems minor. For weak nails in the recovery phase, keeping length at or just beyond the fingertip provides the optimal balance between appearance and structural integrity.
File nails into rounded or almond shapes rather than square edges, which create stress concentration points at the corners. Use a fine-grit glass or crystal file, working in one direction rather than sawing back and forth. This technique prevents micro-tears at the free edge that develop into larger splits.
Trim nails after showering when they're slightly softened, reducing the risk of cracking during cutting. Use sharp nail scissors or clippers designed specifically for fingernails—dull tools crush rather than cut, creating jagged edges that catch and tear. Follow cutting with gentle filing to smooth any rough spots.
As nail strength improves over weeks of treatment, gradually increase length in 1 to 2 millimeter increments. This staged approach allows you to identify your nails' current strength threshold without experiencing frustrating breaks just as length becomes noticeable.
7. Take Breaks Between Manicures
Continuous polish wear prevents nails from exchanging moisture with the environment, while repeated removal stresses the nail plate even with gentle techniques. Nails require periodic rest to restore their natural moisture balance and repair minor damage accumulated during polish wear.
Polish acts as a semi-permeable barrier that reduces but doesn't eliminate moisture exchange. Over extended wear periods, this slightly altered moisture balance can contribute to brittleness, particularly when combined with other stressors like frequent hand washing or chemical exposure. Gel and acrylic systems create even more impermeable barriers, amplifying this effect.
Schedule bare nail periods of three to seven days between manicures. During these breaks, focus on intensive hydration with cuticle oil applied three to four times daily. Apply a clear strengthening treatment if desired, but avoid color polish and heavy base-top coat systems that limit moisture exchange.
For those who prefer continuous color, consider alternating between full manicures and simple base coat applications. This provides some protection while allowing better moisture exchange than multi-layer color systems. Our French manicure tutorial offers a classic look that works well with strengthening base coats.
Professional gel and acrylic applications require more substantial breaks. After three to four months of continuous artificial nail wear, take at least two weeks off to allow the natural nail to recover from filing and adhesive exposure. During this recovery period, avoid aggressive treatments and focus on gentle strengthening.
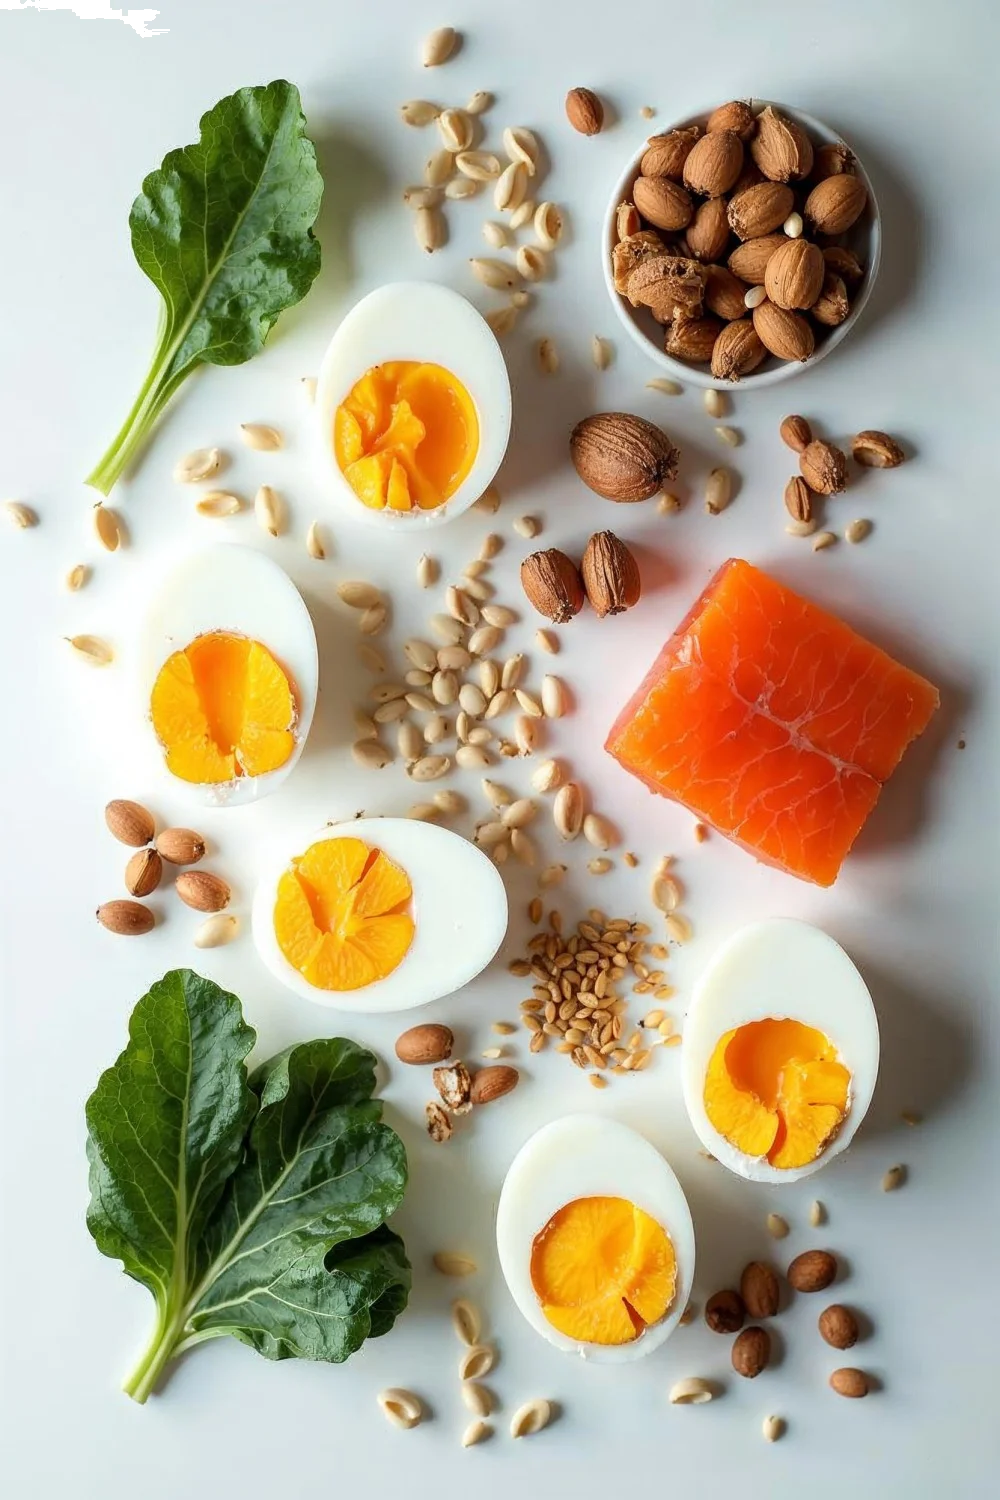
8. Address Nutritional Deficiencies
Nail health reflects overall nutritional status, with deficiencies in specific vitamins and minerals manifesting as brittleness, ridging, or slow growth. While biotin receives considerable attention, nail strength depends on a broader spectrum of nutrients that support keratin production and cellular health.
Iron deficiency affects oxygen delivery to the nail matrix, slowing growth and reducing keratin quality. Zinc supports protein synthesis and cell division, both critical for healthy nail formation. Vitamin B12 contributes to red blood cell production, impacting oxygen transport to extremities. Protein intake provides the amino acids that form keratin's structural foundation.
Before supplementing individual nutrients, consider whether your diet provides adequate amounts of these foundational elements. Lean meats, fish, eggs, legumes, nuts, and whole grains supply the building blocks for healthy nails. If dietary intake seems insufficient or nail problems persist despite topical treatments, discuss testing with your healthcare provider.
Blood tests can identify specific deficiencies that supplementation might address. Random supplementation without testing risks creating imbalances or masking underlying health conditions that require medical attention. The American Academy of Dermatology notes that nail problems sometimes indicate systemic health issues ranging from thyroid disorders to anemia.
Multivitamins formulated for hair, skin, and nail health typically contain biotin, iron, zinc, and B-complex vitamins in amounts that support keratin production. These cost between $10 and $25 monthly and offer a balanced approach for those with generally adequate diets who want extra nutritional support.
| Nutrient | Role in Nail Health | Food Sources | Typical Supplement Dose |
|---|---|---|---|
| Biotin | Keratin production | Eggs, almonds, sweet potatoes | 2.5-5 mg daily |
| Iron | Oxygen transport | Red meat, spinach, lentils | 18 mg daily |
| Zinc | Protein synthesis | Oysters, beef, pumpkin seeds | 8-11 mg daily |
| Vitamin B12 | Cell metabolism | Fish, poultry, dairy | 2.4 mcg daily |
| Protein | Keratin structure | Meat, fish, legumes | 46-56 g daily |
9. Practice Gentle Filing Techniques
Aggressive filing creates micro-tears in the nail plate that propagate into larger splits and peeling. The filing motion, tool selection, and grit level all impact whether shaping strengthens or weakens nails.
Glass and crystal files produce the smoothest edge with minimal nail plate trauma. These files feature permanently etched surfaces that don't dull with use, unlike emery boards that develop rough spots. The fine, consistent grit seals the free edge as it shapes, reducing the risk of layering separation. Glass files typically cost between $3 and $8 and last indefinitely with basic cleaning.
File in one direction rather than using a back-and-forth sawing motion. This unidirectional technique aligns the keratin layers at the free edge instead of creating opposing stresses that separate layers. Start from the outer edge and work toward the center, lifting the file away from the nail before beginning the next stroke.
Hold the file at a 45-degree angle under the nail tip, creating a slight bevel that prevents the free edge from catching on fabric or other surfaces. This technique reduces breakage from daily wear while maintaining length. Avoid filing down the sides of the nail where it meets the skin, as this removes lateral support and creates weak points.
Never file nails immediately after water exposure when they're softened and more vulnerable to damage. Wait at least 30 minutes after washing hands or showering before filing. This allows the nail plate to return to its normal moisture level and regain full structural integrity.
For those exploring different nail aesthetics, our guide comparing coffin nails versus stiletto shapes provides insight into how shape selection affects structural strength and maintenance requirements.
10. Protect Nails During Household Tasks
Cleaning products, physical impact, and temperature extremes encountered during household tasks damage even healthy nails, while weak nails prove particularly vulnerable to chemical and mechanical stress. Protective measures prevent setbacks during the strengthening process.
Most household cleaners contain surfactants, solvents, or alkaline compounds that strip oils from skin and nails. Bleach, ammonia-based glass cleaners, and heavy-duty degreasers prove especially harsh. Even dish soap, designed to cut through grease, gradually removes the natural lipids that keep nails flexible.
Nitrile gloves provide excellent chemical resistance for wet cleaning tasks. Avoid latex gloves, which can cause allergic reactions and don't protect as effectively against solvents. For yard work, gardening gloves with reinforced fingertips prevent soil and debris from getting under nails, where they can cause lifting and bacterial introduction.
Physical tasks like opening cans, scraping labels, or prying objects cause nail trauma that manifests as white spots, cracks, or complete breaks. Use tools—can openers, razor scrapers, flathead screwdrivers—instead of nails for tasks requiring leverage. This remains one of the most common causes of damage.
Temperature stress from tasks like retrieving items from freezers or handling hot cookware causes expansion and contraction that weakens the nail plate. Wearing appropriate gloves protects skin and nail integrity during these temperature extremes.
Developing protective habits takes conscious effort initially but becomes automatic within a few weeks. Keep multiple pairs of gloves in convenient locations—kitchen, bathroom, garage, and garden shed—so they're always within reach when needed.
Comparison of Strengthening Methods
| Method | Cost | Time to Results | Difficulty | Best For |
|---|---|---|---|---|
| Strengthening base coat | $8-15 | 2-4 weeks | Easy | Immediate protection and visible improvement |
| Biotin supplementation | $8-20/month | 3-6 months | Easy | Internal nutritional support |
| Daily cuticle oil | $4-25 | 1-3 weeks | Easy | Maintaining flexibility and preventing brittleness |
| Limiting water exposure | Free-$10 (gloves) | 2-4 weeks | Moderate | Preventing damage from daily activities |
| Non-acetone remover | $6-10 | Immediate | Easy | Reducing polish removal damage |
| Shorter nail length | Free | Immediate | Easy | Preventing breaks while strengthening |
| Manicure breaks | Free | 1-2 weeks | Easy | Recovery from continuous polish wear |
| Nutritional improvements | Varies | 2-6 months | Moderate | Addressing systemic causes |
| Gentle filing | $3-8 (glass file) | Immediate | Easy | Preventing filing damage |
| Protective gloves | $5-15 | Immediate | Easy | Preventing chemical and physical damage |
Choosing the Right Approach for Your Situation
For immediate improvement while addressing long-term causes, combine a strengthening base coat with daily cuticle oil and protective gloves during household tasks. This combination addresses external protection, moisture balance, and prevention of new damage without requiring significant lifestyle changes or waiting months for results.
Those dealing with severe brittleness that hasn't responded to topical treatments should consult a healthcare provider about nutritional testing. Supplementation with biotin and a comprehensive multivitamin provides internal support, but identifying specific deficiencies allows targeted intervention. Expect three to six months for nutritional approaches to show visible results.
If frequent polish changes contribute to weakness, switch to non-acetone remover immediately and schedule week-long breaks between manicures. During these breaks, apply strengthening treatments twice daily and focus on intensive hydration. This approach works particularly well for those transitioning from gel or acrylic applications back to natural nails.
Professionals working in wet environments—healthcare, food service, cosmetology—face ongoing challenges maintaining nail strength. For these situations, focus on excellent glove habits, immediate cuticle oil application after water exposure, and keeping nails slightly shorter than aesthetic preferences might dictate. The combination of prevention and maintenance proves more effective than attempting to recover from continuous damage.
Nail strengthening doesn't happen overnight. Consistent application of these methods over several weeks produces cumulative results that transform chronically weak nails into a healthy foundation for creative nail designs and modern seasonal looks.
Key Finding: Limiting water exposure and protecting nails during household tasks prevents the swelling-contraction cycle that weakens keratin bonds — American Academy of Dermatology