Almond Nail Shape: Filing Guide & Maintenance Tips
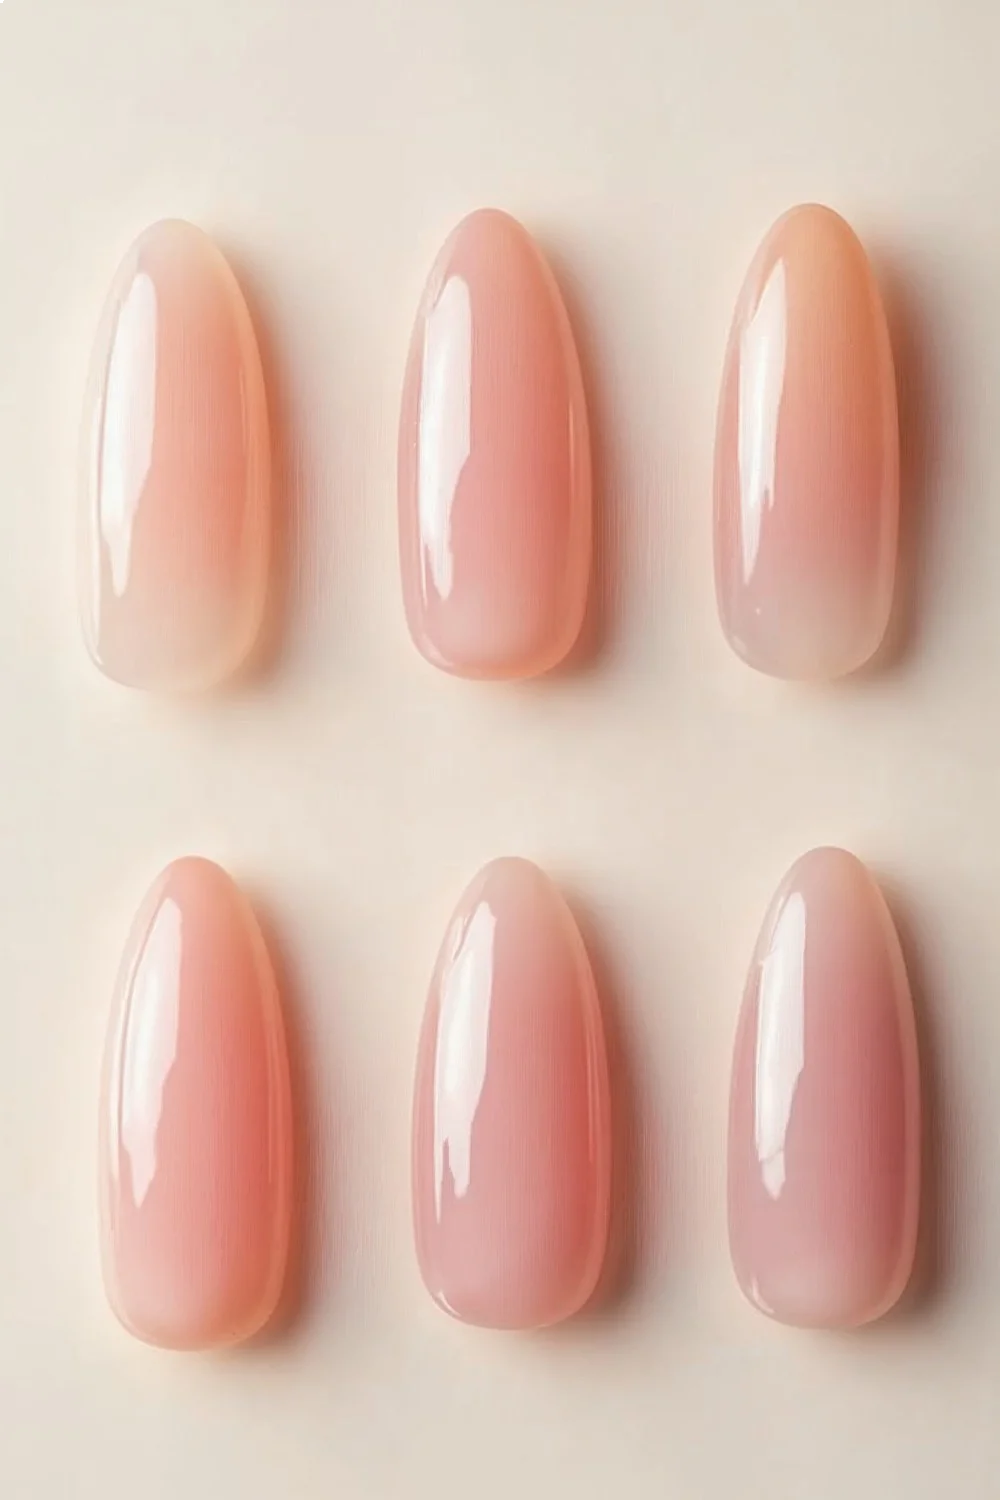
The almond nail shape features tapered sides that gradually narrow into a soft, rounded peak at the free edge, resembling the silhouette of an actual...
The almond nail shape features tapered sides that gradually narrow into a soft, rounded peak at the free edge, resembling the silhouette of an actual almond. Industry data compiled from salon technicians and beauty expos confirms this shape ranks among the most requested globally for its flattering appearance that elongates fingers while maintaining practical durability.
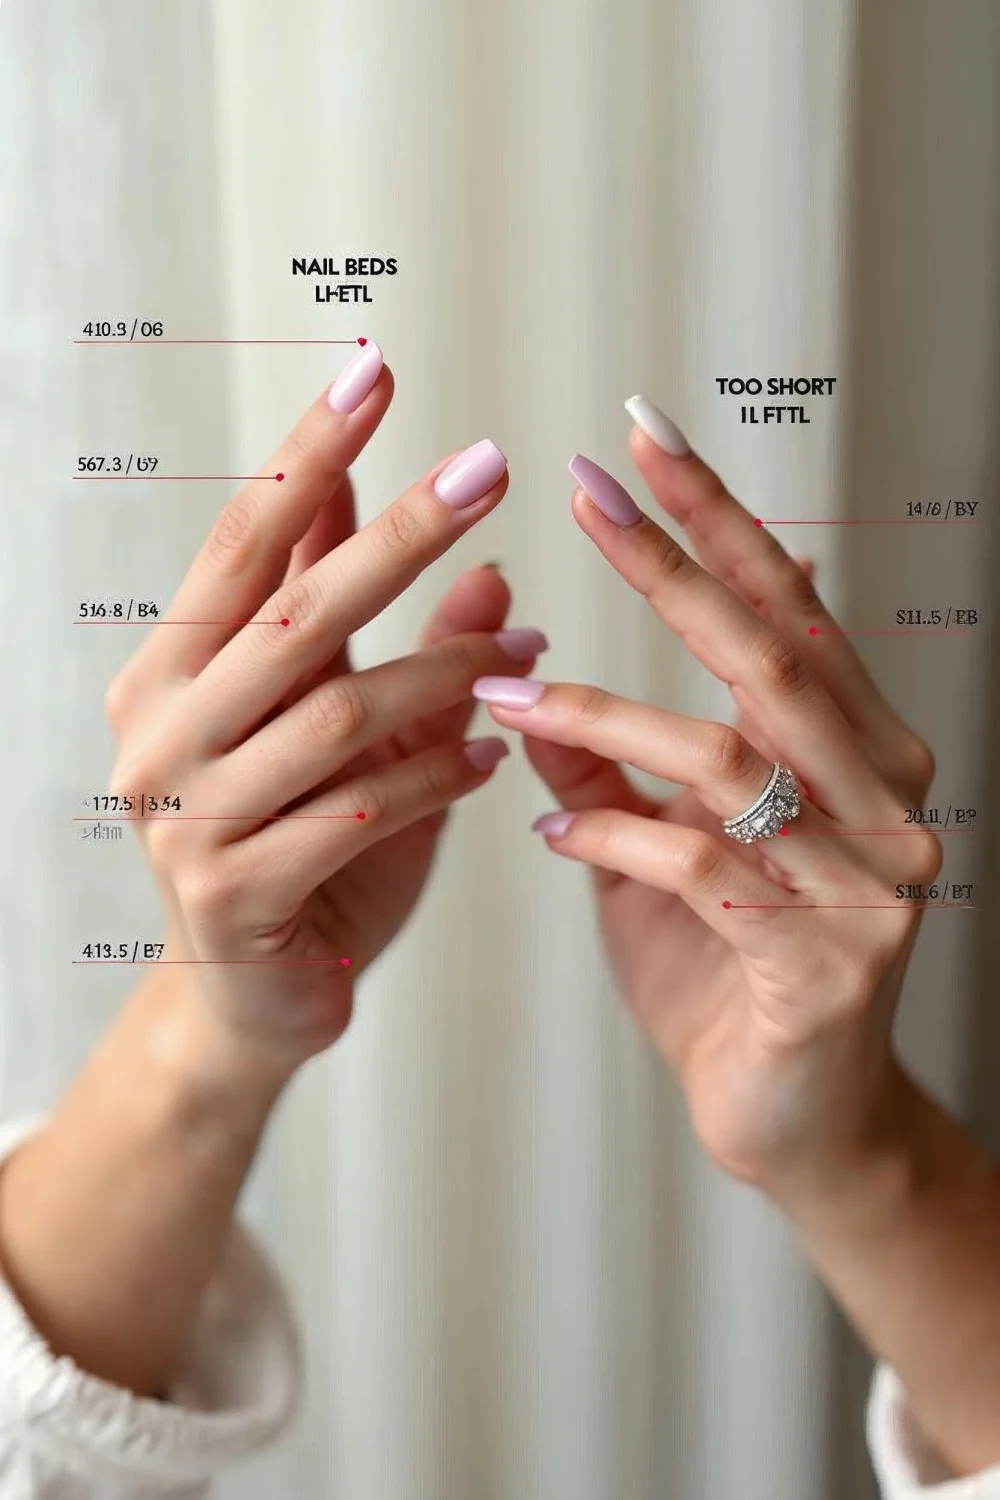
- Almond nails require medium-to-long nail beds for proper shaping, making them unsuitable for severely bitten or very short natural nails
- File at a consistent 45-degree angle from sidewalls to center, always moving in one direction to prevent splitting
- Maintain shape with weekly filing touch-ups and cuticle oil application to prevent stress cracks at the apex
- Natural almond nails typically last two to three weeks between reshaping, while gel extensions extend this to four weeks
- Base coat application extends color wear significantly and protects the tapered sidewalls from premature chipping
The almond shape has demonstrated consistent popularity since roughly 2019, appearing frequently in professional portfolios, editorial work, and client requests across international markets. This guide compiles practical filing techniques and maintenance protocols from observable salon practices and published industry guidance.
1. Understanding the Almond Shape Structure
The almond nail shape features a specific geometric construction: tapered sidewalls that begin narrowing around the midpoint of the nail bed, converging toward a soft, rounded peak at the free edge. OPI's guide to nail shapes identifies this as a hybrid between oval and stiletto, offering elegance without extreme length requirements.
The shape's architecture requires minimum length—typically extending at least 2-3mm beyond the fingertip for natural nails, though extensions can achieve the look on shorter beds. The apex (highest point of the nail's curve) sits closer to the free edge than in square or rounded shapes, creating that characteristic tapered silhouette.
This construction inherently creates stress points along the sidewalls where the nail narrows. Understanding this biomechanical reality explains why almond nails require more deliberate maintenance than blunt shapes like square or squoval. The American Academy of Dermatology notes that nail shape significantly impacts breakage patterns, with tapered shapes more vulnerable at narrowed points.
Key Finding: Proper nail preparation, including filing direction consistency and maintaining sidewall thickness, determines almond shape durability more than nail length alone — American Academy of Dermatology
The shape flatters most hand types, particularly short fingers or wide nail beds, by creating vertical lines that visually elongate. According to Byrdie's analysis of almond nails, this optical effect makes the shape particularly popular for clients seeking a lengthening effect without stiletto extremes.
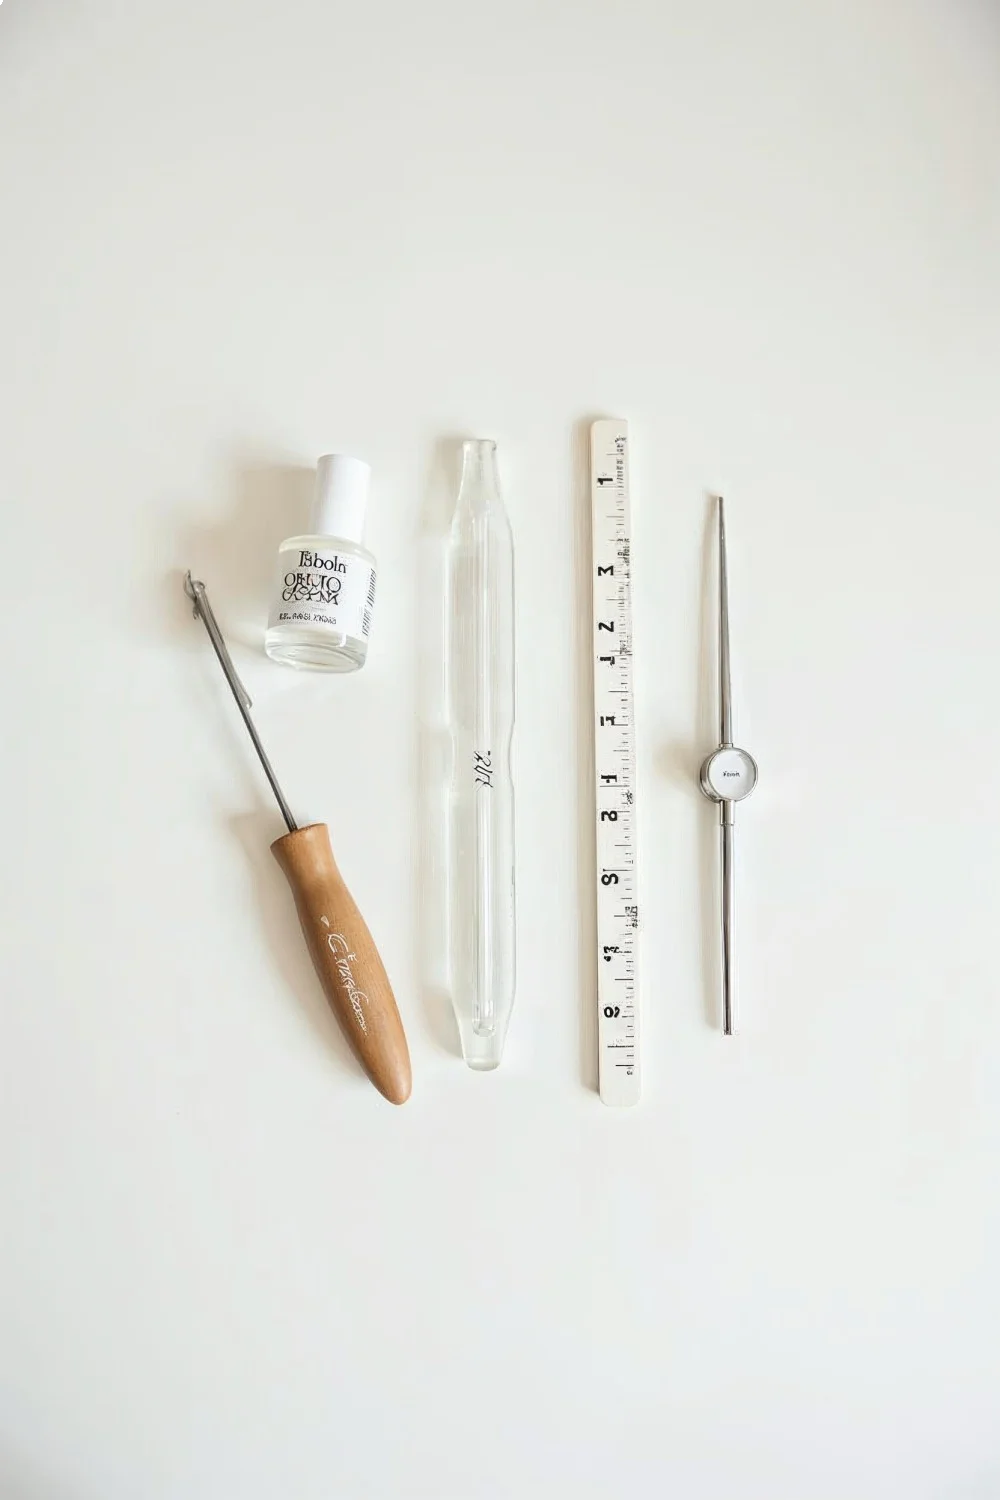
2. Required Tools and Materials
Achieving clean almond shaping demands specific tools beyond basic nail clippers. Professional-grade glass or crystal nail files (180-240 grit) provide the control necessary for precise sidewall tapering. Metal files create excessive friction and micro-tears that compromise durability at stress points.
Essential supplies include:
- Glass nail file (180-240 grit): $8-15, available at Sally Beauty, Ulta, or Amazon. Crystal files from brands like Mont Bleu or Zwilling maintain consistent abrasive surface
- Buffer block (4-way): $3-6, for smoothing filed edges and preventing snags
- Cuticle oil: $6-12 per bottle (Jojoba or vitamin E base), brands like CND SolarOil or Sally Hansen Vitamin E Nail & Cuticle Oil
- Base coat: $8-12 per bottle, essential for protection (see best base coat options)
- Fine-grit finishing file (400+ grit): $5-10, for final edge refinement
Optional but helpful: nail length guides or printed templates for symmetry checking, particularly when learning. Some technicians use clear grid overlays to verify consistent taper angles across all fingers.
| Tool | Cost Range | Purpose | Where to Buy |
|---|---|---|---|
| Glass file (180-240 grit) | $8-15 | Primary shaping | Sally Beauty, Ulta |
| 4-way buffer block | $3-6 | Edge smoothing | Drugstores, Amazon |
| Cuticle oil (15ml) | $6-12 | Flexibility maintenance | Professional supply stores |
| Base coat | $8-12 | Protection layer | See base coat guide |
| Fine finishing file (400 grit) | $5-10 | Final refinement | Sally Beauty, Amazon |
Avoid metal files and coarse emery boards (below 180 grit) for almond shaping. These create rough edges that catch and tear at the narrowed sidewalls.
3. Pre-Filing Nail Assessment
Before filing, evaluate current nail condition and length honestly. Almond shaping removes more material from sidewalls than most shapes, meaning you need sufficient starting length to avoid over-thinning. Natural nails should extend at least 3-4mm beyond the fingertip before attempting almond shaping.
Check for existing damage: vertical ridges, horizontal splits (often from previous trauma), or thin spots from aggressive filing. According to Allure's filing guidance, attempting almond shape on already-compromised nails accelerates breakage at stress points.
Assess nail bed shape. Wider beds (where nail width exceeds length from cuticle to free edge) require slightly longer length to achieve balanced almond proportions. Narrow beds can pull off almond shape with shorter extensions.
Evaluate dominant vs. non-dominant hand separately. Most people show 1-2mm length difference due to usage patterns. Shape dominant hand more conservatively initially—it endures more stress and chips faster.
For biters or those with very short nails: almond shaping isn't immediately achievable on natural nails. Consider growing nails for 3-4 weeks first, or explore gel extensions as covered in our gel vs acrylic guide. Forcing the shape on insufficient length creates fragile, easily-broken tips.
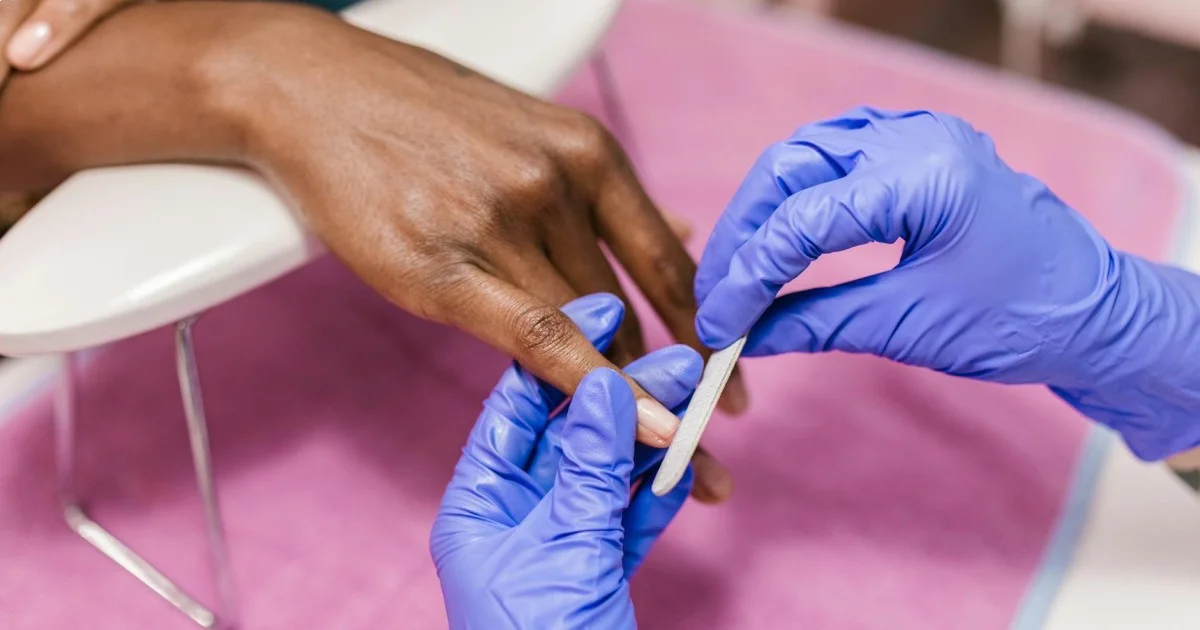
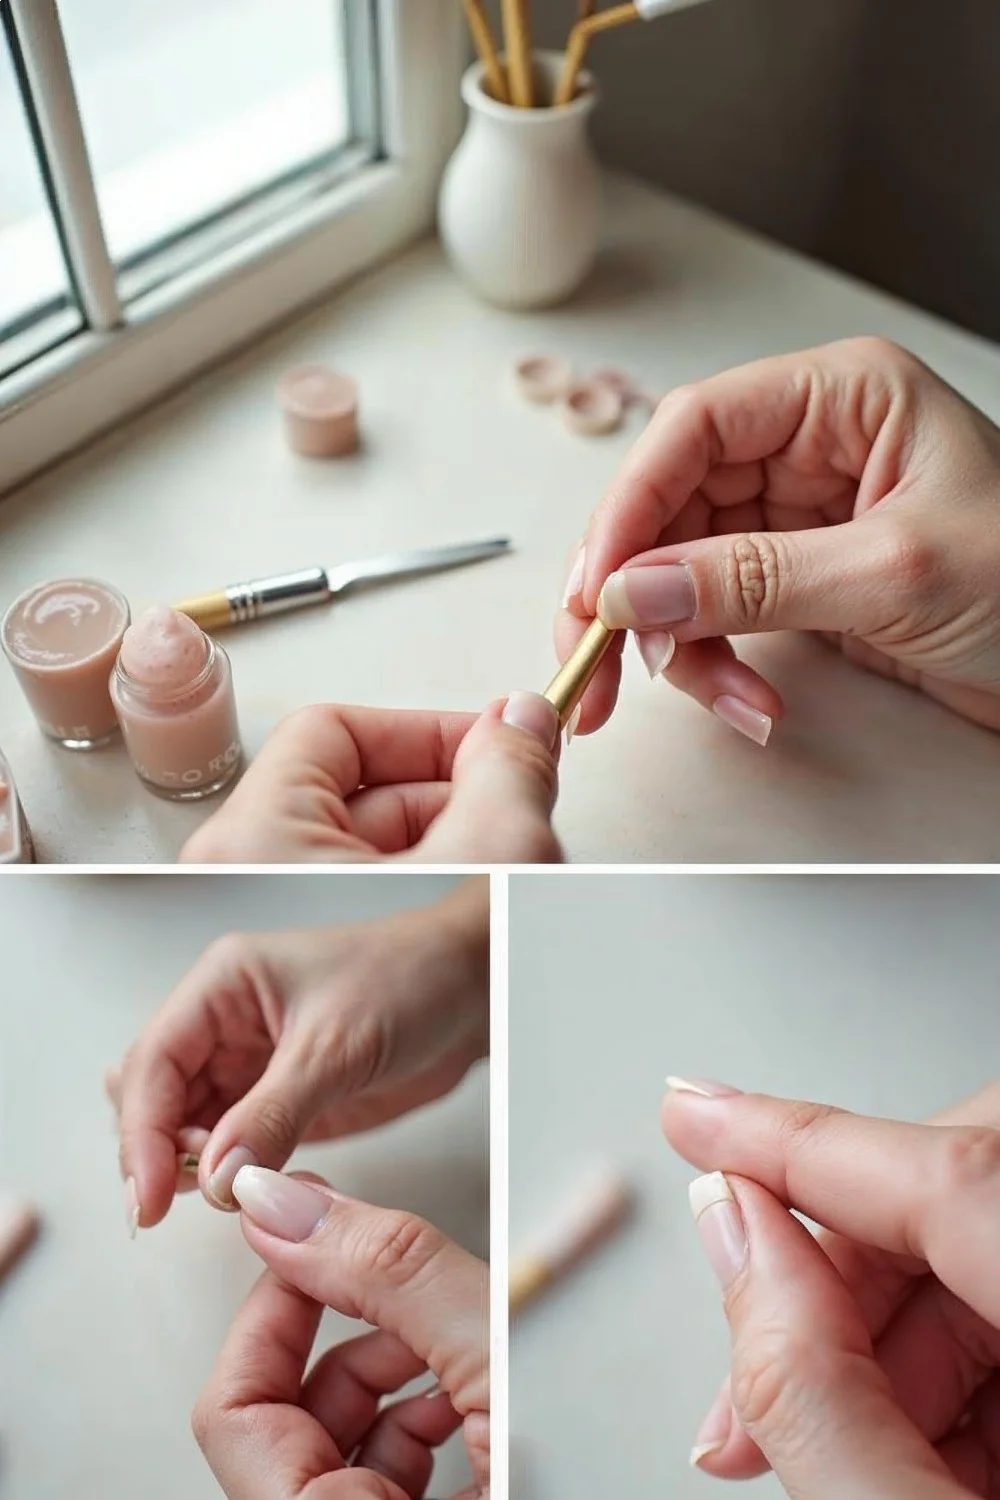
4. Step-by-Step Filing Technique for Natural Nails
The filing process determines final shape durability and symmetry. Sally Hansen's shape guide emphasizes unidirectional filing to prevent splitting—never use sawing motions at sidewalls.
Step 1: Establish starting length (if needed). Use nail clippers to remove excess length, leaving 4-5mm beyond fingertip. Clip straight across initially.
Step 2: Locate center apex. Mark or visualize the center point of your free edge. This becomes your peak reference.
Step 3: File left sidewall. Position file at nail's left corner at 45-degree angle, pointing toward center apex. File in one direction (corner toward center) using smooth, even strokes. Make 3-4 passes, checking progress frequently. The taper should begin around nail midpoint, not at the base.
Step 4: File right sidewall. Repeat identical process on right side, maintaining same angle and stroke count for symmetry.
Step 5: Shape the peak. Gently round the center apex using light strokes, creating a soft point rather than sharp tip. The peak should curve smoothly, not form a triangular point.
Step 6: Refine symmetry. Hold hand at arm's length, checking that both sides taper identically. File high side carefully if adjustment needed.
Step 7: Smooth edges. Use 400-grit finishing file along free edge, holding file perpendicular to nail and gently running along the shaped edge to seal filed layers.
Step 8: Buffer blend. Run fine buffer over filed areas to eliminate micro-roughness that causes snags.
Common mistake: filing too deeply into sidewalls near the base. The taper should be gradual, not aggressive. Removing too much material at the base weakens structural integrity.
5. Filing Technique for Gel or Acrylic Extensions
Extensions allow more dramatic almond shaping since you're working with added material rather than fragile natural nail. The filing approach differs slightly due to artificial material density and thickness.
For gel extensions: Use 180-grit file for initial shaping, as gel requires more aggressive abrasion than natural nail. File in the same unidirectional pattern—sidewall corners toward center apex—but apply slightly more pressure. Gel creates more dust, so file over a towel or catch tray.
The taper can begin earlier (closer to cuticle area) on extensions since structural integrity isn't limited by natural nail thinness. However, avoid creating overly thin sidewalls even on extensions—anything under 1mm thickness at the narrowest point becomes vulnerable.
For acrylic extensions: 180-grit for bulk removal, then switch to 240-grit for refinement. Acrylic files faster than gel, so check progress frequently. The material's brittleness means aggressive filing can cause lifting at sidewall edges if you create heat through friction.
Buff the entire nail surface after shaping to remove file marks and create uniform texture. Extensions require more thorough buffing than natural nails since filed acrylic or gel leaves visible scratch patterns.
Finish with 400+ grit file along free edge, sealing the layers. This step prevents premature lifting at the shaped edge. Understanding gel vs acrylic properties helps optimize filing technique for each material.
6. Symmetry Checking and Correction
Perfect symmetry requires systematic comparison across multiple viewing angles. Hold hand at arm's length, palm facing you, fingers together. Almond peaks should align at identical heights and angles. Common asymmetry: one side tapered more aggressively than its mirror.
Check lateral symmetry: lay hand flat on table, viewing from above. Sidewall tapers should mirror each other in angle and length. If one nail appears wider, file the fuller side rather than over-filing the narrow side.
Compare across hands. Most people unconsciously file dominant hand differently—often shorter or more conservative since we're less comfortable working with the non-dominant hand. Take breaks between hands to reset visual calibration.
For significant asymmetry: file the longer or wider nail down to match the shorter one. Resist the temptation to "fix" by over-filing the shorter nail—you'll thin it to fragility. Better to have matched, slightly shorter nails than uneven lengths with one compromised nail.
Use your phone camera as a symmetry tool. Photograph your nails from multiple angles—front view, side profile, overhead. Digital images reveal asymmetries your eye misses in real-time. Make micro-adjustments based on photos.
| Viewing Angle | What to Check | Common Issue |
|---|---|---|
| Arm's length, palm facing | Peak height alignment | Uneven apex heights |
| Overhead, flat on table | Sidewall taper symmetry | One side more aggressive |
| Side profile | Peak sharpness/roundness | Inconsistent apex curves |
| Between hands comparison | Length and shape matching | Dominant hand over-conservative |
| Phone camera, multiple angles | Overall proportion | Sidewalls starting taper too high/low |
7. Immediate Post-Filing Care
Freshly filed nails need protective steps before color application. Exposed nail layers are temporarily more porous and vulnerable immediately after filing, regardless of how carefully you worked.
Wash hands thoroughly with soap, removing all nail dust. Residual filing debris interferes with base coat adhesion. Dry completely—moisture prevents proper bonding.
Apply cuticle oil to filed edges and surrounding skin. Freshly filed nails lose moisture faster than unworked nails. Jojoba-based oils (molecular structure closest to skin's natural sebum) penetrate most effectively. CND SolarOil and OPI ProSpa Nail & Cuticle Oil are professional-grade options.
Wait 15-20 minutes before applying base coat. This allows oils to fully absorb without creating a barrier that prevents base coat adhesion. For best results, apply oil, wait 15 minutes, wash hands again briefly, dry, then proceed to base coat.
Apply base coat within same session as filing when possible. Delaying base coat application leaves filed edges unprotected. Bare, freshly filed nails exposed to water or cleaning products for 24+ hours show higher chipping rates. See our base coat recommendations for specific products optimized for almond shapes.
Key Finding: Nail shape significantly impacts breakage patterns, with tapered shapes like almond more vulnerable at narrowed sidewalls when proper filing direction and edge sealing are neglected — American Academy of Dermatology
Skip this waiting period if you're in a rush—just understand that oil residue can cause base coat to bead or apply unevenly. Better to skip oil entirely than apply base coat over incompletely absorbed oil.
8. Weekly Maintenance Filing
Almond nails require more frequent maintenance than blunt shapes. Natural growth at the free edge disrupts the tapered silhouette within 7-10 days, creating a less defined shape. Weekly touch-ups maintain crisp lines without requiring full reshaping.
Maintenance filing focuses on the free edge and apex. Use 240-grit glass file for gentle refinement—coarser files remove too much material during light maintenance. File only new growth, not the entire sidewall.
Maintenance process: Remove any polish. Check where new growth has created blunt edge at apex. Gently file the peak to restore the rounded point, using 2-3 light strokes. Check sidewalls for growth that's disrupted taper. File only the affected area, not the entire length.
Apply cuticle oil after any filing, even minimal maintenance work. Weekly oil application (minimum) keeps filed edges flexible and prevents micro-cracks at stress points. More frequent application for those who frequently expose hands to water or cleaning products.
For gel polish wearers: perform maintenance filing before removing old color. The gel layer protects the nail during filing. Remove gel, do any necessary nail health treatments, then reapply fresh base and color. This approach minimizes time your filed nails spend bare and vulnerable.
Recognize when maintenance isn't sufficient. If your almond shape has grown out more than 2-3mm, or if sidewall tapers look significantly disrupted, full reshaping is more effective than heavy-handed maintenance. Over-aggressive maintenance filing often creates asymmetry.

9. Common Filing Mistakes and Corrections
Most almond shaping failures stem from predictable errors that compromise structure or symmetry. Recognizing these patterns prevents repeat issues.
Mistake 1: Filing sidewalls too thin. The most common structural error. In pursuit of dramatic taper, filers remove too much material at sidewalls, creating fragile weak points. Correction: leave at least 1-1.5mm thickness at narrowest sidewall point. If you've over-thinned, let nails grow and reshape conservatively.
Mistake 2: Saw-motion filing. Moving the file back and forth along the same path creates micro-tears and splits, particularly at the free edge where layers separate. According to Allure's filing best practices, bidirectional filing causes the majority of home-filing damage. Correction: discipline yourself to file in one direction only, lifting file between strokes.
Mistake 3: Too-sharp apex. Creating a pointed peak rather than rounded one. Sharp peaks snag constantly and break easily. Correction: use buffer or fine file to round the apex slightly, removing any true point.
Mistake 4: Asymmetric taper starting points. Beginning left and right sidewall tapers at different distances from cuticle. This creates lopsided appearance. Correction: mark or visualize the midpoint before filing, ensuring both sides begin taper at matched positions.
Mistake 5: Filing at inconsistent angles. Each stroke at different angle creates wavy, irregular sidewalls rather than smooth taper. Correction: maintain 45-degree file position throughout each sidewall, checking angle frequently.
Mistake 6: Over-filing dominant hand. Working too conservatively on non-dominant hand because you're less comfortable filing with your non-dominant hand. Correction: file non-dominant hand first while you still have patience and focus for careful work.
For breakage at sidewalls, see our broken nail emergency repairs for temporary fixes that maintain shape until the nail grows enough for proper reshaping.
10. Protecting Almond Nails During Daily Activities
The tapered structure makes almond nails more vulnerable during routine tasks that square or rounded shapes tolerate easily. Strategic protection extends wear significantly without limiting functionality.
Wear gloves for cleaning, dishwashing, and gardening. Harsh chemicals and moisture weaken the narrowed sidewalls. Vinyl or nitrile gloves from brands like Playtex or Mr. Clean ($4-8 per pack) provide water protection without bulk.
Modify opening techniques. Use knuckles or tools rather than nail tips for can tabs, bottle caps, and tight packaging. The peak and sidewalls are leverage points that concentrate stress—using them as tools invites breakage.
Apply fresh top coat every 2-3 days, focusing on free edge. This reseals the shaped edge and prevents moisture infiltration at stress points. Quick-dry top coats like Seche Vite Dry Fast Top Coat ($10-12) take 60 seconds for this maintenance step.
Limit water exposure when possible. Extended soaking—long baths, swimming sessions—causes nail expansion and contraction that stresses the tapered architecture more than it affects blunt shapes. If swimming regularly, apply an extra coat of base and top coat for reinforcement.
For those with physically demanding jobs or very active lifestyles: consider slightly shorter almond nails or modified shapes. A shorter almond (1-2mm beyond fingertip) maintains the aesthetic while reducing vulnerability. Alternatively, explore squoval (square with rounded corners) as a more durable option that retains some elegance.
11. Best Base and Top Coats for Almond Durability
Protective coatings matter more for almond nails than for sturdier shapes. The right base coat compensates for structural vulnerability at tapered points, while appropriate top coats seal the shaped free edge against moisture and impact.
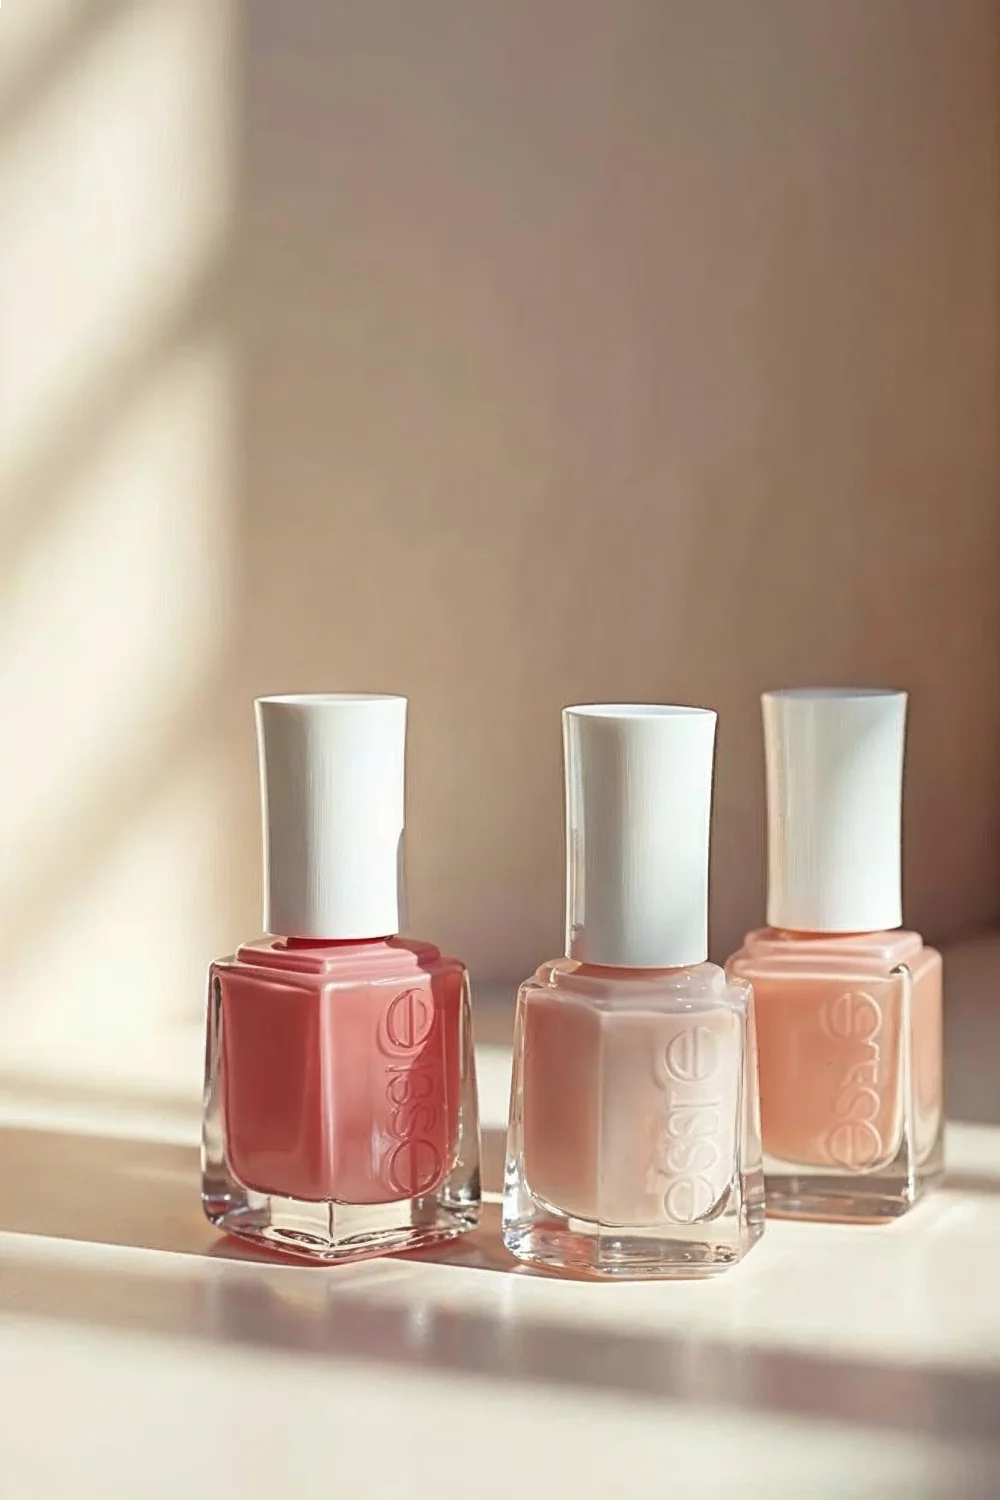
Base coats for almond nails should prioritize flexibility and adhesion. OPI Natural Nail Base Coat ($10.50) provides a flexible protective layer that moves with nail rather than creating a rigid shell that cracks under stress. Essie First Base Base Coat ($9) offers similar flexibility at a slightly lower price point.
For very thin or weak nails attempting almond shape: strengthening base coats like Sally Hansen Mega Strength Hardener ($7) or Nailtiques Formula 2 ($12) provide additional fortification. However, avoid using strengtheners long-term—they can create brittleness that causes breaks rather than prevents them. Use for 2-3 weeks maximum, then switch to flexible base.
Top coats need quick-dry formulation to minimize smudging during the extended drying time that tapered free edges require. Seche Vite Dry Fast Top Coat ($10-12) dries to touch in 60-90 seconds and provides thick protective layer. Alternatively, Essie Good to Go Top Coat ($9) offers quicker dry time with a slightly thinner layer.
For maximum protection: use both ridge-filling base coat and strengthening top coat. This sandwich approach protects from both sides—base coat prevents staining and provides adhesion, top coat seals color and absorbs surface impacts.
See our detailed base coat testing guide for specific formulation comparisons and wear-time data across nail shapes. For gel systems, base coat selection becomes even more critical—rubbery gel bases flex better on almond shapes than hard-cure formulas.
12. Color Application Tips for Almond Shape
The tapered geometry affects color application in specific ways. Polish tends to pool at the narrow peak and run thin along sidewalls, creating uneven opacity that requires technique adjustments.
Use thinner coats than you would for square or rounded nails. Two thin coats provide better coverage and dry more evenly than one thick coat. Thick polish applications on almond nails create drag-lines along tapered sidewalls where the brush moved at an angle.
Start polish application slightly away from cuticle area, leaving 1mm gap. The tapered shape draws visual attention toward the free edge, making cuticle-area flooding less noticeable than on square shapes—prioritize clean sidewall lines instead.
Cap the free edge with each coat—base, color, and top. Draw the brush across the shaped edge, sealing all layers. This prevents chipping at the peak, which shows more obviously on almond nails than on blunt shapes.
For sidewall precision: use cleanup brush dipped in acetone, or apply liquid latex or tape along sidewalls before polishing. The tapered lines make mistakes more visible—what looks acceptable on square nails reads as sloppy on almond.
Darker colors and metallics show imperfections more readily on almond shapes. The geometric precision of the shape highlights any wobbles or uneven coverage. For beginners: practice almond application with lighter, more forgiving shades before attempting deep colors. See our gradient nail technique for color blending that masks minor application flaws.
13. When to Reshape vs. Maintain
Knowing when the shape needs full reshaping rather than maintenance filing prevents over-working the nails and wasting effort on inadequate touch-ups.
Reshape completely when: new growth exceeds 2-3mm at free edge, sidewall tapers look significantly disrupted (no longer smooth gradual lines), apex has become blunt or irregular, or you've experienced breakage on one nail that requires matching the others.
Maintain rather than reshape when: growth is minimal (1-2mm), overall shape silhouette remains recognizable, only the peak needs slight refinement, or you're within one week of last shaping session.
For natural nails: expect full reshaping every 2-3 weeks under normal growth rates. Faster growers may need reshaping weekly. This cycle allows you to remove growth-related disruption before it becomes severe.
For gel extensions: reshaping frequency extends to 4-5 weeks since you're working with more material and growth affects the shape less dramatically. However, lifting at sidewalls or apex damage requires immediate reshaping regardless of timing.
Recognize when a break requires temporary shape change. If you break one nail significantly shorter than others, attempting to reshape all nails to match the broken length might create nails too short for proper almond proportions. Consider switching to rounded or oval temporarily, letting the broken nail grow, then returning to almond once lengths are compatible again. Our broken nail repair guide covers temporary solutions.
Explore our coffin vs stiletto comparison for alternative tapered shapes when almond becomes impractical for your current lifestyle or nail condition.
14. Almond Nails for Different Occasions and Designs
The shape's elegance is well-suited to specific aesthetics, while some nail art techniques look particularly striking on almond canvases. Understanding these pairings helps optimize design choices.
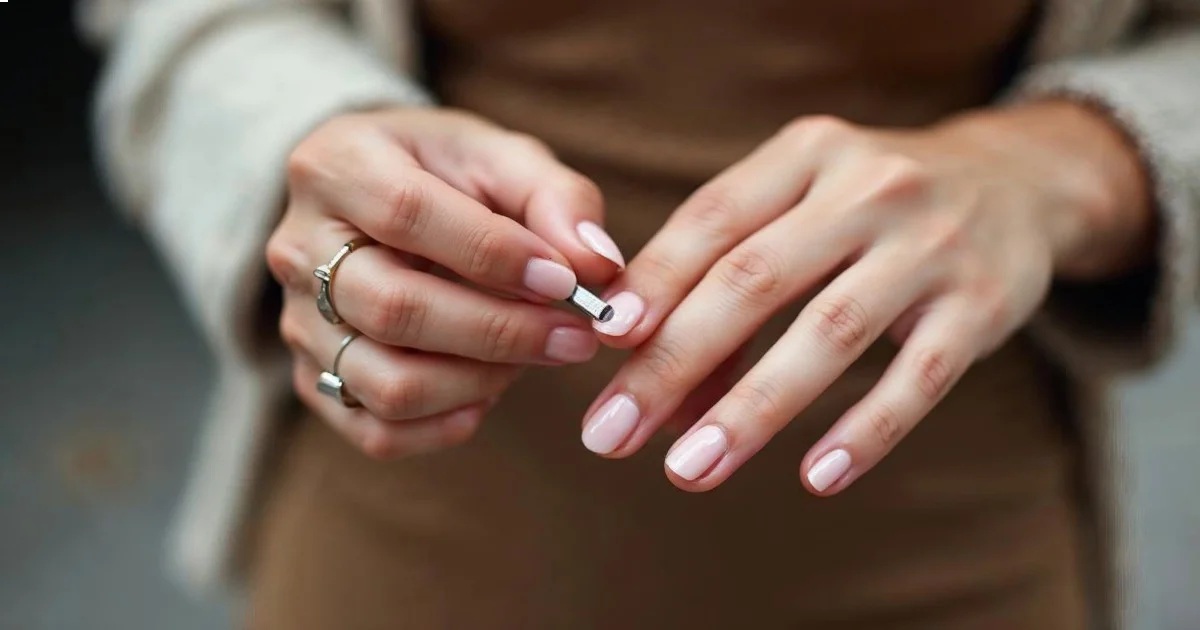
For professional/conservative settings: almond nails in neutral shades—nude, soft pink, greige—maintain sophisticated appearance. The shape provides interest without dramatic length. Keep nails 1-2mm beyond fingertip for workplace-appropriate proportions.
For formal events: almond shape complements classic French manicures well. The tapered silhouette enhances the traditional French smile line. See our modern French tutorial for updated application techniques optimized for almond shapes.
For maximum nail art impact: vertical designs work beautifully on almond nails. Ombre, gradient effects, and vertical stripes enhance the shape's natural lines. Our spring gel designs guide includes several patterns specifically flattering on almond canvases. Avoid heavy horizontal designs that fight the shape's vertical emphasis.
For seasonal trends: almond nails adapted well to 2026's popular looks. The shape provided an ideal canvas for minimalist designs and negative space trends tracked across salon floors during spring 2026. For current seasonal ideas, see early summer nail designs and spring gel colors.
For texture and dimension: the almond shape showcases 3D elements, encapsulated designs, and textured finishes effectively. The tapered architecture creates natural shadow and highlight variations that emphasize dimensional nail art. Flat designs can look less interesting on almond compared to square or rounded shapes.

15. Transitioning From Other Nail Shapes to Almond
Switching to almond from another established shape requires strategic planning rather than immediate reshaping. The transition process protects nail health while achieving the target silhouette.
From square or squoval: These shapes typically provide sufficient length for almond conversion. Focus on gradually tapering sidewalls over 1-2 shaping sessions rather than removing large amounts of material at once. Start with subtle taper, assess for comfort and durability, then refine toward more defined almond in the next maintenance session.
From rounded or oval: The transition is minimal since these shapes already feature curved free edges. The primary change involves tapering sidewalls more aggressively and creating a more defined peak. Usually achievable in one shaping session without over-filing.
From stiletto: Reshaping to almond requires filing down the sharp point to a rounder apex. This process removes significant length—expect to lose 2-3mm in conversion. File the extreme point first, creating the rounded almond peak, then reassess whether sidewalls need adjustment to match proportions.
From very short nails: Attempting immediate almond shaping on nails under 2mm beyond fingertip typically fails—insufficient material for proper proportions. Instead, grow nails for 3-4 weeks with protective base coat and regular cuticle oil, maintaining them in rounded shape. Once you reach 3-4mm length, transition to almond. For immediate results, consider gel extensions as covered in our gel vs acrylic comparison.
Monitor nail health during transition periods. If you notice increased breakage or splitting after first almond shaping, your nails may need more conditioning before supporting the shape. Return to your previous shape temporarily, focus on strengthening protocols from our healthy nail care guide, then retry almond after 2-3 weeks of intensive care.
Verdict: Choosing Almond Nail Shape
Best for: Those seeking elegant nail aesthetic with some practicality. Suits short fingers or wide nail beds particularly well due to vertical lengthening effect. Ideal for natural nails with medium-to-long length or gel/acrylic extension wearers.
Best for beginners if: You already maintain nails at 3-4mm beyond fingertip regularly, have steady hands for filing symmetry, and can commit to weekly maintenance. Not recommended as first shaped-nail experience if you're new to nail care entirely.
Best for lifestyle if: Your daily activities don't involve extensive manual labor, you can wear gloves for cleaning tasks, and you don't mind slightly elevated nail maintenance compared to square or rounded shapes.
Skip if: Your nails are very short or damaged, your work involves heavy physical demands without glove accommodation, or you prefer extremely low-maintenance nail routines. Consider rounded or squoval alternatives that provide some elegance with greater durability.
Investment summary: Natural almond nails require minimal financial investment—quality glass file ($8-15), cuticle oil ($6-12), and protective base coat ($8-12). Total startup under $40. Time investment includes initial shaping (30-45 minutes), weekly maintenance (10-15 minutes), and polish application (20-30 minutes).
For extended exploration of nail shapes and their suitability, see our nail design trends analysis and shape comparison guides. Additional technique tutorials available in our nail art tutorials section.
The almond shape continues demonstrating consistent appeal across professional salon environments and home nail care communities. Its balance of elegance and practicality explains sustained popularity beyond temporary trend cycles, making it a reliable choice for those willing to invest in proper shaping technique and regular maintenance.