Acrylic Fill at Home: DIY Guide to Save Money
An acrylic fill at home can reduce maintenance costs by $30-50 per session compared to salon visits, making it possible to maintain enhancements for under...
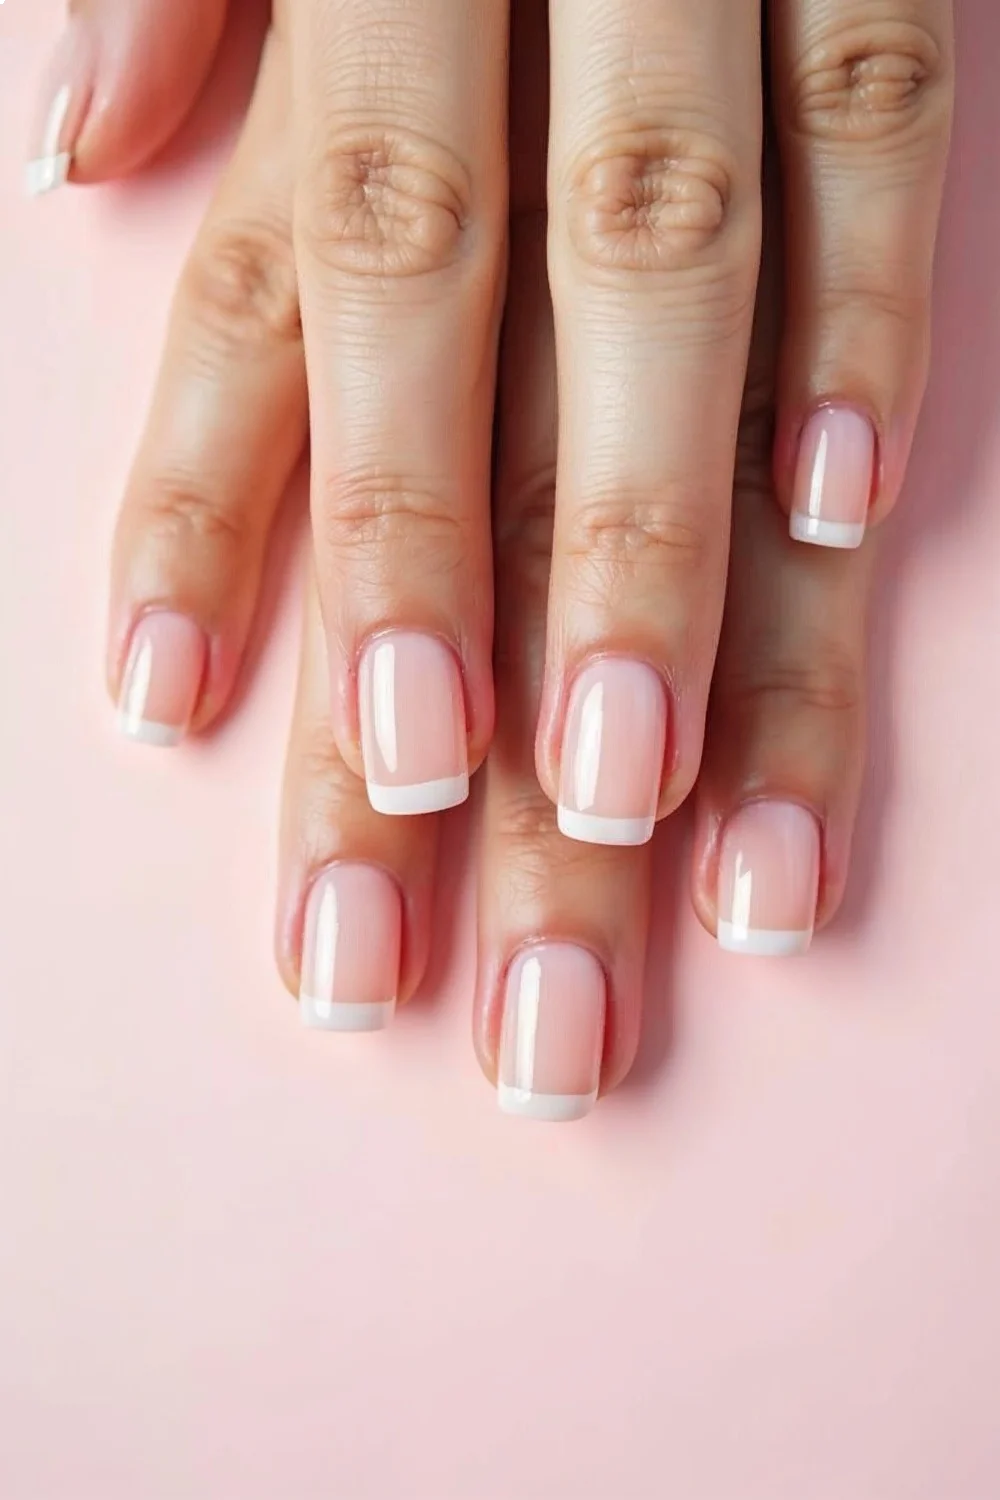
An acrylic fill at home can reduce maintenance costs by $30-50 per session compared to salon visits, making it possible to maintain enhancements for under $5 per fill once you've invested in basic supplies. The process involves filing down regrowth, applying fresh acrylic to the gap near the cuticle, reshaping, and buffing—achievable with practice and proper technique.
- Acrylic fills need to be performed every two to three weeks as natural nails grow
- Initial supply investment ranges from $40-80 for quality products that last multiple applications
- Proper nail preparation and dehydration prevent lifting, the most common cause of premature fill failure
- Filing technique directly impacts the longevity and appearance of filled acrylics
- Natural nail health requires breaks between acrylic applications to prevent thinning and weakness
As an independent evaluator of nail products, my focus centers on consumer-centric insights, particularly regarding at-home nail care solutions. The shift toward DIY acrylic maintenance offers real cost savings—salon fills typically run $35-60 depending on location, while home fills cost approximately $3-5 in materials once you've purchased your initial kit. This guide breaks down the complete process, from supply selection to troubleshooting common issues.
Understanding When Your Acrylics Need a Fill
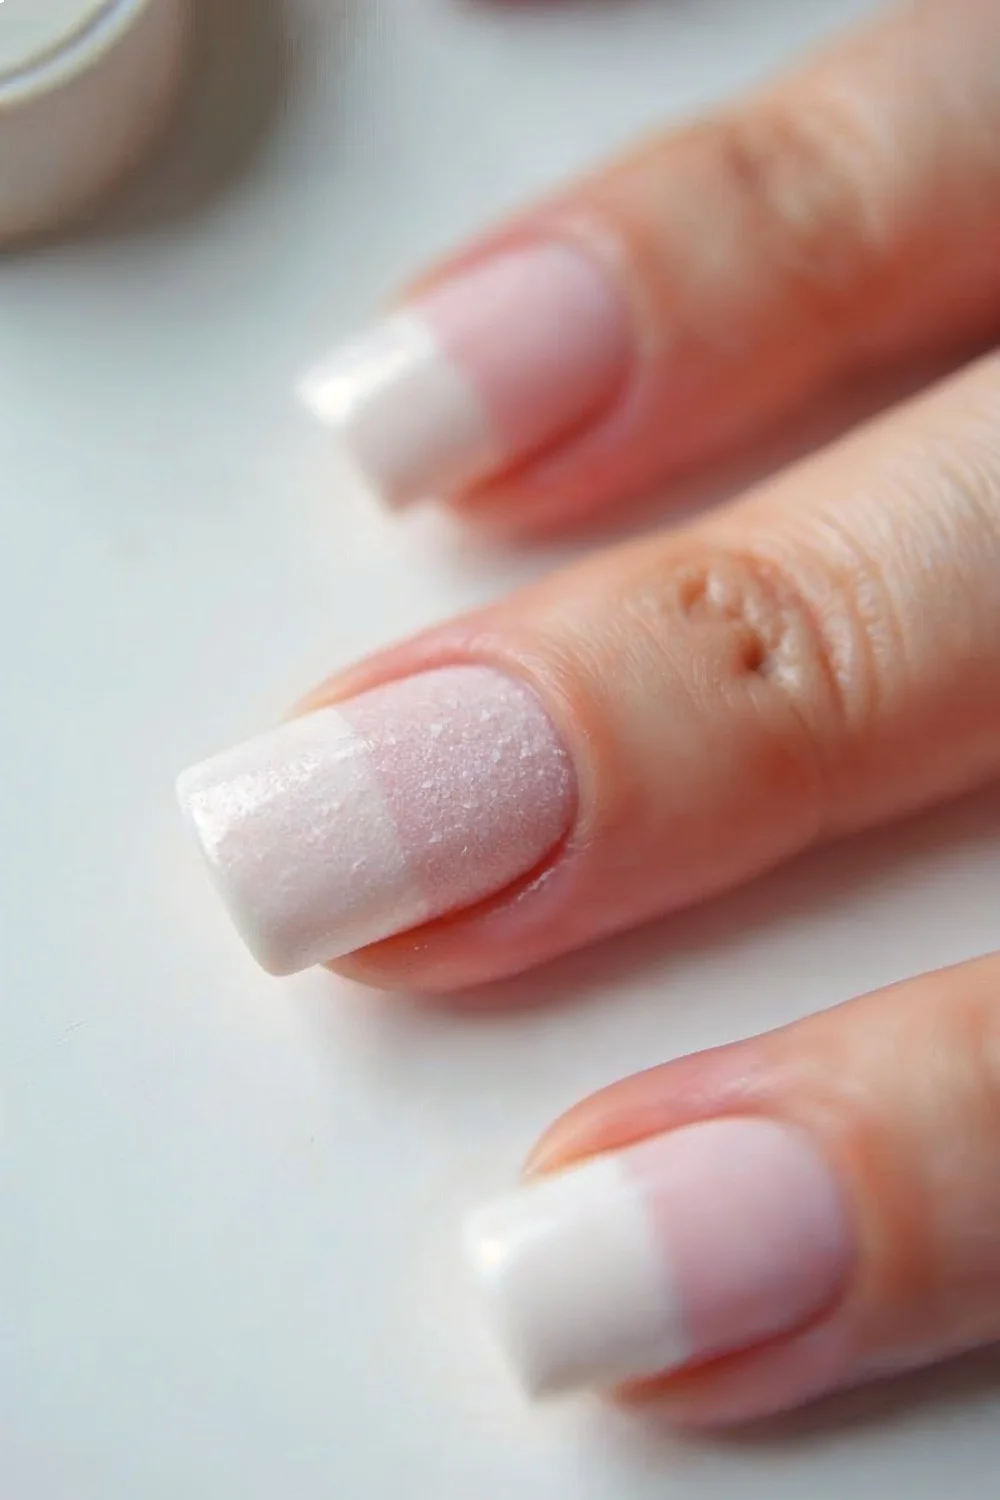
Acrylic nails require fills every two to three weeks as the natural nail grows, creating a visible gap between the cuticle and the acrylic enhancement. This gap looks unpolished and creates a weak point where moisture can penetrate, leading to lifting or fungal issues if left too long.
The timing depends on individual nail growth rate, which averages 3-4mm per month according to dermatological research. Faster growers may notice a pronounced gap at the 10-day mark, while slower growers can stretch to three weeks. Beyond three weeks, the structural integrity becomes compromised—the weight of the acrylic extends further from the nail bed, increasing leverage and the risk of cracking or breaking.
Visual indicators that a fill is overdue include:
- A gap of 3mm or more at the cuticle area
- Visible lifting at the edges where acrylic meets natural nail
- Weakening or cracking near the stress point (where natural nail ends)
- Color changes or cloudiness under the acrylic indicating moisture penetration
According to professional guidance from beauty industry experts, maintaining a consistent fill schedule preserves both the enhancement and the natural nail underneath. Waiting too long between fills forces more aggressive filing during the next session, potentially thinning the natural nail plate.
Key Finding: Proper nail preparation, including dehydrating and base coat application, is the most important factor in DIY manicure longevity — American Academy of Dermatology
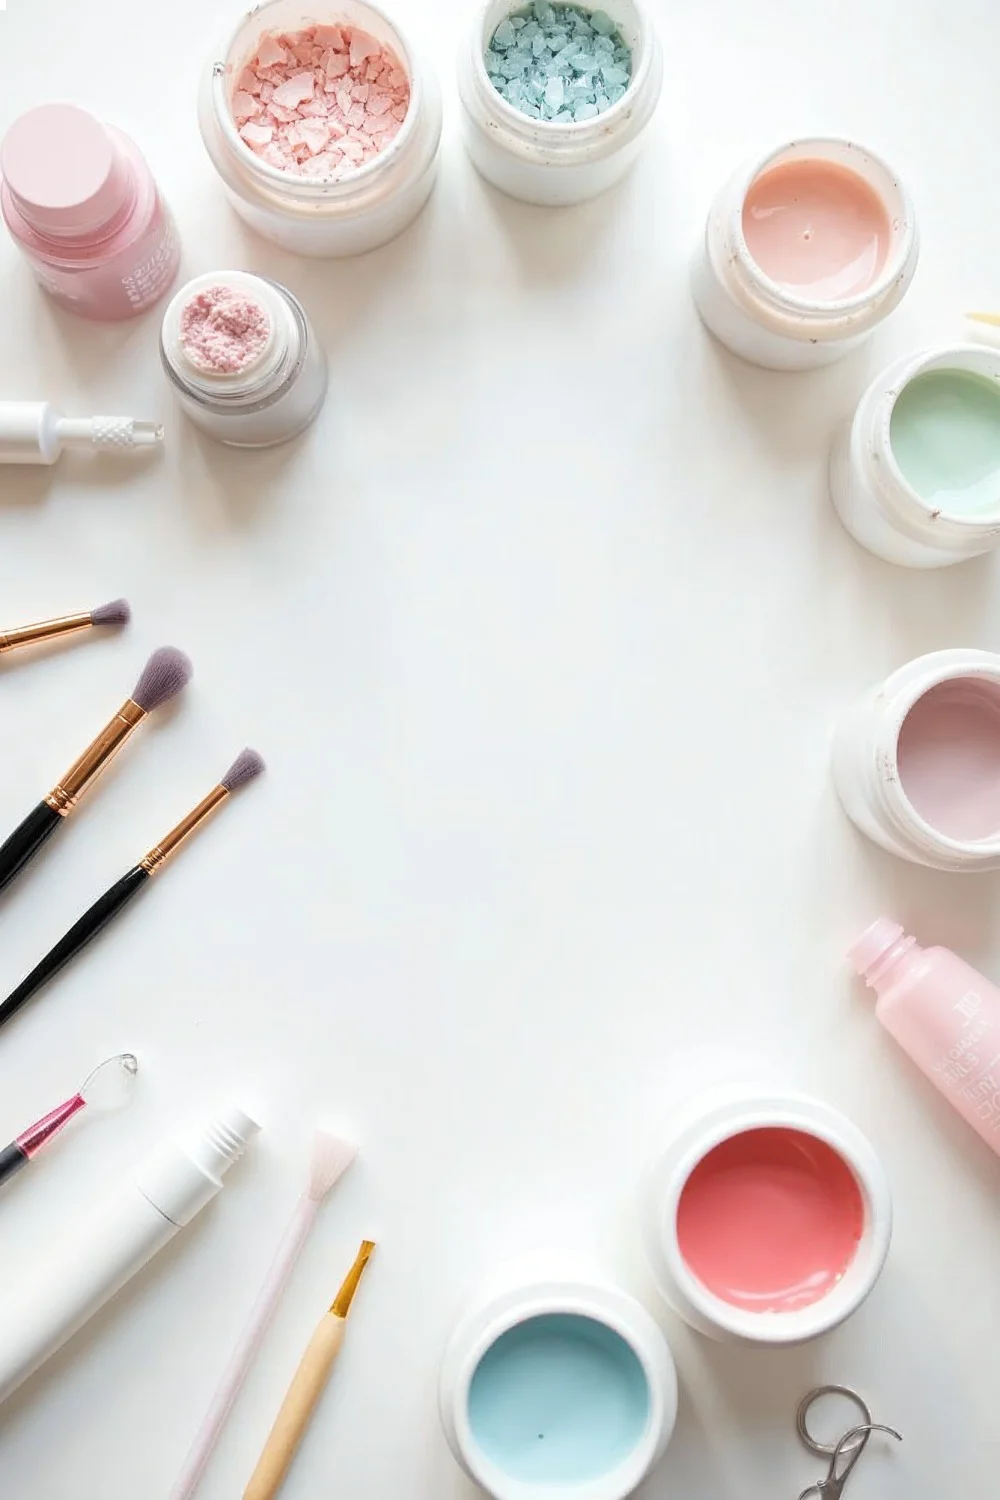
Essential Supplies for DIY Acrylic Fills
A complete at-home acrylic fill kit requires specific products and tools, with initial investment ranging from $40-80 for quality supplies that will last through dozens of applications. Choosing the right products matters—cheap acrylic systems often have poor adhesion or produce excessive fumes.
Core Acrylic Products
Acrylic Liquid (Monomer): The liquid component that activates the powder. Mia Secret Professional Monomer ($15-20 for 8oz) and Morovan Professional Acrylic Liquid ($12-18) are widely recommended for home use. Expect 40-60 fills from an 8oz bottle.
Acrylic Powder (Polymer): The powder component in clear, pink, or white. Young Nails Acrylic Cover Powder ($18-25) and Mia Secret Clear Powder ($12-18) offer professional-grade results. A 4oz jar provides 50+ fills.
Acrylic Brush: A quality kolinsky or synthetic brush sized #8-12. Makartt Acrylic Nail Brush ($8-12) works well for beginners. The bristle quality directly affects application smoothness.
Preparation Products
Nail Dehydrator/Prep: Removes oils and moisture. Coscelia Nail Dehydrator ($6-8) or isopropyl alcohol (70% minimum) creates the dry surface needed for adhesion.
Acid-Free Primer: Bonds acrylic to natural nail without etching. Mia Secret Primer ($8-12) and Young Nails Protein Bond ($10-14) prevent lifting without damaging the nail plate.
Cuticle Pusher: Metal or wooden for removing dead cuticle from the nail plate before filling.
Filing & Shaping Tools
Electric Nail File (Optional but Recommended): Melodysusie Portable Nail Drill ($25-35) speeds up the process significantly. Hand filing works but takes considerably longer.
Manual Files: 100-grit for heavy shaping, 180-grit for smoothing, 240-grit for final buffing. Beetles Nail File Set ($8-12) provides the full range.
Buffer Block: For final smoothing before polish application.
| Supply Category | Essential Items | Price Range | Lasts For |
|---|---|---|---|
| Acrylic System | Monomer, powder, brush | $35-55 | 40-60 fills |
| Prep Products | Dehydrator, primer, cuticle pusher | $15-25 | 100+ applications |
| Filing Tools | Files (100/180/240 grit), buffer | $10-20 | 20-30 fills |
| Optional Tools | Electric file, dappen dish, lint-free wipes | $30-50 | Multiple years |
For those working on strengthening weak nails between acrylic applications, investing in quality prep products becomes even more important to avoid additional damage during the enhancement process.
Preparing Your Workspace and Nails
Proper workspace setup prevents contamination and ensures adequate ventilation, as acrylic monomer produces strong fumes that require airflow. Choose a well-ventilated area near a window or use a small fan directed away from your work surface to disperse vapors without blowing dust into wet acrylic.
Workspace essentials include:
- Clean, flat surface covered with a disposable towel or mat
- Good lighting—a desk lamp or ring light eliminates shadows
- Dappen dish for monomer (glass or ceramic, never plastic)
- Lint-free wipes or paper towels
- Small bowl of warm water for cleaning brush between applications
- Timer for tracking cure times
Nail preparation determines whether a fill lasts three weeks or lifts within days. According to professional nail technicians, inadequate prep causes 80% of premature lifting issues in home applications.
Step-by-Step Nail Preparation
Remove existing polish. Use acetone-based remover on a lint-free wipe. Regular polish remover won't cut through gel polish if you've topped your acrylics with it.
Push back cuticles. Use a metal or wooden pusher to gently clear the proximal nail fold. Dead cuticle tissue on the nail plate creates a barrier that prevents acrylic adhesion.
File down existing acrylic. This is where the real work happens. Using a 100-grit file or electric file with a medium-grit bit, remove the shine from the entire acrylic surface. File down any lifted areas completely until you reach solid, well-adhered acrylic. The existing acrylic should be reduced to a thin layer—you're creating a smooth canvas for new product.
Shape and shorten if needed. If your free edge has grown too long or the shape has become uneven, now is the time to correct it with your 100-grit file.
Remove all dust. Use a clean, dry brush to sweep away filing dust, then wipe each nail with a lint-free pad dampened with dehydrator or alcohol. Dust particles in fresh acrylic create bubbles and weak spots.
Apply dehydrator. Let it air dry for 30-60 seconds until the nail plate looks completely matte and chalky. This removes oils and moisture that would prevent bonding.
Apply primer sparingly. One thin coat on the natural nail area only—avoid skin contact. Let it dry for 60 seconds until it turns chalky white. Primer creates a chemical bond between the natural keratin and acrylic polymer.
For additional guidance on maintaining nail health during enhancement wear, the American Academy of Dermatology provides evidence-based recommendations that apply to preparation techniques.
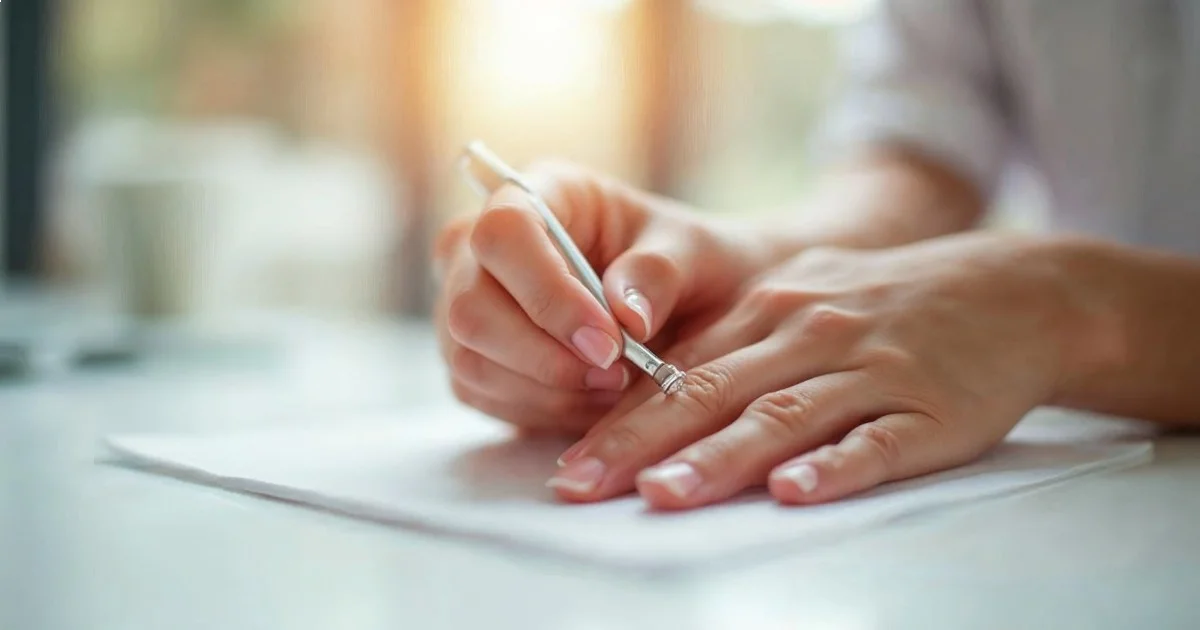
Performing the Acrylic Fill: Step-by-Step Application
The application technique for fills differs slightly from full sets because you're blending new acrylic into existing product rather than building on bare nails. The goal is creating a seamless transition that's structurally sound and visually smooth.
Mixing the Perfect Bead Consistency
Acrylic consistency determines workability and final strength. Pour a small amount of monomer into your dappen dish—about 1/4 inch deep. Too much wastes product and increases fume exposure.
Dip your brush into monomer, wiping excess on the dish rim. Press the tip into your powder, picking up a bead. The ideal bead for fill work is medium-wet—it should hold together but flatten slightly when placed on the nail. Too dry and it won't self-level into the existing acrylic; too wet and it becomes runny and weak.
Test consistency on a practice surface if you're uncertain. A properly mixed bead should:
- Hold its shape when lifted on the brush
- Flatten to about half its height when placed on the nail
- Move easily when nudged with the brush but not run toward cuticles
- Take 60-90 seconds to lose its shine as it cures
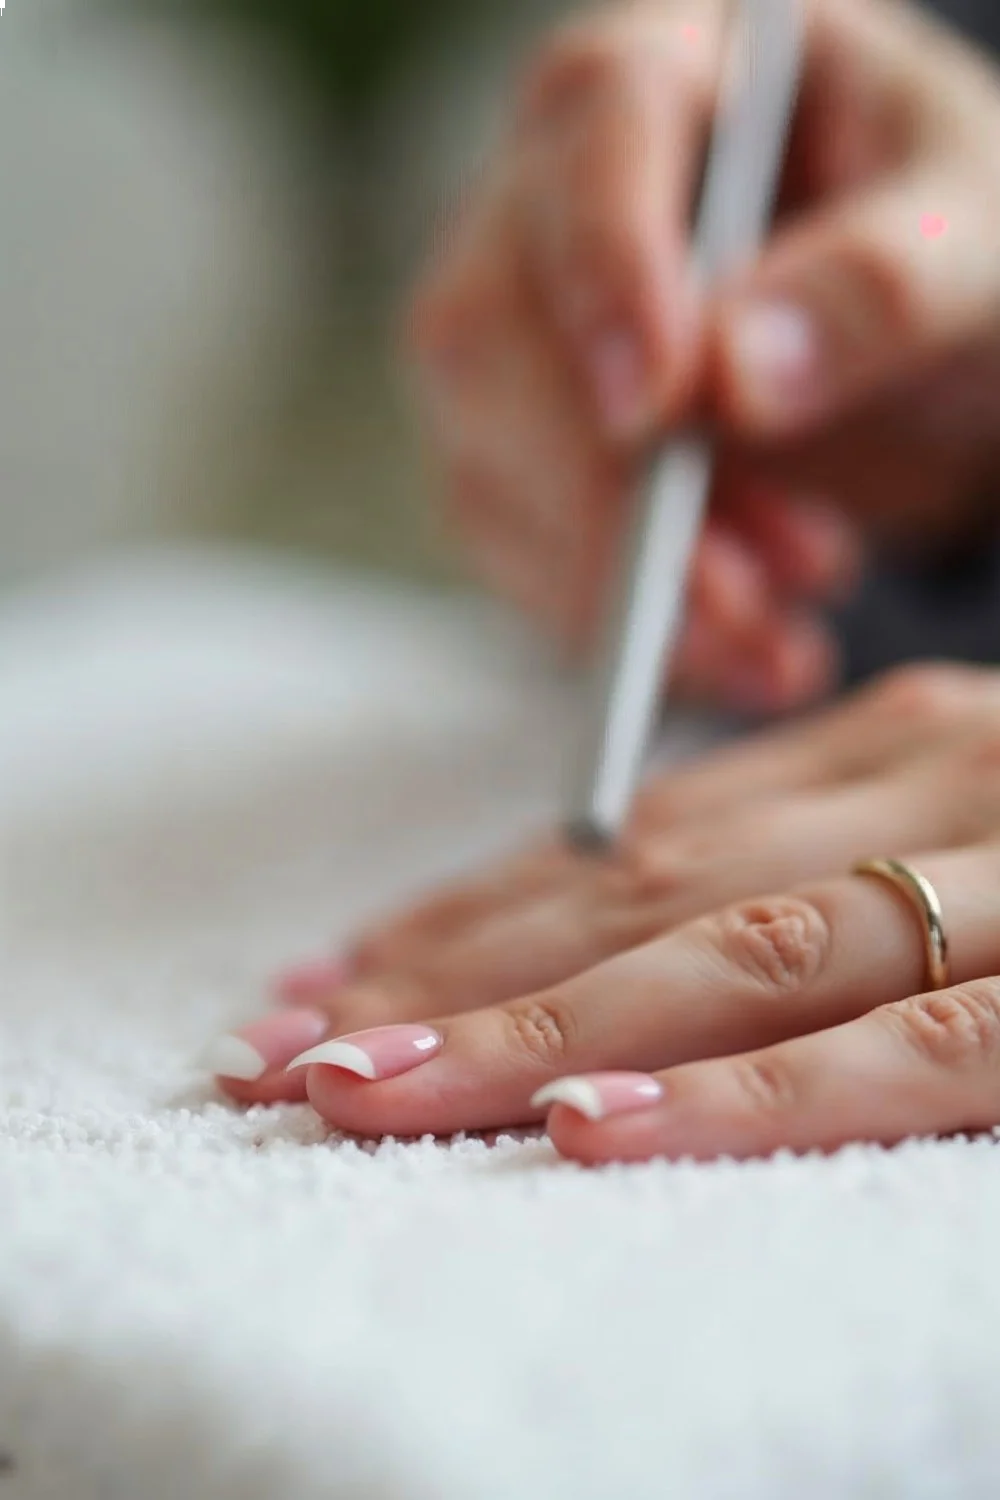
Application Technique for the Regrowth Area
Work on one nail at a time. The acrylic working time is approximately 45-60 seconds before it begins to harden, so speed matters once the bead is placed.
First bead: the cuticle area. Pick up a medium bead and place it in the center of the regrowth gap, about 1mm from the cuticle. Using the flat part of your brush, gently press and push the bead toward the cuticle line, stopping just before touching skin. Pull the bead back slightly, creating a thin, feathered edge at the cuticle. Pat and smooth the bead backward toward the existing acrylic, blending the new product into the old. The transition should be invisible—no visible line or bump where they meet.
Second bead: structural reinforcement. Pick up a slightly larger bead and place it over the stress area (where your natural nail ends under the acrylic). This zone experiences the most pressure and requires adequate thickness. Press and smooth the bead, ensuring it covers the entire area from sidewall to sidewall. Proper apex placement—the highest point of the nail enhancement—should sit just behind the stress area, creating an arch that distributes pressure.
Third bead (if needed): free edge work. If your free edge needs reinforcement or lengthening, pick up a medium bead and work it toward the tip, maintaining sidewall shape. For fills, you typically don't need to add product to the free edge unless you're correcting damage.
Blending and Smoothing
Once all beads are placed and the acrylic has lost its shine (indicating it's cured), the blending work begins. Wipe your brush clean with a monomer-dampened wipe and use the dry brush to smooth any uneven areas while the acrylic is still slightly pliable.
Common blending mistakes include:
- Leaving a visible ridge where new meets old acrylic
- Creating a thick, bulky cuticle area that looks unnatural
- Uneven sidewalls where new product wasn't feathered properly
- Flat apex instead of a gentle C-curve
Filing, Shaping, and Finishing Your Fill
Once the acrylic has fully cured—wait at least 5 minutes to ensure complete hardening—the filing and shaping process refines the enhancement into a polished result. This stage determines whether your fill looks professional or obviously home-done.
Start with your 100-grit file or medium-grit drill bit. Check the cuticle area first—if there's a raised ridge where new acrylic meets old, file it down using gentle, sweeping motions. The goal is creating a smooth, imperceptible transition. File in one direction rather than sawing back and forth, which generates excessive heat and can damage the natural nail underneath.
Check the apex placement by looking at your nail from the side. The highest point should be slightly behind center, creating a gentle arch. Flat nails lack structural strength; overly arched nails look artificial. File down any areas that protrude or look bumpy, checking frequently from multiple angles.
Refine the sidewalls, ensuring they're symmetrical and follow the natural shape of your nail bed. The acrylic should extend to, but not over, the natural sidewall edges.
Switch to your 180-grit file for smoothing. Go over the entire nail surface, removing file marks from the 100-grit and creating an even texture. The surface should feel smooth when you run your finger across it but still have a slight matte texture.
Final buffing with a 240-grit file or buffer block removes remaining scratches and creates the base for polish application. If you're leaving the acrylic bare or applying gel polish, continue buffing until the surface is glossy. For regular polish, a slight matte texture actually improves adhesion.
Remove all dust with a clean brush, then wipe each nail with alcohol or dehydrator on a lint-free pad. Dust particles under polish create a gritty finish and reduce wear time.
Addressing Shape Concerns
Acrylic fills provide an opportunity to adjust shape if your original set has grown out awkwardly. For those preferring specific styles, the techniques for achieving a round nail shape or almond nail shape apply equally to filed acrylics.
For rounded shapes: File free edge corners at a 45-degree angle, gradually blending toward the center to create a smooth curve. Check by looking straight down at the nail—the free edge should mirror the cuticle curve.
For square shapes: File straight across the free edge, then gently round the sharp corners to prevent snagging. The sidewalls should be parallel rather than tapered.
For almond or stiletto shapes: File from the sidewalls toward a central point, creating symmetrical angles. These shapes require more length to look balanced.
Troubleshooting Common Fill Problems
Even with proper technique, issues arise—particularly when you're developing muscle memory for acrylic application. Understanding failure modes helps you correct problems before they require complete removal and restart.
Lifting at the Cuticle Area
Lifting occurs when acrylic separates from the natural nail, creating a gap where moisture accumulates. In fills, this most commonly happens at the cuticle where new acrylic meets natural nail.
Cause: Inadequate preparation (oil/moisture remaining), primer not applied to natural nail only, acrylic bead too wet, or touching skin with product.
Prevention: Ensure thorough dehydration, apply primer only to the natural nail in the regrowth area, use medium-wet beads, and keep product 1mm away from skin.
Fix: If lifting occurs within 2-3 days, you can attempt a repair. File away the lifted portion completely until you reach well-adhered acrylic. Prep the exposed area again (dehydrate, prime) and apply a small bead to fill the gap. If lifting is widespread or near the sidewalls, removal and redo is safer than attempting multiple repairs.
Visible Ridge or Bump Where New Meets Old
A raised line at the blend point is the most obvious sign of home application and weakens the enhancement.
Cause: Insufficient filing of existing acrylic before application, bead placement too far back from the transition point, or inadequate blending while product was workable.
Prevention: File existing acrylic down more than seems necessary—it should be thin but not expose the natural nail. Place your bead so it overlaps the transition area, then blend it backward.
Fix: File the ridge down aggressively with your 100-grit file until the surface is smooth. This may require thinning the existing acrylic significantly. If the ridge is severe, you may need to remove product in that area and reapply.
Air Bubbles in the Acrylic
Bubbles weaken the enhancement and look unprofessional under sheer or light polish colors.
Cause: Dust particles on the nail before application, tapping or dropping the bead onto the nail, contaminated monomer, or excessive brush pressure during application.
Prevention: Wipe nails thoroughly after filing, place beads gently without tapping, keep monomer covered when not in use, and press/smooth rather than patting aggressively.
Fix: Small surface bubbles can be filled with a tiny bead of acrylic. Larger or deep bubbles require filing down to the bubble, removing it completely, and filling the depression with new product.
Yellowing of Clear or Pink Acrylic
Discoloration happens over time but shouldn't occur immediately after a fill.
Cause: UV exposure, contaminated monomer, expired products, or smoking (nicotine stains acrylic).
Prevention: Store monomer in a dark cabinet, replace products according to manufacturer dates, and consider UV-resistant formulas if you spend significant time in sun.
Fix: Filing down the surface layer and reapplying can help, but deeply yellowed acrylic typically requires complete removal. For persistent staining concerns, the guidance in how to strengthen weak nails addresses natural nail health during breaks between enhancements.
| Problem | Primary Cause | Quick Fix | Prevention |
|---|---|---|---|
| Lifting | Inadequate prep or moisture | File away, reprep, refill | Thorough dehydration, proper primer use |
| Visible ridge | Poor blending | Aggressive filing to smooth | Thin existing acrylic more, overlap bead placement |
| Air bubbles | Dust or application technique | Fill small ones; refill for large | Clean thoroughly, gentle bead placement |
| Yellowing | UV or product contamination | Surface file and reapply | Store products properly, UV-resistant formula |
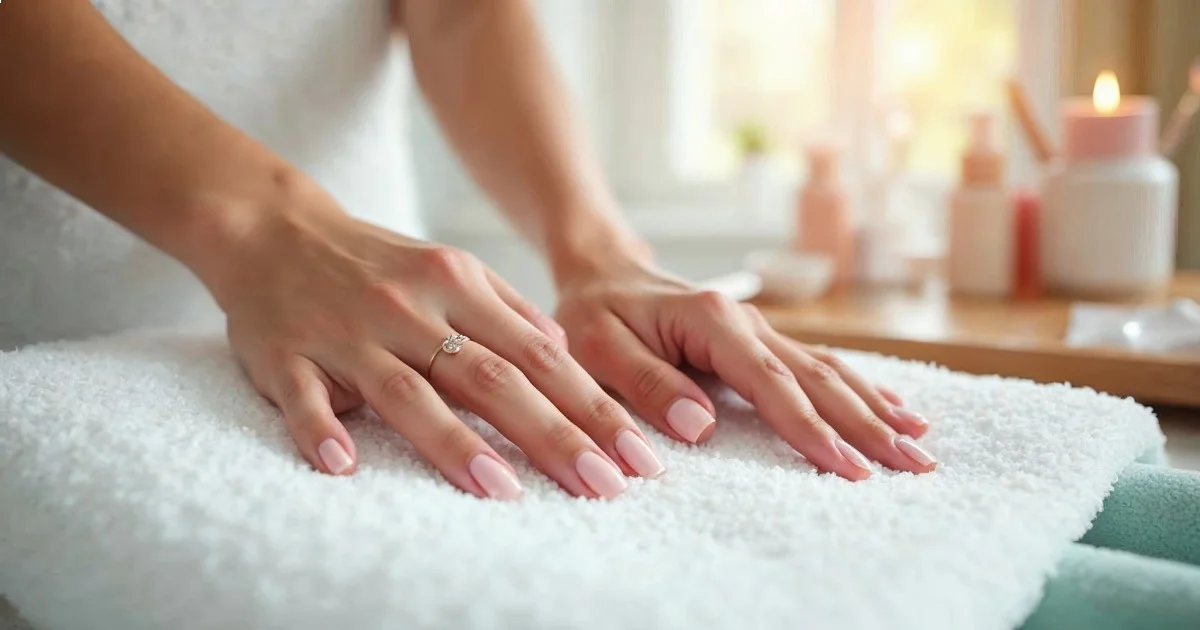
Maintaining Nail Health Between Fills
Continuous acrylic wear without breaks can lead to thinning, weakening, or damage to the natural nail plate. Based on guidance from dermatological research, implementing protective measures during enhancement wear preserves long-term nail health.
The natural nail needs to regulate moisture content. Acrylic creates a seal that alters this balance. After 3-4 months of continuous wear, most people benefit from a 2-3 week break to allow natural nails to rehydrate and strengthen.
During acrylic wear, focus on cuticle health. The cuticle forms a seal protecting the nail matrix (growth center) from bacteria and trauma. Push cuticles gently rather than cutting them, and apply cuticle oil daily. Jojoba, vitamin E, or dedicated cuticle oils like CND SolarOil penetrate effectively.
Avoid using your nails as tools. Acrylic provides some protection, but using enhancements to pry, scrape, or open things transfers force to the natural nail underneath, potentially causing separation or trauma to the nail bed.
Watch for signs of damage requiring immediate removal:
- Green discoloration under the acrylic (bacterial infection)
- Pain, swelling, or redness around the nail
- Significant lifting that can't be repaired
- Natural nail visible through thin spots in the acrylic
- Persistent tenderness or sensitivity
For those experiencing damage, the techniques outlined in how to fix broken nails provide emergency solutions, while strengthening weak nails offers longer-term recovery strategies.

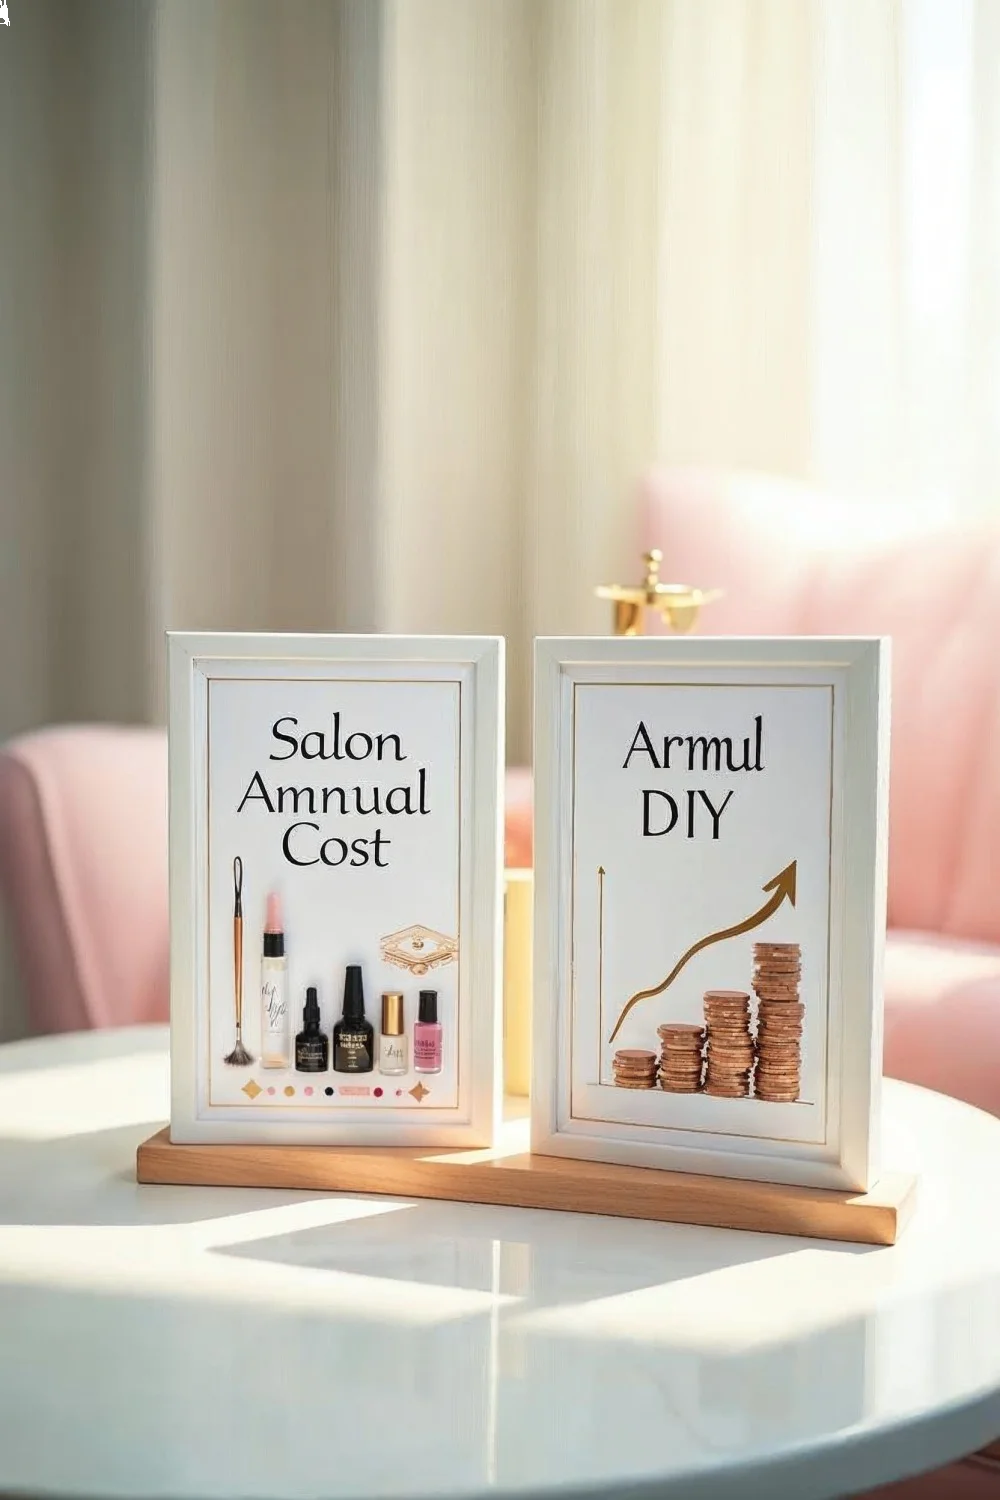
Cost Analysis: Salon Fills vs At-Home DIY
The financial advantage of home fills becomes clear when you break down the numbers over time. Salon acrylic fills range from $35-60 depending on location and salon tier, while home fills cost approximately $3-5 in materials per application once you've purchased your initial supplies.
Initial Investment Breakdown
Quality starter supplies run $40-80:
- Acrylic liquid (monomer): $15-20 for 8oz
- Acrylic powder (polymer): $12-18 for 4oz
- Acrylic brush: $8-12
- Nail files (100/180/240 grit): $8-12
- Dehydrator/prep: $6-8
- Primer: $8-12
- Dappen dish: $3-5
- Lint-free wipes: $4-6
Optional but recommended additions:
- Electric nail drill: $25-35
- UV/LED lamp (if using gel polish top coat): $15-25
The break-even point arrives after 1-2 fills. Your second fill costs essentially nothing beyond materials, while the salon equivalent would run another $35-60.
Annual Savings Calculation
Assuming fills every 2.5 weeks (average maintenance schedule):
Salon fills: 21 fills/year × $45 average = $945 annually
Home fills after initial investment:
- Initial supplies: $60 average
- Material cost per fill: $4 × 21 fills = $84
- Total first year: $144
- Subsequent years: $84 (supplies last multiple years)
First-year savings: $801 Ongoing annual savings: $861
These calculations don't include the time savings of filling nails at home on your schedule rather than booking and traveling to appointments. For those who also do gel nail removal at home or other DIY nail services, the combined savings multiplies significantly.
Cost-Quality Considerations
Cheaper acrylic systems ($20-30 for complete kits) exist but often compromise on formula quality. Inferior monomer produces stronger fumes, poorer adhesion, and more brittle results. The mid-tier products recommended here ($40-60 range) provide professional-quality results without salon markup.
For budget optimization, prioritize quality on these items:
- Acrylic liquid and powder (formula quality affects results)
- Brush (cheap brushes lose bristles and don't hold beads properly)
- Primer (adequate bonding prevents costly do-overs)
Save on these items:
- Files (disposable files work as well as expensive ones)
- Dappen dish (any small glass container works)
- Lint-free wipes (pharmacy cotton pads suffice)
When to Remove and Start Fresh Instead of Filling
Fills extend enhancement wear, but acrylic doesn't last indefinitely. Knowing when to remove completely and apply a fresh set prevents damage and maintains appearance.
Remove and restart when:
Structural integrity is compromised. Multiple cracks, significant lifting, or thin spots indicate the enhancement has reached its lifespan. Attempting another fill on compromised product risks breakage that can damage the natural nail.
Natural nail has grown excessively. After 3-4 fills, the balance point shifts. The original apex is now far from the natural nail's center, creating awkward architecture. The enhancement becomes top-heavy and prone to breaking.
You want to change shape or length significantly. Fills maintain existing shape. Dramatic changes require starting fresh with proper apex placement for the new structure.
Visible damage or discoloration can't be fixed. Deep staining, yellowing, or surface damage that can't be filed away looks better removed and redone than continued.
You're taking a break from enhancements. After several months of continuous wear, giving natural nails a 2-3 week rest period helps maintain their health and thickness. Use this time to implement the healthy nail care tips that support recovery.
Removal requires patience. Forcing or prying off acrylic takes layers of natural nail with it, causing severe damage. Proper removal involves:
- Filing down the bulk of the acrylic with a coarse file
- Soaking nails in acetone for 15-20 minutes
- Gently pushing off softened acrylic
- Repeating soak/push cycles until all product is removed
- Buffing away residue and applying strengthening treatments
For detailed removal guidance, how to remove gel nails at home provides techniques that also apply to acrylic removal with appropriate time adjustments (acrylics require longer soaking).
Conclusion
Performing acrylic fills at home transforms enhancement maintenance from an expensive recurring appointment into an affordable, convenient skill. The initial learning curve requires patience, but the long-term benefits—annual savings exceeding $800, scheduling flexibility, and empowered self-sufficiency—make the investment worthwhile.
Success depends on three factors: quality supplies, proper preparation, and consistent technique. Cutting corners on prep work causes lifting and premature failure, while rushing application creates visible flaws that undermine the professional appearance you're working to achieve.
Start with realistic expectations. Your first few fills won't look salon-perfect, and that's expected. Each application builds muscle memory and develops your eye for proper bead consistency, placement, and blending. By your fifth fill, the process feels significantly more natural.
Understanding nail care with research-backed insights means understanding not just technique, but also when to give natural nails a break, how to recognize signs of damage requiring professional attention, and which products provide genuine value versus marketing hype.
For those ready to expand DIY nail skills beyond maintenance, explore DIY nail art tutorials and seasonal designs that work beautifully on filled acrylics. Whether you're maintaining short nail designs or preparing vacation nails that need to last through travel, the foundation of proper acrylic fill technique supports every creative direction.
Your natural nails remain the priority throughout enhancement wear. Regular monitoring, proper breaks, and immediate attention to problems preserves nail health for the long term, ensuring that DIY acrylic fills remain a sustainable, money-saving solution rather than a source of damage.