Summer Nail Prep: Complete Transition Guide from Spring
Summer nail prep involves removing spring designs, assessing nail health, applying strengthening treatments, and switching to heat-resistant formulas.

Summer nail prep involves removing spring designs, assessing nail health, applying strengthening treatments, and switching to heat-resistant formulas. Start this process 1-2 weeks before your first summer design for optimal results.
- Begin prep 1-2 weeks before summer with gentle polish removal and nail health assessment
- Switch to UV-protective base coats and long-wear formulas that resist heat and humidity
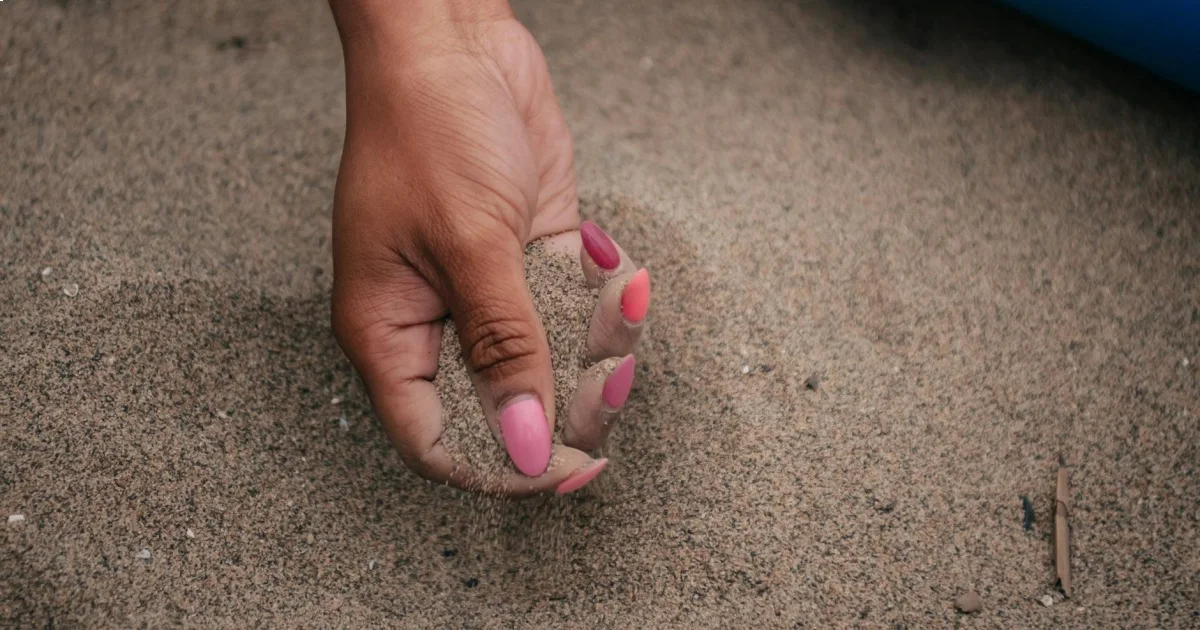
- Choose shorter, rounded shapes for summer activities and water exposure durability
- Apply strengthening treatments between seasons to repair damage from spring extensions or frequent color changes
After testing dozens of seasonal transitions on my own nails over the past three years, I've learned that proper summer nail prep makes the difference between designs that last two weeks versus ones that chip in three days. Heat, humidity, and increased water exposure completely change what your nails need.
Why Summer Nail Prep Matters: Spring to Summer Transition Explained
Your spring nail routine won't survive summer conditions. Heat makes polish expand and contract, humidity affects drying times, and increased water exposure from pools and beaches destroys even the best manicures if you're not prepared.
How Heat and Humidity Affect Your Spring Nails
I learned this lesson the hard way during my first summer in Florida. My usual spring gel nail colors started peeling within 48 hours once temperatures hit 85°F consistently. The issue? Spring formulas are designed for moderate temperatures and lower humidity.
Heat causes nail polish to become more flexible, which sounds good but actually makes it prone to stretching and cracking. Humidity slows the curing process for both regular polish and gel, creating a softer finish that dents easily. Plus, your natural nails expand slightly in heat, creating micro-movements that break the polish bond.
Key Finding: Proper nail preparation, including dehydrating and base coat application, is the most important factor in DIY manicure longevity — American Academy of Dermatology
The worst part? Spring nail art often uses delicate techniques like DIY pastel ombre nails that rely on thin layers and subtle blending. These simply don't have the durability for summer activities.
The Importance of Nail Health Before Switching Designs
Your nails take a beating during spring. Between spring gel nail designs and frequent color changes for Easter and Mother's Day, most people enter summer with weakened nail plates.
I always do a nail health check before transitioning seasons. Look for:
- White spots or ridges (indicates dehydration)
- Thin, flexible nails that bend easily (over-filing or too much acetone)
- Yellowing around the cuticles (product buildup)
- Splits or cracks starting at the free edge
Damaged nails won't hold summer designs well, no matter how good your technique is.
Complete Nail Prep Checklist: 7 Steps to Healthy Summer Nails
This is my exact process for transitioning from spring to summer nails. I start this routine 10-14 days before I want to apply my first summer design.
Step 1: Safely Remove Spring Nail Polish or Extensions
Gentle removal prevents damage that'll haunt you all summer. For regular polish, I use Zoya Remove+ nail polish remover because it's acetone-free and doesn't strip natural oils.
For gel polish removal:
- File off the top coat to break the seal
- Soak cotton balls in acetone
- Wrap each nail in foil for 10-12 minutes
- Gently push off softened gel with an orange stick
- Never force or scrape—if it doesn't come off easily, rewrap for 3 more minutes
If you have extensions, book a professional removal. I tried DIY acrylic removal once and damaged three nails so badly they took months to recover.
Step 2: Assess Your Nail Health and Damage
Honest assessment time. Take photos of your bare nails in natural light—you'll spot issues you miss under artificial lighting.
I rate each nail 1-10 for:
- Thickness and strength
- Surface smoothness
- Cuticle condition
- Overall flexibility
Nails scoring below 6 get extra strengthening treatment before I attempt any summer designs.
Step 3: Deep Nourish with Strengthening Treatments
This step separates successful summer nail prep from disaster. I use OPI Nail Envy for strengthening and apply it every other day for one week. It goes on like base coat but hardens as it cures.
For severely damaged nails, I do a "nail mask" treatment:
- Apply cuticle oil (I use Essie Apricot Cuticle Oil)
- Massage in for 2 minutes
- Leave on for 20 minutes while watching TV
- Gently buff away any flaking with a 240-grit file
Repeat this every three days until nails feel strong again.
Step 4: Reshape Nails for Summer Activities
Summer demands practical nail shapes. I learned this after breaking two stiletto nails during a beach volleyball game. Now I stick to shapes that survive real life.
For detailed shape guidance, check out my coffin nails vs stiletto comparison, but here's my summer shape hierarchy:
- Short round: Indestructible, works with any design
- Short square: Clean lines, good for geometric patterns
- Medium oval: Flattering length with durability
- Coffin/ballerina: Only if you're avoiding water activities
Step 5: Exfoliate and Hydrate Cuticles
Cuticles get crusty in summer heat. I use a homemade sugar scrub (brown sugar + olive oil) once a week and push cuticles back with a silicone tool after every shower.
The key is consistency—5 minutes of cuticle care daily prevents the dry, cracked look that ruins even perfect nail art.
Step 6: Apply UV Protective Base Coat
This step is non-negotiable for summer. Regular base coats don't protect against UV damage, which causes color fading and nail yellowing.
I use Essie First Base because it contains UV filters and creates a smooth surface for color application. Apply one thin coat and let it cure completely—rushing this step causes peeling later.
Step 7: Choose Summer-Ready Products
Not all nail products handle summer weather equally. I've tested dozens of formulas, and here's what actually works:
Polishes that survive heat:
- OPI Infinite Shine (lasts 10+ days in 90°F weather)
- Essie Gel Couture (no UV lamp needed, heat-resistant)
- Zoya Naked Manicure (strengthening and protective)
Top coats for durability:
- Seche Vite Dry Fast (classic for a reason)
- Essie Speed Setter (UV protection built-in)
- OPI RapidDry (prevents dents from beach sand)
Spring vs. Summer Nail Designs: What's Different
The transition from spring to summer nail designs isn't just about swapping pastel colors for brights. The entire approach changes to accommodate weather and lifestyle differences.
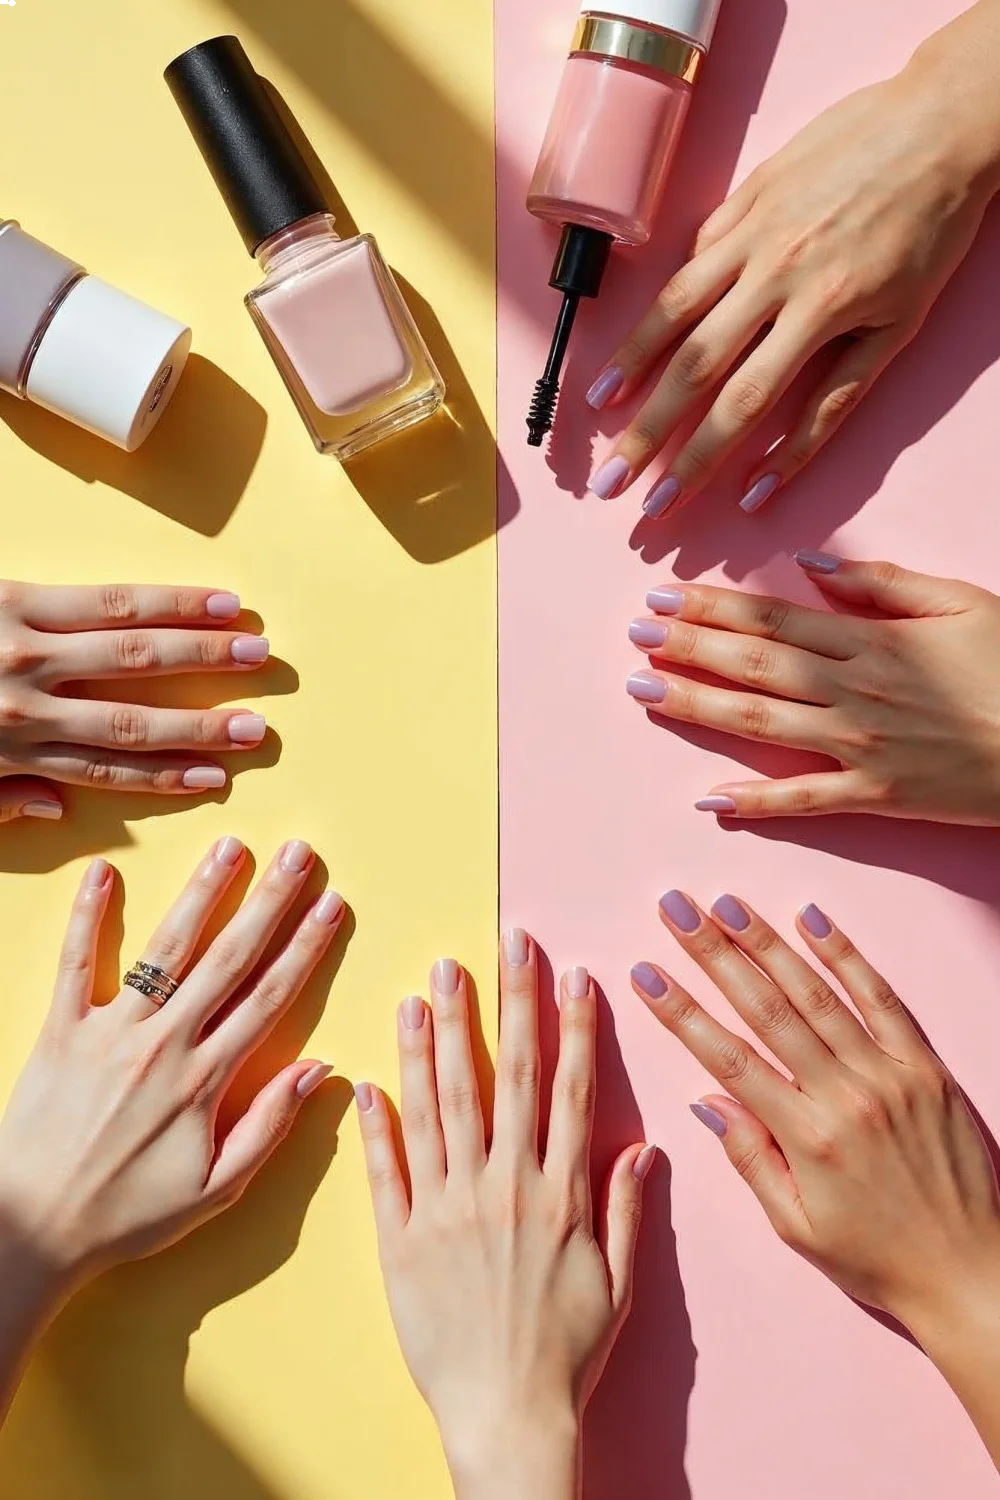
Color Palette Transitions: From Pastels to Brights
Spring colors look washed out under intense summer sun. I discovered this during a July wedding where my mint green manicure completely disappeared in outdoor photos.
Summer demands colors with staying power:
High-impact colors that photograph well:
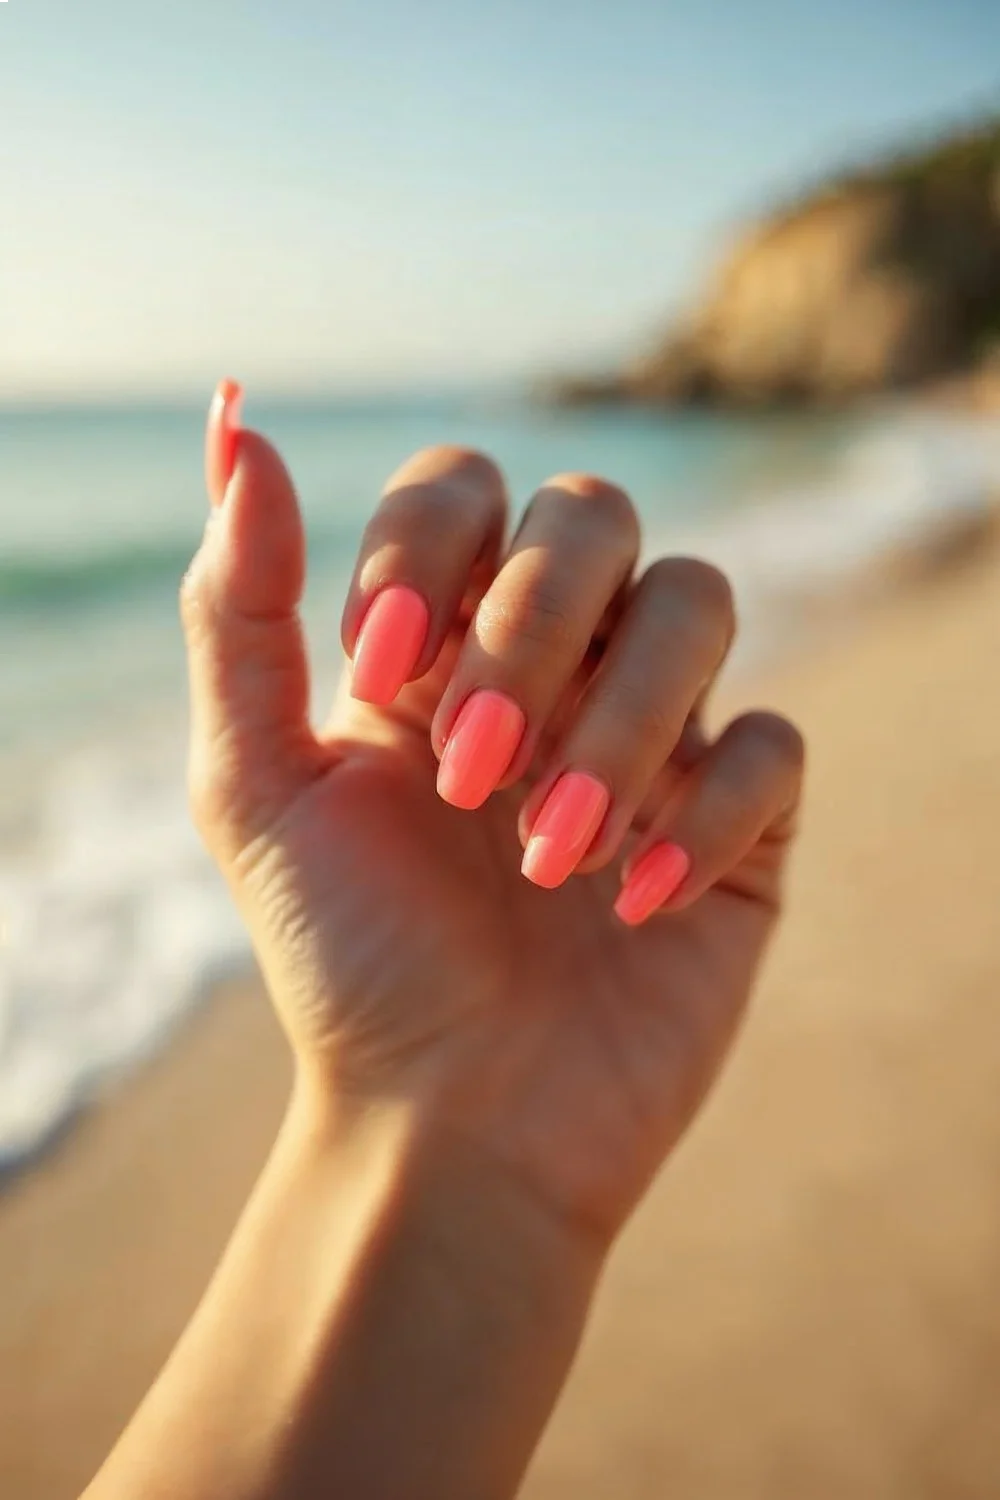
- Coral and orange (complements sun-kissed skin)
- Bright pink and fuchsia (classic summer energy)
- Turquoise and teal (ocean-inspired)
- Classic red (timeless, works with any outfit)
Colors to avoid in summer heat:
- Light pastels (fade in sun)
- Nude shades lighter than your skin (wash out completely)
- Purple tones (turn muddy with UV exposure)
For inspiration on transitioning from spring aesthetics, browse my collection of early summer nail designs that bridge both seasons beautifully.
Finish Changes: Matte, Glossy, and Metallic Options
Finish choice affects durability more than most people realize. Matte finishes hide wear better but feel rough after pool chemicals. Glossy finishes show every chip but photograph beautifully. Metallics reflect heat and last longer than expected.
My summer finish preferences:
- Glossy for vacation: Reflects light, looks expensive in photos
- Matte for daily wear: Hides minor imperfections, modern look
- Metallic for events: Heat-resistant, eye-catching
Design Themes: Florals to Tropical and Minimalist
Spring florals feel overdone by June. Summer designs work better when they're either bold statements or clean minimalism—nothing in between.
Design themes that work in summer:
- Geometric patterns (clean lines, modern)
- Tropical motifs (palm leaves, beach scenes)
- Gradient ombres (ocean-inspired, forgiving)
- Negative space designs (cooler feel, sophisticated)
For beginners wanting to try summer nail art, start with my DIY nail art guide and work up to more complex designs.
Best Products for Summer Nail Prep
After three summers of testing products in actual beach and pool conditions, these are the items that consistently deliver results.
Nail Strengtheners and Repair Serums
OPI Nail Envy Original Formula ($18) This is a solid strengthener—I've used it on severely damaged nails and seen actual improvement within 10 days. Apply like base coat, let cure 5 minutes, then remove with regular polish remover when ready for color.
Nailtiques Formula 2 ($16) For nails that bend like paper. Harsher than Nail Envy but works faster on severely weak nails. Use for maximum 2 weeks, then switch to maintenance formula.
Sally Hansen Hard as Nails ($4) Budget option that actually works. Not as gentle as premium brands but strengthens nails effectively. Good for testing whether strengthening treatments work for you.
Long-Wear Polish and UV-Protective Formulas
Essie Gel Couture Collection ($13 each) No UV lamp required, but gives 7-10 day wear in summer conditions. The brush is perfect for precision application, and colors stay true even after pool exposure.
OPI Infinite Shine System ($12 base + $15 color + $15 top coat) Expensive but worth it for special events. I get 12-14 days of perfect wear, even with daily beach activities. The system only works when you use all three components.
Zoya Naked Manicure System ($10 each) Perfect for nail health maintenance between bold designs. Strengthens while providing subtle color enhancement. Ideal for the "no-makeup makeup" nail equivalent.
Cuticle Oils and Moisturizers for Heat Protection
Essie Apricot Cuticle Oil ($9) Absorbs quickly without leaving greasy residue. Essential for preventing the dry, cracked cuticles that happen in air conditioning and sun exposure.
Burt's Bees Lemon Butter Cuticle Cream ($4) Thicker consistency for nighttime use. Creates a protective barrier against chlorine and salt water damage.
| Product | Price | Wear Time | Best For | UV Protection |
|---|---|---|---|---|
| OPI Infinite Shine | $42 system | 12-14 days | Special events | Yes |
| Essie Gel Couture | $13 | 7-10 days | Daily wear | Moderate |
| Zoya Naked Manicure | $10 | 5-7 days | Nail health | Yes |
| Sally Hansen Miracle Gel | $8 | 6-8 days | Budget option | No |
| Dior Vernis | $28 | 4-6 days | Luxury color | Minimal |
What's the Best Polish Type for Summer Heat?
Gel polish wins for durability, but the choice depends on your commitment level and nail health. Here's how different formulations handle summer conditions.
Gel Polish (UV/LED cured): Pros: 2-3 weeks wear, completely waterproof, doesn't chip Cons: Requires lamp ($30-100), removal takes 20 minutes, can damage nails with overuse Best for: Vacations, people who can't touch up nails frequently
Long-wear regular polish (like OPI Infinite Shine): Pros: No special equipment, easy removal, less nail damage Cons: 7-10 day maximum wear, can chip with heavy activity Best for: Weekly nail changes, nail health maintenance
Traditional polish with good base/top coat: Pros: Cheapest option, unlimited color choices, easy to fix chips Cons: 3-5 day wear maximum, requires frequent touch-ups Best for: Trend experimentation, nail art practice
For a detailed breakdown of gel versus other options, read my complete gel vs acrylic nails guide.
Key Finding: UV-cured gel polish provides the longest-wearing manicure option, but proper application technique determines durability more than product choice — OPI's professional nail guidance
Nail Shape Guide: What Works Best for Summer
Shape choice affects both aesthetics and practicality during summer activities. I've broken nails in every shape possible, so here's what actually survives real summer life.
Durable Shapes for Water Activities
Short Round (1-2mm past fingertip): Survives everything: volleyball, swimming, gardening, typing. Looks clean and professional. Works with any nail art design. This is my go-to shape for active summers.
Short Square (2-3mm past fingertip): Modern, clean lines. Great for geometric nail art. More prone to corner breaks than round, but still very durable. Avoid if you type frequently.
Medium Oval (3-4mm past fingertip): Flattering on most hand shapes. Good compromise between durability and elegance. Can handle moderate activity but avoid contact sports.
Aesthetic vs. Practical Considerations
Long, pointed shapes look amazing in photos but create daily frustration. I wore stiletto nails for one summer and couldn't:
- Open cans or bottles
- Text comfortably
- Put on jewelry
- Handle beach activities
The sweet spot is medium length (3-4mm past fingertip) in a rounded or oval shape. You get visual impact without sacrificing functionality.
Summer Nail Care: Maintaining Your Prep Between Applications
Proper maintenance extends the life of your summer manicure and protects the nail health you've built during prep.
Sunscreen and UV Protection Strategies
Your nails need sunscreen too. UV exposure causes color fading, nail yellowing, and cuticle damage. I apply SPF 30+ to my hands every morning, making sure to cover the nail area.
UV protection tips that actually work:
- Reapply hand sunscreen after swimming or sweating
- Wear UV-protective gloves during long drives (sun through car windows is intense)
- Use base coats with UV filters even under dark colors
- Apply cuticle oil with SPF daily
According to Byrdie's nail care research, UV damage to nails is cumulative and often irreversible, making prevention crucial.
Hydration Tips in Hot, Humid Weather
Summer weather paradox: high humidity but constant dehydration from AC, pools, and sun exposure. Your nails need extra moisture support.
My daily hydration routine:
- Morning: Cuticle oil application
- After pool/beach: Rinse nails with fresh water, apply hand cream
- Evening: Thick cuticle cream before bed
- Weekly: 10-minute cuticle oil treatment while watching TV
The key is consistency. Five minutes daily prevents the cracked, dry cuticles that require weeks to repair.
How Long Should Summer Nail Prep Take?
Complete nail prep takes 10-14 days if you're transitioning from damaged spring nails. Here's my realistic timeline:
Week 1:
- Day 1: Remove spring polish, assess damage
- Days 2-4: Daily strengthening treatment application
- Day 5: Shape nails, deep cuticle treatment
- Days 6-7: Continue strengthening, no polish
Week 2:
- Days 8-10: Light nail art practice on strengthened nails
- Day 11: Final prep, UV base coat application
- Days 12-14: First summer design application
If your nails are healthy, you can compress this to 5-7 days. But rushing the process leads to designs that fail quickly.
Common Summer Nail Prep Mistakes to Avoid
I've made every possible prep mistake over the years. Here are the ones that cause the most damage:
Skipping the strengthening phase: Weak nails can't support summer designs, no matter how good your technique is. Always allow 5-7 days for nail strengthening.
Using winter/spring base coats: These don't have UV protection and break down faster in heat. Switch to summer-specific formulas.
Over-filing for shape changes: Summer activities cause enough nail stress. Don't add damage from aggressive filing. Make gradual shape changes over 2-3 manicures.
Ignoring cuticle health: Dry, damaged cuticles ruin even perfect nail art. Start cuticle care during prep, not after problems develop.
Testing new techniques on vacation: Practice new nail art at home first. Vacation isn't the time to discover that complex designs are beyond your skill level.
Choosing trendy over practical: Instagram-worthy nails that break on day two aren't worth it. Pick designs that match your actual summer activities.
The biggest lesson from three years of trial and error? Start your prep early and prioritize nail health over immediate aesthetics. Healthy nails hold beautiful designs longer than damaged nails with perfect technique.
Once your nails are properly prepped, you're ready to explore the season's hottest looks. Check out my summer nail designs collection for inspiration that's actually achievable at home, or start with my creative nail art ideas if you're feeling adventurous.
Proper summer nail prep isn't glamorous, but it's the foundation for every amazing manicure you'll wear this season. Take the time now, and your nails will thank you through Labor Day and beyond.
Frequently Asked Questions
What's the Best Polish Type for Summer Heat?
Gel polish wins for durability, but the choice depends on your commitment level and nail health. Here's how different formulations handle summer conditions.
How Long Should Summer Nail Prep Take?
Complete nail prep takes 10-14 days if you're transitioning from damaged spring nails. Here's my realistic timeline: Week 1: Day 1: Remove spring polish, assess damage Days 2-4: Daily strengthening treatment application Day 5: Shape nails, deep cuticle treatment