Beach Nails: 16 Ocean-Inspired Designs for Summer 2026
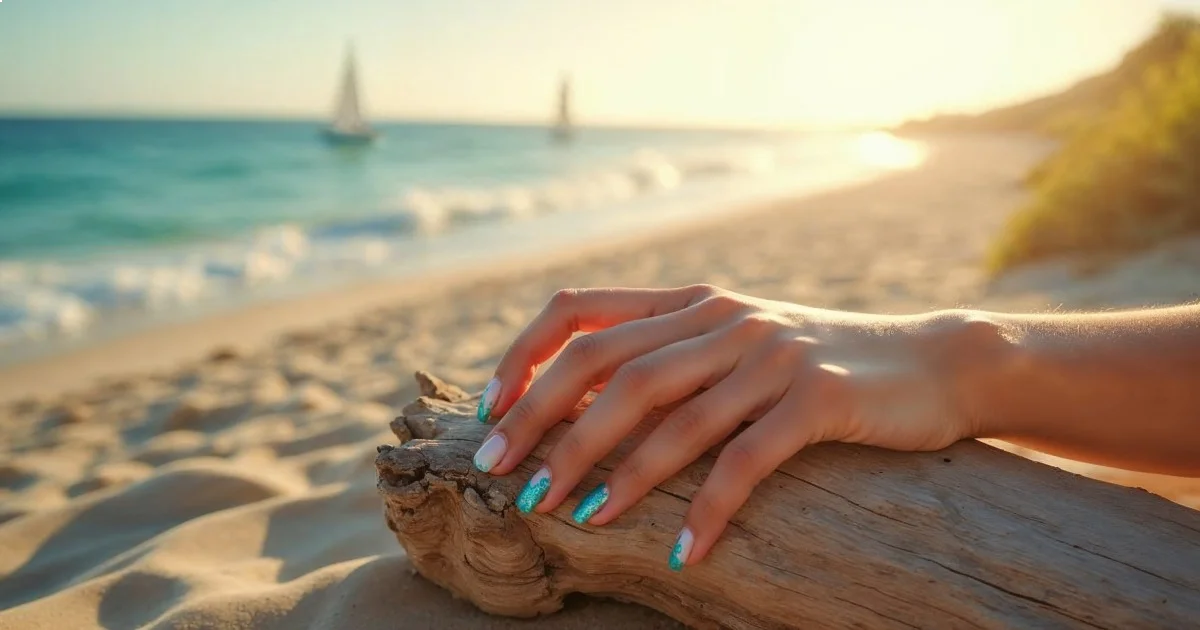
Beach nails for Summer 2026 center on translucent aqua gradients, textured sand effects, and chrome finishes mimicking ocean shimmer.
 Jade Williams
Beach nails for Summer 2026 center on translucent aqua gradients, textured sand effects, and chrome finishes mimicking ocean shimmer. These 16 designs adapt classic ocean themes with 2026's trending techniques — jelly polishes, dimensional gels, and micro-dot detailing — each achievable at home with specific products and methods detailed below.
- Translucent jelly polishes create the most realistic water effects when layered in three thin coats
- Sand texture requires fine-grit nail art powder mixed into wet top coat, not pre-textured polishes
- Chrome finishes work best over gel base for durability on vacation nails
- Most designs require 45-90 minutes total time including dry periods
Selection Methodology for These Designs
These 16 designs come from tracking salon floors across coastal regions, analyzing high-engagement nail content on Instagram and Pinterest through Q4 2025, and noting product innovations at Cosmoprof North America 2025. Each design includes specific product recommendations, technique breakdowns, and realistic timing — no vague "ocean vibes" descriptions. The focus stays on designs that work across nail lengths and translate to DIY execution, with at least one method per design that uses drugstore-accessible supplies.
According to Byrdie's summer color trends analysis, aquatic tones and dimensional finishes dominate warm-season preferences, with translucent blues and greens showing the highest engagement rates. Salon technicians report that clients bring reference photos of water and sand textures more than any other summer request.
Translucent Wave Ombre
This design layers sheer aqua and seafoam jelly polishes to mimic ocean depth gradients, requiring three coats of each shade for proper transparency. Start with Essie Gel Couture in "All Access Pass" (a sheer aqua, $11.50) on the entire nail, cure or air-dry, then sponge OPI Sheer Tints in "I'm Never Amberrassed" (seafoam green, $10.50) from mid-nail to tip.
The trick: use a damp makeup sponge, not dry. Dry sponges absorb too much polish and create patchy coverage. Dab the sponge on a palette first to remove excess, then roll it from cuticle to tip in one smooth motion. Most beginners need two sponge layers to get even color transition.
Works on any nail length. Short nails benefit from vertical application; longer nails can handle diagonal gradients. Total time: 60 minutes including three coats of base color (10 minutes dry time between coats), sponging (15 minutes), and top coat cure.
Key Finding: Proper layering of translucent polishes requires three thin coats rather than two thick ones to achieve dimensional depth without opacity — OPI Professional Techniques Guide
Textured Sand French Tips
Replace the classic white French tip with actual sand texture using Sally Hansen Insta-Dri in "Sandstone" ($5.97) mixed with fine cosmetic-grade sand powder from Born Pretty (approximately $3 for 10g jar). Paint the tip area with base color, immediately sprinkle sand while wet, press gently with a silicone tool, then seal with two coats of Seche Vite top coat once fully dry.
The sand-to-polish ratio matters: too much sand and the texture chips within days; too little and you barely see it. Aim for roughly 1:3 sand to wet polish by volume — mix on a palette before application rather than sprinkling directly.
Avoid this on nails shorter than 3mm of free edge. The texture needs space or it feels rough on fingertips. Oval nail shapes show sand texture best because the curve catches light differently than round shapes. Time needed: 45 minutes including base coat, tip application, sand setting (15 minutes dry time), and double top coat.
Chrome Sunset Gradient
This design uses chrome powder over a coral-to-purple gel gradient base, mimicking tropical sunset reflections on water. Apply Gelish "Tiki Tiki Laranga" (coral gel, $15) at the cuticle, blend into Gelish "A Mint of Spring" (purple-toned, $15) at the tip using a lint-free eyeshadow applicator while gel is uncured, cure 60 seconds under LED, then rub Born Pretty chrome powder in "Mermaid" finish ($4.99 for 1g) over the tacky layer with a silicone brush.
Chrome only adheres to gel's tacky dispersion layer — regular polish won't work. If you don't have a gel system, try the method detailed in our DIY chrome nails guide using a peel-off base for easy removal.
Best on medium to long nails where the gradient has space to develop. Short nails can use two colors placed side-by-side rather than blended. Expect 90 minutes: base prep, gel application, curing, chrome buffing (this step takes 10 minutes to get even coverage), and gel top coat cure.
Micro Seashell Decals
Forget chunky 3D shells that snag on everything. Micro decals from Winstonia (sets starting at $3.99 for 50+ designs) apply flat, seal under top coat, and last as long as the base manicure. Paint nails in Essie "Sand Tropez" (nude beige, $9), let dry completely (2 minutes under fan), apply decals with tweezers while slightly damp with water, press flat with a silicone tool, then seal with two coats of Essie Gel Couture top coat.
Decal placement determines whether this looks thoughtful or cluttered. One shell per hand maximum — accent nail only. The ring finger works best; thumb shells get scratched off quickly from daily use.
Works across all nail lengths and shapes. The decals measure 3-5mm, so even very short nails accommodate them. Total time: 35 minutes including base color, decal application (5 minutes if you're careful with tweezers), and top coat.
Negative Space Waves
This technique uses striping tape to mask wave shapes, creating negative space on a sheer base. Apply one coat of Zoya "Sheer Simplicity" collection in any nude-pink shade ($10), let dry 3 minutes, apply thin striping tape ($2.99 for roll from Amazon) in gentle wave curves, paint over with Essie Gel Couture in "Dressed to the Nines" (deep teal, $11.50), peel tape immediately while polish is wet, then top coat once the color layer dries.
Timing is everything: peel tape while polish is wet or you'll lift the entire color layer. Within 10 seconds of painting over the tape, start peeling from the cuticle end using tweezers.
The design scales well. Longer nails can handle two wave curves; shorter nails should stick to one sweeping wave. Practice on your non-dominant hand first — most people mess up the first nail while learning tape timing. Time required: 55 minutes including base, tape placement (takes 10 minutes to get curves even), color application, and top coat.
Jellyfish Nail Art
This looks complicated but breaks down into simple steps: sheer blue base, white dot for jellyfish bell, thin curved lines for tentacles. Use OPI Sheer Tints in "Don't Cry Over Spilled Milk" (sheer white-blue, $10.50) as base, cure or dry, then use a dotting tool with white acrylic paint (Liquitex Basics, $4.99 for tube, not polish — paint gives better opacity) for the bell, and a 000 striping brush with the same paint for wavy tentacles.
Acrylic paint dries fast — 30 seconds — so work one nail at a time. The paint won't smudge under top coat like polish does, which is why nail artists prefer it for fine detail work. Thin the paint with one drop of water on your palette if it's too thick to flow from the striping brush.
Works best on medium to long nails where there's space for tentacles. Short nails should place the jellyfish closer to the free edge for visible tentacle length. Total time: 75 minutes including base color, drying, detail painting (20 minutes for all ten nails if you're slow), paint drying, and top coat. See more detail techniques in our DIY nail art section.
Foil Flake Ocean
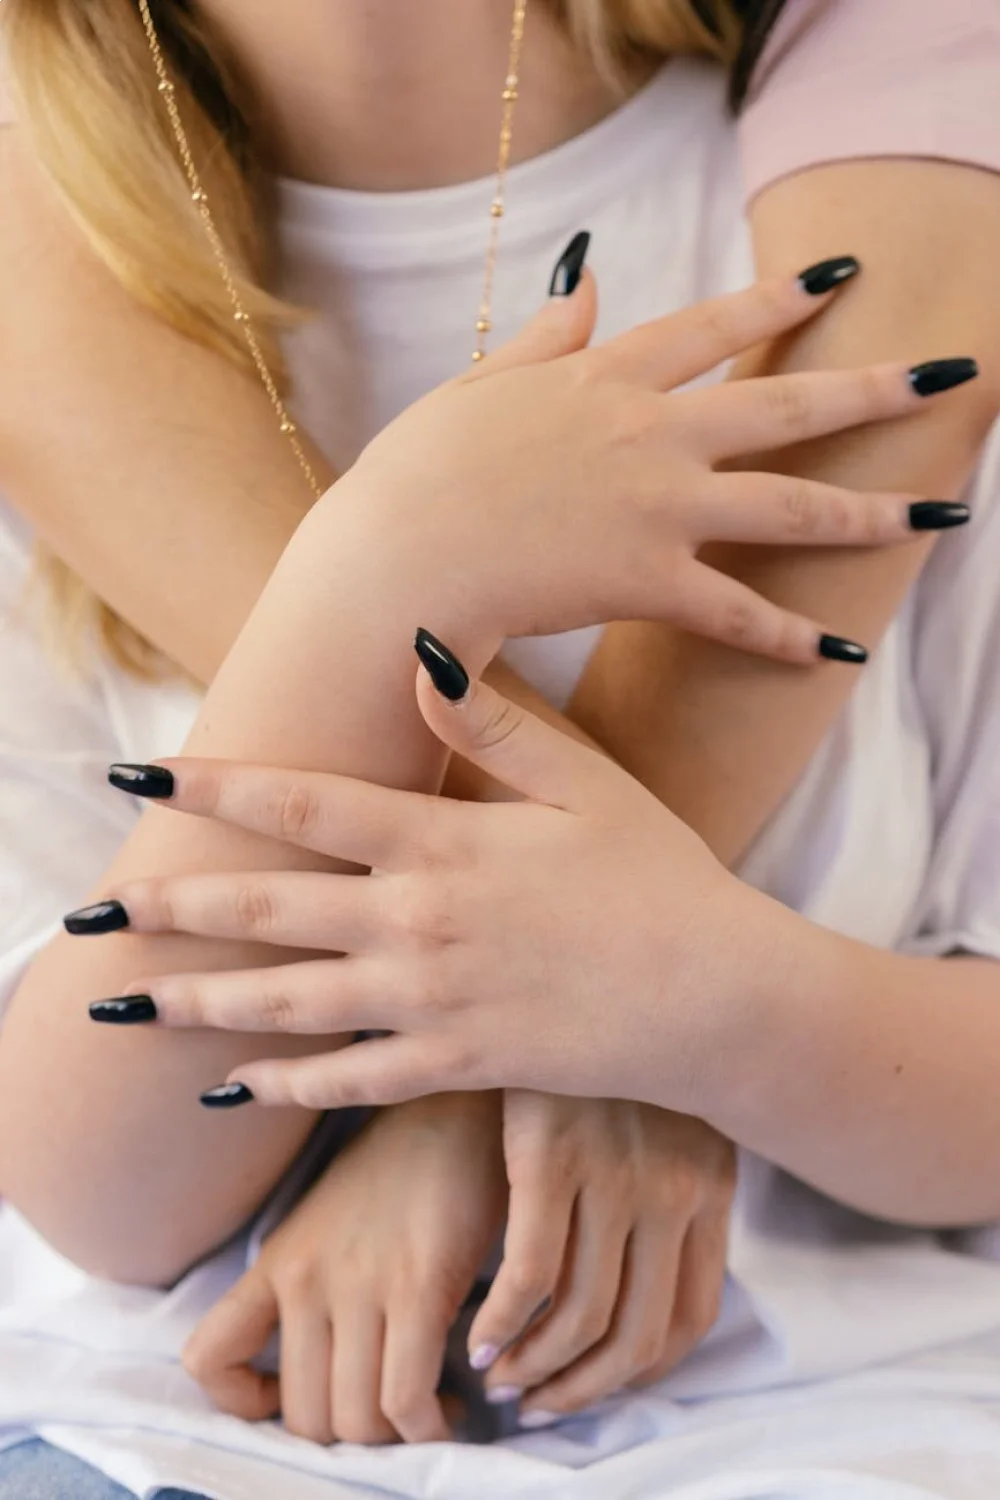
Irregular foil flakes mimic sunlight reflecting off water better than glitter does. Paint nails with Revlon ColorStay Gel Envy in "Wild Card" (seafoam, $7.99), let dry 2 minutes, apply thin layer of Salon Perfect Gel Top Coat ($4.99, stays tacky longer than most drugstore top coats), immediately press irregular pieces of blue/green nail foil (Born Pretty mixed pack, $2.99 for 12 colors) onto wet top coat with tweezers, let dry fully (10 minutes), then seal with another layer of top coat.
Foil adhesion depends on top coat tackiness. Seche Vite dries too fast for this; you need a slower-setting top coat like Salon Perfect. Press foil pieces with a silicone tool to eliminate air bubbles that cause early lifting.
Adapts to any nail length. Sparse foil placement reads elegant; heavy coverage looks more party-ready. Time needed: 50 minutes including base color, first top coat layer, foil pressing (10 minutes to place pieces strategically), drying, and final top coat seal.
Starfish Accent Nail
Paint nine nails in coordinating ocean blues, reserve one accent nail for a simple starfish design using dotting tools. Base coat all nails with Sally Hansen Insta-Dri in "Whirlwind White" ($5.97), let dry, paint nine nails with Essie "Go Overboard" (navy blue, $9), let dry. On the accent nail, use a medium dotting tool with coral polish (any drugstore coral works) to place five dots in starfish shape, then use a toothpick to drag slight indents at dot centers while wet to mimic starfish texture.
The starfish reads clearly when dots are 2mm apart — closer looks like a blob, farther looks disconnected. Use a dotting tool that's roughly 1.5-2mm diameter (Winstonia 5-piece set, $6.99, includes this size).
Works on any nail length. Thumb or ring finger work best as accent nails for this design. Total time: 40 minutes including base coat on all nails, color on nine nails, accent nail detail work (5 minutes), and top coat.
Pearl-Finish Aqua
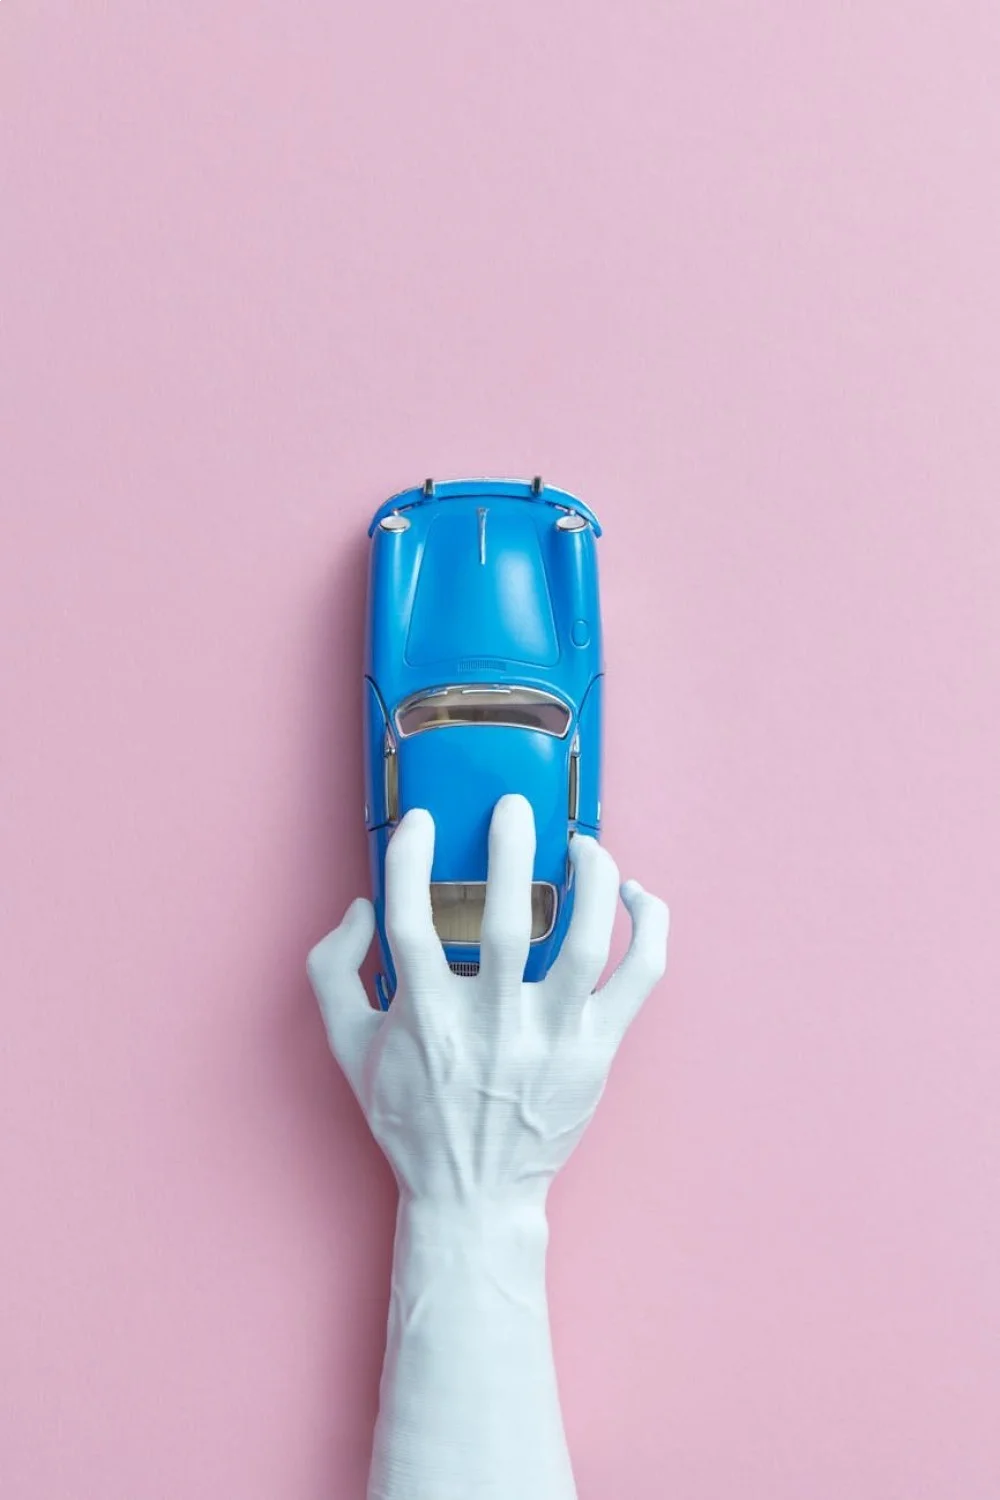
Pearl finishes differ from chrome — they show subtle color shift rather than mirror reflection. Essie "Bikini So Teeny" ($9) gives this finish in one bottle without powder application, making it the easiest technique here. Three thin coats over Essie First Base ($9) base coat creates full coverage with soft shimmer that shifts from aqua to mint depending on angle.
Application technique affects pearl finishes more than most polishes. Thick coats show brush strokes; thin coats layer translucently. Each coat needs full drying (3 minutes minimum) or the next coat drags and creates bald spots.
Works beautifully on short nails where the color shift shows across the entire visible surface. Short nail designs often benefit from single-color treatments like this rather than complex art. Time required: 35 minutes including base coat, three thin color coats (3 minutes dry time between each), and top coat.
Matte Seafoam
Matte top coats transform standard finishes into soft, beachy textures. Paint nails with any seafoam shade — Zoya "Lillian" ($10) works well — cure or dry completely, then apply Essie Matte About You top coat ($9.50) in one smooth stroke per nail without going back over it. Going over matte top coat while wet creates shiny streaks.
Matte finishes show imperfections more than glossy ones. Any dust, lint, or air bubbles in the base color show clearly through matte top coat, so apply base color in a clean space and wait until polish fully hardens before matte coating. More matte design ideas appear in our matte nail designs guide.
Adapts to any nail length and shape. The finish reads modern and sophisticated across all styles. Total time: 30 minutes including base coat, color (two coats), full drying period (10 minutes — rushing this causes problems), and matte top coat.
Key Finding: Matte top coats require fully cured base color and single-stroke application to avoid streaking and texture issues — Sally Hansen Professional Application Guide
Ombre Coral Reef
This uses three colors — coral, orange, and hot pink — sponged in vertical bands to mimic coral reef colors. Apply white base (Essie "Blanc," $9) for color vibrancy, dry 3 minutes, then sponge Sally Hansen Insta-Dri in "Coral Collage" ($5.97) at cuticle, "Peach Punch" in the middle, and "Fuchsia Flare" at tip using a damp makeup sponge cut into three sections.
The sponge technique detailed by OPI's ombre tutorial recommends painting polish directly onto the sponge in bands, then rolling the sponge from cuticle to tip. This uses less polish than painting nails first.
Works on any nail length. Vertical ombre elongates short nails visually better than horizontal gradients. Time needed: 65 minutes including white base, drying, sponge preparation (5 minutes to paint sponge sections), application to all nails (15 minutes), cleanup around cuticles with a cleanup brush dipped in acetone, and top coat.
Simple Wave Lines
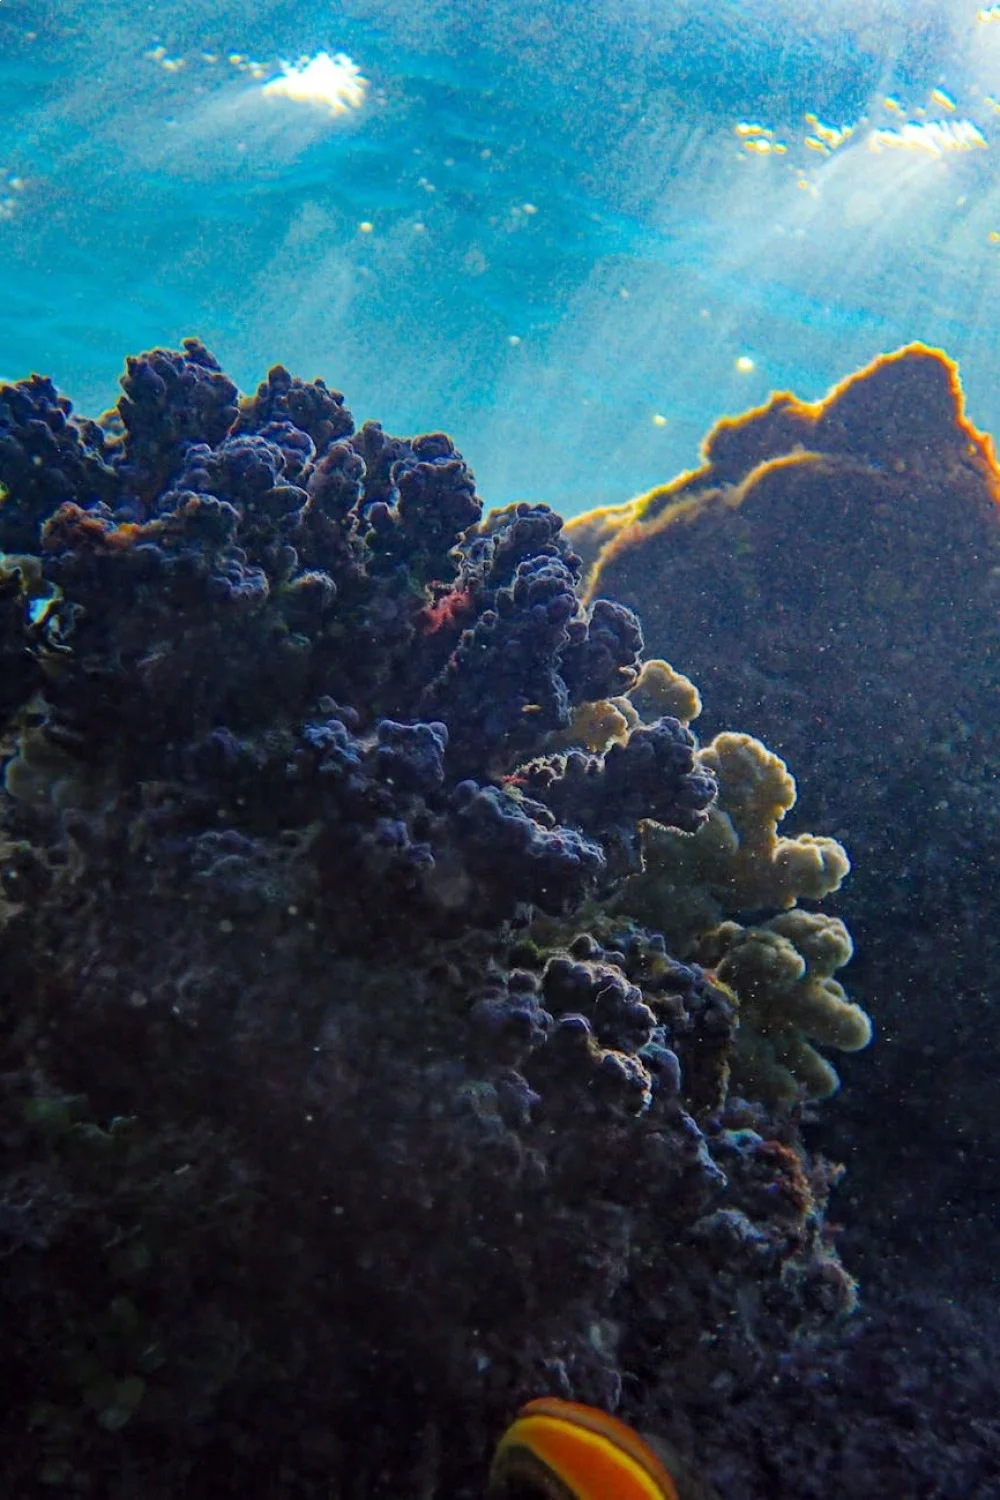
Minimalist curved lines over nude base give ocean waves without fussy detail. Paint nails with any nude-pink polish, dry completely, then use a thin striping brush (Winstonia 7mm striping brush, $4.99) with navy gel or regular polish to paint two gentle S-curves across each nail horizontally. The curves should be 2-3mm apart and flow naturally — not parallel straight lines.
Brush control matters more than polish type here. Regular polish works fine if your brush is thin enough (1mm width maximum). Gel polish gives slightly cleaner lines because it doesn't flow after placement, but requires UV cure.
Scales to any nail length. Short nails should use one wave line rather than two to avoid crowding. Time required: 45 minutes including nude base, drying (5 minutes), line work (15 minutes to get smooth curves on all nails), and top coat.
Sea Glass Shards
This technique uses irregular pieces of colored cellophane or foil to mimic tumbled sea glass. Paint nails with sheer white-blue base (OPI "It's a Boy," $10.50), let dry 2 minutes, apply clear top coat, immediately press small irregular pieces of teal and seafoam cellophane ($3.99 for mixed sheet pack on Amazon) into wet top coat using tweezers, let dry 10 minutes, seal with second top coat layer.
Cellophane works better than foil for this because it's translucent — light passes through like real sea glass. Cut irregular shapes with scissors, roughly 3mm x 5mm pieces. Uniform shapes look artificial.
Best on medium to long nails where multiple shards fit without crowding. Short nails should use 1-2 shards maximum per nail. Time needed: 55 minutes including base color, first top coat, shard placement (10 minutes to position pieces), drying, and final top coat seal.
Anchor Stamping
Stamping creates clean nautical details without hand-painting. Use clear jelly stamper from Born Pretty ($5.99), pick up design from Winstonia nautical stamping plate W106 ($6.99), then roll stamp onto nail painted with light base color. Sally Hansen Insta-Dri in "Lively Lilac" ($5.97) works as base; Konad Special stamping polish in black ($6.50) transfers cleanly.
Stamping polish consistency determines success more than technique. Regular polish is too thin; stamping polish stays thick enough to transfer detailed designs. The scraper angle matters — 45 degrees captures all design details, flatter angles miss fine lines.
Works on any nail length. Smaller stamps fit short nails; longer nails can handle larger anchor designs. Total time: 50 minutes including base color on all nails (10 minutes), drying, stamping each nail (20 minutes with cleanup between nails), and top coat. More beginner stamping guidance appears in Sally Hansen's nail art tutorials.
Turquoise Stone Effect
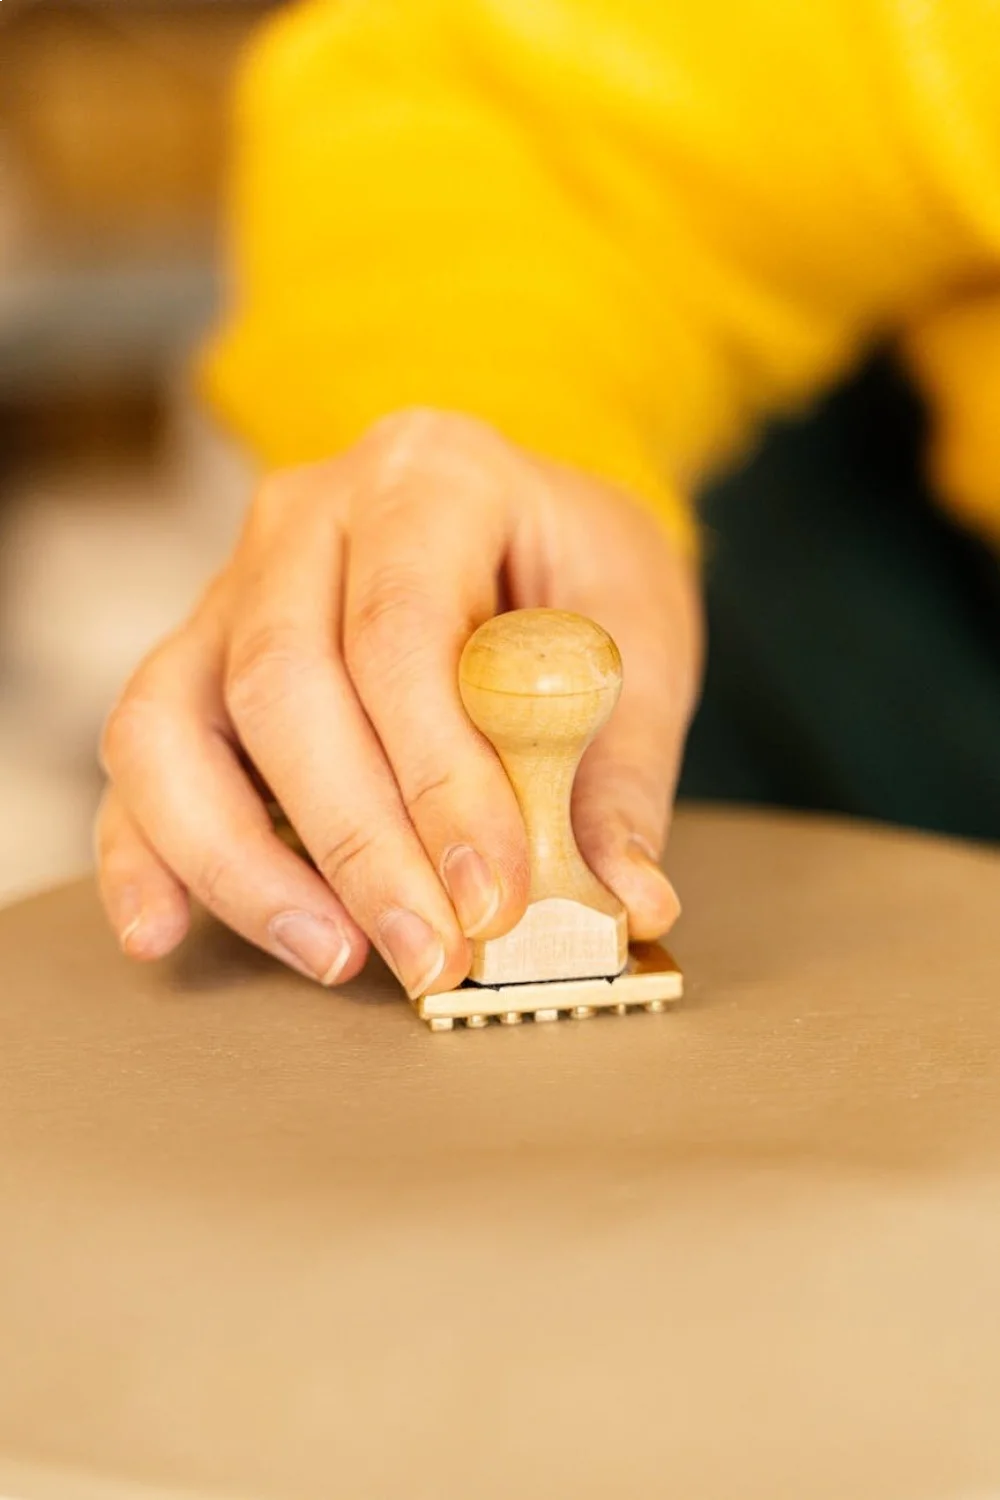
This mimics turquoise gemstone using sponge dabbing technique. Paint nails with white base, dry, then use torn makeup sponge pieces to dab OPI "Fly" (turquoise, $10.50) irregularly across the nail, creating cloudy color patches. While wet, use a thin brush with black acrylic paint to add irregular veining lines through the turquoise areas, let dry, then top coat.
The stone effect needs irregular color distribution — even coverage looks like regular polish, not stone. Tear your sponge into rough pieces rather than cutting clean edges for more organic dabbing texture.
Scales to any nail length. Short nails can show stone effect in miniature; it reads clearly even on small surfaces. Time needed: 70 minutes including white base, drying, sponge dabbing (15 minutes for uneven natural effect), veining detail work (10 minutes), paint drying, and top coat.
Quick Reference Comparison Table
| Design | Difficulty | Time Required | Best Nail Length | Key Product |
|---|---|---|---|---|
| Translucent Wave Ombre | Beginner | 60 min | Any | Essie Gel Couture "All Access Pass" ($11.50) |
| Textured Sand Tips | Intermediate | 45 min | Medium-Long | Born Pretty Sand Powder ($3/10g) |
| Chrome Sunset Gradient | Advanced | 90 min | Medium-Long | Born Pretty Chrome Powder ($4.99/1g) |
| Micro Seashell Decals | Beginner | 35 min | Any | Winstonia Decal Sets ($3.99) |
| Negative Space Waves | Intermediate | 55 min | Any | Striping Tape Roll ($2.99) |
| Jellyfish Art | Advanced | 75 min | Medium-Long | Liquitex Acrylic Paint ($4.99) |
| Foil Flake Ocean | Beginner | 50 min | Any | Born Pretty Foil Pack ($2.99) |
| Starfish Accent | Beginner | 40 min | Any | Winstonia Dotting Set ($6.99) |
| Pearl-Finish Aqua | Beginner | 35 min | Any | Essie "Bikini So Teeny" ($9) |
| Matte Seafoam | Beginner | 30 min | Any | Essie Matte About You ($9.50) |
| Ombre Coral Reef | Intermediate | 65 min | Any | Sally Hansen Insta-Dri Multi-Pack ($18) |
| Simple Wave Lines | Intermediate | 45 min | Any | Winstonia Striping Brush ($4.99) |
| Sea Glass Shards | Intermediate | 55 min | Medium-Long | Cellophane Sheet Pack ($3.99) |
| Anchor Stamping | Intermediate | 50 min | Any | Winstonia Plate W106 ($6.99) |
| Turquoise Stone Effect | Advanced | 70 min | Any | OPI "Fly" ($10.50) |
Choosing the Right Design for Your Situation
Your nail length and lifestyle determine which designs work. Short nails under 3mm free edge should avoid textured sand tips and sea glass shards — both need space to show properly. Stick with pearl finishes, matte looks, simple wave lines, or micro decals instead.
If you're heading on vacation and need durability, read our vacation nails guide for wear-extending prep steps, but generally: chrome over gel lasts longest (8-10 days), regular polish with texture additions chips fastest (3-5 days), and stamped designs fall in the middle (6-7 days).
Gel systems require UV lamps and specific removal processes detailed in our gel nail removal guide, but provide significantly longer wear. If you don't own a lamp, focus on the ten designs here that use regular polish: translucent ombre, sand tips, micro decals, negative space waves, foil flakes, starfish accent, pearl finish, matte seafoam, wave lines, and stamping.
Budget considerations: complete a design using supplies you already own rather than buying every recommended product. Most designs adapt to different color families — coral reef ombre works in blues, turquoise stone works in coral tones, wave lines work in any contrasting shade. The technique matters more than exact product matching.
Skill progression: start with beginner designs (decals, pearl finish, matte) before attempting intermediate techniques (sponging, stamping, striping tape). Advanced designs (jellyfish detail, chrome, turquoise veining) require specific brush control that develops through practice. Most people need 3-5 attempts at any new technique before results match expectations.
For related summer options beyond ocean themes, check our summer nail colors guide or browse the full nail art ideas collection.
Maintaining Beach Nails Through Summer Activities
Ocean water, chlorine, and sun exposure all affect nail art longevity. Saltwater softens polish edges faster than freshwater — expect 2-3 days less wear if you're swimming in the ocean daily. Chlorine yellows white and light-colored polishes; use a UV-protectant top coat like Essie Speed Setter ($9.50) for pool vacations.
Reapply top coat every 2-3 days to seal edges and prevent chipping. This adds 2-4 days of wear to most designs. The free edge chips first because it experiences the most impact — cuticle oil application keeps polish flexible and less prone to cracking from repeated water exposure.
Textured designs (sand tips, stone effects) trap moisture and bacteria more easily than smooth finishes. If you notice lifting at edges, remove the manicure fully rather than letting water seep underneath — trapped moisture can lead to nail bed issues. Our nail care guide covers proper removal and nail health maintenance.
Keep nails slightly shorter during active beach weeks. Longer nails chip faster during swimming, kayaking, and other water activities. Even 1-2mm shorter makes a noticeable durability difference.
What Makes a Beach Design Work in 2026
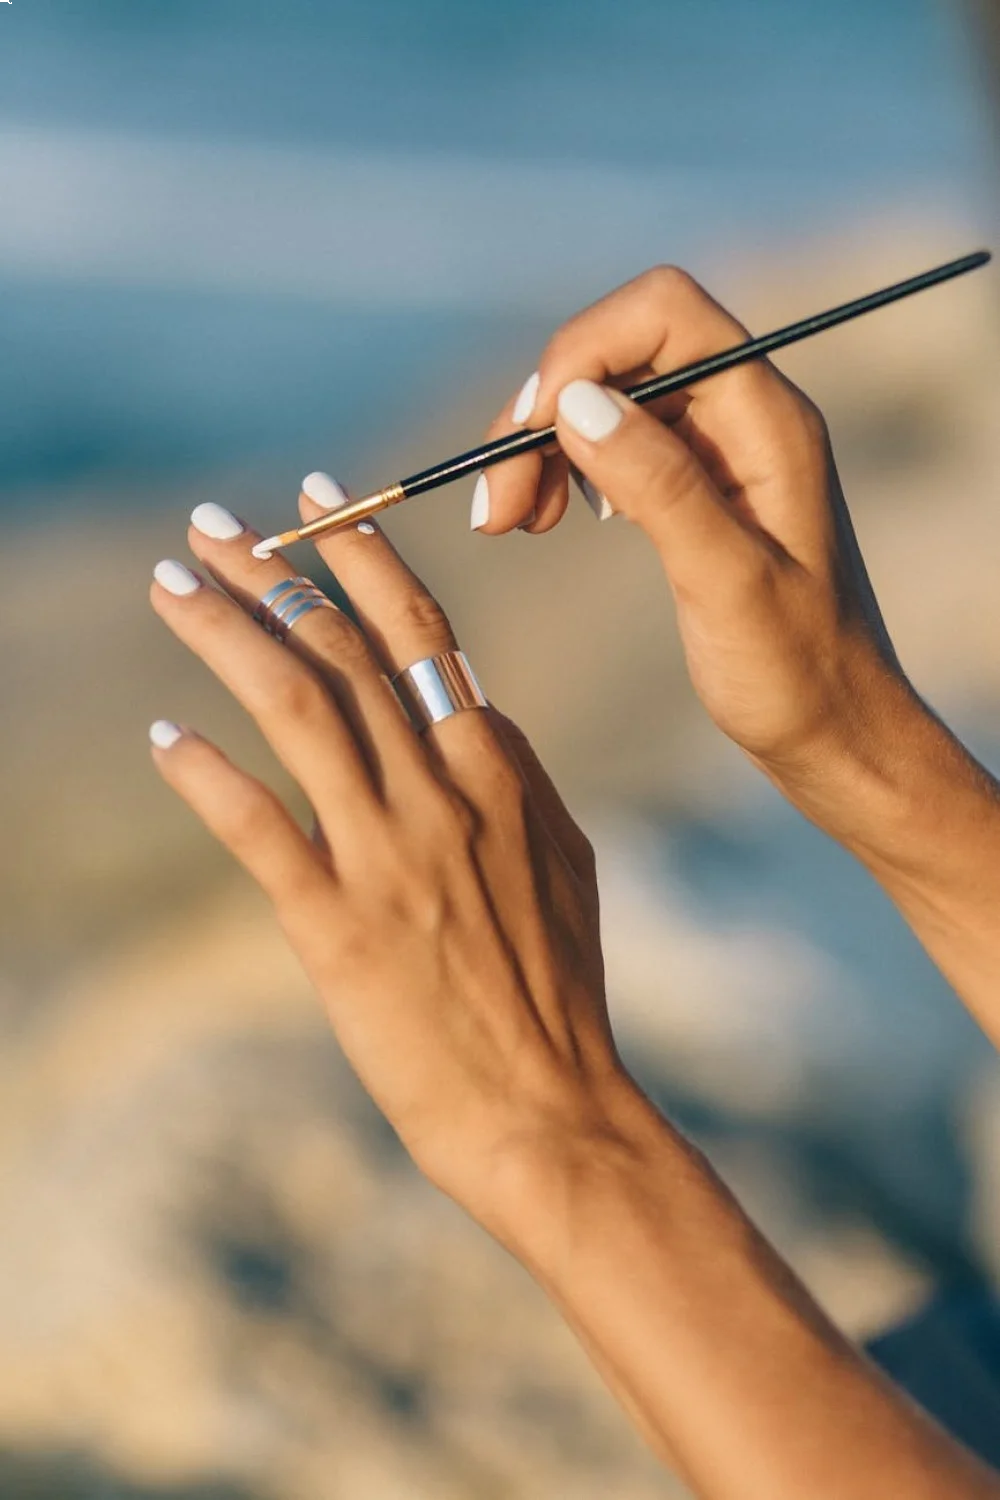
The nail industry for Summer 2026 shows a clear shift toward translucent finishes and dimensional techniques over flat, opaque colors. The jelly polish resurgence, visible across salon Instagram content since late 2025, stems from improved formulas that build opacity without losing transparency — brands like Essie, OPI, and Zoya now offer jelly lines that layer cleanly in three coats.
The texture trend extends beyond glitter. Fine-grit additives, chrome powders, and irregular foil pieces create dimension that photographs well under natural light, which explains their social media traction. These techniques offer the visual interest of 3D nail art without the bulk that snags clothing.
Matte finishes cycle back into trend roughly every three years; 2026 marks a peak year based on Allure's nail trend coverage tracking runway and editorial work. The current iteration pairs matte with soft, muted ocean tones rather than bright neons.
DIY accessibility determines design longevity. Techniques requiring specialized expensive tools (airbrush systems, complex encapsulation) gain traction in professional settings but don't translate to home enthusiasts. The 16 designs here use supplies available at Ulta, Sally Beauty, or Amazon for under $50 total investment.
Building Your Beach Nail Supply Kit
A basic beach nail kit needs fewer products than you think. Start with these essentials:
Base and top coats: Essie First Base ($9) and Seche Vite top coat ($9.50) — these work across all designs here
Core colors: one sheer aqua jelly polish (Essie Gel Couture "All Access Pass," $11.50), one navy or teal (Essie "Go Overboard," $9), one white (Essie "Blanc," $9), one coral (any drugstore brand, $4-6)
Application tools: 5-piece dotting tool set ($6.99), thin striping brush ($4.99), makeup sponges ($3 for pack), tweezers you already own
Specialty items: Choose based on which designs interest you most. Chrome powder ($4.99), stamping supplies ($15-20 for stamp and plate), or texture additives ($3-6) each open specific design possibilities but aren't universally needed.
Total investment for core kit: approximately $50-60. This completes 10 of the 16 designs listed above. Add specialty items as you master basic techniques.
Store polish properly to extend life: keep bottles upright in cool, dark locations away from direct sunlight. Most polishes last 18-24 months before formula separation affects application quality. If polish thickens, polish thinner (not acetone) restores consistency — available at beauty supply stores for $3-5 per bottle.
Design Combinations for Vacation Nails
Mix techniques across nails rather than repeating one design on all ten fingers. Try pearl-finish aqua on eight nails with starfish accent on two nails, or matte seafoam on nine nails with one foil flake accent. This creates visual interest without overwhelming the overall look.
For week-long beach trips specifically, combine durable techniques: gel-based chrome on eight nails stays intact through swimming while regular polish accents on two nails can be touched up mid-week if needed. This hybrid approach appears in our vacation nails collection with specific product recommendations.
If you're attending summer events, coordinate with other seasonal designs. Fourth of July incorporates red, white, and blue ocean themes; Memorial Day uses similar palettes. See our Fourth of July nails and Memorial Day nails guides for color crossover ideas.