Back to School Nails 2026: 15 Easy Designs for Students
Back to school nails for 2026 center on minimalist, durable designs that align with most school dress codes while allowing personal expression.
 Mia Chen
Back to school nails for 2026 center on minimalist, durable designs that align with most school dress codes while allowing personal expression. From simple French tips and geometric accents to school-color coordination and subtle glitter details, these 15 designs require minimal tools and can be completed at home in under 30 minutes each.
- Short to medium nail lengths in squoval or oval shapes resist chipping during school activities
- Most designs use regular polish with a quality top coat for durability lasting five to seven days
- Budget-friendly options require only base coat, two color polishes, and dotting tools or tape
- School-appropriate designs avoid extreme length, 3D embellishments, and overly bold graphics
Selection Methodology for Student-Friendly Designs
Selecting nail care with practical considerations means prioritizing durability for student lifestyles. Each design featured here was selected based on three core criteria: time efficiency (30 minutes or less application), accessibility (achievable with drugstore tools), and compliance with typical school dress codes that restrict extreme lengths or distracting embellishments. According to Allure's easy nail art guide, beginner-friendly designs that focus on strategic color placement rather than intricate freehand painting have the highest success rate for DIY application.
The designs emphasize durability factors critical for students juggling sports, typing, and daily wear. Based on guidance from Byrdie's manicure longevity research, proper nail preparation and quality top coat application remain the most important factors in extending wear time. Each design includes specific product recommendations and timing details to support successful at-home execution.
Classic French Tips with a Twist
The updated French manicure for 2026 replaces stark white tips with softer neutrals or school colors, making it appropriate for even the strictest dress codes. This design works on natural nails trimmed to a short squoval shape, which provides the most flattering canvas while minimizing breakage during note-taking and keyboard use.
Application takes approximately 20 minutes using Essie's "Limo-Scene" as the nude base and "Marshmallow" for tips, both available at drugstores for $9-10 per bottle. The key technical detail most tutorials skip: paint the tip color in three strokes (center, then each side) rather than attempting a single swipe, which creates uneven coverage. For students without steady hands, Sally Hansen Insta-Dri French Mani Pen ($7.99) provides a foolproof guideline that self-corrects minor wobbles.
Durability reaches seven to nine days when sealed with Seche Vite Dry Fast Top Coat, which dries to a hard finish in 60 seconds under room temperature conditions. The French tip design naturally camouflages tip wear better than solid colors, making it ideal for students who cannot touch up mid-week.
Key Finding: Proper nail preparation, including dehydrating and base coat application, is the most important factor in DIY manicure longevity — Essie Professional Guidance
Simple Stripe Accent Design
Single-stripe accent nails deliver visual interest without violating school policies against "distracting" nail art. This design uses striping tape ($3.99 for a multi-color pack at Sally Beauty) to create crisp lines that would be nearly impossible to paint freehand for beginners.
The technique requires a nude or pale pink base (OPI "Bubble Bath" is the industry standard at $10.50) with one contrasting stripe down the center of the ring finger only. Apply two coats of base color, wait three minutes for surface drying, then press striping tape firmly down the nail center. Paint over the entire nail with the accent color (navy, burgundy, or forest green work well for school), wait 90 seconds, then carefully peel the tape away at a 45-degree angle to reveal the clean stripe.
Common failure mode: pulling tape too soon while polish is wet causes smearing. The polish needs to be dry to touch but not fully cured. Students working in humid conditions above 70% relative humidity should extend wait time to two minutes before tape removal, as moisture slows surface drying significantly.
Minimalist Dot Accent Nails
Dotting tools ($4.99 for a five-piece set from Amazon Basics) enable perfectly round accents that elevate a simple manicure without requiring artistic skill. The most school-appropriate version places three small dots in descending size along the base of one accent nail per hand.
Technical execution: apply base color to all nails, cure completely (wait five minutes), then dip the smallest dotting tool into contrasting polish and touch perpendicular to the nail surface. Lift straight up without dragging. The dots should be placed while base color is fully dry to prevent color mixing or dragging.
For students on tight budgets, bobby pins and toothpicks function as adequate dotting tool substitutes, though the size consistency will be less precise. This design takes 15 minutes total and uses minimal product—a single accent color bottle will last through an entire school year of weekly applications. Essie's "Licorice" black or "Good as Gold" metallic both provide enough opacity for clean dots in a single dip.
School Colors Coordination
Matching nail polish to school colors demonstrates spirit while staying within dress code parameters. The most effective approach uses a neutral base with accent nails in one school color rather than painting every nail in team colors, which can read as too bold for classroom settings.
For schools with multiple colors (like blue and gold or red and white), alternate the accent color between hands rather than using both colors on each hand. Apply the neutral shade (beige, soft gray, or blush pink) to the thumb, index, middle, and pinky, then paint the ring finger in the school's primary color. This creates visual interest while maintaining sophistication.
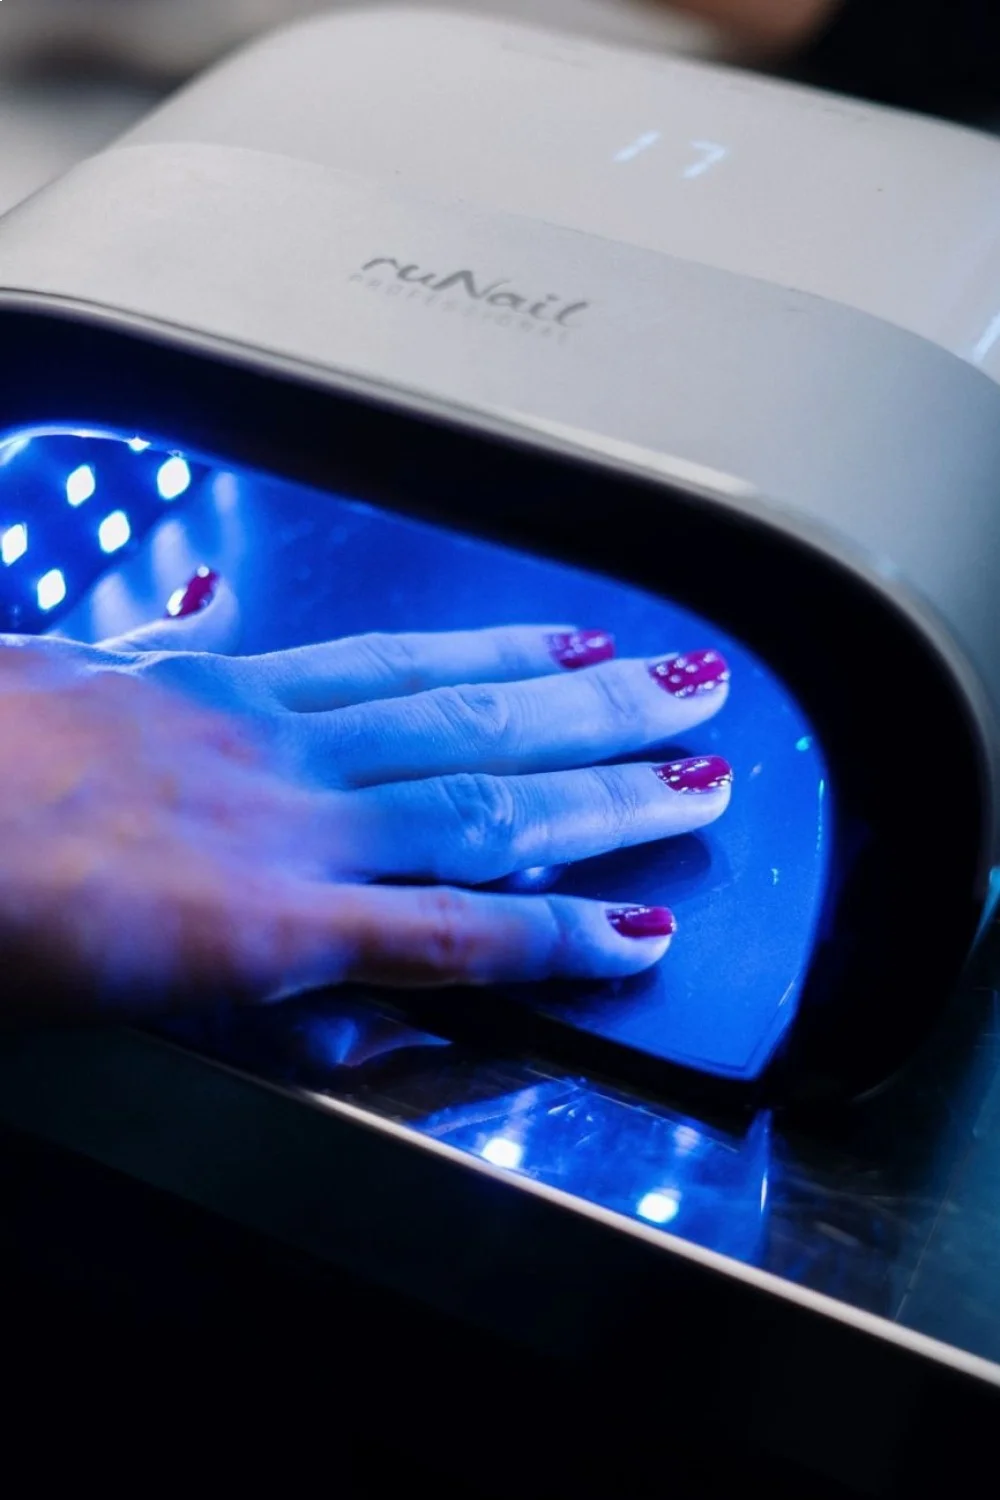
Product durability matters significantly for designs intended to last through game days and pep rallies. Gel polish formulations provide two to three weeks of chip-free wear but require UV lamp curing ($25-40 for entry-level lamps). For students without gel equipment, OPI Infinite Shine polish ($12.50) uses a unique resin technology that extends regular polish wear to seven days without UV curing requirements.
Subtle Glitter Gradient
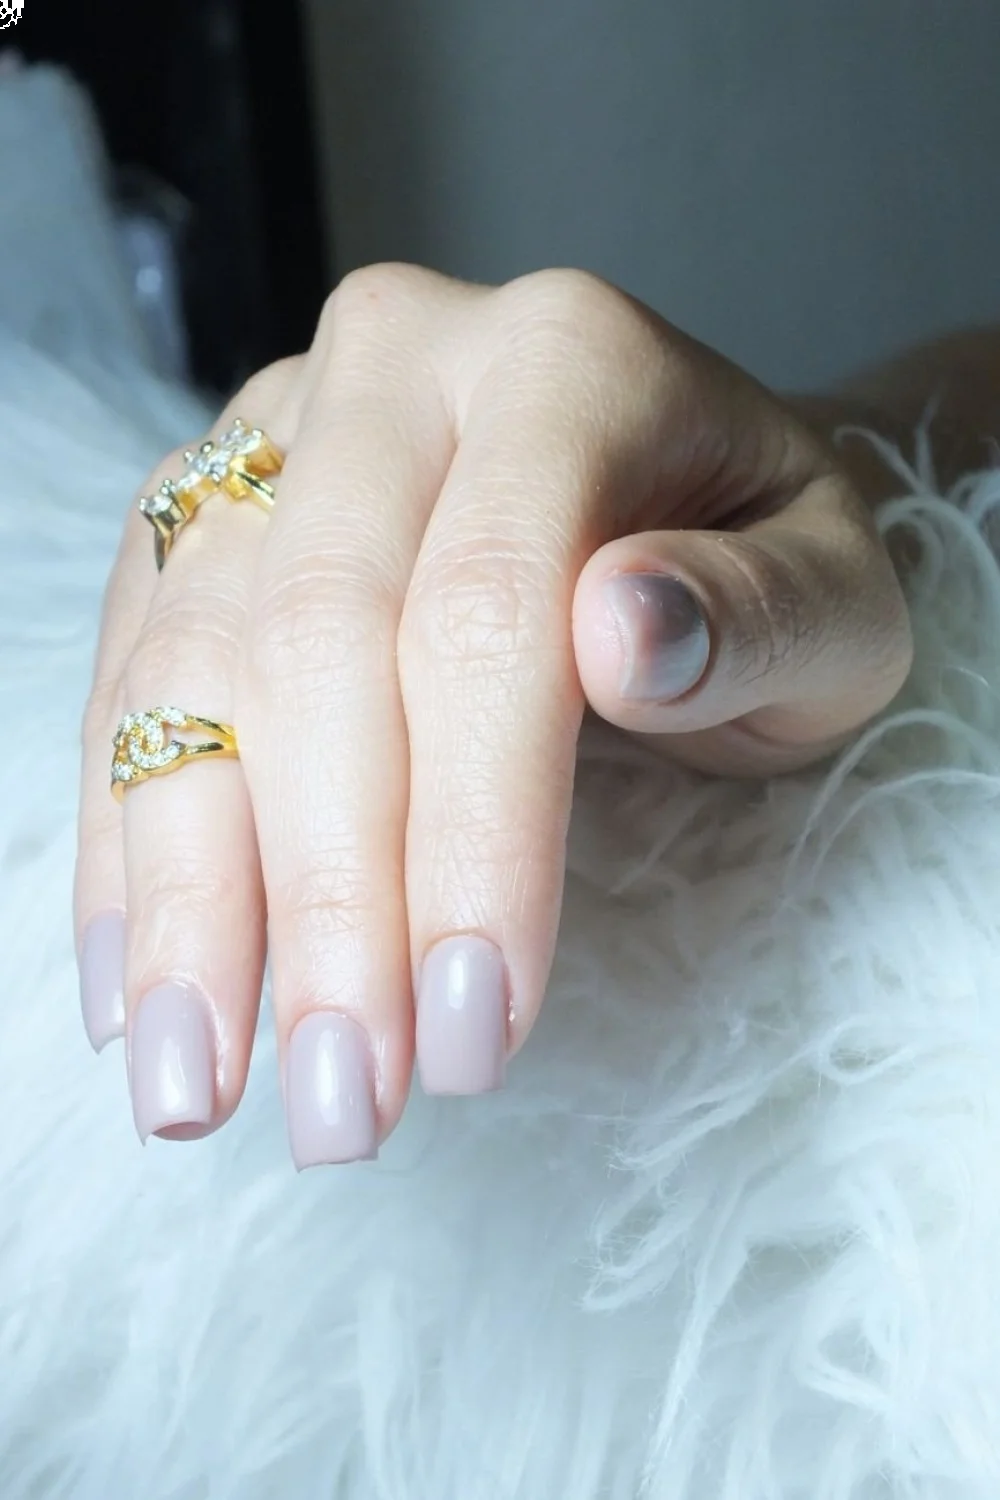
Glitter applied only to the nail tips creates a sophisticated gradient effect that most school dress codes permit, as it avoids the "full coverage glitter" look often restricted in academic settings. This design works best over a nude or pale pink base that allows the glitter to shine without color competition.
The technique uses a makeup sponge (any drugstore brand works) to dab glitter polish progressively from tip to mid-nail. Apply two coats of nude base and dry completely. Pour a small amount of glitter polish (Essie's "Set in Stones" or Sally Hansen "I Like Your Sparkle") onto a disposable surface, dip the sponge corner, and press gently onto the nail tip. Repeat with progressively lighter pressure as you move toward the cuticle, creating a fade effect.
Critical detail for longevity: glitter formulas require thicker top coat application than regular polish. Apply two layers of top coat, waiting two minutes between each, to seal glitter particles and prevent the rough texture that catches on clothing. China Glaze "Fast Forward" top coat ($7.50) specifically formulates for glitter coverage with a thicker viscosity than standard top coats.
Half-Moon Negative Space Design
Negative space designs leverage the natural nail as part of the design rather than covering it completely, reducing both application time and polish consumption. The half-moon style leaves a semi-circle of bare nail at the cuticle area, creating a modern reverse French effect.
Execution requires hole-reinforcement stickers (the office supply type, $2.99 per pack) as guides. Apply base coat to bare nails and cure fully. Press the reinforcement sticker firmly against the nail, positioning the curved edge about 2mm from the cuticle. Paint the exposed nail area with color (two coats), wait 90 seconds for surface setting, then gently peel away the sticker.
The natural nail portion needs protection despite being polish-free. Apply a thin layer of clear base coat over the entire nail, including the negative space, before adding top coat. This prevents yellowing of the exposed nail area and provides consistent shine across the design. Total application time runs 25 minutes including drying intervals.
Single Color Matte Finish
Matte top coats transform any regular polish into a sophisticated, non-shiny finish that reads as more subtle in classroom settings while maintaining full color saturation. This approach works particularly well for students whose schools permit colored nails but discourage "flashy" or "distracting" shine.
The process requires any standard polish application followed by a matte top coat instead of glossy. Essie's "Matte About You" ($9.50) and OPI Matte Top Coat ($10.50) both convert glossy polish within 60 seconds of application. The critical technical detail: matte top coats reveal brush strokes and application errors more obviously than glossy finishes, so polish coats must be thin and even.
For design variation, combine matte and glossy finishes on different nails—matte on the majority with one glossy accent creates dimension without additional colors. This technique extends a single polish bottle's versatility significantly. More matte nail design options demonstrate how finish variation creates visual interest without complex application techniques.
Key Finding: Air-dry polishes struggle in humidity above 70%, while gel systems bypass evaporation dependency through UV curing — Ulta Beauty Professional Resources
Thin Horizontal Stripe Detail
A single horizontal stripe across the center of each nail creates a minimalist design achievable with standard striping tape or a steady hand using a thin brush. Unlike vertical stripes that require symmetrical placement, horizontal stripes self-center across the nail width.
Application takes 18 minutes using a base color, contrasting stripe color, and standard striping tape technique. The stripe should be positioned at the nail's widest point (typically two-thirds up from the cuticle) for optimal visual balance. For students without tape, extra-fine brushes ($6.99 for a set of three at craft stores) allow freehand application, though expect the first few attempts to wobble slightly.
Color pairing matters for school-appropriateness. Neutral base with metallic stripe (rose gold, silver, or bronze) reads as sophisticated rather than flashy. Essie "Penny Talk" copper and Sally Hansen Insta-Dri "Flare" silver both provide opaque coverage in a single brushstroke, critical for stripe work where multiple coats aren't practical.
Geometric Triangle Accent
Single triangle accents placed at the nail base create a contemporary geometric look using only scotch tape as a guide. This design works best on one or two accent nails per hand to maintain school-appropriateness.
The technique requires two colors plus tape. Apply the lighter shade as base color across all nails. On accent nails, position two small pieces of tape in a V-shape meeting at the cuticle center, creating a triangle of exposed base color. Paint the contrasting (typically darker) shade over the tape and exposed areas. Wait 90 seconds, then remove tape at a 45-degree angle.
Failure mode specific to this design: tape lifting the base color underneath when removed. Prevent this by ensuring the base color cures fully—wait at least five minutes after base color application before applying tape. For additional insurance, run a clean fingertip over tape edges to seal them before painting the second color. The triangle should be small (3-4mm per side) to avoid overwhelming shorter nail lengths common among students.
Ombré Two-Tone Effect
Ombré gradients between two similar-toned colors create dimension without the complexity of rainbow blending. For school settings, neutral ombré (cream to taupe, or blush to mauve) maintains dress code compliance while demonstrating technique skill.
The makeup sponge method works best for beginners. Paint alternating vertical stripes of both colors on a disposable surface, press the sponge into the polish, then dab repeatedly onto the nail in a rolling motion. Each dab blends the colors slightly more. The key detail most tutorials omit: the sponge needs to be slightly damp (mist with water and squeeze out excess) to prevent absorbing too much polish before it reaches the nail.
Expect to use significantly more polish for ombré than solid color applications—roughly double. OPI mini bottles ($6.75 for 3.75ml) provide cost-effective options for trying color combinations without committing to full bottles. This design takes 25 minutes including cleanup and requires acetone and a small brush for skin cleanup around cuticles. Total material cost for first attempt runs $18-22 including sponges and cleanup supplies.
Cuticle-Line Metallic Detail
A thin metallic line painted along the cuticle edge adds polish to solid color manicures without requiring artistic skill. This design works particularly well for students with steady hands but limited time.
Application requires a nude or solid color base (two coats, fully dried) and a metallic polish in a contrasting shade. Using a thin detail brush or the polish bottle's own brush wiped nearly clean, paint a curved line following the natural cuticle shape approximately 1mm from the skin. The line should be thin—about the width of a mechanical pencil lead.
Technical precision matters here. Paint the line in one continuous stroke from one side to the other rather than attempting to "draw" it in sections, which creates visible start-stop points. If the hand wobbles, immediately wipe away with a cotton swab dipped in acetone and retry after 30 seconds of drying time. Sally Hansen's "Insta-Dri" metallics ($5.99) work well for this application because they're thin enough to flow smoothly but opaque enough to show in a single stroke. For students interested in cuticle health alongside design work, proper cuticle maintenance creates a cleaner canvas for these detail-oriented styles.
Polka Dot Accent Nail
Full polka dot coverage on a single accent nail creates playful energy while keeping the overall look professional. Unlike scattered dots, uniformly sized and spaced dots require a systematic approach that beginners can master.
The technique uses a dotting tool and a grid-like mental map. Apply base color to all nails. On the accent nail (ring finger is traditional), place the first dot at the center. Then place four dots around it in compass positions (north, south, east, west) at equal distances. Fill remaining spaces with additional dots, maintaining consistent spacing. Each nail takes three to five minutes of dot placement.
Color contrast determines whether this design reads as "playful" or "childish." Navy base with white dots or burgundy with rose gold dots maintain sophistication appropriate for high school and college. Avoid primary color combinations (red with yellow dots, blue with orange dots) which trend too young for most academic settings. A single accent nail costs virtually nothing in polish since dots consume minimal product.
Neutral Ombré with White Tips
Combining ombré technique with French tip styling creates a dimensional design that photographs well for social media while remaining school-appropriate. This hybrid design works best on slightly longer nails but adapts to short lengths by reducing the ombré zone.
Execute this by creating a nude-to-white ombré effect using the sponge method across the entire nail, which naturally creates a French-tip effect as the white concentrates at the free edge. The gradient should transition from nude at the cuticle to pure white at the tip over the nail's length. This takes 30 minutes including drying time between the ombré application and top coat.
For students working within tight budgets, this design maximizes visual impact from minimal supplies—only two polishes needed plus makeup sponges. OPI "Alpine Snow" white ($10.50) and any nude shade create the classic version, but the white can be swapped for pale pink (Essie "Fiji") or champagne shimmer for variation. The ombré technique naturally disguises tip wear, making this design last longer between touch-ups than solid colors.
Single Rhinestone Accent
One small rhinestone placed at the base center of each ring finger adds subtle sparkle without violating dress codes that prohibit "excessive embellishments." The key word is "single"—multiple rhinestones per nail typically cross into restricted territory.
Application requires a base color, clear top coat, rhinestones ($4.99 for 1000-piece mixed set), and a toothpick or tweezers. Apply base color to all nails and dry completely. Place a small dot of top coat at the desired rhinestone position, use the toothpick to pick up a rhinestone (it will stick to the moist toothpick tip), and position it into the wet top coat. Press gently with a dry fingertip to set. Wait two minutes, then apply top coat over the entire nail, including over the rhinestone to seal edges.
Longevity challenges: rhinestones pop off within three to five days without proper sealing. Apply a second layer of top coat 24 hours after the first application, building coverage around the rhinestone edges. The small 2mm size rhinestones stay secure longer than larger sizes because they have less surface area to catch on objects.
Watercolor Wash Effect
Watercolor nail art creates an artistic, hand-painted appearance using regular polish thinned with acetone. This technique produces unique results each time, making it ideal for students seeking individualized designs.
The method requires a white or very pale base (two coats, fully dry), regular polish in two to three coordinating colors, pure acetone, a small dish, and a thin brush. Mix one drop of colored polish with two drops of acetone in the dish to create a translucent "wash." Paint irregular patches of the thinned polish onto the nail using light strokes, allowing colors to blend where they overlap. Work quickly as acetone evaporates rapidly.
Color selection determines school-appropriateness. Soft pastels (lavender, mint, pale coral) create a subtle watercolor effect suitable for conservative dress codes, while deeper jewel tones read as more dramatic. The entire process takes 20 minutes but requires good ventilation due to acetone fumes—work near an open window. Seal with two coats of top coat to protect the delicate watercolor layer, waiting three minutes between top coat applications.
Back to School Nail Design Quick Reference
| Design | Time Required | Difficulty Level | Key Supplies | Average Cost | Dress Code Safe |
|---|---|---|---|---|---|
| Classic French Tips | 20 min | Easy | Nude polish, white/neutral tip color, top coat | $25-30 | Yes |
| Simple Stripe Accent | 22 min | Easy | Base color, accent color, striping tape | $18-24 | Yes |
| Minimalist Dots | 15 min | Very Easy | Two polishes, dotting tools or bobby pin | $15-20 | Yes |
| School Colors | 18 min | Easy | Neutral base, school color polish | $20-25 | Yes |
| Glitter Gradient | 25 min | Moderate | Nude base, glitter polish, makeup sponge, thick top coat | $24-30 | Usually |
| Half-Moon Negative Space | 25 min | Moderate | Base coat, color polish, reinforcement stickers | $16-22 | Yes |
| Matte Single Color | 15 min | Very Easy | Any polish, matte top coat | $18-23 | Yes |
| Horizontal Stripe | 18 min | Easy | Two colors, striping tape or thin brush | $20-26 | Yes |
| Geometric Triangle | 23 min | Moderate | Two colors, scotch tape | $17-22 | Yes |
| Two-Tone Ombré | 25 min | Moderate | Two similar colors, makeup sponge, cleanup supplies | $24-30 | Yes |
| Cuticle-Line Detail | 20 min | Moderate | Base color, metallic polish, thin brush | $22-28 | Yes |
| Polka Dot Accent | 22 min | Easy | Two colors, dotting tool | $16-22 | Yes |
| Neutral Ombré French | 30 min | Moderate | Nude polish, white polish, makeup sponge | $22-28 | Yes |
| Single Rhinestone | 20 min | Easy | Base color, rhinestones, top coat, tweezers | $18-24 | Usually |
| Watercolor Wash | 20 min | Moderate | White base, 2-3 colors, acetone, thin brush | $20-28 | Usually |
How to Choose Your Back to School Nail Design
Selecting the right design requires evaluating three factors: your school's specific dress code, your available time for maintenance, and your current skill level. Most schools publish grooming policies in student handbooks that specify nail length restrictions (typically requiring nails to extend no more than a quarter-inch beyond the fingertip) and may prohibit specific colors, extreme length, or 3D embellishments.
For students completely new to nail art, start with designs rated "Very Easy" or "Easy" in the reference table above. These require minimal tools and forgive minor application errors. Dots, single stripes, and solid colors with matte finish provide the highest success rate for first attempts. As technique improves, progress to "Moderate" designs involving tape work or gradient blending.
Time availability matters significantly. Students involved in sports, band, or activities requiring hand use should prioritize durability over complexity—French tips, matte finishes, and gel formulations withstand impact better than rhinestone accents or detailed line work. According to OPI's nail care guidance, keeping nails at a shorter length (1-2mm beyond fingertip) reduces breakage by up to half compared to longer extensions, particularly relevant for students typing frequently or playing instruments.
Budget considerations favor simpler designs. A complete basic kit including base coat, top coat, and two color polishes runs $25-35 at drugstore price points and supports dozens of applications. Designs requiring specialized tools (dotting sets, multiple tape types, rhinestones) add $15-25 to initial investment but enable design variety throughout the school year. For students exploring whether nail art is a lasting interest, starting with the three-polish minimum (base, color, top) makes sense before investing in specialty supplies.
Essential Application Tips for Longer-Lasting Student Manicures
Achieving resilient nails through informed choices starts with proper nail preparation, which determines longevity more significantly than polish brand selection. Wash hands with soap to remove oils, push back cuticles gently with an orangewood stick (never cut cuticles, which increases infection risk), and lightly buff the nail surface with a 180-grit file to create slight texture for polish adhesion.
Base coat application is non-negotiable despite being tempting to skip. According to Essie's at-home manicure guide, base coats create a protective barrier preventing staining and provide a slightly tacky surface that grabs polish molecules. Apply base coat in thin layers—thick application actually extends drying time and can cause bubbling. OPI Natural Nail Base Coat ($10.50) and Essie "Strong Start" ($9.00) both formulate specifically for natural nails rather than enhancements.
Polish application technique affects durability substantially. Use three strokes per nail: one down the center, one on each side. Start the brush slightly away from the cuticle, push up toward the cuticle to create a clean line, then pull down toward the free edge. This "push and pull" method prevents polish flooding onto the cuticle skin, which creates lift points where chipping begins. Apply two thin coats rather than one thick coat—thin layers dry faster and harder.
Capping the free edge (running the brush tip along the nail's underside edge) seals the most vulnerable area for chipping. Do this with each layer: base coat, both color coats, and top coat. The extra 10 seconds per hand extends wear time by several days according to professional guidance from nail product manufacturers.
Top coat application requires the same thin-layer approach as base and color. Apply top coat immediately after the final color coat while it's still slightly tacky to create molecular bonding between layers. Reapply top coat every two to three days to maintain shine and seal any micro-chips before they expand. Seche Vite and Sally Hansen Insta-Dri remain the industry standards for quick-dry top coats at $9.99 and $5.99 respectively.
Common Student Nail Design Mistakes and Prevention
The most frequent failure mode for DIY student manicures is applying polish too thickly in an attempt to achieve opacity quickly. Thick layers trap solvents that need to evaporate, creating a hard outer shell over a still-liquid interior. This results in smudging hours after application appears dry and causes denting from minor impacts. Prevention requires patience: two to three thin coats with two-minute intervals between each coat produces more durable results than one thick application.
Skipping nail dehydration before polish application causes premature lifting, particularly for students who wash hands frequently throughout the school day. Natural nail oils prevent polish adhesion. Wipe nails with a cotton pad dampened with rubbing alcohol or acetone immediately before base coat application to remove oils. This 30-second step can double manicure longevity.
Improper cuticle management creates both aesthetic and durability problems. Cutting cuticles damages the nail's protective seal and increases infection risk—never cut them. Instead, apply cuticle oil nightly (any affordable option works; jojoba oil from grocery stores costs $6.99 and functions identically to branded cuticle oils), then gently push back cuticles with an orangewood stick after showering when they're softened.
Removing tape guides too early or too late ruins designs requiring crisp lines. The polish needs to be dry to touch but not fully cured—typically 60-90 seconds after application. Test by gently touching the polish on a non-design nail; if it doesn't transfer to your finger, tape can be removed. Pull tape at a 45-degree angle rather than straight up to prevent polish dragging.
Not accounting for dominant hand differences causes uneven wear patterns. The dominant hand experiences more impact, water exposure, and friction. Designs with rhinestones, fine details, or delicate line work deteriorate faster on the dominant hand. For students seeking symmetrical wear, choose simpler designs or apply an extra top coat layer to the dominant hand.
Budget-Friendly Supply Shopping for Student Nail Art
Building a functional nail art kit on a student budget requires prioritizing versatile basics over trendy specialty items. The essential starter trio—base coat, top coat, and one neutral polish—costs $20-28 at drugstore retailers and supports dozens of applications. Sally Hansen "Hard as Nails" base coat ($4.99), any neutral OPI shade ($10.50), and Essie "Gel Couture" top coat ($11.50) create a reliable foundation.
Expanding color selection strategically maximizes design options per dollar spent. Instead of purchasing multiple similar shades, select colors from different families: one neutral nude, one deep shade (navy or burgundy for school-appropriateness), one metallic, and one true red or pink. This four-color palette enables color blocking, accent nails, and gradient work. Essie and OPI bottles contain 13.5ml and 15ml respectively, providing 30-50 applications per bottle depending on nail size.
Tools represent a one-time investment that dramatically expands design capabilities. A basic tool kit should include dotting tools ($4.99), striping tape ($3.99), and one thin detail brush ($2.99 individually or $6.99 for a set). These enable 80% of beginner to intermediate designs. Purchase tools from craft stores or Amazon rather than beauty retailers—identical products cost half as much without beauty branding.
Press-on nails offer an alternative for students seeking complex designs without application time or skill requirements. Modern adhesive technology creates wear times of five to seven days, comparable to regular polish. Press-on nail guides detail application techniques that prevent premature lifting. Brands like Static Nails ($16-24 per set) and imPRESS ($7.99 per set) provide reusable options when removed carefully, improving cost per wear.
Shopping timing affects costs significantly. Drugstore beauty sections run promotions on nail polish brands in rotating six-week cycles. Buy one get one 50% off deals reduce per-bottle costs by 25%. Stock up on base and top coats during these sales since formulations don't vary seasonally, unlike color polish trends. Clearance endcaps after major holidays (back to school in September, New Year in January) offer discontinued shades at 50-75% off retail.
Nail Health Maintenance During the School Year
Taking care of your nails requires understanding that constant polish wear can dehydrate the nail plate over time. Give nails a one-week break from polish every six to eight weeks to allow rehydration and assess for any damage or staining. During break weeks, apply cuticle oil twice daily and use a moisturizing hand cream containing ceramides or hyaluronic acid.
Staining from dark polish becomes visible during polish-free weeks as yellow or gray discoloration. Prevention is simpler than correction: always use base coat before dark or heavily pigmented shades. If staining occurs, buff nails gently with a fine-grit buffer and apply a whitening treatment (Sally Hansen "Brightening Nail Treatment" costs $6.99 and uses AHA to lighten stains over two weeks).
Breakage and peeling indicate over-filing, excessive buffing, or nutritional deficiencies. Address this by switching to a glass nail file ($8.99), which creates less mechanical stress than emery boards, and filing in one direction rather than sawing back and forth. Nail growth optimization involves both external care and adequate protein intake—biotin supplements show mixed research results, but dietary protein from any source supports keratin production.
Water exposure softens nails temporarily, making them vulnerable to bending and breaking. Wear gloves when washing dishes or cleaning, and dry hands thoroughly after washing. For students who swim regularly, apply a thick layer of top coat before pool exposure to create a water barrier, though chlorine will still degrade polish faster than normal.
Acrylic and gel extensions require careful consideration for students. While gel polish systems provide longer wear, gel removal requires acetone soaking that dehydrates nails significantly. If using gel systems, commit to professional removal or learn proper at-home removal technique to prevent peeling off gel, which removes layers of the natural nail plate and causes lasting damage.