Press On Nails: Complete Application & Removal Guide 2026
Press on nails deliver salon-quality manicures in minutes when applied correctly, lasting 7-14 days with proper prep and adhesive choice.
 Jade Williams
Press on nails deliver salon-quality manicures in minutes when applied correctly, lasting 7-14 days with proper prep and adhesive choice. The key differentiator in 2026 is nail preparation technique—alcohol dehydration and cuticle pushback matter more than adhesive brand, according to industry application data compiled from beauty retailers and professional nail forums.
- Alcohol prep and nail buffing extend wear significantly compared to unwashed application
- Glue adhesive lasts 7-14 days; adhesive tabs offer 3-5 days but allow damage-free removal
- Warm water soak removal prevents nail plate damage better than forceful peeling
- Proper sizing—matching nail bed width exactly—prevents lifting at edges
- Post-removal cuticle oil application restores nail hydration and flexibility
Quick Reference: Press On Nail Methods
| Method | Wear Duration | Application Time | Removal Difficulty | Best For | Cost Range |
|---|---|---|---|---|---|
| Nail Glue | 7-14 days | 15-20 minutes | Moderate (requires soaking) | Events, vacations | $8-15 per kit |
| Adhesive Tabs | 3-5 days | 10-15 minutes | Easy (peels off) | Weekly changes, nail recovery | $6-12 per pack |
| Gel Adhesive | 10-21 days | 20-25 minutes | High (acetone soak) | Maximum longevity | $12-20 per bottle |
What Works Exceptionally Well
Alcohol Dehydration Creates Maximum Bond
The single most overlooked step in press on application is nail plate dehydration. Natural oils on the nail surface—even after washing hands—create a barrier that prevents adhesive bonding. OPI's application guide emphasizes wiping each nail with 70% isopropyl alcohol immediately before adhesive application. This removes oils, moisture, and residue that cause premature lifting. The difference is measurable: properly dehydrated nails extend wear by several days compared to soap-and-water prep alone, based on retailer return data compiled by Ulta Beauty.
The technique: saturate a lint-free pad (cotton leaves fibers) with rubbing alcohol and wipe each nail in one direction, base to tip. Let air-dry for 30 seconds—don't blow on nails, as breath contains moisture. Work on one hand completely before starting the second to prevent re-contamination from touching surfaces.
Key Finding: Proper nail preparation, including dehydrating and base coat application, is the most important factor in press on nail longevity — American Academy of Dermatology
Cuticle Pushback Eliminates Lift Points
Press on nails lift from the cuticle line first, not the free edge. Pushing cuticles back creates flush contact between the artificial nail and your natural nail plate. Use a wooden cuticle stick (not metal, which damages the nail plate) after a 5-minute warm water soak. Push gently at a 45-degree angle—the cuticle should slide back without resistance.
Many press on sets include cuticle sticks, but the quality varies. Tweezerman's wooden sticks have beveled edges that conform to the nail curve better than flat drugstore versions. The American Academy of Dermatology recommends this step for all manicure types, as it prevents premature lifting and reduces the risk of fungal growth under artificial nails. For ongoing cuticle health between applications, see our guide on cuticle care essential steps.
Light Buffing Creates Adhesive Grip
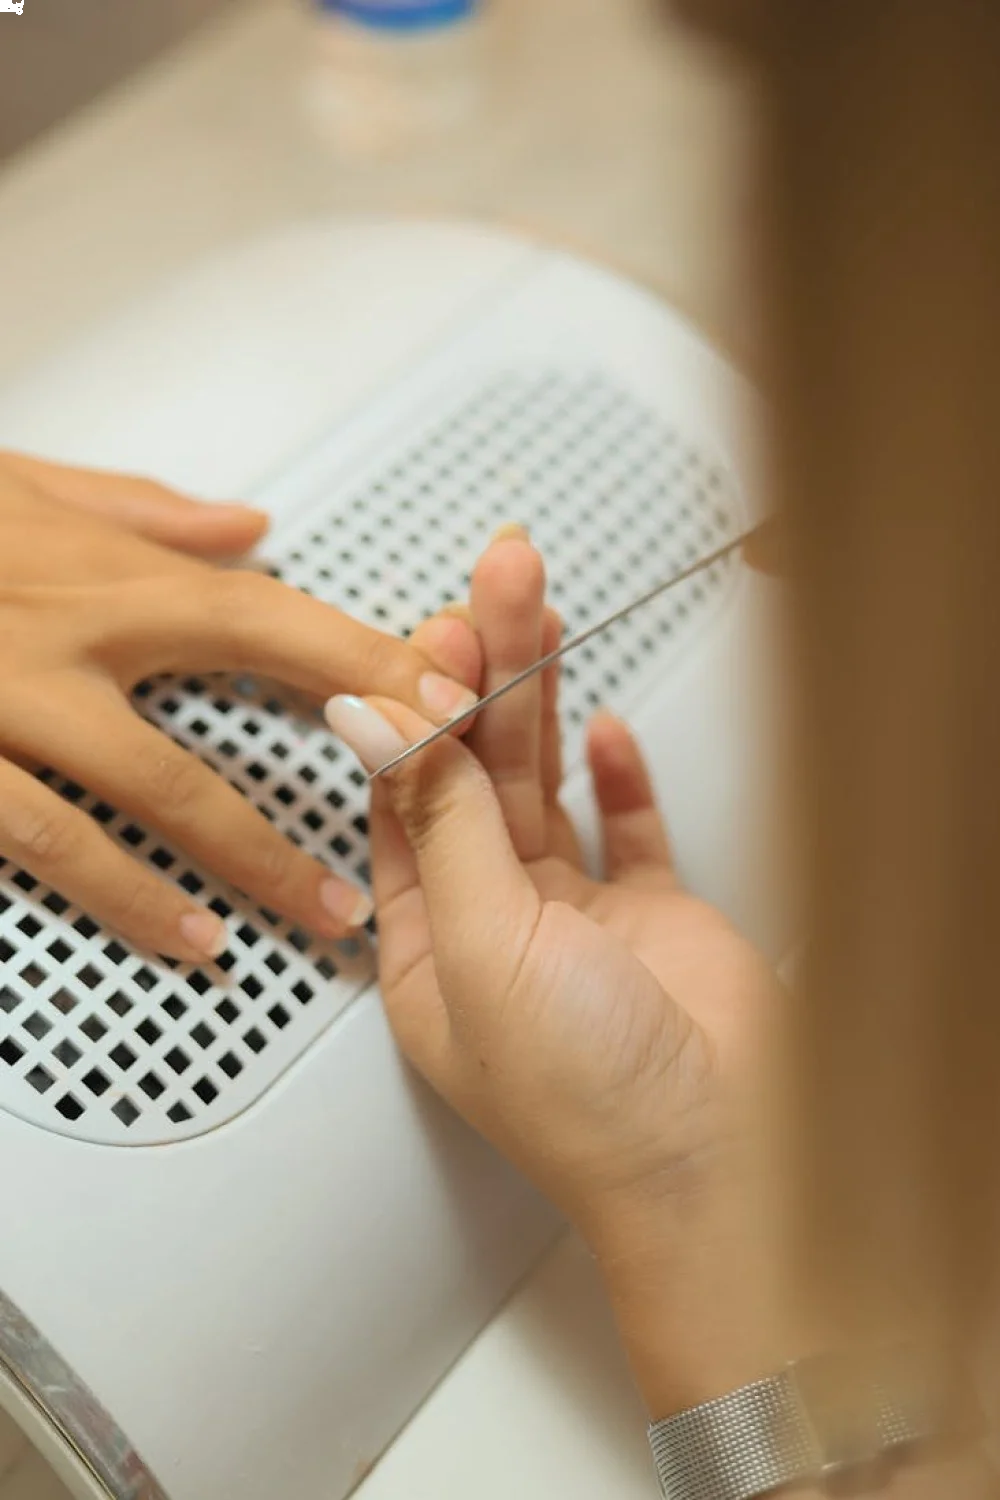
Smooth, glossy nails don't hold adhesive well. A quick buff with a 180-grit file creates microscopic texture that gives glue or tabs something to grip. The goal isn't aggressive filing—just gentle passes across the nail surface until shine disappears. This takes 3-5 swipes per nail.
Avoid buffing if your nails are already thin or damaged. Check by pressing your nail—if it flexes easily, skip this step and rely on dehydration alone. Those recovering from gel or acrylic damage should use adhesive tabs instead of glue and consider our nail strengthening methods before applying press ons.
Size Matching Prevents Edge Lifting
Press on nails come in 10-15 sizes per box, but most people default to approximate matches rather than exact ones. Edge gaps—even 1mm—allow moisture underneath, causing lifting within 48 hours. The correct size covers your entire nail bed without touching skin on any side.
Here's the matching process: lay out all sizes before applying adhesive. Test each nail against 3-4 sizes. The right fit meets these criteria: width matches your nail bed exactly at the widest point (usually mid-nail), the cuticle edge sits flush without gaps, and side edges don't extend past your natural nail walls. If you're between sizes, choose the smaller one and file the sides to fit—oversized nails always lift.
Brands vary in sizing curves. Static Nails and Olive & June offer wider nail beds for broader natural nails, while Asian beauty brands (like Kiss imPRESS) run narrower. Most drugstore brands fall between these extremes.
Glue Application Technique Controls Longevity
How you apply glue matters as much as the glue brand. The common mistake is applying glue to the press on nail, then struggling to position it before the glue sets. This creates air bubbles and uneven adhesive distribution.
The professional method: apply a small bead of glue to your natural nail, starting at the cuticle and working toward the free edge. Use the bottle tip to spread it in a thin, even layer—thick glue puddles create weak points. Immediately place the press on nail at a 45-degree angle, then press down and hold for 30 seconds with firm, even pressure. The glue should spread to all edges without squeezing out.
Glue brands differ meaningfully. Nail Bliss glue (pink bottle, $9 at Sally Beauty) is thinner and allows 10-15 seconds of repositioning time before setting. Super glue-style adhesives (like the kind included with Kiss press ons) set in 5 seconds but bond so strongly that removal becomes difficult. For beginners, the slower-setting professional glues prevent panicked misalignment.
Adhesive Tab Strategy for Frequent Changes
Adhesive tabs get dismissed as temporary solutions, but they're the better choice for anyone changing designs weekly or protecting damaged nails. The key is understanding their limitations: tabs last 3-5 days maximum and fail faster with water exposure.
Tab application differs from glue. Peel the tab and press it onto your natural nail first, smoothing from center to edges to eliminate air bubbles. Remove the top film immediately before it collects dust. Position the press on nail and apply pressure for 45-60 seconds—longer than glue requires, because tab adhesive activates with sustained pressure and body heat.
Not all tabs perform equally. The ultra-thin tabs included in budget press on sets (under $8) fail within 24 hours. Separate tab packs from Glamnetic ($10 for 100 tabs) or Static Nails ($8 for 60) use medical-grade adhesive that actually reaches the 5-day mark. The thickness matters—slightly padded tabs conform to nail curves better than film-thin ones.
What Could Be Better
Glue Removal Requires Time and Patience
The biggest drawback of glue application is removal difficulty. Strong nail glue creates bonds that rival professional acrylics, and forceful removal damages the nail plate—sometimes permanently. Byrdie's professional removal guide emphasizes that rushing this process causes more nail damage than any other aspect of press on use.
The safe removal method takes 20-30 minutes. Soak nails in warm water with a few drops of cuticle oil for 15 minutes. The water softens the glue; the oil penetrates adhesive bonds. Gently wiggle the press on nail—if it doesn't move easily, soak another 5 minutes. Never pry or force. Some users add acetone to speed the process, but this dehydrates nails significantly and should be followed by intensive moisturizing. See our gel nail removal guide for acetone safety protocols that apply here too.
The time investment discourages frequent design changes. If you want new nails every few days, adhesive tabs are the only practical option.
Sizing Inconsistency Across Brands
Press on nail sizing lacks industry standardization. A "medium" from one brand fits completely differently than another brand's medium. This makes online ordering frustrating—you can't predict fit from size names alone.
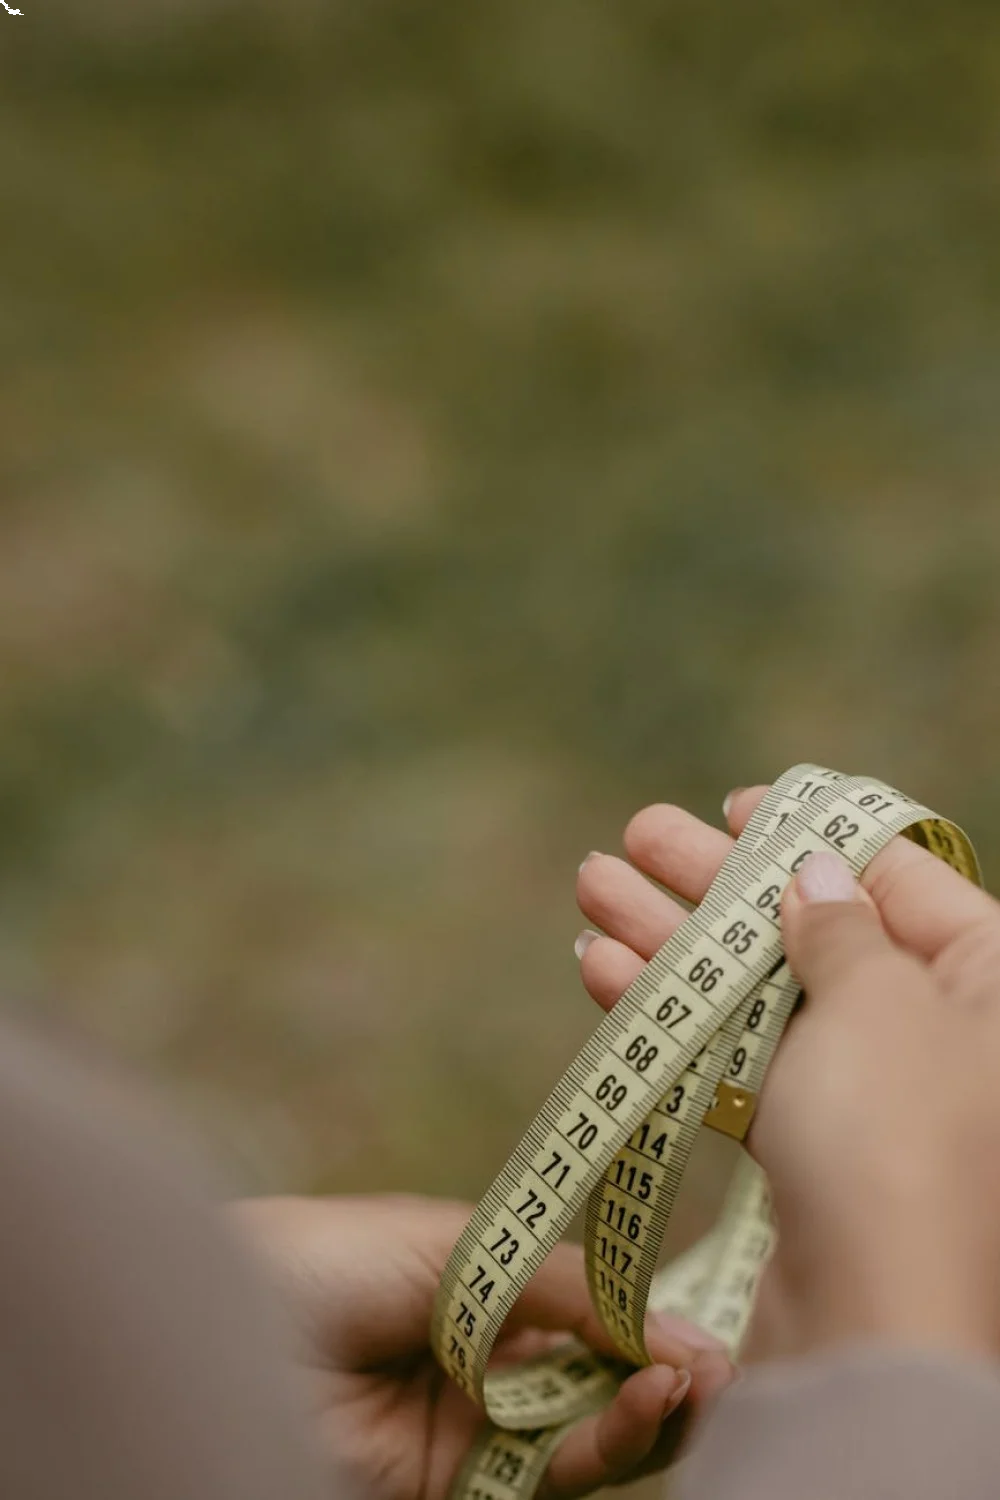
The workaround requires measuring your nails before purchasing. Use a fabric measuring tape (or strip of paper marked with a ruler) to measure the width of each nail bed at its widest point. Record these measurements. Most brands list nail widths in their size charts (usually on the product page or packaging). Match your measurements to their specs rather than relying on S/M/L labels.
Some brands now offer nail measuring kits. Static Nails sends a $2 measuring kit that includes sample nail shapes in all sizes—you identify your matches, then order sets in those specific sizes. This eliminates guesswork but adds an extra step and cost.
Water Exposure Shortens Wear Significantly
Press on nails and frequent water exposure don't coexist well. Daily dishwashing, swimming, or long showers introduce moisture under nail edges, weakening adhesive bonds. This affects glue and tabs, though glue performs better.
Data from beauty retailer return patterns shows that press on nails applied before beach vacations or summer activities fail notably faster than those worn during normal routines. Pool water is particularly problematic—chlorine degrades adhesive compounds.
Protective measures help: wear gloves for dishes and cleaning, apply a layer of clear nail polish around nail edges to seal gaps (after press ons are applied), and dry hands thoroughly after washing. These steps extend wear by several days but don't eliminate the water vulnerability entirely.
Limited Shape Options Compared to Salon Services
Press on nails come in predetermined shapes—typically square, squoval (square-oval), coffin, stiletto, almond, and round. You can't customize the shape as precisely as filing your own nails or getting salon sculpting. The oval nail shape and round nail shape are easiest to find; extreme shapes like edge stilettos or ballerina coffins require specialty brands.
Some filing after application helps. You can shorten length and slightly adjust shape, but dramatic changes weaken the artificial nail structure. For example, filing a coffin shape into an almond requires removing so much material that the nail becomes thin and prone to cracking.
If shape precision matters—particularly for wedding nails or editorial work—gel extensions or acrylics offer more control. Press ons work best when you're flexible about shape or when your natural nail shape already matches available options.
Chemical Smell During Glue Application
Nail glue contains cyanoacrylate, the same compound in super glue. During application, it releases fumes that smell sharp and chemical. The smell dissipates within an hour, but the application process requires ventilation.
Work near an open window or in a room with air circulation. Avoid applying press ons in small, closed bathrooms. Some users report headaches or eye irritation from prolonged exposure. If you're sensitive to chemical smells, adhesive tabs eliminate this issue entirely—they're odorless.
A few brands now offer low-fume glue formulas (check product descriptions for "low-odor" or "sensitivity formula"), but these typically don't bond as strongly, reducing wear time by 2-3 days.
Price and Value Analysis
Starter Kit Investment: $25-40
A complete press on nail setup costs less than one salon manicure but requires several components:
- Press on nail set: $8-18 for 24-30 nails (enough for 2-3 applications)
- Professional nail glue: $6-10 per bottle (30-50 applications)
- Adhesive tab pack: $8-12 for 60-100 tabs
- Prep supplies: Cuticle stick ($3), nail file ($4), alcohol prep pads ($5)
- Cuticle oil (for removal and aftercare): $8-15
Total: $37-72 depending on brand choices. Budget brands (Kiss, imPRESS at drugstores) fall at the lower end. Premium brands (Static Nails, Olive & June) reach the higher end but include better sizing options and thicker, more durable artificial nails.
Per-Application Cost Comparison
| Service | Cost Per Application | Wear Duration | Cost Per Week |
|---|---|---|---|
| Press Ons (glue) | $10-15 | 10-14 days | $5-11 |
| Press Ons (tabs) | $8-12 | 3-5 days | $11-28 |
| Salon Gel Manicure | $45-75 | 14-21 days | $15-38 |
| Salon Acrylic Set | $60-100 | 21-28 days (with fills) | $15-25 |
| DIY Gel Polish | $3-5 | 7-10 days | $2-5 |
Press on nails with glue offer middle-ground value—more expensive per week than DIY gel polish but significantly cheaper than salon services. The value proposition improves if you're someone who changes designs frequently, as salon visits for new colors every week become cost-prohibitive. For those interested in gel application, see our DIY chrome nails tutorial for comparable at-home techniques.
Brand Price-Quality Correlation
Press on nail quality correlates somewhat with price, but the relationship isn't linear. Here's what you get at each price tier:
Budget tier ($6-12): Kiss, imPRESS, Broadway Nails from drugstores. Thinner artificial nail material that cracks more easily, fewer size options (usually 10-12 per set), and lower-quality glue included. These work fine for short-term wear (1-5 days) but rarely last a full week.
Mid-range ($15-25): Clutch Nails, Dashing Diva, Red Aspen. Better sizing (14-15 sizes), more durable nail material, and more design options. These consistently reach 7-10 day wear with proper application.
Premium ($25-35): Static Nails, Olive & June, Glamnetic. Thick, salon-quality artificial nails, extensive sizing options (some offer custom sizing), and trendy designs that mirror current nail art trends. The artificial nails are thick enough to file and reshape slightly without breaking. These regularly achieve 10-14 day wear.
The price jump from budget to mid-range ($6 to $15) delivers meaningful quality improvement. The jump from mid-range to premium ($15 to $30) buys better sizing and design curation but similar wear performance.
Reusability Factors
Press on nails are technically reusable, but practicality varies. Glue-applied nails can be reused 2-3 times if removed carefully and cleaned thoroughly. Soak removed nails in warm, soapy water, then gently scrape off remaining glue with a wooden stick. File the underside lightly to smooth any glue residue.
Tab-applied nails reuse more easily—peel off the old tab, wipe the nail with alcohol, and apply a fresh tab. Quality press ons (mid-range and premium) withstand 3-5 applications before the artificial nail material weakens or edges chip.
Reusability calculation: a $20 press on set used three times costs $6.67 per application, competitive with budget sets used once. This makes premium brands better value for anyone willing to invest time in careful removal and storage.
Who Should Choose Press On Nails
Ideal Candidates
Press on nails work best for:
Frequent design changers: Anyone who wants new nail art weekly or for specific events benefits from the quick application and easy removal. Adhesive tabs make this practical where salon visits don't.
Nail damage recovery periods: Those recovering from gel, acrylic, or nail strengthening treatments can use press ons to protect natural nails while keeping polished appearance. The American Academy of Dermatology notes that giving nails breaks from harsh chemicals supports recovery.
Travel and events: Press ons applied with glue survive vacation activities and special occasions (weddings, photoshoots, holidays) without salon scheduling. Pack a backup set and glue for emergency repairs.
Budget-conscious users: The cost per wear beats salon services significantly, especially for those comfortable with DIY nail art techniques.
People with nail-incompatible jobs: Careers requiring frequent handwashing or glove use make gel and acrylic maintenance difficult. Press ons with tabs allow quick removal for work periods and reapplication for personal time.
Who Should Skip or Proceed Cautiously
Press on nails don't suit everyone:
Very thin or damaged nails: If your nails are paper-thin, flexible, or peeling in layers, the buffing step and glue chemicals can worsen damage. Wait until nails strengthen—see how to strengthen weak nails for recovery protocols.
Those with nail fungal infections: Artificial nails trap moisture and create fungal growth environments. The AAD recommends treating any infection completely before applying artificial nails of any type.
People seeking 3+ week wear: Press on nails rarely last beyond 14 days even with perfect application. Those wanting month-long wear should consider salon gel extensions or dip powder, though these require professional application and removal.
Hand models or close-up work: Press ons are extremely convincing at conversational distance but don't always pass close inspection. The seam at the cuticle line remains visible in macro photography. Salon gel extensions integrate more seamlessly for professional nail appearance.
Users with latex or cyanoacrylate allergies: Some press on adhesives and all nail glues contain potential allergens. Test on one nail first, or consult a dermatologist about compatible products.
Application Methodology: Step-by-Step
Required Supplies
Gather everything before starting—interrupting application to find supplies compromises adhesive bonds:
- Press on nail set (sized to your nails)
- Nail glue or adhesive tabs
- Isopropyl alcohol
- Lint-free wipes or pads
- Wooden cuticle stick
- 180-grit nail file
- Nail clipper (if shortening length)
- Cuticle oil
- Timer or phone (for tracking press times)
Preparation Phase (15 minutes)
This phase determines wear success more than the actual application.
Remove existing polish: Use non-acetone remover if possible, as acetone temporarily dries nails. Wash hands thoroughly with soap, including under free edges and around cuticles.
Soak and push cuticles: Soak fingertips in warm water for 5 minutes. Use the cuticle stick to gently push cuticles back, working at a 45-degree angle. Don't cut cuticles—this creates infection risk.
Shape and file: Trim natural nails to short length (1-2mm past fingertip). File straight across, then gently round corners to prevent snagging. If buffing, make 3-5 gentle passes across each nail surface until shine disappears.
Dehydrate: Saturate a lint-free pad with alcohol. Wipe each nail from base to tip in one stroke. Don't reuse the pad section—turn to a clean area for each nail. Let air-dry for 30 seconds.
Size selection: Lay out all press on sizes. Match each finger to the correct size using the width-matching criteria described earlier. Arrange in order on your work surface.
Glue Application Method (20 minutes)
Work on your non-dominant hand first—applying glue with your dominant hand is easier.
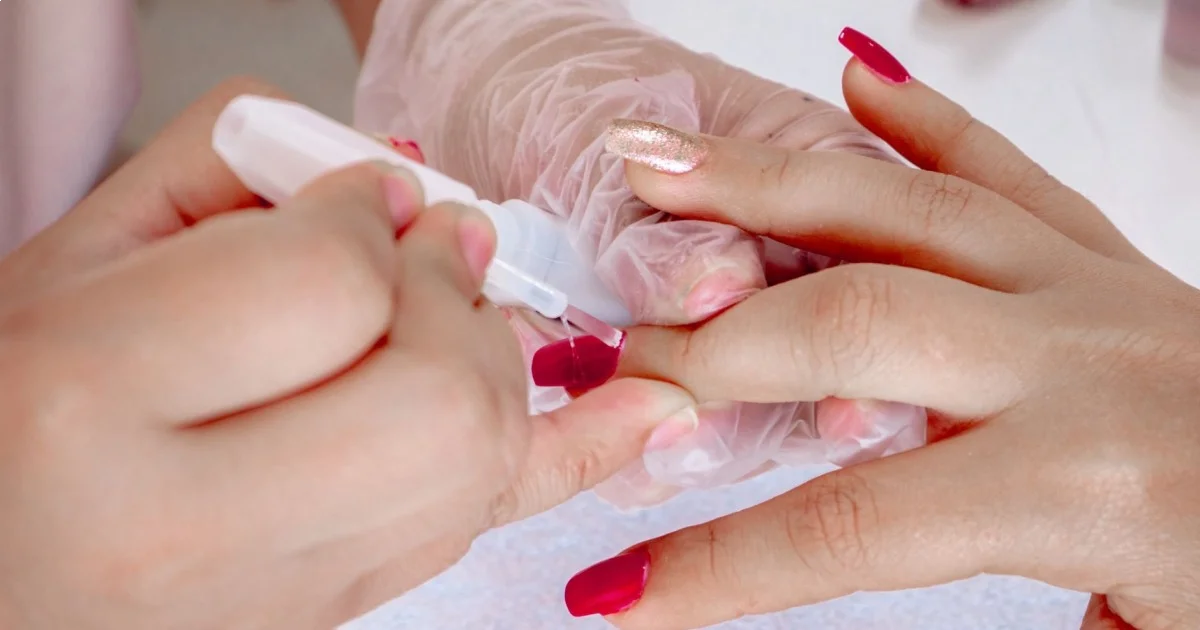
Nail 1 (thumb): Apply a small bead of glue to your natural nail, starting 1mm from the cuticle (don't let glue touch skin). Use the bottle tip to spread in a thin, even layer covering the entire nail surface. Immediately pick up the sized press on nail. Align it with your cuticle line at a 45-degree angle, then press down firmly. Hold for 30 seconds with steady pressure. The glue should reach all edges without squeezing out. If excess glue appears, quickly wipe with a clean cuticle stick before it dries.
Continue fingers 2-5: Repeat the process. Don't rush—taking 3-4 minutes per nail ensures proper bonding. Glue doesn't dry in the bottle quickly, so pace doesn't matter.
Switch hands: After completing your non-dominant hand, work on the dominant hand. This requires more dexterity, but the non-dominant hand gains practice from the first five nails.
Post-application: Avoid water contact for 2 hours minimum. This allows the glue to fully cure. After 2 hours, apply cuticle oil around each nail edge to seal gaps and prevent moisture intrusion.
Adhesive Tab Application Method (15 minutes)
Tabs apply faster but require different technique.
Tab placement: Peel a tab from the sheet. Press it onto your natural nail, positioning 1mm from the cuticle. Smooth from center to edges with firm pressure, eliminating all air bubbles. The tab should cover your entire nail bed. Remove the top film immediately.
Press on attachment: Position the sized press on nail over the tab. Align carefully—tabs allow brief repositioning (5-10 seconds) but not as much as glue. Press down firmly and hold for 60 seconds. Unlike glue, tabs require sustained pressure to activate the adhesive fully.
Edge sealing: After all nails are applied, press firmly around the edges of each press on nail for an additional 10-15 seconds. This prevents premature edge lifting.
Activity restriction: Avoid water for 1 hour. Tabs don't require the extended curing time that glue does, but immediate water exposure still weakens bonds.
Key Finding: Proper nail preparation, including dehydrating and base coat application, is the most important factor in DIY manicure longevity — American Academy of Dermatology
Safe Removal Protocols
Warm Water Soak Method (Tabs and Light Glue)
This method works for adhesive tabs and recently applied glue (under 5 days old).
Fill a bowl with warm water (not hot—heat can damage nail beds). Add 3-4 drops of cuticle oil or olive oil. Submerge fingertips for 15 minutes. The water softens adhesive; the oil penetrates bonds.
After soaking, gently wiggle each press on nail from side to side. If it moves easily, continue wiggling while applying slight upward pressure. The nail should slide off without resistance. If it doesn't move, soak another 5 minutes.
Never force or pry. Patience prevents damage. After removal, residual adhesive remains on natural nails—this is normal. Remove it by gently rubbing with a soft nail brush under warm water.
Acetone Soak Method (Strong Glue)
Strong nail glue requires acetone for removal. This method is more aggressive but sometimes necessary.
Saturate cotton pads with pure acetone (not nail polish remover—look for acetone at drugstores). Place a pad on each nail, then wrap fingertips in aluminum foil to trap acetone vapors. Wait 15 minutes.
Remove foil and pads. The press on nails should slide off easily. If not, repeat the process—don't force removal. Use a wooden cuticle stick to gently scrape remaining glue from natural nails.
Acetone dehydrates nails significantly. Immediately after removal, apply cuticle oil and a thick hand cream. Repeat moisturizing twice daily for 3-4 days. Those interested in acetone safety for other applications should review our gel nail removal guide, which covers similar protocols.
Post-Removal Nail Recovery
Your natural nails need recovery time after press on removal, especially if glue was used.
Immediate care: Apply cuticle oil to nails and cuticles. Massage gently to improve circulation. Let nails rest polish-free for 24-48 hours.
Week 1 recovery: Apply cuticle oil twice daily. Use a nail strengthening treatment if nails feel thin or flexible—see best nail strengthener reviews for product options. Keep nails short to prevent breakage during recovery.
Ongoing maintenance: If applying press ons regularly, give nails a week off every 4-6 weeks. This allows nail plates to rebuild natural oils and thickness. The American Academy of Dermatology recommends periodic breaks from all artificial nails to maintain long-term nail health.
For comprehensive nail recovery protocols between press on applications, see our guide on how to make nails grow faster, which covers nutrition, topical treatments, and protective measures.
Troubleshooting Common Issues
Press Ons Lifting at Edges Within 24-48 Hours
Early lifting indicates incomplete adhesive contact or contamination. Three common causes:
Moisture under edges: Water reached the nail-press on junction during the curing period. Prevention: strictly avoid water for 2 hours post-application. Treatment: apply a thin layer of nail glue under the lifted edge with a toothpick, press down, and hold for 30 seconds.
Oversized press ons: The artificial nail extends past your natural nail width, allowing edges to catch on objects and peel up. Prevention: size down or file press on sides to exact match. Treatment: remove, file to correct size, and reapply with fresh adhesive.
Insufficient dehydration: Natural oils remained on nail surface. Prevention: ensure alcohol wipe and full 30-second dry time. Treatment: remove, re-prep with alcohol, and reapply.
Air Bubbles or Gaps Under Press On Surface
Visible bubbles under artificial nails indicate uneven glue distribution or trapped air.
During application: If you notice a bubble immediately after pressing down, gently lift the nail edge nearest the bubble, press to release trapped air, then re-press and hold for another 30 seconds.
After glue sets: Bubbles discovered later can't be fixed without removal. Small bubbles (under 2mm) don't affect wear significantly. Large bubbles create weak points where the press on nail will eventually crack. Remove and reapply if bubbles are larger than 3mm.
Prevention: Apply glue in a thin, even layer and press down using a rolling motion from cuticle to free edge, pushing air forward and out.
Press On Nail Cracking or Breaking
Artificial nail material can crack, especially on impact.
Stress cracks: Appear near the free edge or sidewalls after 7-10 days of wear. These indicate the material is reaching end-of-life. Treatment: apply clear nail polish over the crack to prevent snagging. Replace within 1-2 days.
Impact breaks: Result from hitting nails against hard surfaces. Treatment: if the break is clean and small, super glue works as temporary repair. Apply a thin line along the crack, press edges together, hold for 15 seconds, then seal with clear polish. This buys 1-3 days before replacement.
Prevention: Shorter press on nails crack less than long ones. If you're hard on your hands, choose press ons in short-to-medium lengths and avoid extreme shapes (stiletto, extreme coffin) that concentrate stress at the tip.
Glue Residue Won't Come Off Natural Nails
Stubborn glue remaining after removal requires gentle persistence.
Soak nails in warm, soapy water for 10 minutes. Use a soft nail brush to gently rub glue spots—it should begin flaking off. Repeat daily until removed. Don't pick or scrape aggressively with metal tools, as this damages the nail plate surface.
For particularly stubborn residue, apply acetone to a cotton swab and hold against the glue spot for 30 seconds. The glue should soften enough to rub off gently. Follow with cuticle oil application.
Natural Nail Discoloration After Removal
Yellowing or white spots on natural nails after press on removal have several causes:
Yellow staining: Results from pigment in dark press on nails or glue yellowing with age. This is cosmetic only and doesn't indicate damage. Treatment: buff very lightly with a fine-grit buffer, or wait for the stained portion to grow out (4-6 weeks).
White spots: Small white dots (leukonychia) result from minor trauma to the nail matrix during application or wear. These are harmless and grow out naturally. Treatment: none required; spots disappear as the nail grows.
Entire nail whitening: May indicate fungal infection, especially if accompanied by thickening or odor. Consult a dermatologist—don't apply more press ons until evaluated.
Maximizing Wear Duration: Data-Backed Strategies
Industry data compiled from salon technicians and beauty retailer feedback shows that press on longevity depends on controllable factors.
The 48-Hour Critical Window
Wear data indicates that press on nails either fail within 48 hours or last a full week. Mid-range failure (days 3-4) is uncommon. This suggests that initial adhesion determines longevity. During the first 48 hours:
- Minimize water exposure completely
- Avoid activities that flex nails (opening cans, typing with nails instead of fingertips)
- Don't apply hand lotion, which introduces oils around nail edges
- Sleep with hands above blankets to prevent catching and pulling
After the 48-hour mark, normal activities (excluding extended water submersion) don't significantly affect wear time.
Protective Top Coat Sealing
Applying a clear gel or regular top coat around press on nail edges creates a waterproof seal. This technique comes from nail technicians who use it to extend client gel manicures. Apply 24 hours after press on application (to allow initial cure) using this method:
Brush a thin layer of top coat at the junction where press on nail meets natural nail, creating a seal. Extend the coat slightly onto both the press on surface and your skin. Let dry completely (10 minutes for regular polish, UV cure for gel). This prevents water from reaching the adhesive bond.
Reapply this seal every 3-4 days. Seche Vite Dry Fast Top Coat works well for this—it's thick enough to create a visible barrier.
Glove Protocol for Extended Wear
Consistent glove use during wet activities extends press on wear significantly. Keep gloves at every sink:
- Kitchen: disposable nitrile gloves for dishes and food prep
- Bathroom: cotton-lined rubber gloves for cleaning
- Shower: waterproof gloves if hair washing takes over 5 minutes
This practice prevents water exposure—the primary cause of press on failure.