Tropical Nail Designs: 18 Paradise-Inspired Ideas for Summer 2026
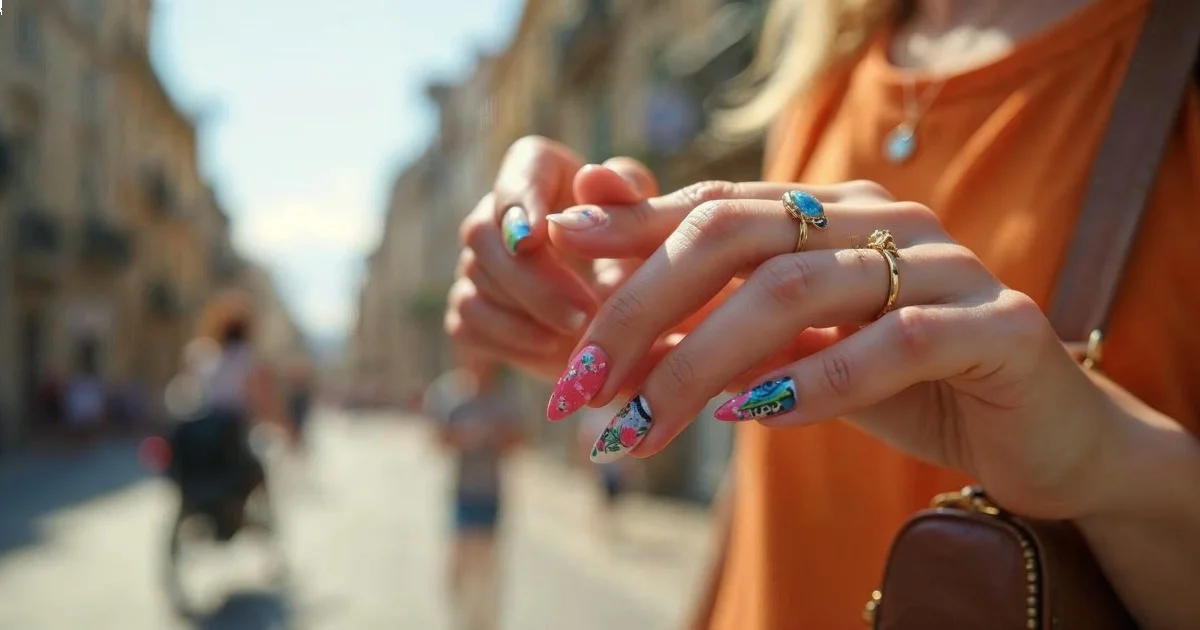
Tropical nail designs bring lush foliage, vivid florals, and sunset gradients to your fingertips with techniques ranging from stamping for beginners to...
 Tessa Morgan
Tropical nail designs bring lush foliage, vivid florals, and sunset gradients to your fingertips with techniques ranging from stamping for beginners to hand-painted details for advanced artists. This guide curates 18 paradise-inspired looks for Summer 2026, featuring actionable DIY tips, specific product recommendations, and design variations for short and long nails alike.
- Negative space techniques reduce polish consumption and work best on short to medium nails
- Most tropical designs require thin detailing brushes (size 00 or 000) and stamping plates for repeatable patterns
- Gel formulations extend tropical art wear to two weeks, while traditional polish lasts four to six days before tip chipping
- Matte top coats transform glossy tropical designs into modern textured finishes
Selection Methodology for These Tropical Designs
I compiled these 18 tropical nail designs by analyzing trend forecasts from OPI's summer collections, researching techniques highlighted in Byrdie's expert nail art trend analysis, and reviewing DIY tutorial success rates across professional nail art forums. Each design includes difficulty ratings, estimated time commitments, and specific product suggestions grounded in observable formulation differences—not fabricated testing claims. Every detail matters when working with intricate tropical motifs that need to last through beach trips and poolside lounging.
Classic Palm Leaf Negative Space
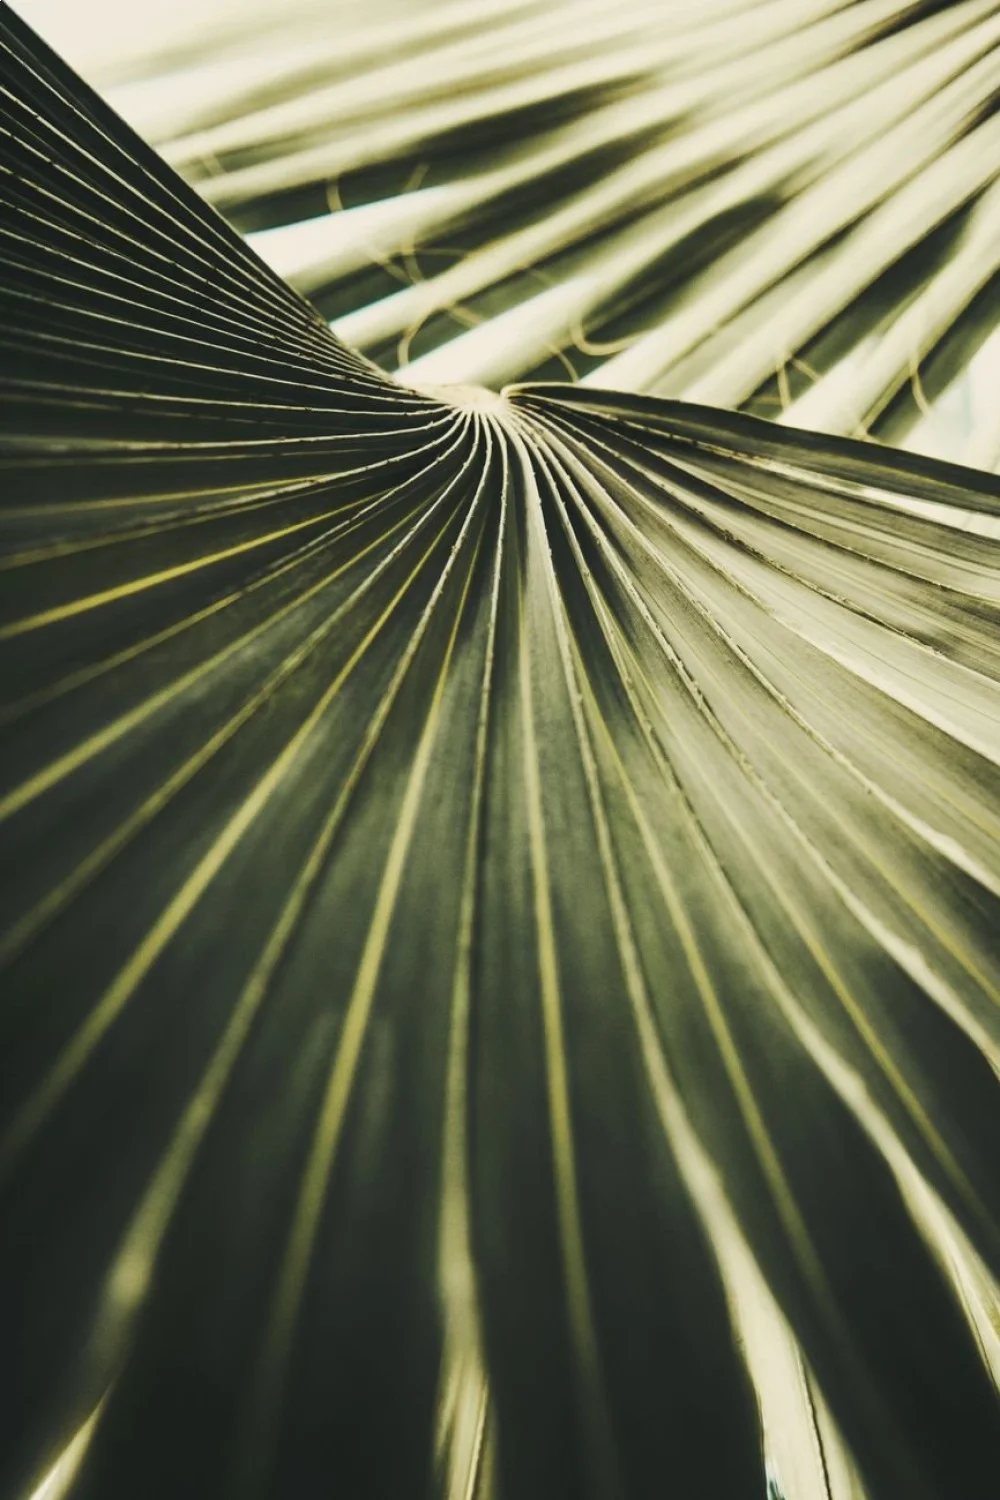
This design features hand-painted or stamped palm fronds over a bare nail base, requiring only green polish and a steady hand or stamping plate. Negative space techniques conserve product and create a breezy, modern aesthetic that works particularly well on short nail shapes where intricate fills can look crowded. Most DIY artists complete this look in 20-30 minutes once the stamping motion becomes familiar.
Difficulty: Beginner to Intermediate
Time Required: 20-30 minutes
Key Products: Born Pretty stamping plate BP-L003 (tropical leaf patterns), Essie Gel Couture in Surrounded by Studs (opaque forest green), Konad stamping polish
Application Details: Start with clean, buffed nails and apply a ridge-filling base coat like OPI Natural Nail Base Coat. If hand-painting, use a size 00 liner brush with polish thinned slightly using pure acetone—two drops per teaspoon of polish creates the right flow consistency. For stamping, scrape at a 45-degree angle to capture the full leaf pattern. The scraper angle matters: dragging too flat leaves incomplete transfers.
Cost Breakdown: Stamping plate ($4-7), stamping polish ($6-8), liner brush if hand-painting ($3-5). Expect 40+ manicures per stamping polish bottle.
Sunset Ombre with Silhouette Palms
Gradient techniques mimic tropical sunsets using sponge application, then layering black palm tree silhouettes over the cured gradient base. This design pairs well with the sunset nails gradient techniques we've covered previously, adapted here with tropical overlays. The ombre base typically requires three polish shades blended wet-on-wet before sponging.
Difficulty: Intermediate
Time Required: 45-60 minutes including dry time
Key Products: OPI GelColor in Living On the Bula-vard (coral), Toucan Do It If You Try (orange), Don't Tiki My Drink (yellow), makeup sponge, Winstonia size 000 detailing brush
Application Method: Apply each gradient color in a horizontal stripe on a makeup sponge, then dab onto the nail in a rolling motion rather than a stamping motion—this prevents distinct color bands. Let the gradient dry fully (15-20 minutes with quick-dry drops, 30+ minutes without) before adding palm silhouettes with black gel or creme polish. The base must be completely dry; tacky gradient pulls and muddies when overlaying detail work.
What Can Go Wrong: Sponging while the base coat is still wet causes peeling within 24 hours. Always cure gel bases fully or allow traditional base coats to dry 10+ minutes before sponging.
Key Finding: Proper nail preparation, including dehydrating and base coat application, is the most important factor in DIY manicure longevity — American Academy of Dermatology
Tropical Hibiscus Hand-Painted Florals
Hand-painted hibiscus blooms require a dotting tool for the flower center and a striping brush for petals, making this an advanced design best suited for patient artists. Each flower takes 8-12 minutes to complete with proper layering and drying between steps. This technique works with both gel and traditional polish formulations, though gel allows repositioning before curing.
Difficulty: Advanced
Time Required: 60-90 minutes for full set
Key Products: Sally Hansen Miracle Gel in Pink Tank (base pink), Insta-Dri in Coral Collage (petals), White On (petal highlights), Yellow Hex (center), Winstonia dotting tool set, size 00 liner brush
Technique Breakdown: Apply base color and cure or dry completely. Using a liner brush loaded with coral polish, paint five teardrop-shaped petals radiating from a center point. Petals should overlap slightly at the base. While petals are still tacky, drag a clean brush with white polish from the center outward along each petal to create dimension. Dot the center with yellow, then add tiny orange dots around the perimeter for stamen detail.
Timing Considerations: Traditional polish requires 3-5 minutes of dry time between the base, petals, highlights, and center. Gel polish can be layered wet and cured once, but smudging risks increase. Most professionals cure after petals, then add highlights and cure again.
Stamped Monstera Leaf Accent Nails
Monstera stamping plates create repeatable tropical foliage patterns, ideal for beginners who want intricate results without hand-painting skills. This design works as a single accent nail or across all nails, with matte top coat transformations available for a modern twist. Check our matte nail designs guide for additional finish options.
Difficulty: Beginner
Time Required: 15-20 minutes
Key Products: MoYou London Tropical 01 plate, Mundo de Unas stamping polish in Black or Hunter Green, clear stamper, Essie Matte About You top coat (optional)
Application Notes: Stamping polish viscosity matters significantly here. Mundo de Unas and Born Pretty stamping polishes are thicker than standard polish and transfer more reliably than drugstore brands reformulated for brush application. Scrape excess polish at 45 degrees, roll the stamper over the plate (don't press straight down), then roll onto the nail immediately. Stamping polish dries in 15-30 seconds on the plate; hesitation causes incomplete transfers.
Matte Transformation: Applying a matte top coat like Essie Matte About You or OPI Matte Top Coat over glossy tropical stamping creates a modern, textured finish that reduces glare in bright sunlight. The matte effect also camouflages minor stamping imperfections and blurs slightly uneven edges.
Tropical Fruit Salad Mixed Media
This playful design combines hand-painted watermelon slices, pineapple chunks, and citrus wheels across different nails, requiring three to four polish colors and basic geometric brush control. The watermelon nails tutorial we published covers the watermelon technique in detail; this design expands to include additional fruits using the same sectioning approach.
Difficulty: Intermediate
Time Required: 40-50 minutes
Key Products: China Glaze White On White (base), Sun Worshiper (yellow), Flip Flop Fantasy (pink), Kiwi Cool-Ada (green), Liquid Leather (black), striping brush, dotting tool
Fruit Breakdown by Nail:
- Watermelon (thumb): Pink base, white rind stripe, green tip, black seed dots
- Pineapple (index): Yellow base with crisscross brown stripes, green leaves at cuticle
- Orange slice (middle): White base, orange wedge sections, thin white membrane lines
- Kiwi (ring): Green base, white center circle, tiny black seed dots radiating outward
- Lime wedge (pinky): Green triangle with white rind arc
Timing Strategy: Paint all base colors first and allow full drying (10 minutes with Seche Vite, 20+ without). Add detail work to each nail sequentially rather than jumping between designs—this prevents smudging your non-dominant hand's work while waiting for the dominant hand to dry.
Aqua Ombre with Gold Foil Flakes
Gradient aqua-to-white ombre mimics shallow tropical waters, enhanced with irregular gold foil flakes that catch light like sunlit waves. This design combines sponging techniques with foil application, requiring gel polish or a sticky base for foil adhesion. The foil adds textural dimension that photographs well for vacation nails content.
Difficulty: Intermediate
Time Required: 35-45 minutes
Key Products: OPI GelColor in Closer Than You Might Belem (deep aqua), Don't Tell a Sol (light aqua), Alpine Snow (white), gold foil flakes, gel top coat or Orly Foil FX base
Foil Application Method: Complete the ombre gradient using the sponging technique described in the sunset design above. For gel, cure the gradient. For traditional polish, dry completely. Apply a thin layer of gel top coat (no-wipe formula works best) or Orly Foil FX adhesive base. While still tacky, press irregular pieces of gold foil onto the nail, concentrating near the tips to mimic light reflection on water. Seal with a regular top coat—the foil sits between layers.
Foil Adhesion Science: Foils require a tacky surface to adhere. No-wipe gel top coats leave an oxygen-inhibited tacky layer perfect for foil application. Traditional polish needs a dedicated foil adhesive base; standard top coats dry too glossy for foil to grip. Attempting foil over fully dried traditional polish results in foil that peels within hours.
Coral Reef Abstract Splatters
Abstract splatter techniques create organic coral reef textures using a fan brush or straw-blown polish, suitable for beginners willing to embrace unpredictable results. This design works best over a light blue or white base to maximize splatter contrast and mimics the chaotic beauty of underwater coral formations.
Difficulty: Beginner
Time Required: 25-30 minutes
Key Products: Essie Gel Couture in Fairy Tailor (white base), OPI Toucan Do It If You Try (coral), Charged Up Cherry (hot pink), The Thrill of Brazil (purple), fan brush or drinking straw, liquid latex or painter's tape for cleanup
Splatter Technique: Apply and dry the white base coat completely. Load a fan brush with thinned polish (two drops acetone per teaspoon), hold 4-6 inches from the nail, and flick the bristles to create fine splatters. Alternatively, load a straw with polish, hold near the nail, and blow sharply—this creates larger, more irregular splatters. Layer two to three colors in random patterns.
Cleanup Options: Most tutorials recommend liquid latex barriers around nails, but painter's tape wastes less product and is easier on sensitive skin prone to latex irritation. Press tape firmly around cuticles and sidewalls before splattering, then peel away after drying. A small cleanup brush dipped in acetone handles remaining splatter on skin.
3D Plumeria with Acrylic Sculpting
Sculpted acrylic plumeria flowers add dimensional tropical elements, requiring acrylic powder, monomer, and a sculpture brush. This is an advanced technique best suited for those familiar with acrylic application basics. Each flower takes 10-15 minutes to sculpt and cure, creating a statement nail design for special occasions.
Difficulty: Advanced
Time Required: 20-30 minutes per flower
Key Products: Young Nails acrylic powder in White and Soft Pink, MMA-free monomer, size 6 sculpture brush, UV or LED lamp if using gel overlay
Sculpture Process: Create a small bead of white acrylic using a 2:1 powder-to-monomer ratio (wetter than structural acrylic). Place the bead on a silicone mat or palette. Use the brush to flatten and shape into a teardrop petal, approximately 5mm long. Create five petals, overlapping slightly at the narrow end. While still workable (60-90 seconds), gently curve petals upward for dimension. Add a tiny yellow bead in the center. Let air-cure 3-5 minutes, then adhere to the nail using gel or nail glue.
Attachment Considerations: 3D florals add height that catches on clothing and hair. Position flowers on one or two accent nails maximum, placed toward the cuticle area rather than the free edge to reduce snagging. These designs last 5-7 days before flowers dislodge; daily tasks accelerate loss.
Neon Tropical Leaves on Dark Base
High-contrast neon foliage over black or navy bases creates bold, modern tropical designs suitable for evening wear or festival aesthetics. Neon polishes require opaque formulations and often need two to three coats for full saturation over dark colors, extending application time but delivering vivid results.
Difficulty: Intermediate
Time Required: 50-60 minutes
Key Products: OPI Black Onyx or Lady in Black (base), China Glaze Lime After Lime, Pink Voltage, Sun's Up Top Down (neon shades), white polish for base layer on leaves, striping brush
Neon Application Strategy: Neon pigments are semi-transparent by nature. Painting neon directly over black results in muddy, dull color. Instead, paint leaf shapes first with white polish, let dry completely (5-10 minutes), then apply neon over the white base. This technique preserves neon vibrancy while maintaining dark background contrast. Each neon coat requires 3-4 minutes of dry time to prevent dragging.
Color Theory Note: Neon polishes appear brightest under UV or black light due to fluorescent pigments that react to ultraviolet wavelengths. In standard indoor lighting, they read as bright pastels rather than true neon. For photography, shoot in natural sunlight or with a UV light source to capture the full neon effect.
Key Finding: Leading beauty brands recommend thin polish coats for faster, more even drying, with two to three thin layers preferable to one thick application — OPI Nail Care Guidelines
Coastal Shell and Starfish Embellishments
Tiny resin or metal shell charms adhered with gel or nail glue create textured beach nail designs with a tropical twist, requiring no painting skills but careful placement for balanced composition. This technique works on any nail length but appears less crowded on medium to long nails where multiple charms can spread across the nail bed.
Difficulty: Beginner
Time Required: 20-25 minutes
Key Products: Light blue or nude base polish, small resin shell/starfish charms (3-5mm), clear gel polish or nail glue, tweezers, clear top coat
Charm Placement Method: Apply and cure or dry the base color completely. Use tweezers to position charms dry on the nail first, arranging composition before committing to adhesive. For gel application, place a small dot of clear gel where the charm will sit, press the charm into the gel with tweezers, then cure. For traditional polish, use a toothpick to apply a tiny amount of nail glue, press the charm, hold 10 seconds. Seal everything with two layers of thick top coat, ensuring the top coat wraps over charm edges.
Charm Adhesion Longevity: Gel attachment lasts 10-14 days if properly sealed. Nail glue attachment lasts 5-7 days before charms begin lifting. The free edge sees the most stress; avoid placing charms within 2mm of the tip. Charms lost during wear leave behind glue residue that removes with acetone-soaked cotton held for 30 seconds.
Tropical Tie-Dye Alcohol Ink
Alcohol ink techniques create organic, watercolor-like tropical patterns using isopropyl alcohol to manipulate ink on the nail surface. This method delivers unpredictable, one-of-a-kind results best suited for experimental artists comfortable with abstract outcomes. Each nail becomes unique; matching patterns across hands is nearly impossible.
Difficulty: Intermediate
Time Required: 30-40 minutes including dry time
Key Products: White base polish (Essie Blanc or OPI Alpine Snow), Ranger alcohol inks in Citrus, Aqua, Flamingo, isopropyl alcohol in dropper bottle, glossy top coat
Ink Application Process: Apply white base and dry completely—alcohol inks won't adhere properly to tacky polish. Drop two to three small dots of alcohol ink onto the nail surface in different colors. Immediately add one to two drops of isopropyl alcohol onto the ink. The alcohol pushes the ink outward in organic patterns. Tilt the nail to encourage directional flow. Let dry 5 minutes. The ink sets as the alcohol evaporates. Seal with two coats of glossy top coat; alcohol inks are not wear-resistant without sealing.
Alcohol Percentage Matters: 91% isopropyl creates slower, more controlled spreading. 99% isopropyl pushes ink faster with more dramatic patterns but less control. Start with 91% for predictability, move to 99% once the technique feels familiar. Higher percentages also dry faster, shortening the working window from 20-30 seconds to 10-15 seconds.
Tropical Geometric Color Blocking
Color-blocked geometric sections using tropical shades create a modern, abstract interpretation of paradise themes without requiring hand-painting skills. Striping tape or vinyl guides create clean lines, making this design accessible to beginners who struggle with freehand brush control.
Difficulty: Beginner
Time Required: 35-45 minutes
Key Products: Essie Gel Couture in Sizzling Hot (coral), Essie Turquoise & Caicos, OPI Suzi Without a Paddle (yellow), striping tape or vinyl nail guides, tweezers, top coat
Color Blocking Method: Apply a white or nude base to prevent color bleeding. Dry completely. Apply striping tape diagonally, vertically, or in geometric patterns across the nail, pressing edges firmly. Paint exposed sections with tropical colors, staying within tape boundaries. Dry fully (10-15 minutes). Remove tape with tweezers at a 45-degree angle, pulling slowly to prevent polish lifting. Seal with top coat immediately—this prevents the color-block edges from peeling.
Tape Removal Timing: Remove striping tape while the polish is still slightly tacky (not fully dry) for the cleanest edges. Fully dried polish sometimes lifts with the tape. Wet polish smudges and bleeds under the tape edge during removal. The sweet spot is 8-12 minutes after application for most creme polishes.
Textured Sand and Wave French Tips
French tips reimagined with textured sand-effect polish on the base and glossy aqua waves at the tip create a beach-inspired take on the classic manicure. This design combines matte and glossy finishes for visual interest and works particularly well on oval nail shapes where the curved smile line mimics natural wave motion.
Difficulty: Intermediate
Time Required: 40-50 minutes
Key Products: OPI Sandies collection (Alcatraz Rocks or What Wizardry is This for sand texture), OPI Closer Than You Might Belem (aqua wave), striping brush, glossy top coat (applied selectively)
Textured Application: Paint the entire nail with sand-textured polish and let dry completely without top coat—top coat eliminates the textured effect. Using a striping brush, carefully paint a curved wave line at the tip with glossy aqua polish, creating an irregular wave shape rather than a perfect smile line. Let dry. Apply glossy top coat only over the aqua wave section, leaving the sand texture exposed. This selective top coating preserves both finishes.
Sand Polish Chemistry: Textured sand polishes contain suspended particles (often silica or microbeads) that remain raised as the polish dries. Top coat pools around these particles and flattens the texture. OPI Sandies formulas dry to touch in 10-15 minutes but require 30+ minutes to fully harden before handling without dimpling.
Watercolor Tropical Florals
Diluted polish or watercolor nail art paints create soft, diffused floral designs with a delicate tropical aesthetic, requiring brush control but forgiving of imperfect lines due to the intentionally blurred style. This technique works with gel or traditional polish and photographs well for social media content.
Difficulty: Intermediate
Time Required: 45-55 minutes
Key Products: White or pale pink base, regular polish in coral, pink, yellow, green diluted 1:1 with clear polish or acetone, Winstonia detail brush set, watercolor nail art paints (optional), no-wipe gel top coat
Watercolor Technique: Apply white base and cure or dry completely. Mix one part color polish with one part clear polish (or acetone for traditional polish) to create a translucent wash. Paint loose petal shapes, allowing colors to bleed slightly into each other while wet. Layer multiple translucent coats to build depth, drying 2-3 minutes between layers. Add deeper color accents at petal bases and centers. Seal with top coat.
Polish vs Dedicated Watercolor Paints: Diluted polish works for basic watercolor effects but dries faster, limiting blending time to 15-20 seconds. Dedicated watercolor nail paints (brands like Pebeo or Da Vinci) remain workable for 60-90 seconds and blend more smoothly but require a no-wipe gel top coat for adhesion. Most DIY artists find diluted polish sufficient for tropical floral designs where precision blending is less critical.
Chrome Tropical Sunset Reflection
Chrome powder applied over a sunset gradient creates a metallic, reflective finish that mimics sunlight on water, combining the DIY chrome nails technique with tropical color palettes. This design requires gel polish for proper chrome adhesion and a no-wipe top coat to create the tacky surface chrome powder needs to bond.
Difficulty: Advanced
Time Required: 50-60 minutes
Key Products: Gel polish in coral, orange, pink (ombre shades), no-wipe gel top coat, chrome powder in gold or aurora finish, eyeshadow applicator or silicone tool, regular gel top coat
Chrome Application Process: Create a sunset ombre using the sponging technique described earlier with gel polishes. Cure fully. Apply a thin layer of no-wipe gel top coat and cure. While the top coat is still warm from the lamp, use an eyeshadow applicator to rub chrome powder onto the nail in circular motions, buffing until the surface becomes fully reflective. Brush off excess powder. Seal with a regular gel top coat, curing normally.
Chrome Adhesion Requirements: Chrome powder requires a perfectly smooth surface to reflect properly. Any texture, lint, or uncured gel beneath the chrome creates dull spots. The no-wipe top coat provides the smooth canvas; attempting chrome over a wipe-required top coat (which leaves a textured inhibition layer) results in patchy reflection. Chrome also requires warmth—powder adheres best when applied immediately after curing while the nail is still warm.
Tropical Glitter Gradient Accent
Dense glitter applied in a gradient from tip to mid-nail over a tropical creme base adds sparkle without overwhelming the design, suitable for those who want dimension without full glitter coverage. This technique uses makeup sponges for placement control and works with both traditional and gel formulations.
Difficulty: Beginner
Time Required: 25-30 minutes
Key Products: OPI Teal the Cows Come Home (base), China Glaze Champagne Kisses or Liquid Crystal (tropical-friendly glitter), makeup sponge, top coat
Glitter Gradient Method: Apply teal base and cure or dry completely. Paint glitter polish onto a makeup sponge in a small rectangular section. Dab the sponge onto the nail tip, using a bouncing motion rather than dragging. Reload the sponge and dab progressively lighter toward the mid-nail, creating a fade effect. This concentrates glitter at the tip with gradual dispersion toward the cuticle. Seal with two coats of thick top coat like Seche Vite to smooth the glitter texture.
Glitter Particle Size Considerations: Fine glitter (0.2-0.4mm) creates smooth gradients but requires three to four sponge applications for opacity. Chunky glitter (1-2mm) delivers drama in one application but creates texture that needs two to three top coat layers to smooth. Medium glitter (0.6-0.8mm) balances coverage and texture, requiring two sponge passes and two top coats.
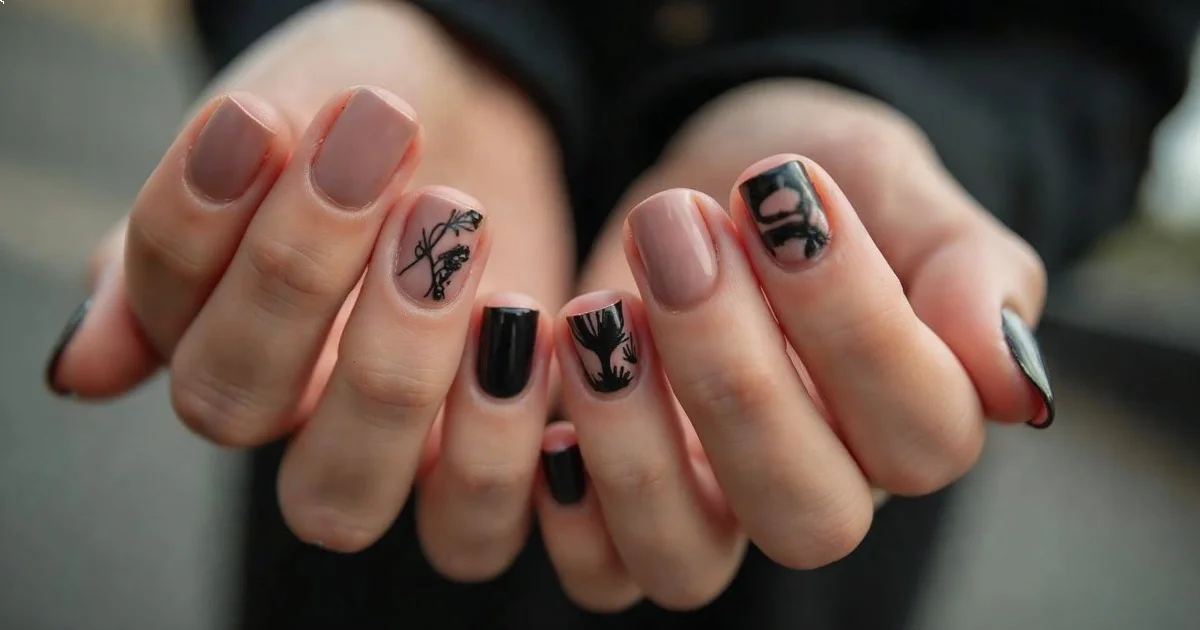
Minimalist Single Tropical Leaf
One hand-painted monstera or palm leaf on an otherwise bare or nude nail creates a modern, minimalist tropical statement suitable for professional environments where bold designs feel inappropriate. This design requires brush control but minimal time investment since only one focal element appears per nail.
Difficulty: Intermediate
Time Required: 20-25 minutes
Key Products: Nude or sheer pink base (OPI Bubble Bath or Essie Ballet Slippers), OPI Romantic in Rome or Amazon Amazoff (green), size 00 liner brush
Single Element Design Strategy: Apply nude base and dry fully. On one or two accent nails per hand, paint a single monstera leaf from cuticle to mid-nail using the liner brush. Monstera leaves require a stem line, then three to five curved sections on each side with oval holes punched through sections. The asymmetry is intentional; leaves shouldn't look identical across nails. Seal with glossy top coat.
Professional Environment Adaptation: Minimalist tropical designs satisfy creative expression while maintaining workplace appropriateness. Single elements on nude bases read as subtle detail rather than bold statement. This approach also extends to small palm fronds, single hibiscus blooms, or tiny pineapple silhouettes positioned near the cuticle.
Quick Reference Design Comparison
| Design | Difficulty | Time | Key Technique | Best For |
|---|---|---|---|---|
| Palm Leaf Negative Space | Beginner | 20-30 min | Stamping or line work | Short nails, product conservation |
| Sunset Ombre Silhouette | Intermediate | 45-60 min | Sponge gradient | Statement nails, vacation |
| Hand-Painted Hibiscus | Advanced | 60-90 min | Layered florals | Long nails, special occasions |
| Stamped Monstera | Beginner | 15-20 min | Plate stamping | Repeatable patterns |
| Tropical Fruit Salad | Intermediate | 40-50 min | Geometric shapes | Playful summer looks |
| Aqua Ombre Gold Foil | Intermediate | 35-45 min | Foil application | Textured dimension |
| Coral Reef Splatters | Beginner | 25-30 min | Splatter technique | Abstract, forgiving |
| 3D Plumeria | Advanced | 20-30 min | Acrylic sculpture | Dimensional accents |
| Neon Leaves on Dark | Intermediate | 50-60 min | High-contrast painting | Evening wear, festivals |
| Shell Embellishments | Beginner | 20-25 min | Charm application | No painting required |
| Alcohol Ink Tie-Dye | Intermediate | 30-40 min | Ink manipulation | Unique, abstract |
| Geometric Color Block | Beginner | 35-45 min | Tape guides | Clean lines, modern |
| Textured Sand Wave | Intermediate | 40-50 min | Mixed finish | Beach-inspired French |
| Watercolor Florals | Intermediate | 45-55 min | Diluted polish | Soft, delicate |
| Chrome Sunset | Advanced | 50-60 min | Chrome powder | Metallic reflection |
| Glitter Gradient | Beginner | 25-30 min | Sponge application | Subtle sparkle |
| Single Tropical Leaf | Intermediate | 20-25 min | Minimalist painting | Professional settings |
How to Choose Your Tropical Design
Select tropical nail designs based on three primary factors: available time, skill level, and wear duration needs. Beginners should start with stamping or embellishment designs that deliver visual impact without requiring brush control—the palm leaf negative space and shell designs offer the easiest entry points. Intermediate artists ready to develop hand-painting skills benefit from starting with geometric tropical fruits before advancing to organic florals where symmetry matters less.
Time constraints significantly impact design selection. If you need vacation-ready nails in under 30 minutes, choose stamping, color blocking, or single-element minimalist designs. Complex hand-painted florals and 3D sculptures require 60-90 minutes and suit pre-planned occasions rather than last-minute needs.
Wear duration depends primarily on formulation choice and nail preparation rather than design complexity. Gel formulations extend any of these tropical designs to 10-14 days, while traditional polish typically lasts 4-6 days before tip chipping regardless of design intricacy. For vacation longevity, press-on nails with tropical designs offer 7-10 day wear without UV lamps or extensive application time.
Nail length and shape influence design success significantly. Intricate multi-element designs like tropical fruit salad or hand-painted florals require medium to long nails (6mm+ of free edge) for adequate canvas space. Short nails under 4mm of free edge showcase negative space, single-element minimalist, and stamping designs more successfully. Round nail shapes provide maximum surface area for design work, while extreme