Easy Pretty Nail Designs: 15 Simple Looks Anyone Can Do
Creating easy pretty nail designs at home requires just three essentials: a quality base and top coat, two complementary polish colors, and basic tools...
 Mia Chen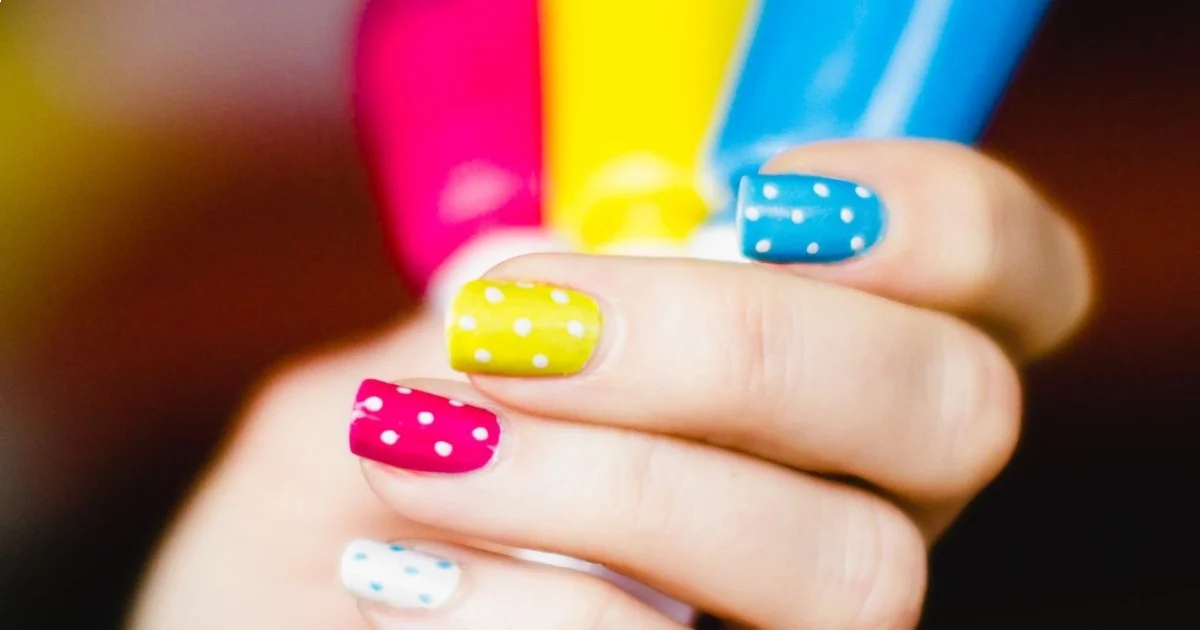
Creating easy pretty nail designs at home requires just three essentials: a quality base and top coat, two complementary polish colors, and basic tools like a bobby pin or striping tape. Most of these 15 designs take 15-30 minutes to complete, with minimal drying time between steps, and are specifically selected for beginner accessibility.
- Base coat application prevents staining and extends design longevity to one full week on natural nails
- Dotting tools can be replaced with bobby pins, toothpicks, or the tip of a ballpoint pen
- Striping tape creates clean lines without requiring steady hands or artistic skill
- Room temperature affects dry time more than polish brand, with 68-72°F being optimal
- Most designs work on any nail length but look most balanced on short to medium nails
Before diving into specific designs, understanding the foundational preparation makes every look more achievable. Based on guidance from Sally Hansen's manicure protocols, proper nail prep determines the difference between a design that chips within two days and one that lasts a full week. This article focuses on techniques that work on natural nails without requiring gel systems, acrylics, or specialized curing equipment.
What You Need Before Starting Any Design
Gathering supplies before you begin prevents mid-design scrambling that can ruin wet polish. The core toolkit costs approximately $25-35 and works for all 15 designs in this guide.
Essential Supplies:
- Base coat (any drugstore brand works; Orly Bonder is frequently recommended for its rubberized grip)
- Top coat (quick-dry formulas like Seche Vite cut total time significantly)
- 2-3 nail polish colors in complementary shades
- Dotting tool or bobby pin substitute
- Striping tape or regular Scotch tape
- Small detail brush or old eyeliner brush cleaned with acetone
- Cotton swabs and acetone for cleanup
- Nail file (180-grit for natural nails)
Optional but Helpful:
- Liquid latex or painter's tape for mess-free application
- Tweezers for handling striping tape
- Small scissors for cutting tape pieces
Key Finding: Proper nail preparation, including dehydrating and base coat application, is the most important factor in DIY manicure longevity — American Academy of Dermatology
Cost breakdown from typical drugstore pricing: base and top coat run $8-12 each, polish colors $4-8 per bottle, dotting tools $3-6 for a five-piece set, and striping tape approximately $4 for ten rolls in assorted colors. The entire kit delivers 30+ manicures per color bottle, averaging under $1.50 per complete design.
Preparing Your Nails for Design Success
Skipping prep is the primary reason designs fail within 48 hours. This five-minute routine creates the foundation every design needs.
Step 1: Shape and smooth — File nails in one direction only, never sawing back and forth. For design visibility, squoval nails provide the most canvas area while remaining practical for daily tasks. Aim for uniform length across all fingers; uneven nails make patterns look unintentional.
Step 2: Address cuticles — Push back cuticles gently with an orangewood stick after soaking fingers in warm water for 2-3 minutes. According to Byrdie's nail care guidance, cutting cuticles increases infection risk and creates uneven polish lines. For persistent dryness, cuticle oil applied nightly improves the nail bed appearance within one week.
Step 3: Dehydrate the nail surface — Wipe each nail with acetone or rubbing alcohol on a lint-free pad. This removes natural oils that cause polish to lift at the edges. Let air-dry for 30 seconds.
Step 4: Apply base coat — One thin layer from cuticle to free edge, capping the tip by running the brush along the nail edge. This seals the nail and prevents staining from dark polishes. Wait 60 seconds before applying color.
What can go wrong: Thick base coat application causes bubbling when color goes on top. If you see bubbles forming, you've applied too much product. One brush stroke should barely leave visible product on the nail.
Design 1: Classic Polka Dots
Difficulty: Beginner | Time: 15 minutes | Tools: Dotting tool or bobby pin
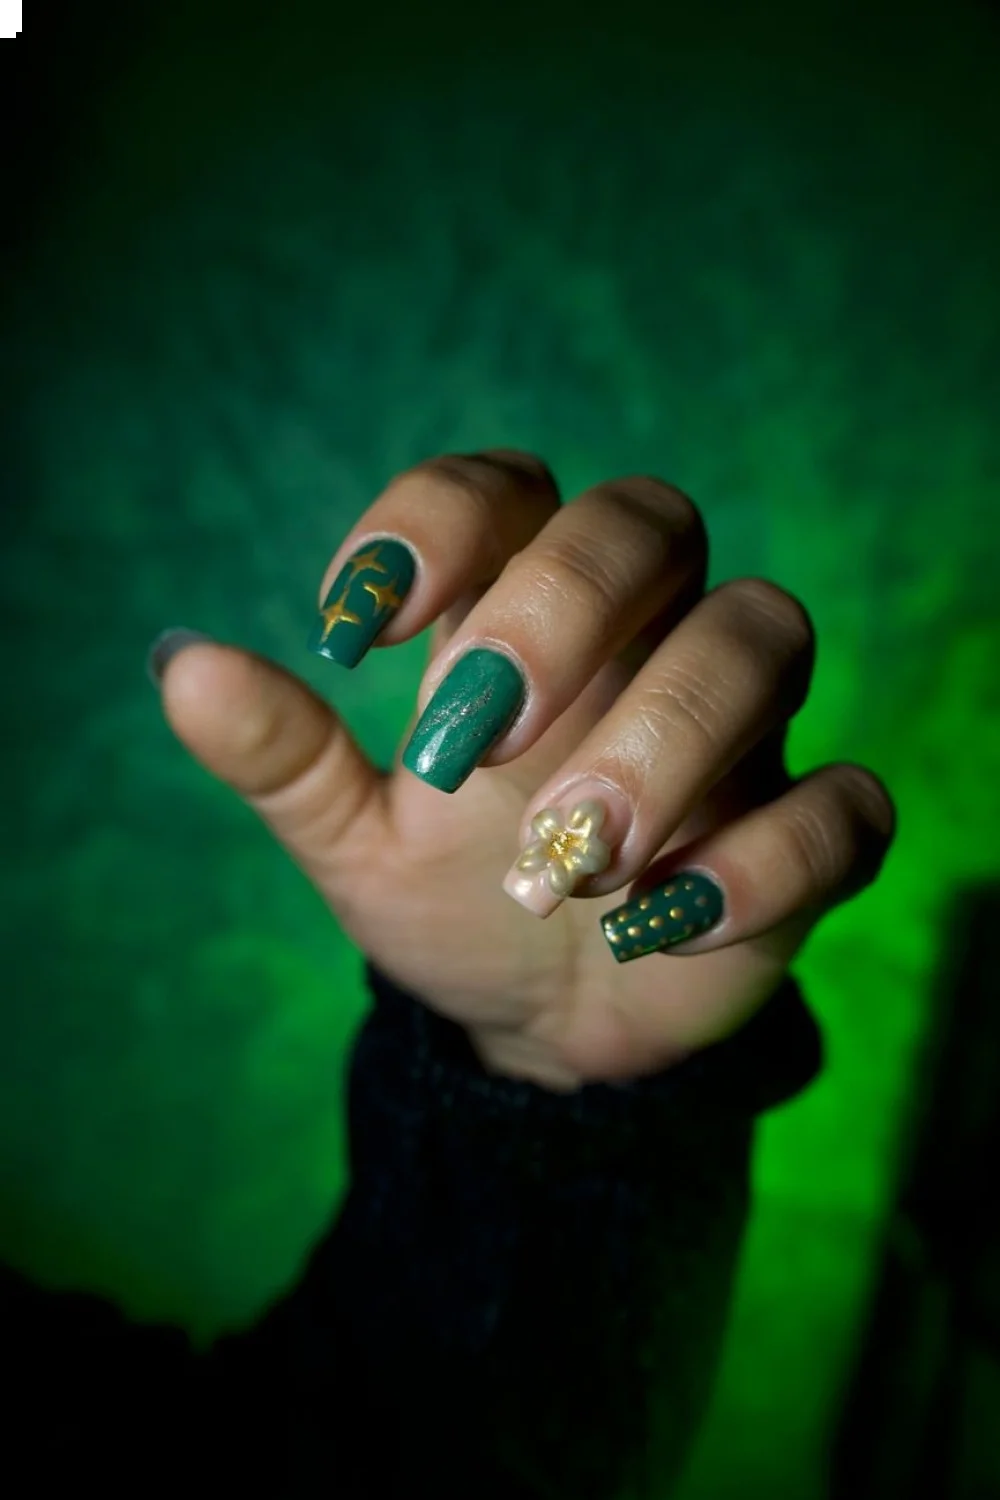
Polka dots require zero artistic ability and create visual interest through simple repetition. This design works particularly well on short nails where more complex patterns feel cramped.
Apply two thin coats of base color, allowing 2 minutes between coats. Light colors like white, nude, or pale pink show dots most clearly. Once the second coat dries to touch (test with your knuckle, not fingertip), dip a dotting tool or bobby pin head into contrasting polish. The tool should have a small bead of polish clinging to it, not dripping.
Place dots in a pattern or randomly across the nail. For uniform size, reload the tool with the same amount of polish for each dot. For variety, create larger dots with initial dips and smaller dots as the polish depletes from the tool.
Common mistake: Pressing too hard embeds the tool into the base color, creating craters instead of raised dots. The tool should barely touch the nail surface. If you mess up, immediately remove the dot with a cotton swab dipped in acetone and try again.
Finish with top coat after dots dry for 3-4 minutes. Applying top coat too soon causes the dot color to bleed into the base color, muddying both shades.
| Dot Size | Tool | Typical Use |
|---|---|---|
| Small (1mm) | Toothpick | Delicate, scattered patterns |
| Medium (2-3mm) | Bobby pin | Classic polka dot spacing |
| Large (4-5mm) | Pencil eraser | Bold, graphic looks |
Design 2: Half-Moon Manicure
Difficulty: Beginner-Intermediate | Time: 20 minutes | Tools: Hole reinforcement stickers
The half-moon design offers a vintage-modern aesthetic. Office supply stores sell hole reinforcement stickers for approximately $2 per 200-count box.
Apply base coat and let dry completely (90 seconds). Paint nails with your chosen base color in two thin coats, waiting 2 minutes between coats. Once fully dry (5-7 minutes total), position a hole reinforcement sticker at the base of each nail, leaving the moon shape exposed near the cuticle.
Press the sticker edges down firmly to prevent polish seepage. Paint the exposed nail area with a contrasting color, starting from the cuticle and working toward the free edge. Apply one coat initially, as thick application causes the sticker to lift.
Peel the sticker off immediately while the second color is still wet. Waiting until it dries creates jagged edges when the sticker pulls away. If you see any bleeding under the sticker line, clean it with a detail brush dipped in acetone.
What works better: Waiting 10 minutes before applying top coat prevents the two colors from blending at the boundary line. The result is crisp color separation.
Design 3: Vertical Stripes with Tape
Difficulty: Beginner | Time: 25 minutes | Tools: Striping tape or Scotch tape
Stripes eliminate the "steady hand" barrier that stops most beginners from attempting nail art. The tape does the work.
Paint nails with base color (two coats, 2 minutes apart). Let dry completely — this is critical. If the base isn't fully dry (wait 8-10 minutes), the tape will pull it off when removed. Test by gently pressing your nail against your cheek; if it feels tacky, wait longer.
Cut striping tape into lengths slightly longer than your nail. Using tweezers, position strips vertically across the nail, spacing them evenly or randomly depending on preference. Press down the tape edges with an orangewood stick.
Paint over the entire nail with your second color, covering both exposed areas and tape. One coat is sufficient. Wait 30-60 seconds, then peel the tape away at a 45-degree angle while the polish is still slightly wet. This prevents the clean lines from tearing.
Seche Vite or another quick-dry top coat is particularly valuable here because it sets the design quickly, preventing accidental smudging while you work on subsequent nails.
Alternative approach: For thicker stripes, use regular Scotch tape cut into 3-5mm widths. This costs nothing if you already have tape at home and creates bolder graphic lines.
Design 4: Simple French Tips
Difficulty: Beginner-Intermediate | Time: 20 minutes | Tools: Striping tape or steady hand
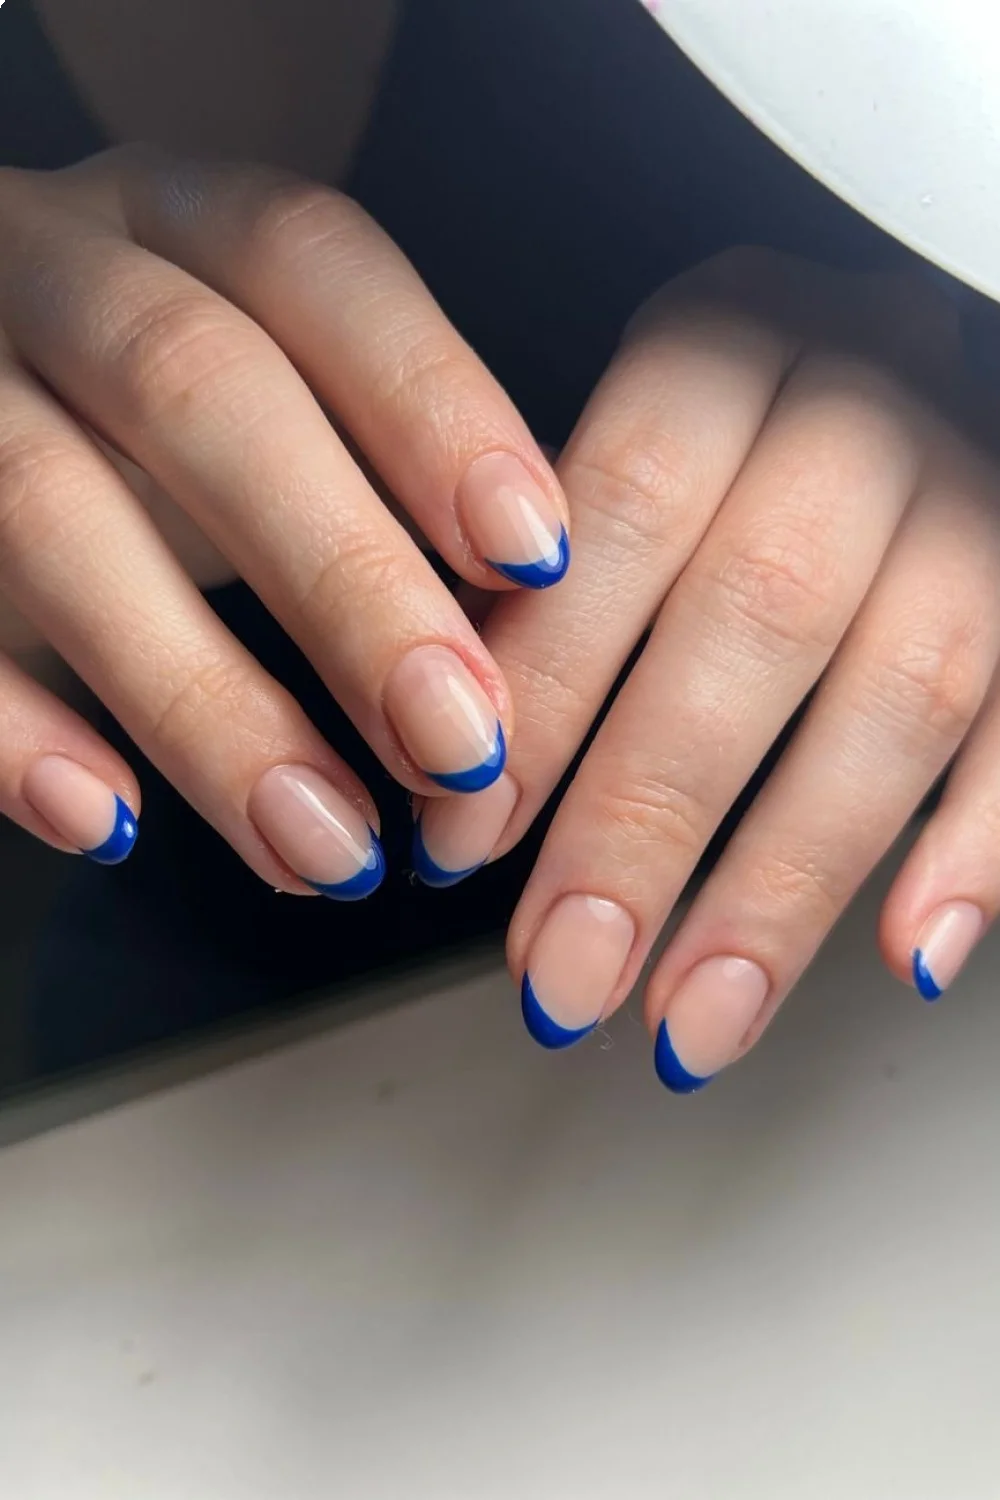
The French manicure remains a professional staple, but the traditional curved line intimidates beginners. Modern interpretations make it more accessible.
Apply base coat and one layer of sheer pink or nude polish. Sally Hansen's Sheer Bliss line offers several options in the $5-7 range. Let dry for 3 minutes.
For the tip, you have two options:
Method 1 (easier): Position striping tape or regular tape horizontally across the nail, about 2-3mm from the free edge. Paint the exposed tip with white polish. Remove tape while wet. This creates a straight line rather than the traditional curve, which reads as intentionally modern rather than failed traditional.
Method 2 (traditional): Using a detail brush, paint the free edge white in three strokes — one in the center, one on each side. The trick is pulling the brush toward the side of the nail rather than straight across. Most tutorials skip this directional detail.
What fails most often: Applying white polish too thickly. It looks chalky and takes forever to dry. Two very thin coats beat one thick coat every time.
Design 5: Glitter Gradient
Difficulty: Beginner | Time: 15 minutes | Tools: Makeup sponge
Gradients seem complex but the sponge technique makes them foolproof. This works with any polish finish, though glitter formulas are most forgiving because they camouflage uneven blending.
Paint nails with base color (typically nude or light pink). Two coats, standard drying time between.
Cut a makeup sponge into a small rectangle about the width of your nail. Paint three horizontal stripes on the sponge: base color at top, glitter polish at bottom, and where they meet in the middle, the colors will blend naturally on the sponge.
Press the sponge onto your nail with a light bouncing motion, starting at the tip and moving toward the cuticle. Reload the sponge and repeat 2-3 times until you achieve the desired opacity. The glitter concentration will be heaviest at the tip and fade toward the cuticle.
Cleanup is mandatory with this technique. The sponge deposits polish on surrounding skin. Use a detail brush dipped in acetone to clean the cuticle area and sidewalls, or apply liquid latex to those areas before starting (peel it off after).
Finish with top coat. Glitter polishes require a thicker top coat layer to smooth the texture. Top coat formulas designed for glitter specifically contain more leveling agents.
Design 6: Single Accent Nail
Difficulty: Beginner | Time: 12 minutes | Tools: None beyond standard polish
The simplest "design" is selecting one nail per hand (typically the ring finger) for contrasting color or finish. This barely qualifies as nail art, yet it's consistently popular and office-appropriate.
Paint all nails except the accent nail with your base color. Two coats as usual. On the accent nail, apply a contrasting color, glitter, or matte finish. That's it.
What makes this work: The contrast. Pairing a cream finish on nine nails with metallic or glitter on two creates enough visual interest without requiring technical skill. Similarly, all matte nails with two glossy accents provides the same effect in reverse.
Current combinations seeing frequent use: cream nude with rose gold accent, white with black accent, or any base color with holographic accent.
Design 7: Watercolor Nail Art
Difficulty: Beginner-Intermediate | Time: 20 minutes | Tools: Makeup sponge, rubbing alcohol
Watercolor effects look artistically complex but rely on simple blending. The alcohol does the work by thinning the polish.
Apply white or very light base color. Two coats, fully dry.
On a plastic surface (old credit card, ziplock bag), place small drops of 2-3 polish colors near each other. Add one drop of rubbing alcohol. Using a detail brush or clean makeup sponge, swirl the colors together gently. They'll blend and create soft, undefined edges.
Dab this mixture onto your nail, focusing on creating organic shapes rather than precise patterns. The alcohol causes the polish to spread and bloom. Add more color concentrations where desired.
Let dry for 5 minutes before top coat. The alcohol evaporates but the blended effect remains.
Common failure: Using too much alcohol creates a watery mess that drips down the nail. Start with one drop and add more only if the polish isn't blending.
Design 8: Negative Space Stripes
Difficulty: Intermediate | Time: 30 minutes | Tools: Striping tape
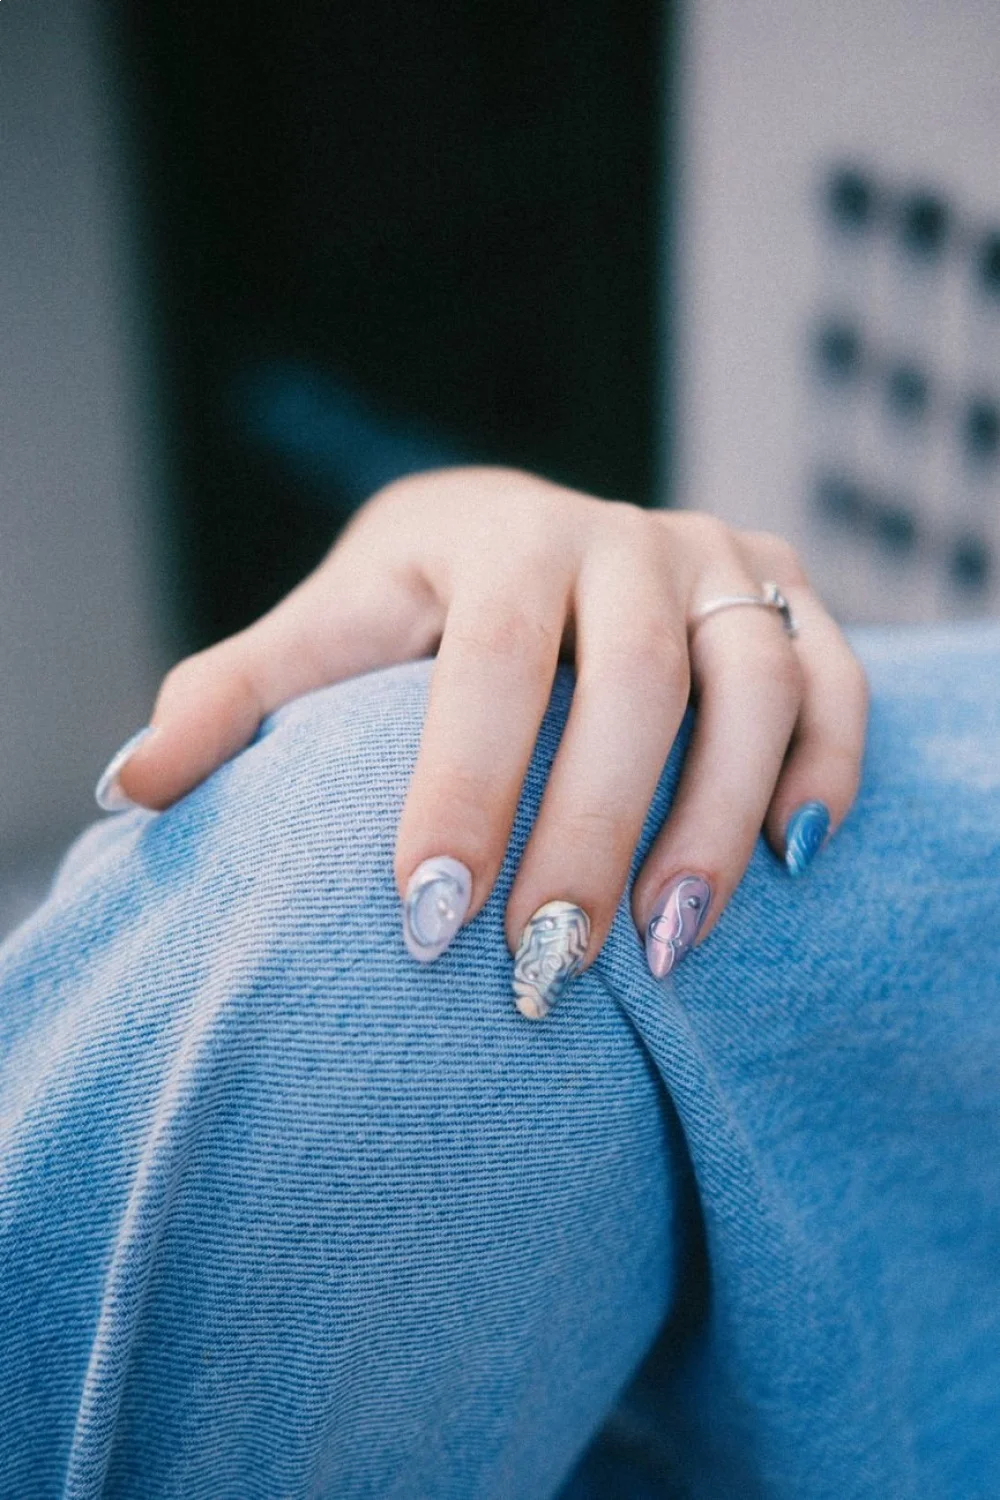
Negative space designs let the natural nail show through as part of the pattern. This trend emerged strongly in 2023 and remains current.
Apply base coat only, no color. Let dry. Position thin striping tape (1mm width) in parallel diagonal lines across each nail. Press edges down firmly.
Paint over the entire nail with your chosen color. The tape protects the areas underneath. While the polish is still wet (30-45 seconds after application), carefully peel away every other strip of tape using tweezers. Leave the remaining strips in place.
Apply top coat over everything, including the remaining tape. This seals the tape permanently as part of the design and prevents edges from lifting. The result is colored stripes alternating with clear stripes showing your natural nail.
Why this works: The tape becomes a permanent design element rather than a temporary guide. Allure's DIY nail art guide notes this technique as particularly beginner-friendly because mistakes (pulling tape too early, uneven lines) are less visible when some tape stays on.
Design 9: Simplified Marble Effect
Difficulty: Intermediate | Time: 25 minutes | Tools: Plastic wrap or plastic bag
Marble nails typically require water marbling (messy, high failure rate) or expensive wraps. This dry technique achieves similar results.
Apply base color. White, gray, or nude works best for marble. Two coats, let dry.
Crumple a piece of plastic wrap into a loose ball. Dab it lightly into your second color (typically black, dark gray, or gold for marble veining). Bounce the crumpled plastic across the nail in random patterns. The irregular texture creates natural-looking veins.
Immediately, while that's wet, take a third color (or the same veining color) and repeat with a fresh section of plastic wrap, adding more irregular lines. The colors will partially blend where they meet, creating depth.
Work one nail at a time because this technique requires the polishes to be wet simultaneously. Let dry for 4-5 minutes before top coat.
What separates success from mess: Light pressure. Pressing too hard deposits blobs of polish instead of delicate veins. The plastic should barely kiss the nail surface.
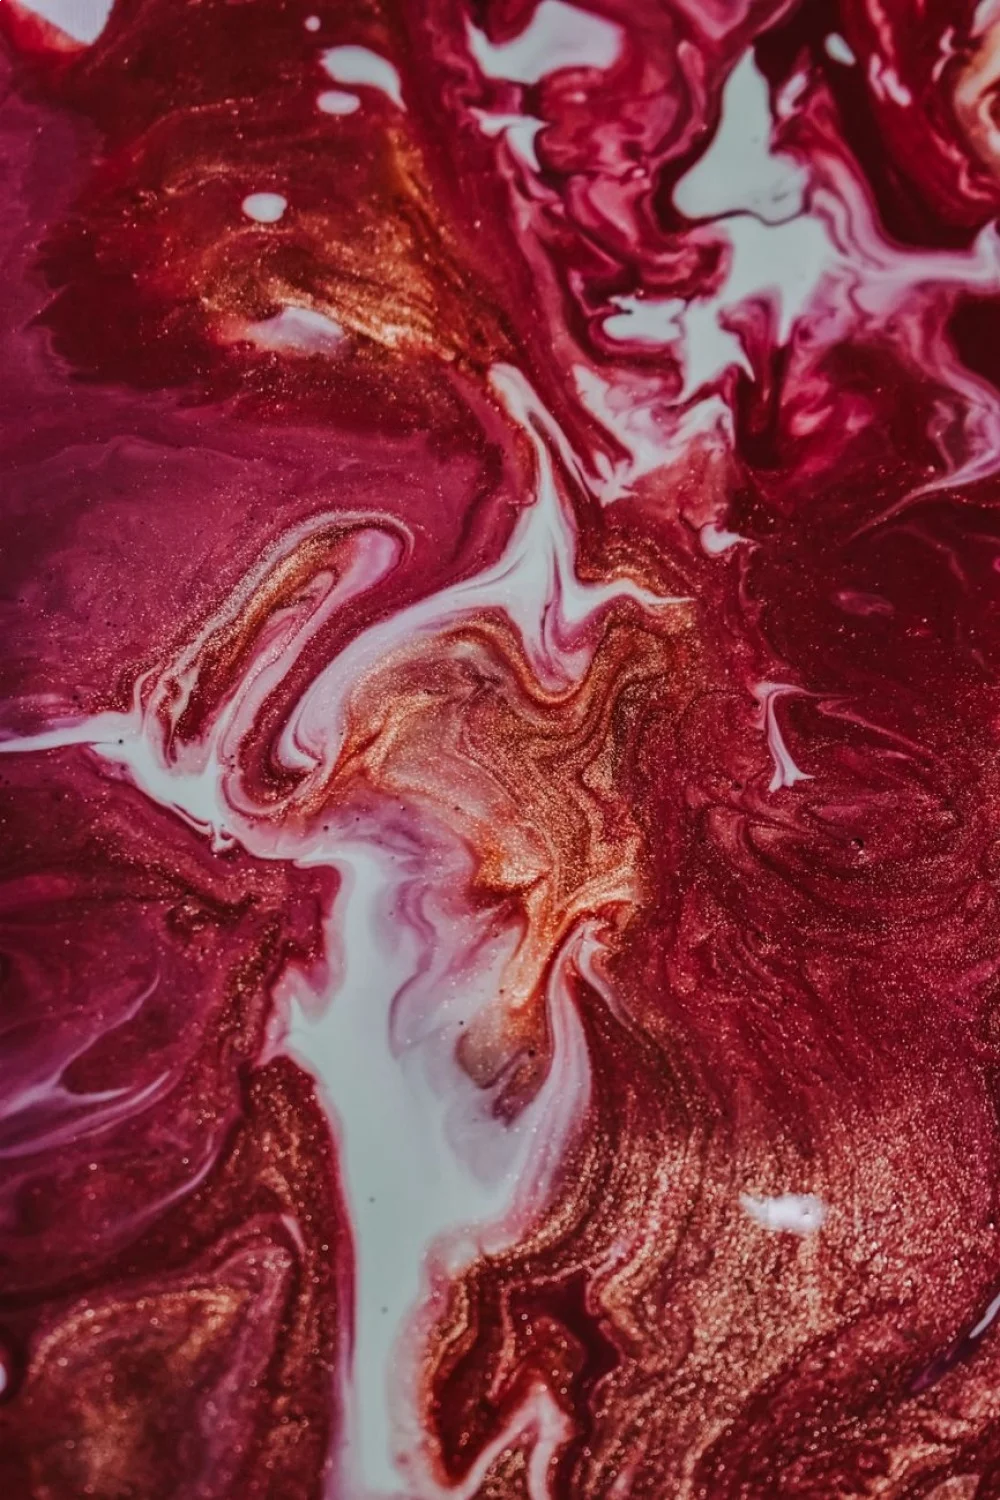
Design 10: Dotted French Tips
Difficulty: Beginner | Time: 18 minutes | Tools: Dotting tool
This combines two previous techniques (French tips and dots) for slightly more visual complexity without added difficulty.
Create traditional or straight-line French tips using the method from Design 4. Let dry completely (5 minutes minimum).
Using a dotting tool and a third color, place small dots along the border where the tip color meets the base color. Space them evenly or cluster them asymmetrically. This defines the French line and adds detail without requiring artistic skill.
Alternatively, place dots only on the white tip portion in a scattered pattern. This creates interest on the tip while keeping the nail bed clean.
Top coat once dots dry for 3 minutes.
Design 11: Color Block Design
Difficulty: Intermediate | Time: 30 minutes | Tools: Striping tape
Color blocking divides the nail into geometric sections of different colors. The tape creates clean boundaries.
Apply base coat and lightest color as base. Two coats, dry completely (8-10 minutes).
Position striping tape to section off a portion of the nail — diagonal corner, horizontal half, or vertical third. The tape marks where one color ends and the next begins.
Paint the exposed section with your second color. Remove tape while wet. Let dry 5 minutes.
For three-color blocking, repeat the process: tape off a different section and apply the third color. Each section must dry completely before taping over it, or the tape will pull the previous color off.
This design requires patience. Rushing causes the colors to blend or the tape to damage previous layers. Budget 5 minutes of drying time between each color application.
| Colors Used | Design Complexity | Total Time |
|---|---|---|
| 2 colors | Simple half-and-half | 20 minutes |
| 3 colors | Diagonal thirds | 30 minutes |
| 4+ colors | Geometric patchwork | 45+ minutes |
Design 12: Simple Stamping Design
Difficulty: Intermediate | Time: 20 minutes | Tools: Nail stamping kit ($8-15)
Stamping kits include an etched metal plate with designs, a scraper, and a silicone stamper. Born Pretty and Winstonia offer starter kits in the $10-12 range.
Apply base color and let dry completely. Stamping requires a fully cured base or the stamper will disturb it.
Apply stamping polish (thicker formula than regular polish) to the etched design on the plate. Scrape across at a 45-degree angle to remove excess, leaving polish only in the etched grooves. Immediately press the stamper onto the design, then roll it across your nail to transfer the image.
What fails: Scraping at too flat an angle. It needs to be 45 degrees to cleanly remove excess while leaving the design intact. Most stamping problems trace to scraper angle.
Apply top coat after the stamped design dries (2-3 minutes). Regular top coat can smudge stamping polish; specialized stamping top coat prevents this but costs $8-10 additionally.
Design 13: Ombré with Sponge Technique
Difficulty: Intermediate | Time: 25 minutes | Tools: Makeup sponge
Ombré blends two or more colors seamlessly from cuticle to tip. The sponge method works similarly to the glitter gradient from Design 5.
Apply lightest color as base (typically white or nude). Two coats, dry fully.
On the makeup sponge, paint vertical stripes of your gradient colors side by side — they should barely touch. Lightly bounce the sponge onto your nail, reloading and repositioning as needed. The bouncing motion blends the colors where they meet on the sponge.
Repeat 3-4 times, waiting 30 seconds between applications for the previous layer to become tacky. This builds color intensity while maintaining the blend.
Cleanup is extensive. The sponge deposits polish all over surrounding skin. Budget 2-3 minutes per hand for cleanup with acetone and a detail brush.
Finish with top coat. The top coat smooths the slightly textured surface left by the sponge.
Comparison to other gradient methods: Brush gradients require advanced blending skills. Sunset nail gradients use similar sponging but focus on warm color transitions specifically.
Design 14: Minimalist Line Art
Difficulty: Intermediate | Time: 15 minutes | Tools: Thin detail brush or nail art pen
Minimalist designs — single curved lines, abstract faces, simple stems — require only basic shapes. No artistic background needed.
Apply nude, white, or very light base color. Two coats, dry completely.
Using a thin detail brush (width under 1mm) or a nail art pen in black, draw simple shapes: a curved line from cuticle to tip, a small circle with two dots for an abstract face, or short straight lines radiating from the cuticle.
The key is keeping it genuinely simple. One or two lines maximum per nail. Overworking the design makes mistakes obvious. If you mess up, wipe the line off immediately with acetone on a cotton swab and try again.
Let the art dry for 3-4 minutes before top coat. Applying top coat too soon causes thin lines to blur.
Current minimalist motifs seeing popularity: single wavy line, tiny heart outline, small star, or simple dot-and-line combinations.
Design 15: Foil Accent Pieces
Difficulty: Beginner | Time: 15 minutes | Tools: Nail foil sheets ($4-8 for 10 sheets)
Foil transfers create metallic accents without requiring metallic polish or precision placement. Craft stores and beauty suppliers sell nail foil in various colors and patterns.
Apply base color and let dry. While the second coat is still slightly tacky (60-90 seconds after application), press a small piece of foil (color side up) onto the nail. Rub firmly across the back of the foil with your finger or an orangewood stick.
Peel the foil away quickly. The metallic layer transfers to the tacky polish, creating irregular, organic shapes. For more coverage, repeat with additional foil pieces.
This technique thrives on imperfection. Gaps and irregular transfer patterns look intentional and artistic. Trying for complete coverage usually results in frustration.
Apply top coat immediately after foil application (within 1 minute). The top coat seals the foil. Without it, the foil flakes off within hours.
Key Finding: Foil adheres best when polish is at the 60-90 second tacky stage, not wet and not fully dry — Ulta Beauty education resources
Troubleshooting Common Design Problems
Even simple designs encounter predictable issues. Identifying the cause prevents repeated failure.
Smudging during application: You're applying top coat before the design fully dries. Test by gently tapping the nail with your knuckle. If it leaves an impression, wait longer. Most designs need 3-5 minutes of air drying before top coat.
Chipping within 24-48 hours: Skipped base coat, or didn't cap the free edge. The free edge (tip) of the nail experiences the most stress. Running base coat, color, and top coat along this edge seals it. Also verify you're not applying polish too thickly; two thin coats outlast one thick coat consistently.
Tape pulling off base color: The base wasn't fully dry before taping. Natural polish needs 8-10 minutes to cure sufficiently. Test by pressing your nail against your cheek — no tackiness should remain.
Dotting tool creating craters instead of raised dots: Too much pressure. The tool should deposit polish on the surface, not press into it. Touch the nail so lightly that you barely feel contact.
Uneven gradient or ombré: The sponge is too wet with polish. Dab excess polish off the sponge onto a paper towel before applying to nails. The sponge should be damp with polish, not saturated.
Bubbles in finished design: Three causes: shaking polish bottles (roll them instead), applying polish in high humidity (above 70%), or applying thick coats that trap air. Thin coats in climate-controlled spaces prevent this.
Colors bleeding together: Either the previous layer wasn't dry enough, or you're using too much polish. When layering colors (like polka dots on base color), wait the full recommended dry time and use minimal polish on the applicator.
For persistent nail health issues affecting how polish adheres, review nail fungus prevention protocols and cuticle care routines that support better base nail condition.
Making Designs Last Longer
Extending wear time from 3-4 days to a full week requires specific techniques beyond the initial application.
Apply top coat again on day three. This refreshes the protective layer and seals any micro-chips before they expand. A second top coat application takes 2 minutes and typically doubles remaining wear time.
Avoid hot water immersion for the first 12 hours after application. Hot water causes polish to expand and contract, creating microscopic cracks that become visible chips. Wear gloves for dish washing during this period.
Reapply cuticle oil daily. Hydrated cuticles don't crack and peel, which prevents polish from lifting at the base. Apply oil before bed so it absorbs overnight.
File away chips immediately rather than peeling them. Peeling removes layers of the natural nail along with polish, damaging the nail and shortening the lifespan of your next manicure.
For gel polish longevity and comparison to regular polish, gel polish brands offer 2-3 week wear but require UV curing equipment.
Cost Analysis: DIY vs Salon
Understanding the economics helps justify the initial supply investment.
Basic salon manicure with simple design: $35-50 depending on location, plus tip. Complex designs add $10-20.
DIY initial investment: $25-35 for base supplies (base coat, top coat, 2-3 polish colors, basic tools). This kit completes 30+ manicures before replacing polish bottles.
Per-manicure cost breakdown:
- Salon: $40-55 every 1-2 weeks = $80-220 monthly
- DIY: $1.50-2.00 per manicure = $6-16 monthly (assuming weekly application)
Break-even point occurs after 1-2 salon visits. Every DIY manicure afterward represents $35-50 saved.
Time investment differs significantly. Salon appointments require 45-60 minutes plus travel time. DIY designs range from 12 minutes (simple accent nail) to 45 minutes (complex multi-color blocking). However, DIY happens at home during time you control.
Next Steps: Building Your Design Skills
Once these 15 designs feel comfortable, several paths extend your capabilities without dramatic difficulty increases.
Explore seasonal nail designs that adapt these core techniques to holiday and weather-specific themes. The technical skills remain the same; only the color palettes and small motifs change.
Investigate matte nail designs which transform any of these 15 looks by substituting matte top coat for glossy. This single product change creates entirely different aesthetics.
For summer-specific inspiration, beach nails and watermelon nails demonstrate how to adapt dotting and gradient techniques to themed designs.
Consider nail shape experimentation. While these designs work on any shape, squoval or oval nails provide different canvases that make certain patterns more visible.
If natural nail health limits design longevity, review how to make nails grow faster for science-backed growth strategies that create stronger base nails.
For those interested in longer wear without salon visits, press-on nails now accept most of these design techniques and last 1-2 weeks with proper application.
The foundation you've built with these 15 designs — proper prep, tool familiarity, timing awareness, and troubleshooting skills — transfers directly to more advanced techniques. Navigating nail care with research-backed insights means every design attempt teaches something applicable to the next.